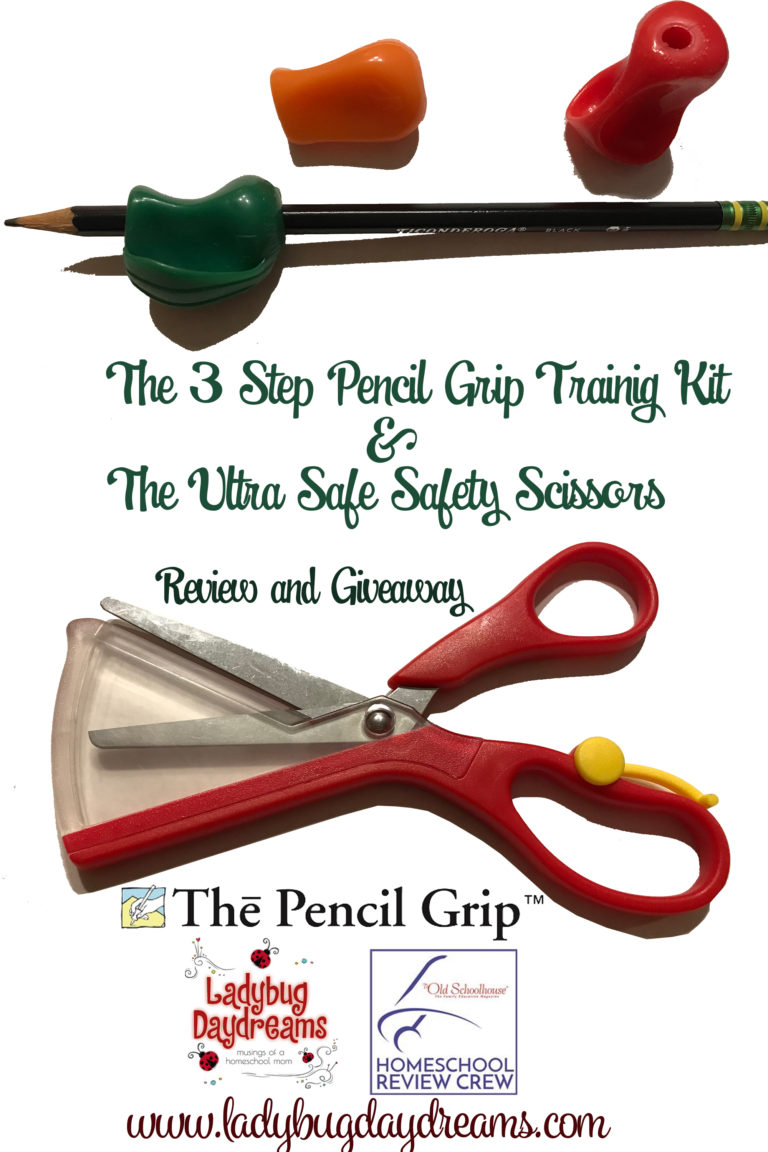
We have been fans of The Pencil Grip, Inc. for quite some time now. My kids, especially Small Fry, adore creating art with their Kwik Stix fast-drying, no-mess tempera paint sticks. This time, we got something completely different to review – The Ultra Safe Safety Scissors and The 3 Step Pencil Grip Training Kit.
 A lot of companies make safety scissors for children. This is usually code for “dull” and/or “blunt.” After all, if the scissors are neither sharp nor pointy, children can’t cut themselves, right? Wrong! Besides being faulty logic (we’ve all cut ourselves on dull blades, am I right?), it also makes the process of cutting the intended object difficult or impossible. When a young child is first learning to use scissors, this can be a very frustrating experience.
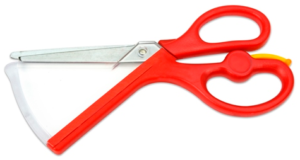
This is where The Ultra Safe Safety Scissors are different. They are neither dull nor blunt. So how are they safe for children then? I’m glad you asked! The Pencil Grip, Inc. has installed a permanent plastic guard for the bottom blade to slide into. This guard is positioned in such a way as to make it impossible for little fingers to find their way between the blades, whether the scissor is opened or closed. To cut the paper, the child opens the blade, slides the paper between the top blade and the safety guard, and then proceeds to cut like normal.
Another feature of The Ultra Safe Safety Scissors is that little yellow piece you see attached to the lower handle. If you flip that guy up, it gives your child a little extra help getting the scissor open again after making his cut. This is especially helpful for children with little hand strength.
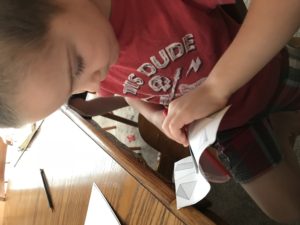 Small Fry (age 5) has had loads of fun learning to cut with these scissors. I love that he can learn this important skill without putting his (or any of his brothers’) fingers in danger. This is a really great product that I highly recommend.
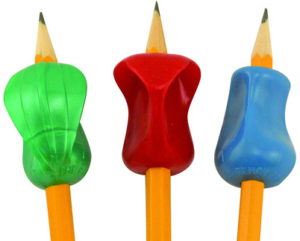 These little doodads are what The Pencil Grip, Inc., is famous for. In fact, it’s the name of their company! I’m sure a lot of parents remember these from their own childhoods; I know I do.
A lot of people (myself included) hold their pens and pencils incorrectly, resulting in tendon damage and hand fatigue. The 3 Step Pencil Grip Training Kit helps you to adjust your grip, allowing you to write longer with less hand trouble.
How It Works
There are 3 Pencil grips in the set, and each one is a little different, but they all do basically the same thing. You slide on onto your pencil and it forces you to have the correct grip (which is thumb and pointer finger on each side, middle finger behind – nothing overlapping). If you’re very set in your ways, you need to start with step 1, which has a “superhero cape” that physically gets in the way of you overriding the grip to hold the pencil in your normal way.
Once you’ve used this one for a while and feel pretty confident with your new grip, you can move onto step 2. The second Grip is much like the first one, except instead of the full cape, it has just a small tag to get in your way, preventing overlap.
And finally, step 3, which is the traditional Pencil Grip. It guides your fingers into the right positions without actively preventing bad grip.
The 3 Step Pencil Grip Training Kit works for both right- and left-handed students. There is an L and an R on each one, and this gives you the placement for the thumb to be able to get the rest of the fingers in the right places.
Each of my kids used one of these, even though they’re each a little different. We gave Small Fry the Step 1 Grip, because as a kindergartner he’s the most flexible and willing to learn. He’s been using it every time he has a pencil in his hand, and he really likes it. Seahawk and Munchkin have been trading the other two back and forth, depending on their moods. They don’t use them every time, but they use them often enough to gain some good habits. They both told me that they like them quite a bit. I think the lack of use is more out of habit than out of dislike.
The Pencil Grip, Inc. has generously offered to give away one set of the items in this review to one of my readers. The lucky winner will receive one pair of The Ultra Safe Safety Scissors and The 3 Step Pencil Grip Training Kit. Just fill out the Giveaway Tools widget below for your chance to win. The winner will be chosen randomly by Giveaway Tools on Tuesday morning, October 24, 2017. Good luck!
Blessings,


Like this:
Like Loading...

![IMG_0784[1]](http://www.ladybugdaydreams.com/wp-content/uploads/2017/10/IMG_07841-e1508793006959-225x300.jpg)
![IMG_0785[2]](http://www.ladybugdaydreams.com/wp-content/uploads/2017/10/IMG_07852-e1508793057970-225x300.jpg)
![IMG_0786[1]](http://www.ladybugdaydreams.com/wp-content/uploads/2017/10/IMG_07861-e1508793096443-225x300.jpg)
![IMG_0787[1]](http://www.ladybugdaydreams.com/wp-content/uploads/2017/10/IMG_07871-e1508793222900-225x300.jpg)
![IMG_0788[1]](http://www.ladybugdaydreams.com/wp-content/uploads/2017/10/IMG_07881-e1508793270695-225x300.jpg)


