Project Bag (sewing craft)

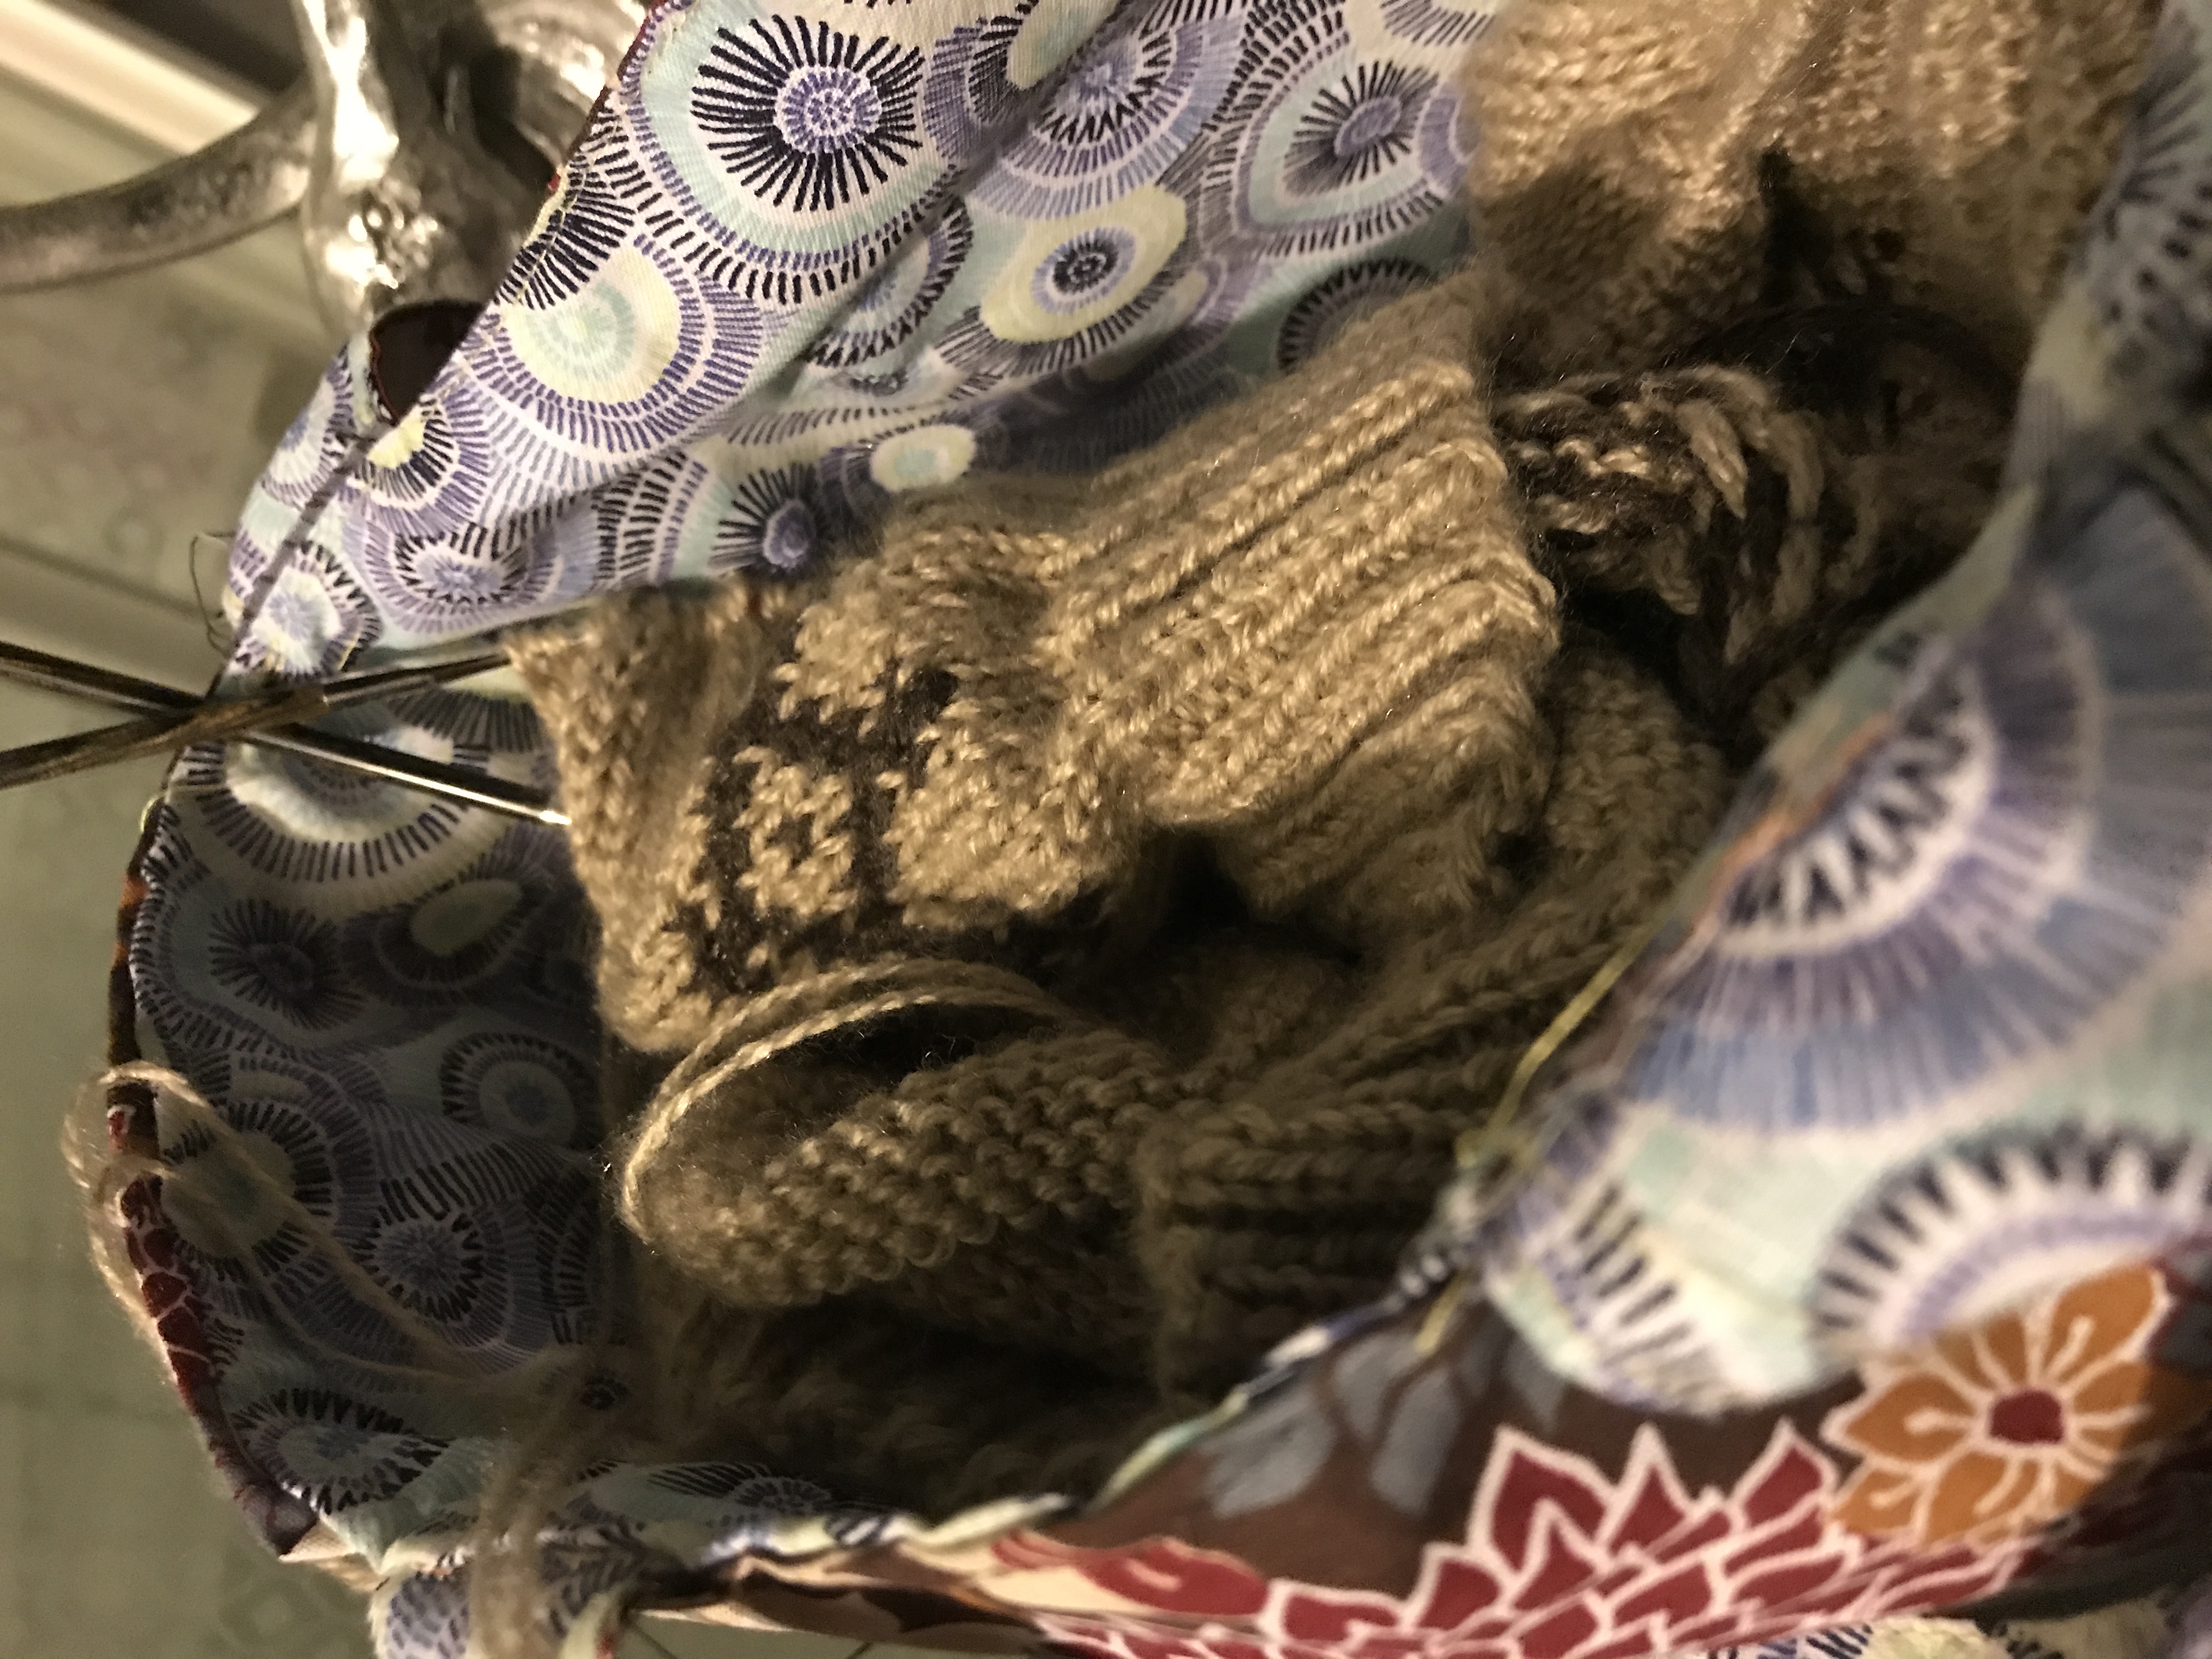
I’ve been knitting a lot lately (as I’m sure you’ve noticed!), and in order to bring my projects along wherever I go to always be able to work on them when time permits, I’ve just been stowing everything in either a paper bag or a little basket I have. The basket actually works really great for working on stuff at home, but it’s a bit too big to comfortably fit at my feet when riding in the car, for instance. When my paper bag tore last week, and we didn’t have any others that were at least a little bit cute, I decided to make one out of fabric. I’ve developed quite a fabric stash over the past few months, but lost my interest in sewing when I had two or three projects in a row not work very well for me. (I’m still glad I have the sewing machine, but I don’t really see it becoming my main crafting outlet any time soon based on the difficulties I had.) So I poked around into that stash and found two fabrics that I really liked and that each had quite a large piece that I hadn’t really cut into yet, and made this bag.

932E1F27-AAA0-4BC3-BE41-67BF9439967C

I used this tutorial from The Spruce Crafts, but modified it slightly. Here’s what I did. Unfortunately I don’t have “in progress” pictures, so hopefully my words combined with the pictures of the finished product will be sufficient.

CED7CFDD-FBE6-430E-AC26-ACF17AD6AF53First, I made two straps instead of one. And I made the straps double sided. So instead of cutting one piece from the lining fabric only, I cut two pieces of each fabric, each 2.5″ x 12.5″. Then I sewed them together on three sides (both long sides and one short side), right sides together. I turned them right side out and pressed them flat. Then I top-stitched around the edges to get a nice flat pair of straps. (Also, I didn’t use any interfacing because I didn’t have any on hand. The bag would be more stable with it, but I find that it stands up just fine with the fabric alone.)

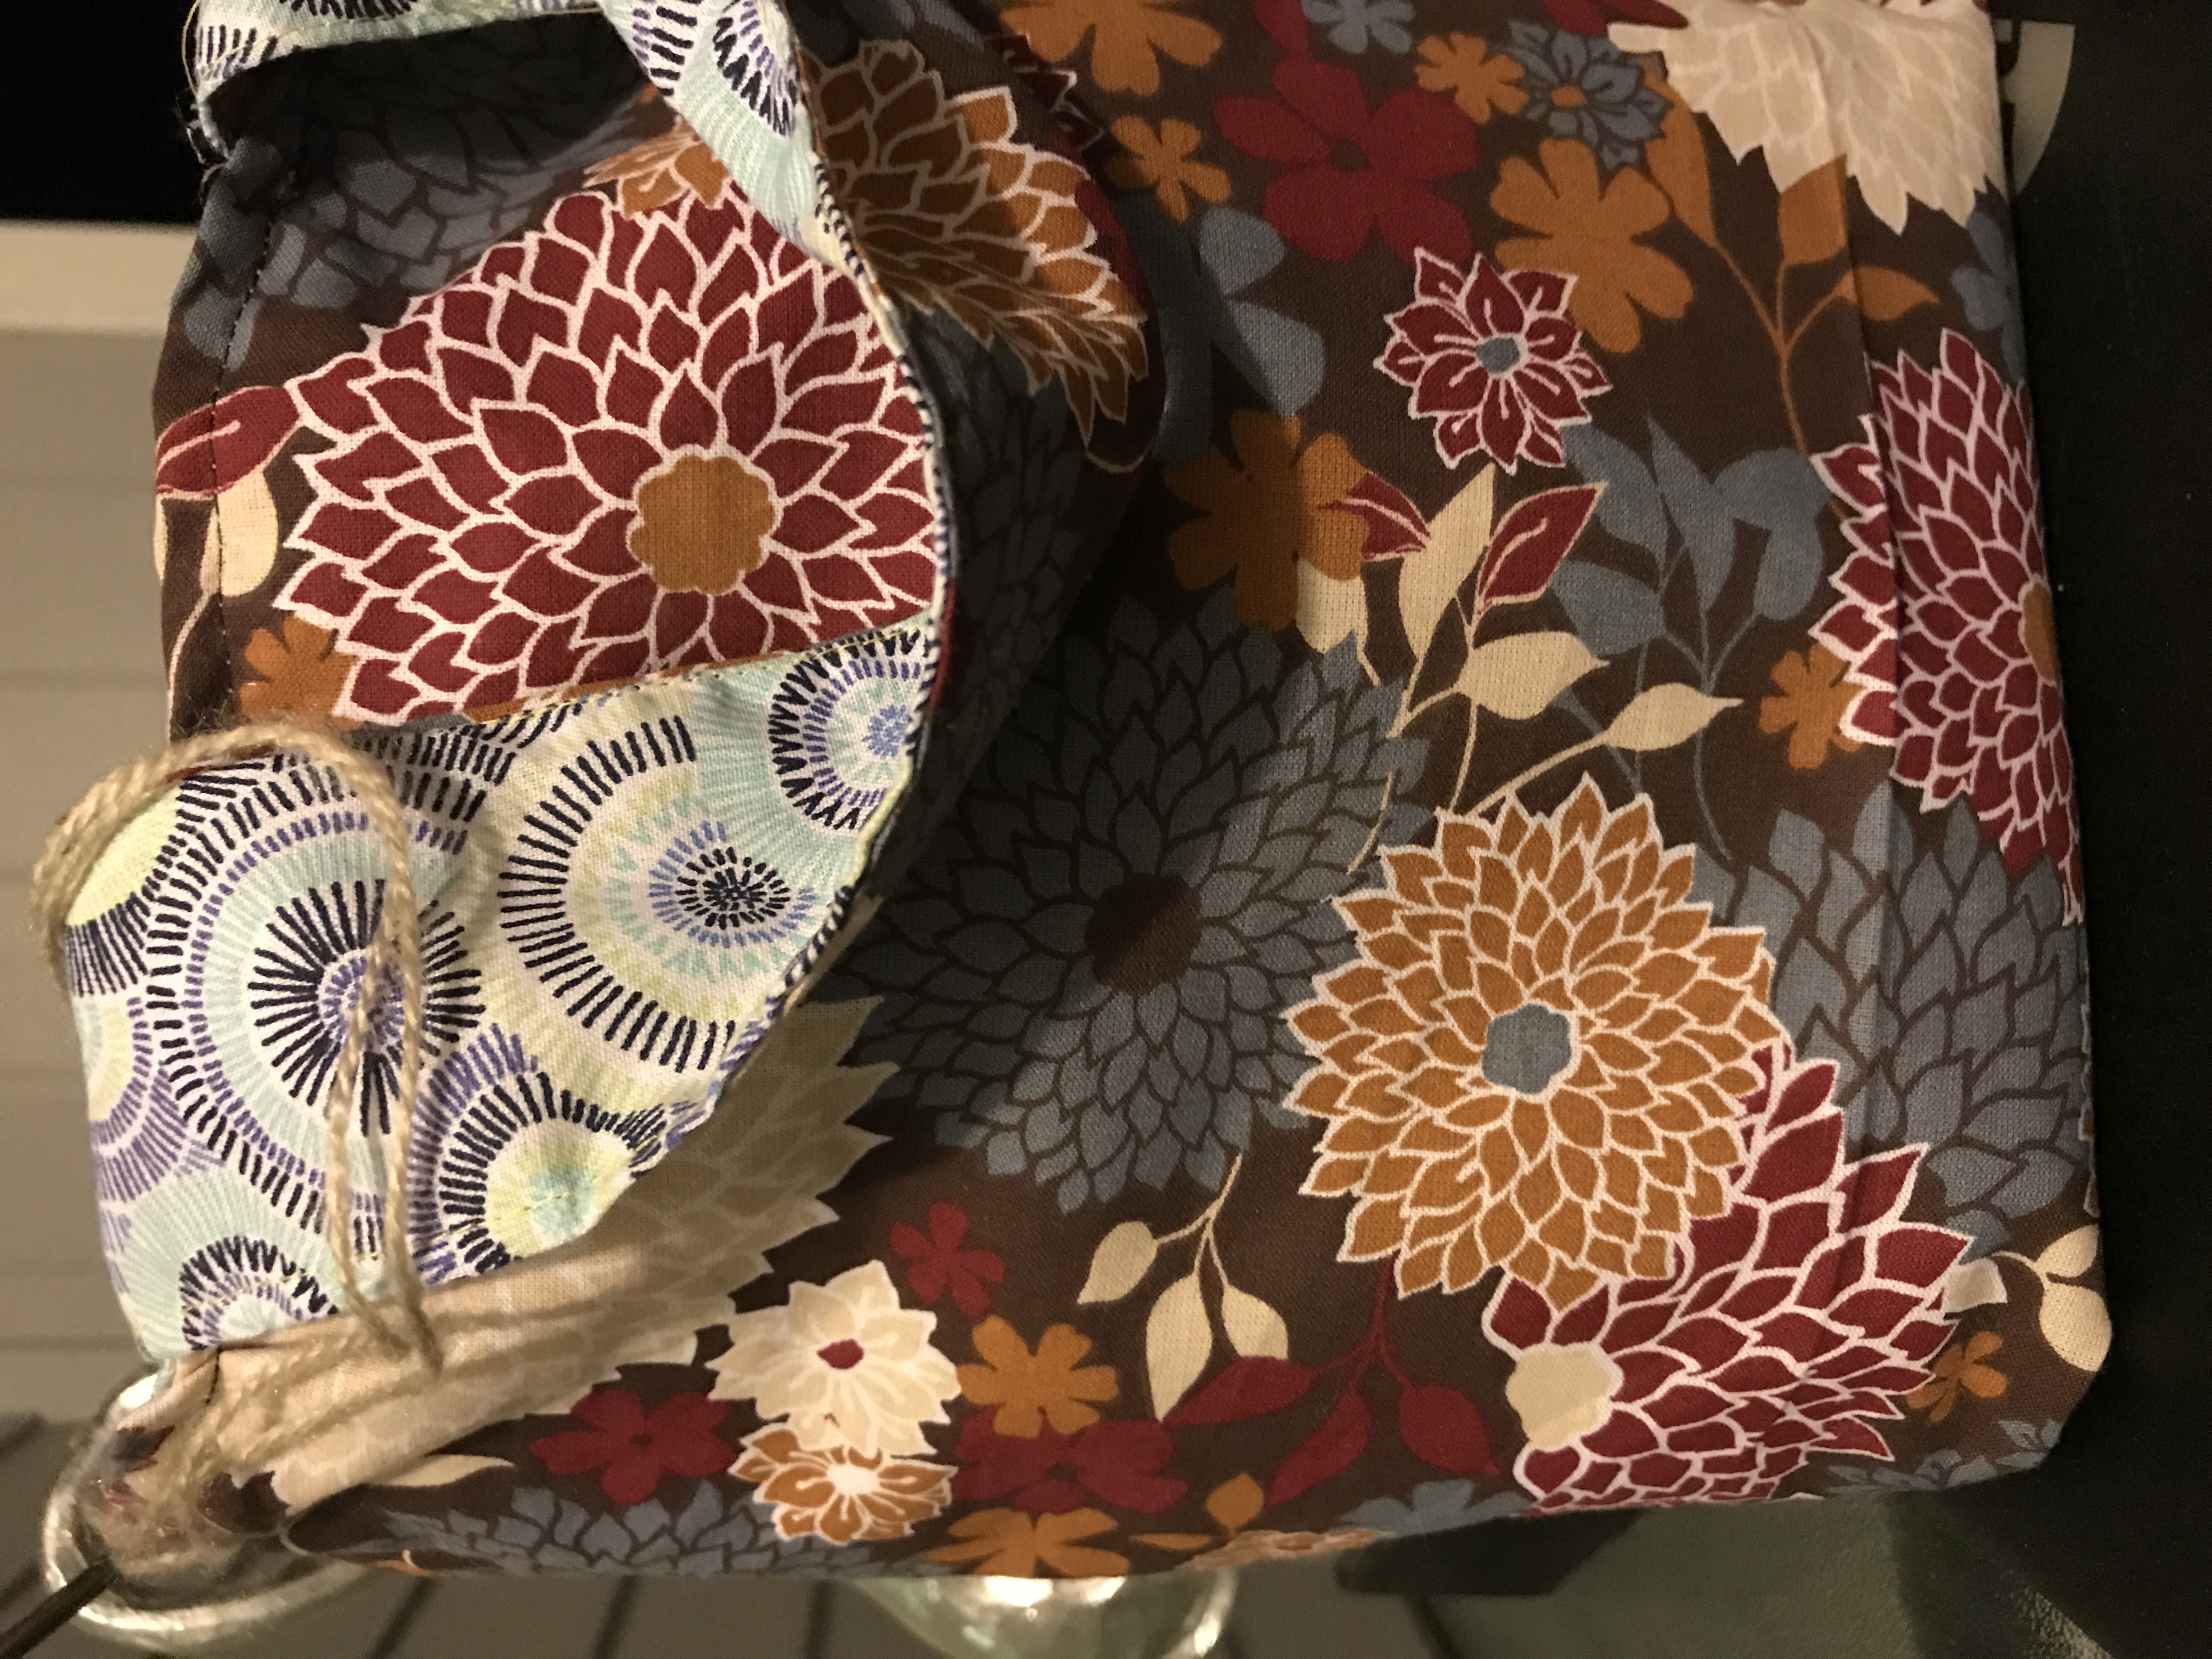
I opted to use just one fabric for the outside of my bag instead of a printed top and plain bottom. To accommodate, I cut the pieces for the outer in the same dimensions as those of the lining (12.5″ x 13″). So I had four pieces of fabric the same size. I cut out two of the corners from each piece just like the tutorial says. I’d never made boxed corners this way before, but I rather liked it. There was a lot less guesswork as to how high up to sew this way.

When the lining and the outer were both completed, I sewed the straps to the right side of the lining. I didn’t measure or anything, just eyeballed the first one. Then I lined the second one up with the first so that they would be at the same position on either side of my bag. With the lining right side out and the outer wrong side out. I tucked the lining into the outer, making sure that the straps were tucked down in between the two pieces. With everything in position, I sewed around the top, making sure to leave a 3-4 inch hole for turning the bag. At this stage, it’s really important to pay attention to the stitch lines for where you sewed the straps on and sew the top of your bag below that level in order to keep your straps looking nice when you flip your bag. I thought I’d done okay at this, but I noticed the next day after making my bag that it’s not perfect. I might go back and rip some stitches out and correct it, but I haven’t decided yet.

D87BE3BB-4EA6-42BC-BB1A-BF3EA2CF82C5Turn the bag right side out through the hole you left. Press the top, then top stitch all around.

That’s it! (Obviously this isn’t a comprehensive tutorial – make sure to visit The Spruce Crafts for that. This is just my modification of their design.)

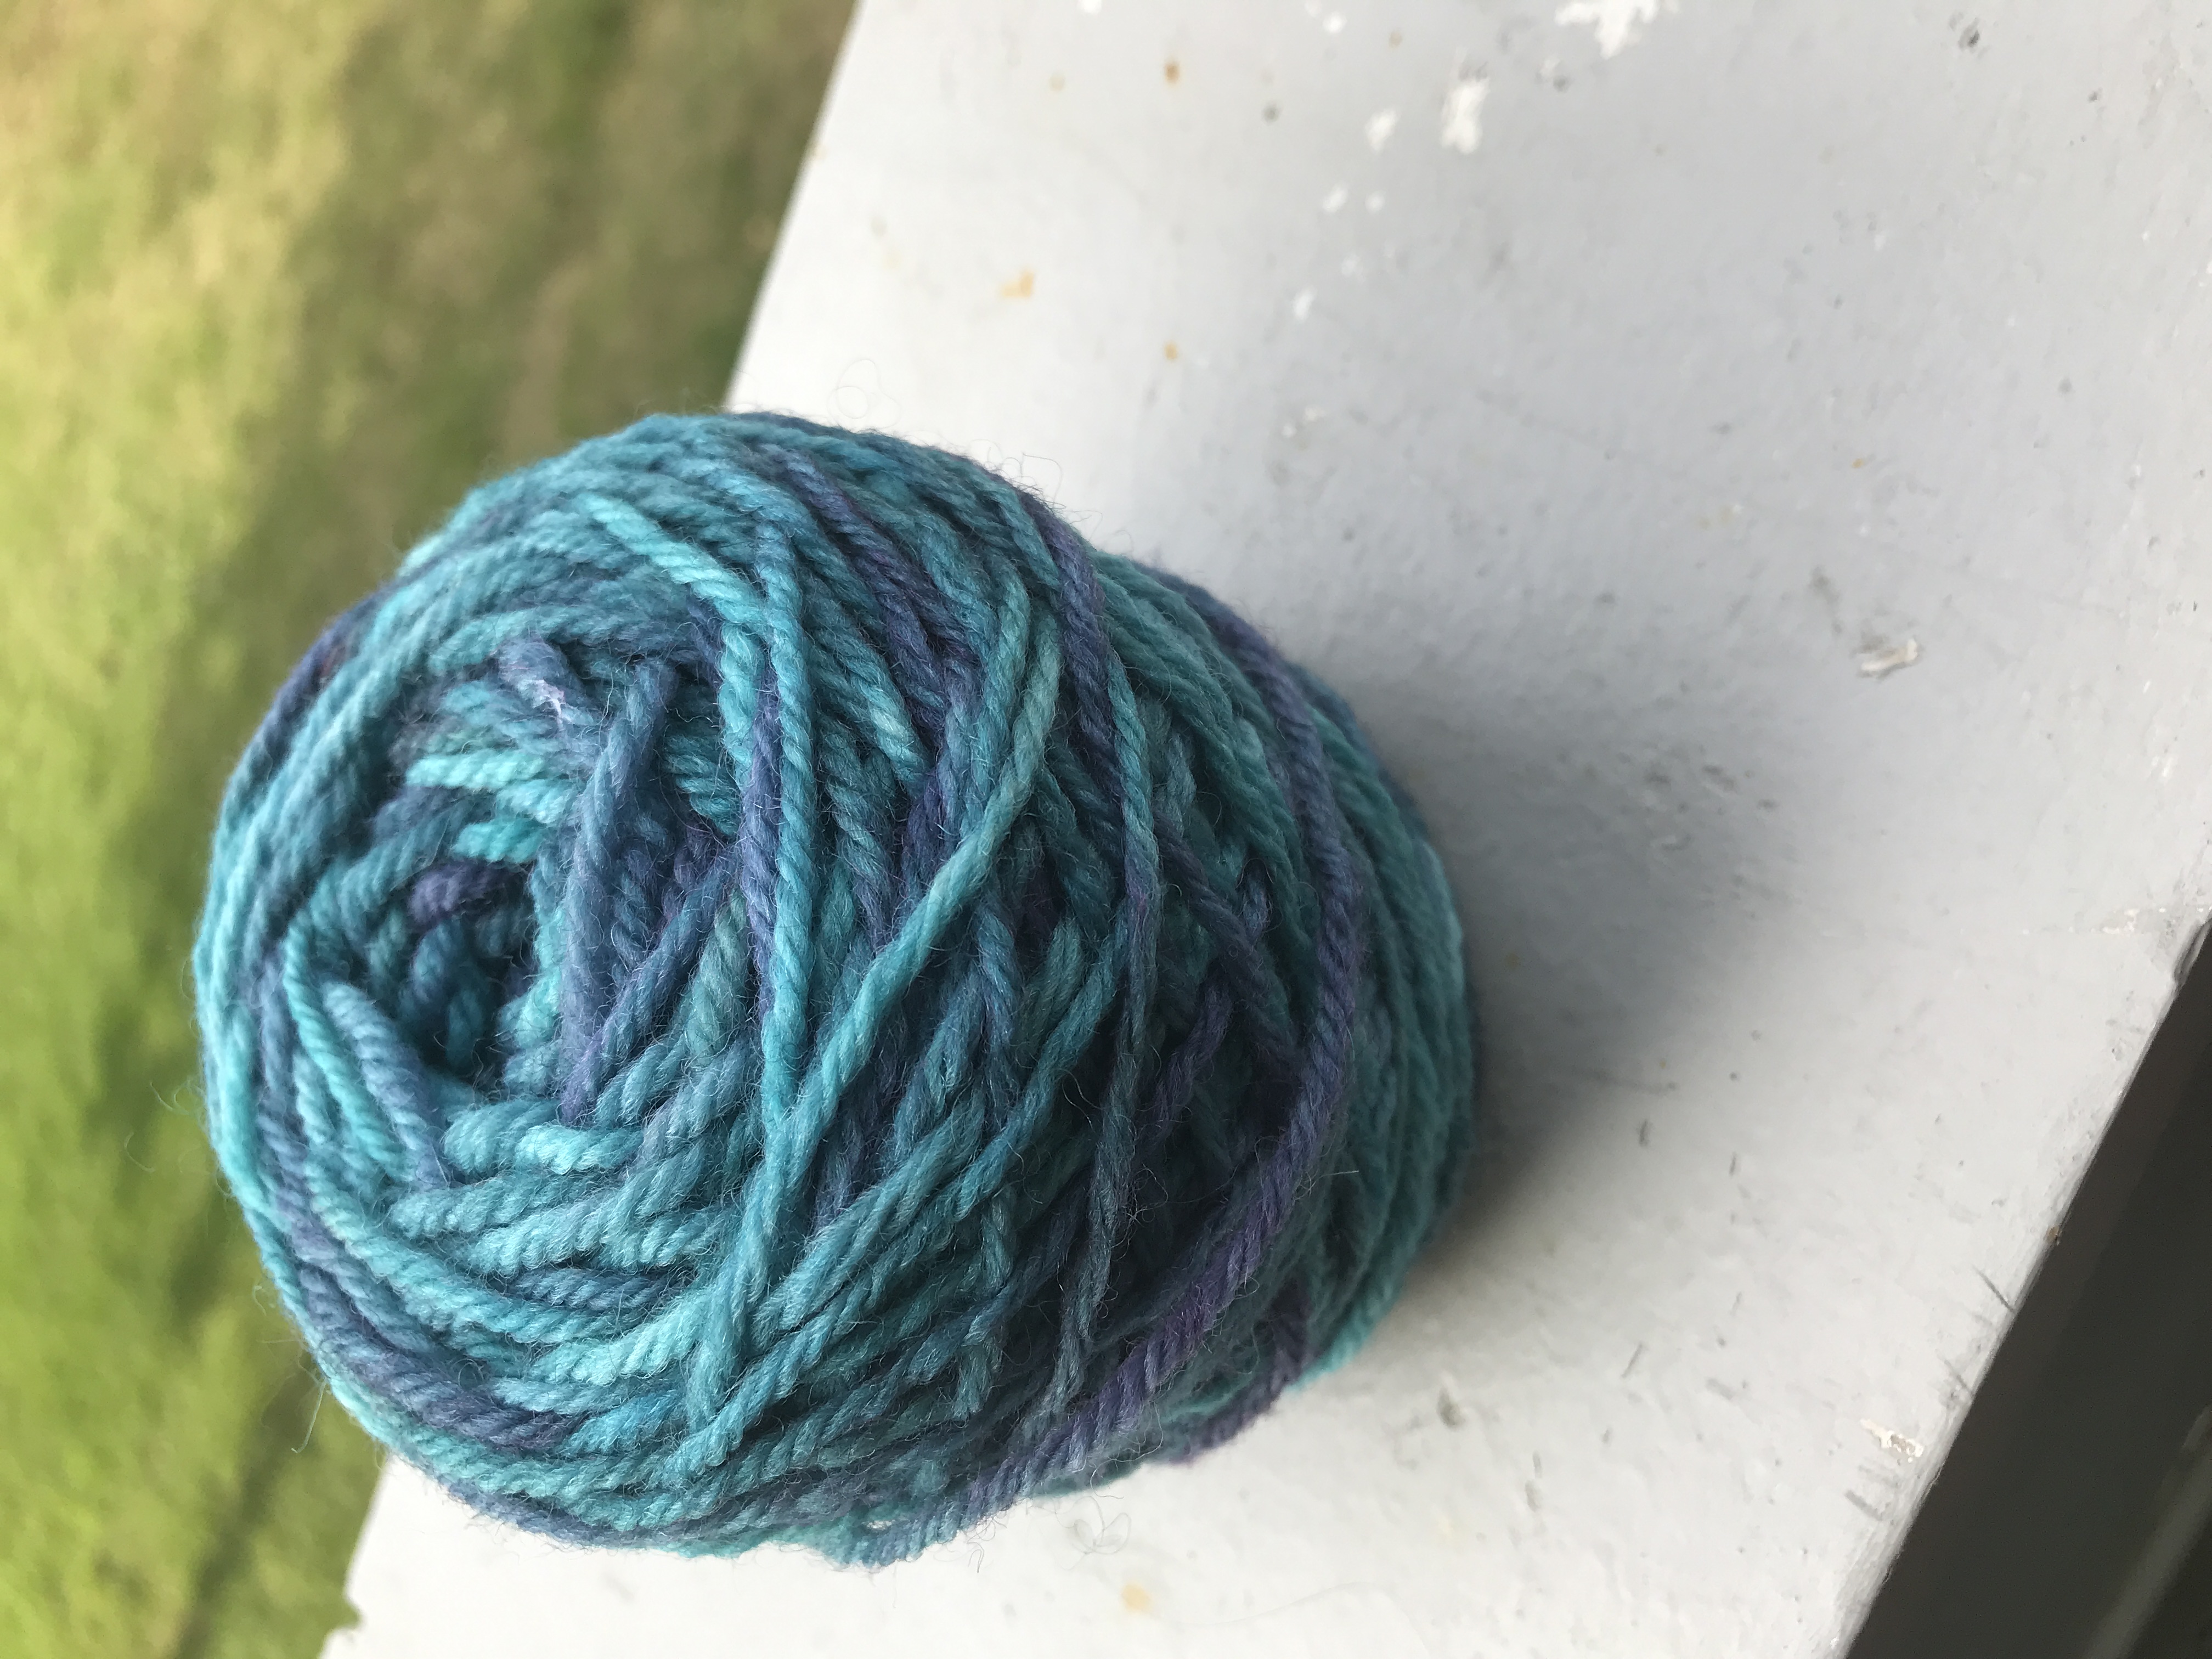
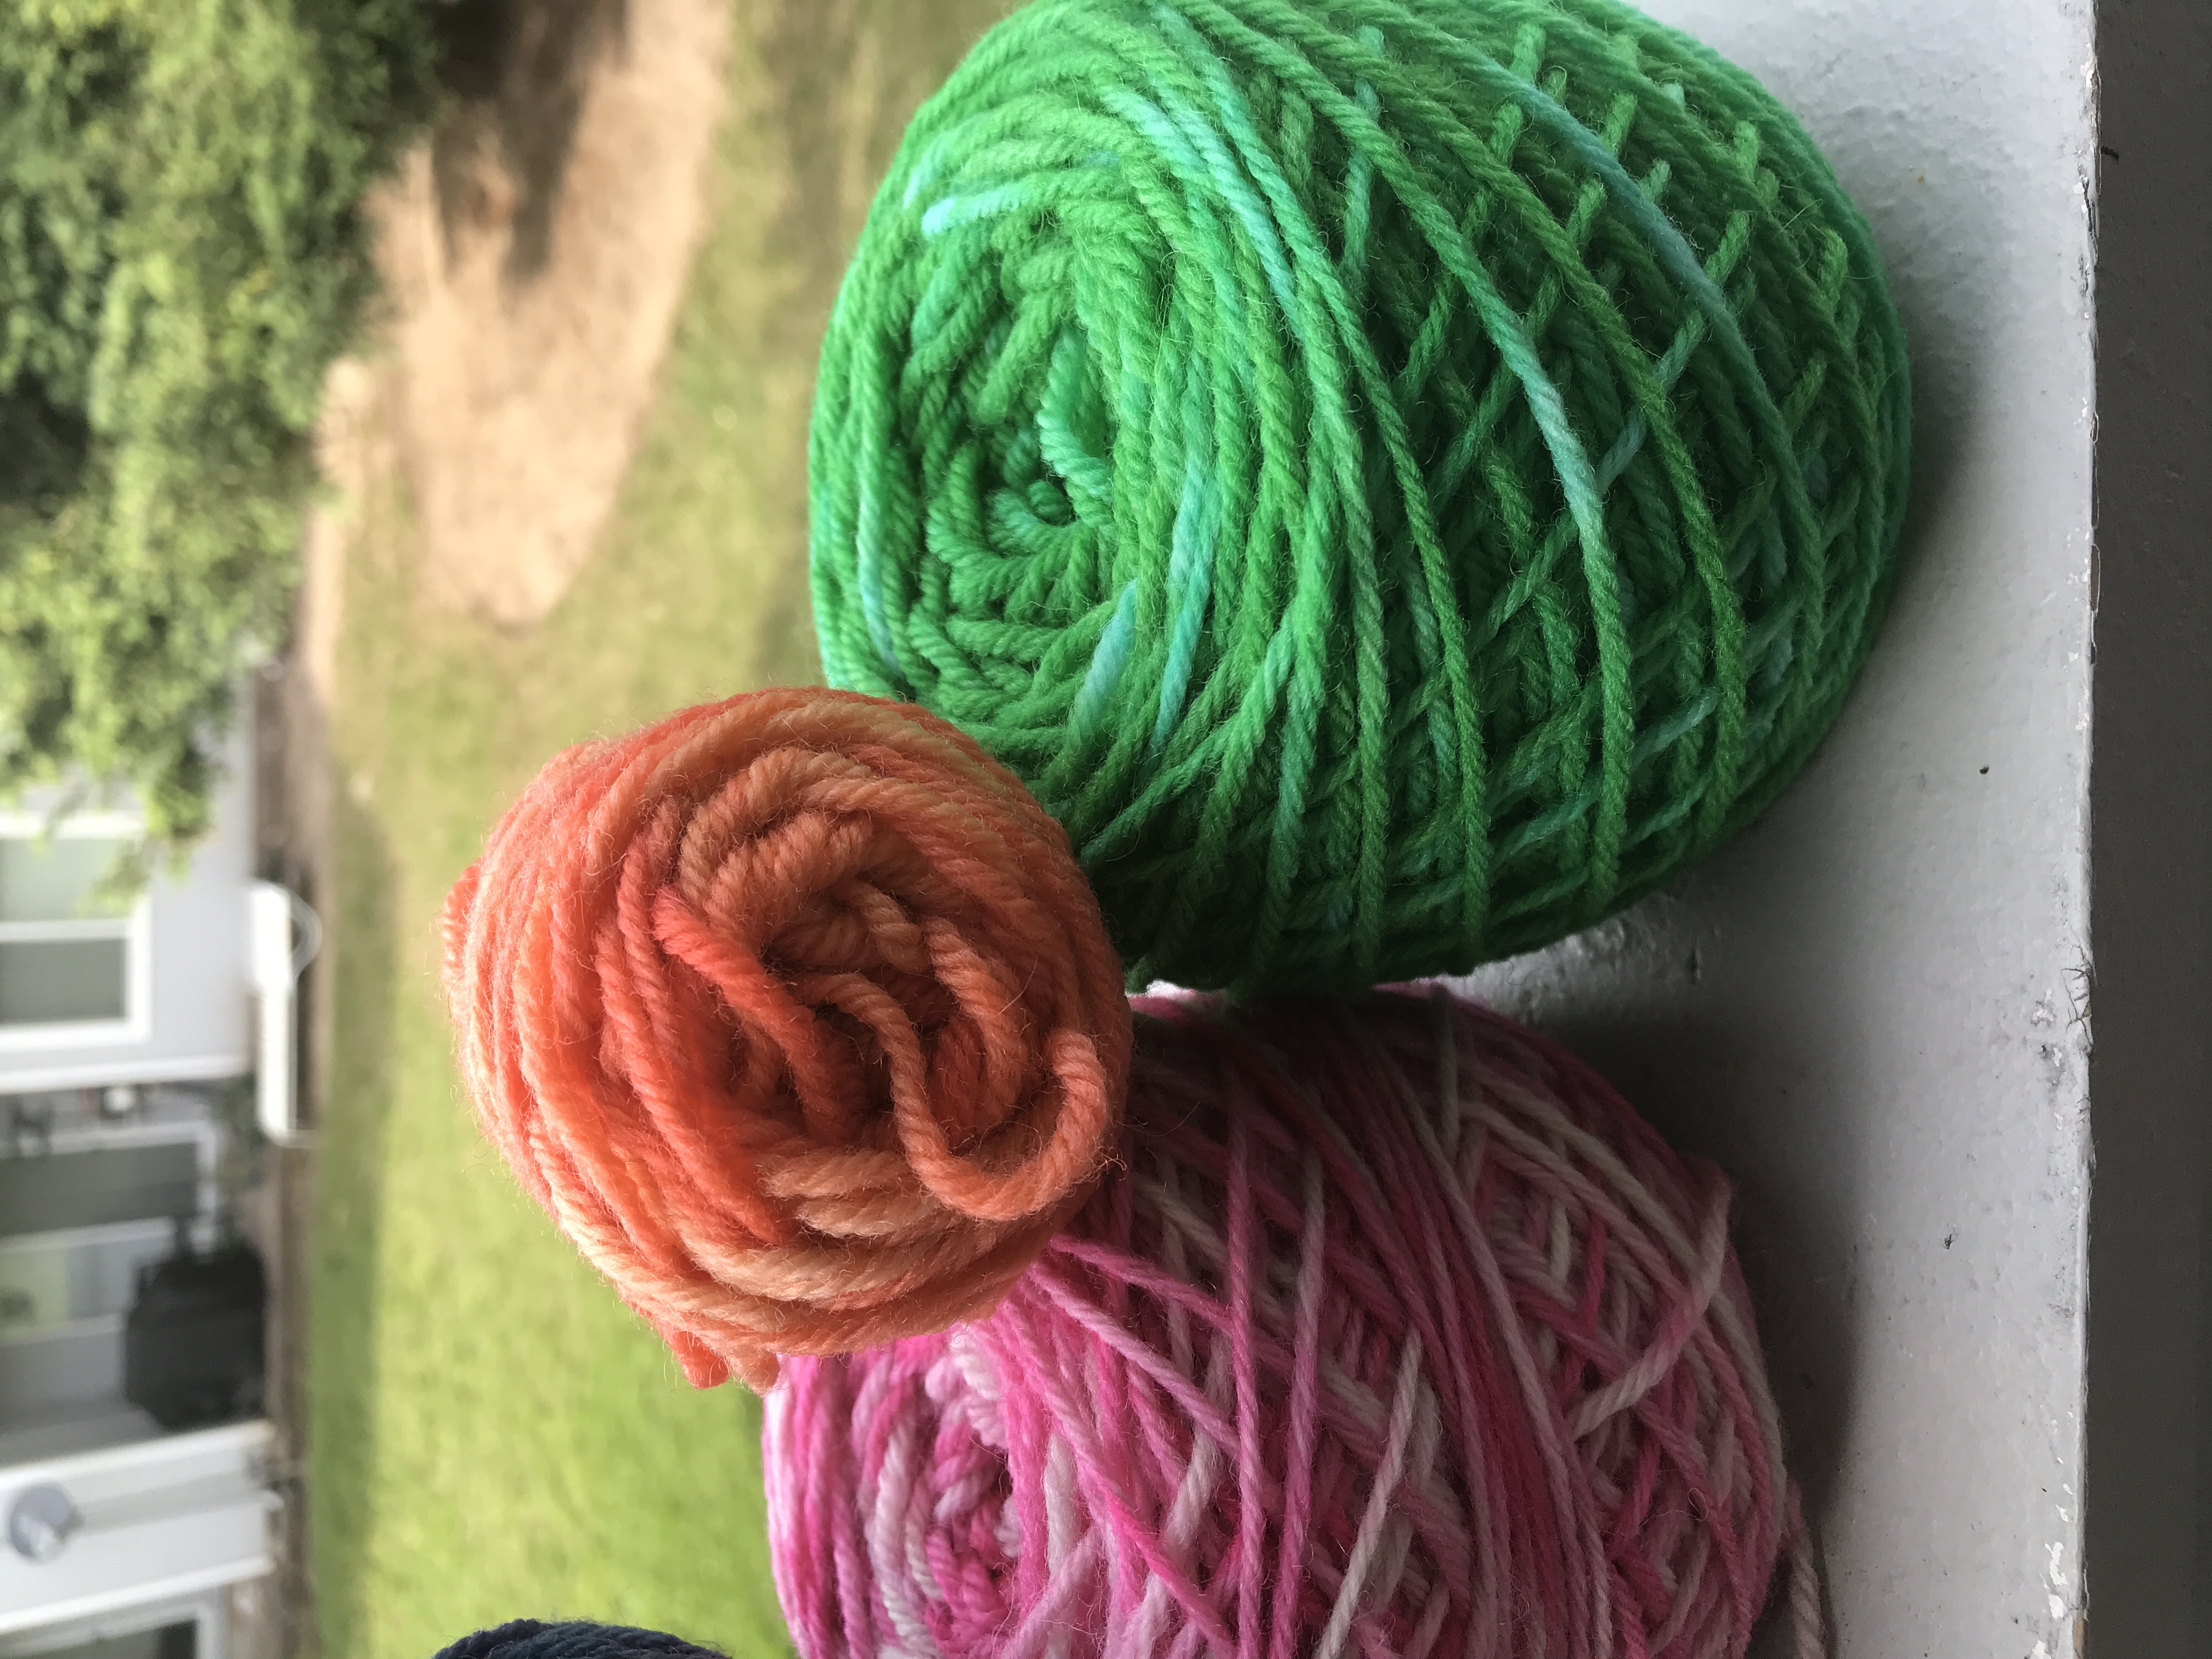
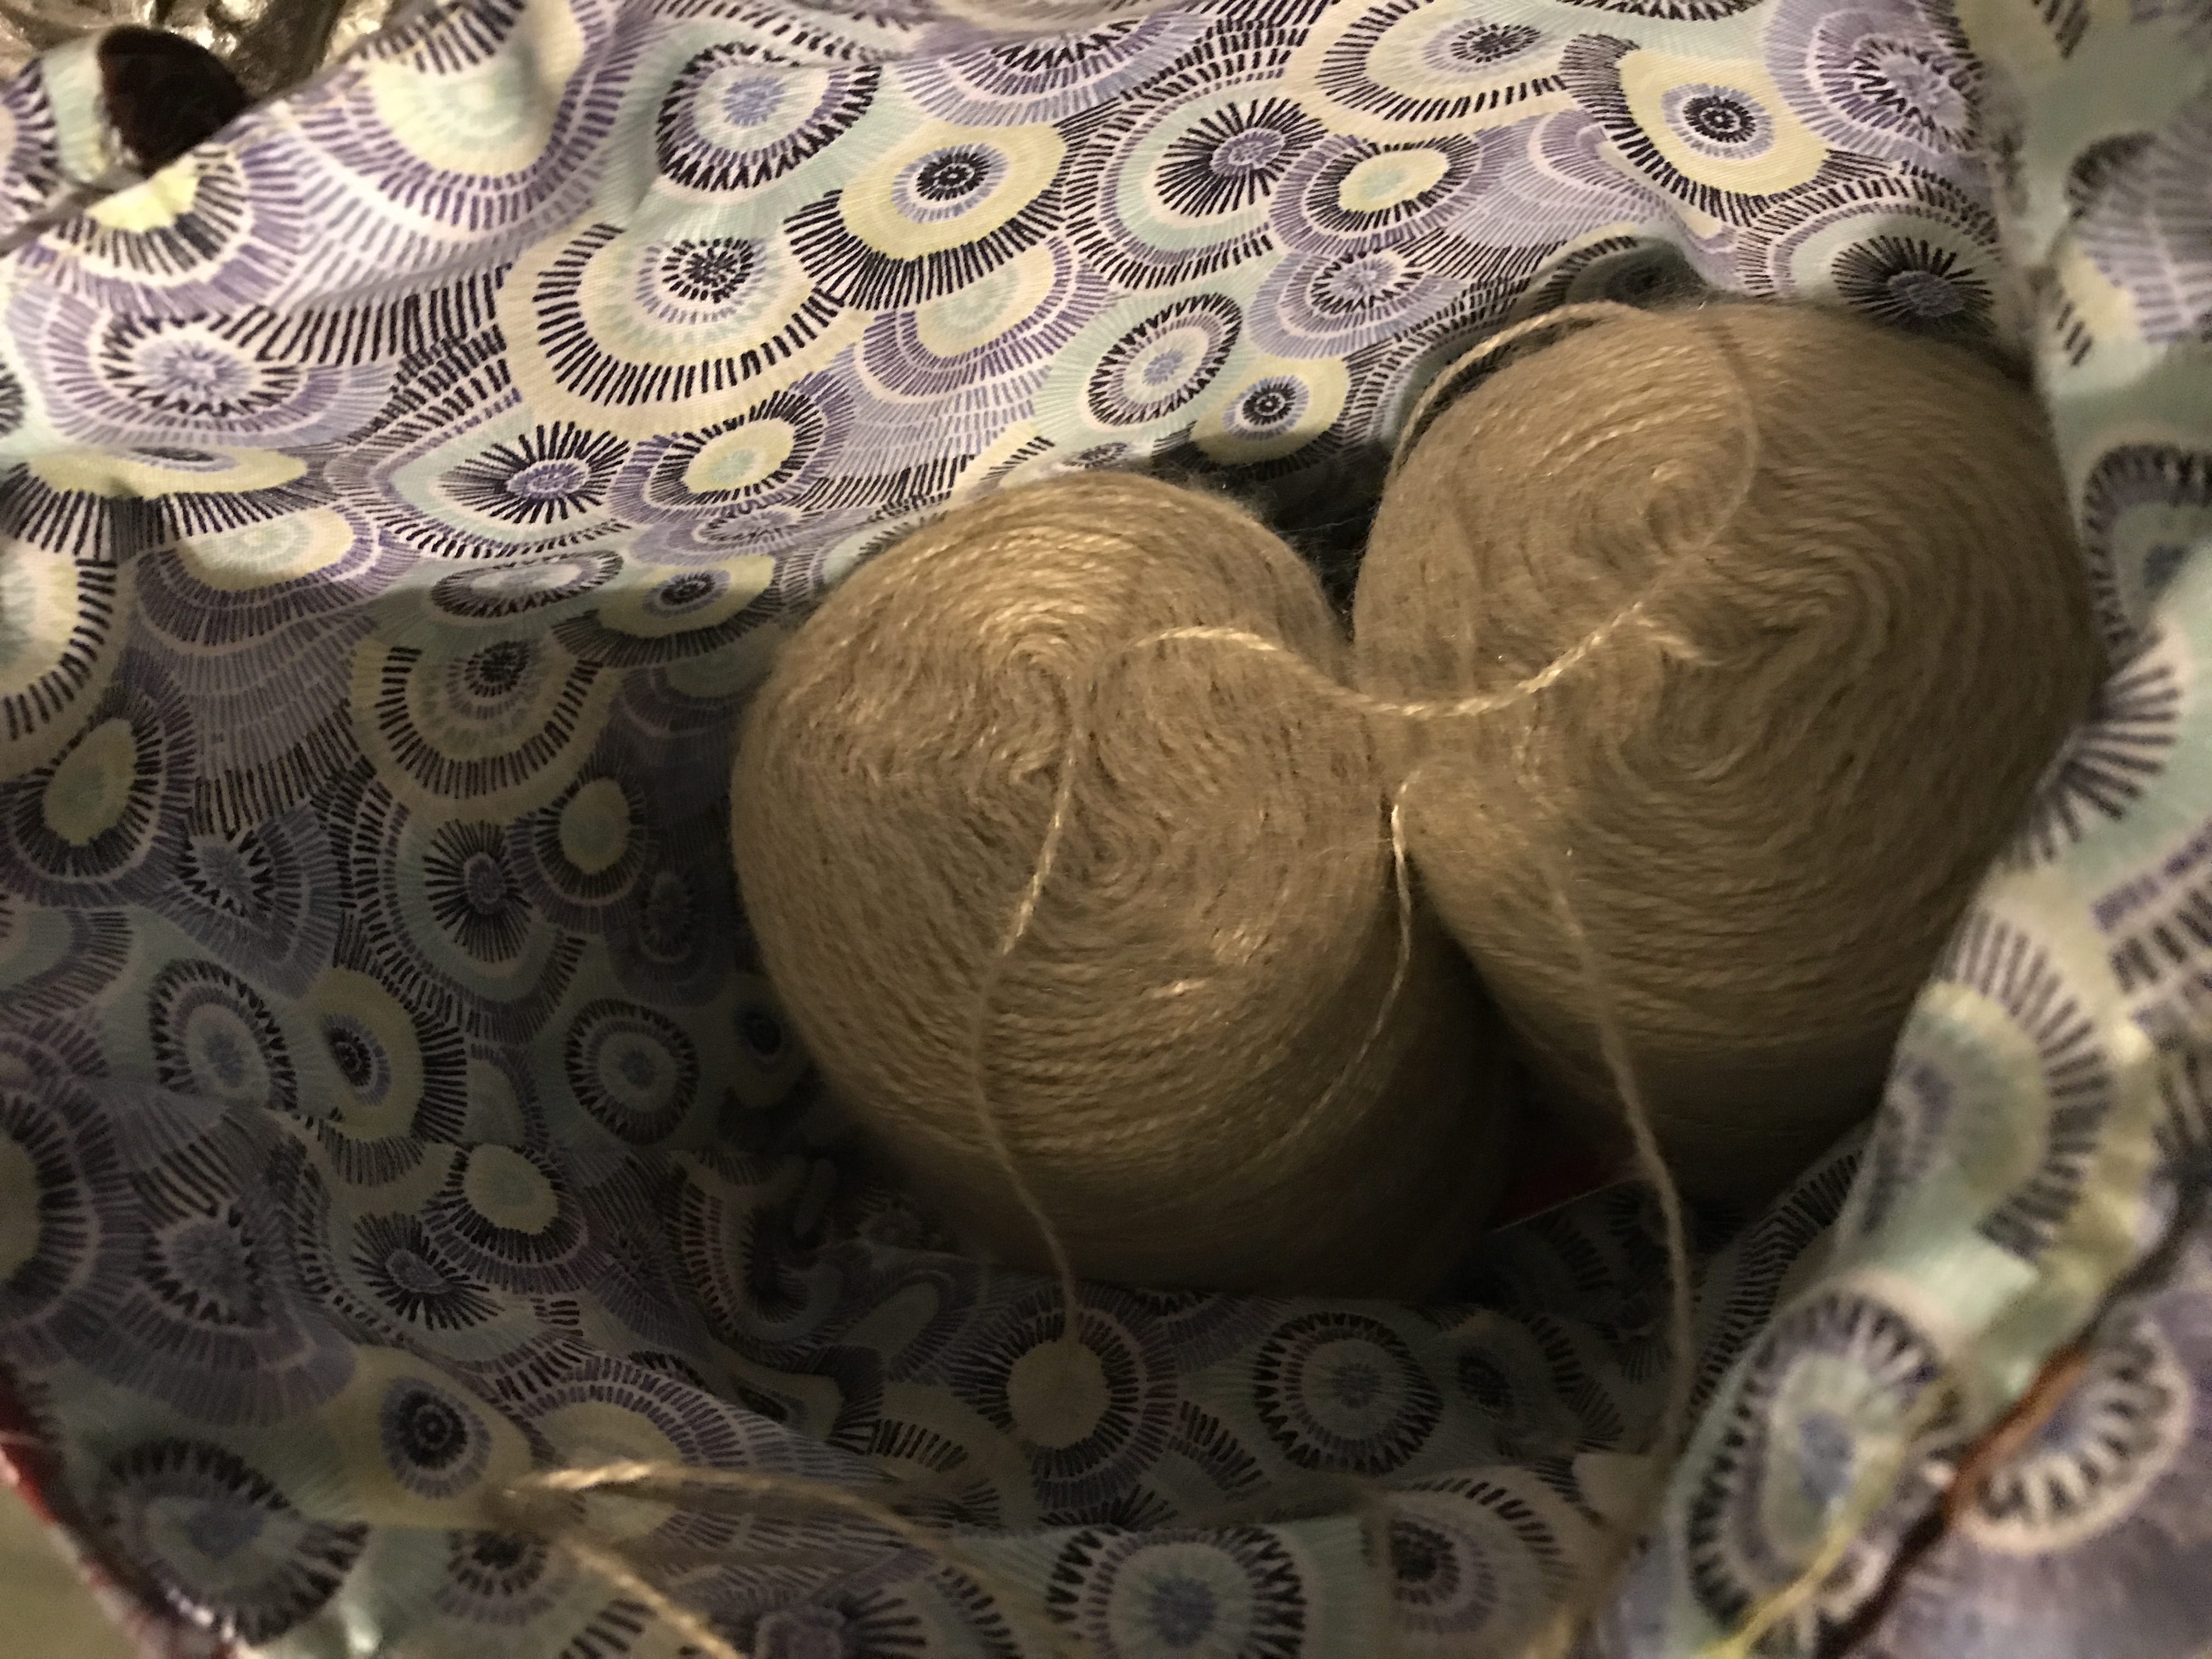
I couldn’t be happier with my new yarn project bag (except for the imperfect straps sticking out). I really like the fabrics I chose, and the size is exactly right for holding two cakes of yarn – exactly what I need for my current project!

Blessings,

ladybug-signature-3 copy

Curriculum Review: CTCMath

Disclaimer: I received a FREE copy of this product through the HOMESCHOOL REVIEW CREW in exchange for my honest review. I was not required to write a positive review, nor was I compensated in any other way.

What if you could have one math curriculum for all of your children, no matter what age or skill level they were? With a 12-month Family Membership to CTCMath, you can have exactly that! Let’s take a brief walk-through on how it works.

IMG-6072

The first thing you need to do after you sign up is log in to the parent account. From here, you will set up a separate account (with username and password) for each of your children. This is really easy; all it asks for is your child’s first and last name, a username, password, and the score for which you allow your children to move on to the next topic (ours is set for 80%, which is the default). You can even have the program assign you a random username and password if you like. After that, most of the work is done on the student accounts, but of course you can log in to your parent portal at any time to check on your students’ progress. The parent dashboard shows you at a glance which students you have set up under you, their average score for all lessons as well as how many lessons they’ve completed, and the last 30 action items for all of your students (combined, not each). Action items are things like “Ballet Boy logged in,” “Scorpion viewed the counting to 100 lesson,” “Grasshopper scored 82% on the counting to 100 lesson,” etc. You also have the option of receiving a weekly update email which gives you all of this information right to your inbox each Sunday evening.

The student accounts are a bit different. Once you’re logged in as a student, it’s time to choose the lessons. I have 4 kids using the program right now: Ballet Boy (16) is doing Algebra 1; Scorpion (13) is doing Pre-Algebra; Grasshopper (8) is doing 2nd grade; and Dragonfly (4) is doing Kindergarten.

ctc 3You can see from this screenshot that there are many, many lessons. Each lesson belongs to a category, and you move through the categories one at a time. Each category builds on the last one, so it’s recommended to do them in order. This is Dragonfly’s dashboard, and I didn’t start him on the program right away, so he hasn’t completed as many lessons as his brothers.

ctc2Once you choose a grade level and category, the screen changes and you’re shown the list of lessons for that category. Simply click on a title to be taken to that lesson.

Each lesson consists of video instruction and an interactive worksheet of questions. The videos range from about 2-6 minutes long, and include narration from company owner and math teacher Pat Murray (a dad of 10 from Australia). The lessons use a sort of digital white board to show the concepts; Mr. Murray’s face never appears. He speaks the instruction and the images change as necessary to help with the explanation.

ctc 4For example, in this screenshot from the Kindergarten lesson “Counting and Colors,” he goes over the different colors for the children. The lesson then moves on to the “counting” portion, and he explains how sometimes you need to count only parts of a group. How many blue cars are in this picture? for instance. Once the child has finished the video (and feels like they understand the material), then they can move onto the questions portion of the lesson. As I mentioned before, this is mostly just a digital, interactive worksheet. There are questions related to the material just taught, and the child answers them. They’re told right away whether they got the answer right or wrong, and at the end of the lesson are given a score out of 100 (straight percentage system). If they get above the designated “pass” score, they’re given the option to move on to the next lesson. If they don’t, then they need to try again (and possibly go over the video once more too). When all of the lessons for a specific category are complete, students are awarded a certificate with a “medal.” There are four levels of medal: Platinum (if they get 100% on every lesson), Gold, Silver, and Bronze. I don’t remember the exact breakdown for when each medal is awarded, but it’s either at 5% or 10% marks.

ctc 5So what did we think of the program? Everyone but Scorpion has loved it. Ballet Boy has done a lot of hodge-podge curriculum when it comes to Algebra I, but I think (hope) we’ve found one that will finally get him to the end of the subject so he can move on to other math. Grasshopper and Dragonfly like it so well that they’re both doing multiple lessons per day, always hoping to earn a “gold medal.” I have full confidence that they will each get 2 school years done in the 12-months of our subscription. But Scorpion… Math has never been his strong suit; he’s more a literature guy through and through. And his scores in this program prove that. But that doesn’t mean it’s a bad program or that he’s not learning – I absolutely know that he is because his scores are slowly improving. I’m sure that with continued diligence working through the program, he will absolutely learn the material needed to get him through his 8th grade year and be ready to start high school next fall (2021).

I feel like I have barely scratched the surface of what CTCMath has to offer (which by the way, is a full, traditional [non-common-core] math curriculum from Kindergarten through Calculus), so please visit the Homeschool Review Crew blog to read more reviews and get more information.

Blessings,

ladybug-signature-3 copy

Two Sweaters for Bumblebee

Because Bumblebee is so small, making sweaters for him is super fun – and super quick! I started this whole “sweater making in the summertime” kick with a sweater for him that matches the feel of one I made for myself a couple of years ago. He doesn’t particularly like this one (yet), so I don’t have pictures of him wearing it, but he has worn it a couple of times (namely once when we were at the beach and it was chilly so we made him!).

C3A0DF66-1C8B-4B0E-93BF-6C1A3C9278AE

64006710-C79F-4D1D-804C-1E354B399720I used the pattern “Caribou,” but when I was making mine, I realized that I didn’t like the way the cable pattern was forming. It left too many large holes. Instead, I found a different cable pattern that was a similar width that I really liked, so I used that as the basis for the one I made myself. Armed with this information, I skipped the pattern’s cable right from the start when I started making this sweater for Bumblebee. The cable I used on mine was 30 stitches wide, which was too many for a baby sweater, so I found something else for his, which was this six-stranded plait. Then I was able to get a set of buttons that were exactly the same as the ones I have on my sweater (wood elephants).

912790D8-BF38-4CDB-9C13-91D109AE48BF

E7ECD609-7577-4DE6-9584-E888CB7C3B94

Love the costume glasses almost as much as the beautiful sweater!

When I’d finished making the other two kids their Strange Brew (colored yoke) sweaters, I went back and made one for Bumblebee too. I started, like the others, with 100% wool yarn (I was out of my Knit Picks order by then, so this one is Lion Brand Fishermen’s Wool that I picked up at JoAnn using a 50% off coupon). I dyed the yarn blue using the same recipe as the blue for Grasshopper’s sweater, minus the McCormick’s drops. By the time I got the first skein of yarn in, all of the black had absorbed so there was none left for the second skein. This means that even though both were dyed in the same pot, one is stripe-y and the other just a straight pale blue. Odd, huh? Because of this discrepancy, I opted to use the stripey yarn for the sleeves, and the plain for the body of the sweater. The variation of the mottled yarn combined with the stitch count of the baby sleeves made almost perfect stripes, so it worked out really well. In order to get a good contrast for the yoke, I made the background in undyed yarn and then added the design using the stripey yarn. Then I finished off the top with the plain blue again.

Both of these are just so beautiful, and I’m super excited for the fall when he can start wearing them regularly!

Blessings,

ladybug-signature-3 copy

A Sweater for Grasshopper

Here is the sweater I made for Grasshopper:

CD59DAD6-847A-4597-8761-2A96446F903A

FA2ADCAE-7A27-438C-8ABD-04506066C37EIt’s the same pattern as what I used for Dragonfly’s sweater (there’s one for Bumblebee that will be posted in a few days, too, and one for myself that I’m in the early stages of knitting). The pattern is really more of a “recipe,” meaning that it tells you the basics and gives lots of freedom in the decorative portion at the top rather than a specific set of pictures to knit. I’ve really been enjoying making these “Strange Brew” sweaters.

Grasshopper’s sweater was made with Knit Picks Wool of the Andes yarn that I dyed myself, just like Dragonfly’s. He was adamant that he wanted a pullover, and he wanted it to be dark blue. I also incorporated some orange that I had left over from making a sweater for Bumblebee (not the same one I mentioned earlier, but one that I will talk about soon). Because dark blue and orange are Grasshopper’s favorite colors, it was too perfect to not use both of those in one sweater for him. To dye the blue, I used 35 drops of McCormick’s blue food coloring (the liquids from the baking aisle) per skein. When that had dried, we looked at the yarn and decided it wasn’t dark enough, so I over-dyed it using Wilton’s Sky Blue icing color mixed with a bit of Black icing color. The black, because it’s made up of different dyes, splits beautifully, and that’s what gave this yarn that gorgeous marbled effect.

31BE549E-5FB9-411A-8E9A-653F0DBB96C1I knit this sweater from the bottom up, and I was anxious to see how the colors would play together, so I incorporated a design into the bottom of each sleeve and then used that same design on the bottom of the sweater, just above the hem. I was a bit concerned about having enough blue yarn, so I also added orange stripes to each sleeve.

When it was time to knit the yoke, I chose to incorporate the same pattern from the bottom as one of the motifs. Upon looking at it more closely I thought it looked like a maze, so I tried to find other motifs that fit that same feel. This was actually the first Strange Brew sweater I knit, and I was so in love with how it turned out that I immediately started Dragonfly’s green sweater – and when that one was done, I started one for Bumblebee! And these three sweaters are some of my favorite that I’ve ever knitted.

Blessings,

ladybug-signature-3 copy

A sweater for Dragonfly

I mentioned last week that I would share pictures of the kids’ new sweaters. Here is the one I made for Dragonfly (who is 4 1/2).

40F68528-FEF2-49E4-AD3F-96BD56BB7298

A few details about the sweater:

2D22F32B-9267-414C-81BE-CEC02081983CThe yarn I used is Knit Picks Bare Wool of the Andes, which I dyed using Wilton Kelly Green food coloring. I knit it bottom up (meaning I started with the sleeves, then at the hem of the sweater, joined the sleeves to the body and finished up at the top) in size 4-6. I prefer knitting bottom up because the sleeves get done while you’re still excited about the project – no risk of developing “2nd sleeve syndrome” (a term used by knitters which means that you’d rather start a new project than finish the second sleeve of an existing one).

He wanted a sweater “with buttons” (a cardigan), so this was my first ever steeked sweater. If you’re not a knitter, you may not know what a steek is… It is when you take a sweater that you’ve knit “in the round,” and then cut the front open to turn a pullover into a cardigan. It was a bit nerve wracking to do the cutting, but it all worked out, just like the tutorial promised it would! There were a few extra loose ends (I’m guessing my floats in the steek were too long), but I was able to knot them together with others nearby to secure everything. I plan to be a little rough with it the first time I wash it to encourage those ends to stick together.

I took Dragonfly to the craft store so he could choose his own buttons, and he selected fruit-shaped ones.

I’m not 100% happy with the choices I made in the multi-colored section at the top, but it’s not terrible. And my son loves it, which is the most important thing. 

Blessings,

ladybug-signature-3 copy

High School Literature (Progeny Press review)

Disclaimer: I received a FREE copy of this product through the HOMESCHOOL REVIEW CREW in exchange for my honest review. I was not required to write a positive review, nor was I compensated in any other way.

Every year that I’ve been a part of the Homeschool Review Crew, we’ve been able to review a Progeny Press study guide. Because I’ve done reviews for this company before, I knew what I was getting into and that made it easier to choose titles for a review this year. There were several options available, for kids from early elementary all the way up through high school. I’m not super concerned about my younger set getting good literature in at this time; they listen to loads of audiobooks all the time. When they’re a little older, we’ll dive into studying the books more, but for now, they’re being exposed to lots of different stories, and that’s good enough for me. One thing that was different this year is that reviewers were allowed to choose TWO study guides instead of just one. So for this review, I chose the Animal Farm Study Guide for Ballet Boy and the Little Women Study Guide for Scorpion.

73842750-5B71-426C-B71F-E7AEA889124D

Progeny Press, which is owned by Michael and Rachel Gilleland, creates study guides for popular novels, both classic and modern, from a Christian perspective. Their goal is to help parents teach their children to read with a critical eye… to dig deeper into their reading assignments and find things they might not otherwise notice, especially seeing Biblical aspects in mainstream books.

They sell their study guides as printed workbooks, CDs that are mailed to you, or digital downloads, which are available instantly for up to one year after purchase. The digital versions are editable PDFs, which means you can have your student type their answers right into the file (but they’re also printable if you prefer that).

Animal Farm Study Guide (Ballet Boy, age 16)

PP animal farm cover

In case you’re unfamiliar, Animal Farm is listed as one of Time Magazine’s Top 100 Novels of All Time. Written by George Orwell and first published in August 1945, the allegory tells the story of a group of farm animals who rebel against their human farmer. Their goal is to create a society where all animals can be equal, free, and happy. The idea is contrived by Old Major, a boar, but he dies just three days after bringing the idea to the rest of the animals. This allows the other pigs to take the lead from him, and before long, the pigs have decided that Animal Farm (formerly Manor Farm) is no longer a democracy. Napoleon, the main pig, immediately begins acting like a human, including working out trade deals with other farmers. This was expressly forbidden at the founding of Animal Farm, but he always has some excuse for why he’s justified in doing so. As time goes on, all the pigs become more and more human-like, wearing clothes and walking upright, and generally oppressing the other animals. The original seven principles that Animal Farm was founded on get boiled down to just one: Every animal is equal, but some are more equal than others. Napoleon eventually changes the name of the farm back to Manor Farm, and the “common” animals, as they look in at the party of elites through the farmhouse window, can no longer tell the difference between the pigs and the humans.

413B9715-37EF-4D00-A338-19C0F33BD2E3Ballet Boy has never been a huge reader, so for this review, I had him listen to the audiobook, which we got from Overdrive (the online library app that works in conjunction with your regular library card). He was able to listen to the book while working on other things, which works really well for his learning type – he’s always been an audio learner. When he’d made reasonable progress in the book, I asked him if he’d rather work on the study guide digitally or if he wanted me to print him a copy. He asked for a printed copy, so I printed the pages for a few chapters at a time, front and back. He worked entirely independently, with just a few questions here and there for me.

When I asked him about his experience with this study guide, he expressed to me that he enjoyed the book and didn’t mind the study guide. I think it was a bit better than that simple assessment, though. One of the times we had a bit of a conversation, he told me that he’d done some independent research (without being “asked to” by the study guide) about the history of Russia and the major players at the time the novella was written. Having him take that kind of initiative is really good, and a very big step in creating lifelong learners, not just students. And that, after all, is the point of school – and a major goal of most homeschoolers.

Little Women Study Guide (Scorpion, age 13)

PP little women cover

Scorpion was always a big reader when he was a little kid, but he’s found other interests lately. So for this review, I had him do a combination of audio book and Kindle book reading. Because Little Women is such a long novel, I had him do a few chapters of reading, then a section of the study guide. Progeny Press officially recommends that students read the entire book and then do the study guide, but with something as long as Little Women, that had the potential to be counterproductive. It wouldn’t be very helpful to be trying to work through parts of the study guide from the beginning of the book if you’d read a mammoth novel and couldn’t remember the details from the beginning by the time it was time to study.

PP little women worksheetI gave Scorpion the same option for working through the study guide – on the computer or a printout – and he chose to work on the computer. Like his older brother, he also worked on his own with only a few questions for me here and there. The study guide includes lots of vocabulary lessons, comprehension questions, and deeper thinking exercises – everything I expect and love about Progeny Press. Scorpion has traditionally really enjoyed these study guides, too, but he didn’t love this one as much as those that he’s used in the past. I think that because he’s a boy, he wasn’t that into the story of Little Women. I will probably have him do the Animal Farm study guide later this summer, and I expect to have a better attitude with that one.

Make sure to visit the Homeschool Review Crew blog for more Progeny Press reviews. This year, options were A New Coat for Anna (grades K-3); In the Year of the Boar and Jackie Robinson (grades 4-6); My Side of the Mountain (grades 5-8); and of course, Animal Farm (grades 9-12) and Little Women (grades 8-12).

Blessings,

ladybug-signature-3 copy

Maximizing Reading Potential (MaxScholar review)

Disclaimer: I received a FREE copy of this product through the HOMESCHOOL REVIEW CREW. I was not required to write a positive review, nor was I compensated in any other way.

For the past few weeks, Grasshopper has been using MaxScholar Orton-Gillingham Software from MaxScholar. I’ve written before about his reluctance to learn to read, and while he’s doing a lot better than he was before, I feel like he could still use loads of instruction and practice, so we signed up for this review.

When you first sign up for MaxScholar, there is a placement test you can have students take. If you’re confident in where your student needs to start learning, you can override that, though, and adjust their account (parent/teacher account and student accounts are separate, each with their own login information). Then when the student logs in, they can start the program straightaway. I had Grasshopper work through the placement test, even though it took a few sessions – it was really long!

Once the placement test is complete, it’s time to learn! Based on Grasshopper’s test results, he was given three options to pick from each time he logs in: Max Phonics, Max Reading, and Max Words.

maxscholar 1We have spent the most time in Max Phonics, just to cement the things he’s already learned. Each letter group in Max Phonics is taught and reinforced several ways, so that it’s a good fit no matter what kind of learner your child is (auditory, visual, or kinesthetic). There are different activities depending on what portion of the lesson your child is in. In auditory, they listen to the sounds and then have to choose the right “speaker” for the sounds they’re learning. In visual, they look at a grid full of different letters and choose the right ones for the lesson. Also in visual, there’s a game in which the student is shown a variety of pictures and they have to choose the ones that start with the letter/sound/blend they’re working on in that lesson. In the kinesthetic portion, children trace the letters using either the mouse (if on a computer) or their finger (if on a touch screen device). Once your student knows what they’re doing, these lessons can be done independently. After each sound or blend, there’s a little quiz that the student does to demonstrate mastery before being allowed to move on.

After they’ve gone through many different lessons (I had Grasshopper do 2-4 per day, 3-5 days a week), they hit a new type of lesson, and in this lesson they’re given a story to read. The program reads it aloud to the student, and then the student is instructed to read it themselves. I sat with Grasshopper during these lessons so he could read aloud to me.

maxscholar 2These “special” lessons also include some sight words, blending, and fluency sections. Because they were a bit more intense, when these lessons popped up, it was the only one we did in a day.

We didn’t spend a whole lot of time in the Max Reading section; after trying that first, it was quickly apparent that even the first story was a little beyond what Grasshopper was ready for. It was for that reason that I bumped him back to Max Phonics. You can see the different things covered (as well as a snippet of the story) in this screenshot:

maxscholar 3

Max Words is another section we used a little, but not much. In the lesson we did, Grasshopper learned about different types of syllables. This was done near the beginning of our time with MaxScholar, so I don’t remember enough to speak intelligently about it, unfortunately.


maxscholar 5In addition to the student account, I also received a teacher account so that I could monitor progress. I didn’t use it a whole lot, because I was always nearby when my son worked on his lessons. I looked a bit at the progress report, but it didn’t mean much to me as far as deciphering the information there. I found it easier to just keep an ear out during the actual lessons to monitor his progression myself, and to be on hand in case he needed help. I can see how the teacher dashboard would be really useful in a public or private school setting where the teacher is not the same as the parent, though.

I also received an account for Dragonfly (4 1/2), but after seeing Grasshopper go through it in the beginning, I opted not to use it with him. I decided it would be better to just continue with our other reading program instead, since he’s so young. What I was seeing with Grasshopper wouldn’t have been a good fit for Dragonfly.

Overall, we’ve been pretty happy with our experience using MaxScholar. Grasshopper likes using the computer/iPad, so he was always willing to work on lessons. I’m happy that he’s getting a firm foundation in regards to reading. It’s a win/win, and we will definitely continue using the program until our subscription expires in six months (yes, even through the summer this year).

Other members of the Homeschool Review Crew are talking about their experiences with MaxScholar this week. Make sure to click through to learn more!

Blessings,

ladybug-signature-3 copy

Yarn Dyeing

Every couple of years, I get an itch to work with real wool yarn (I usually end up using acrylic because it’s easier to find in-store places). I prefer the natural fibers, especially wool, but it’s not always feasible to get. (Acrylic does have its place though – it’s great for all the animals and dolls I made in April and May.) But the past few weeks, it’s been all about the wool! Today I’m going to share just the plain yarn that I dyed, as well as a quick rundown of the technique. In a few days, I’ll show off the sweaters I made for my littler boys. They have all turned out so gorgeous that I’m excited to show you!

How I dye yarn:

I follow the techniques from Chem Knits on YouTube, but less precise. So, I boil a lot of water mixed with a little bit of vinegar. While I’m waiting for that to come to a boil (simmer, really), I mix about 1/2 teaspoon food coloring (I like the Wilton gels in the little tubs) into a bit of warm water. I prefer to do this step in a disposable cup – we usually have empty Dutch Bros cups around from the day’s drinks, so I often just repurpose those.

When the water and vinegar mixture is hot, I carefully pour in the dye and then gently push the yarn into the water using a cooking spoon. Reduce the heat and let everything simmer for 10-20 minutes, then leave it alone to cool in the pot. What I find the most fascinating is that by the end of the simmering time, the water is clear! 

Once the yarn has cooled, I wash it using cool tap water and liquid dish soap, then air dry (usually outside, away from direct sunlight).

This method works for all “protein based fibers,” meaning something that comes from an animal – wool, alpaca, silk, etc. I’ve personally only ever tried it on 100% plain wool (not superwash), but I’ve seen the videos that show that it just rinses right out of plant based (cotton, linen, etc) or man made (acrylic, polyester) fibers.

And now, yarn.

19129A44-DFFF-41BF-B302-04C1F2E6EA9CThis blue is for Grasshopper’s sweater. He decided he wanted a sweater that was dark blue, and it had to be a pullover. To get the blue color here, I used three different food dyes. I started with 35 drops of McCormick’s blue (from the box of primary colors from the baking aisle of the grocery store) per skein. When it was done, Grasshopper asked if it was possible to make it a bit darker, so I said sure. When I went to get some Wilton’s, though, the only blue they had was Sky Blue; that wouldn’t work for “dark”! So I picked up a vial of black too, and mixed the two. I didn’t measure carefully, but it was mostly sky blue with a bit of black. When I overdyed the yarn, it ended up being perfect! I just love the variations I got by mixing colors.

022C26C8-7386-4548-971C-08D7CA306011

Dragonfly wanted a green sweater, and he wanted his “to have buttons” (a cardigan). I dyed his yarn using Wilton’s  Kelly Green. What surprised me most about this one was that there was such a bright blue left at the end of the dyeing. The yarn had turned a nice bright green, and there was lots of blue left in the water! I went ahead and continued simmering to absorb that blue, and what happened was that I got a few specks of bright blue on top of the green. They’re barely noticeable in the knit sweater, but pretty cool anyway.

The orange you see in that same picture is dyed from Wilton’s Copper. I’d hoped for a more “coppery” copper, but I only used 1/4 teaspoon dye per skein (it was the first one I did from this batch and I was out of practice), so it turned out pastel orange. Still very pretty, and I’m pleased with the result even if it’s not exactly what I had in mind. The orange became a sweater for Bumblebee (who turns 2 next month), as well as accents in Grasshopper’s sweater.

The pink was another surprise to me. It was a color called Burgundy (also Wilton’s), and I expected a much darker color. Not only did it turn out bright pink, but I didn’t stir the yarn enough, so it ended up pink-and-white variegated instead of a nice deep burgundy like I expected.

68E4A23C-EADD-4515-9166-1FA4AE083459

The last one to talk about today is this dark purple. Would you believe me if I told you it was dyed using just one color: Wilton’s Black?! It was. Because the black food dye is made up of different reds, yellows, and blues, they all strike the wool at different rates, leaving this beautiful, mottled purple. This yarn became the accents for Dragonfly’s green sweater.

Okay, in a few days I’ll reveal the sweaters! (But if you follow me on Instagram, you’ll have already seen the blue one.)

Blessings,

ladybug-signature-3 copy