A Basic Sweater for Ballet Boy
Ballet Boy has very specific taste, in clothing especially. He’s developing a similar taste as Will (which makes sense) for the finer things in life. This is why the first sweater I made for him was a fancy one – lots of cables, seed stitch in between for texture, a gorgeous shawl collar. And as much as I love seeing that sweater, I did not like making it. It doesn’t even make sense that I didn’t like the process; it’s the kind of sweater most knitters live for – lots of interest, no boring “miles of stockinette.” To this day, I don’t know why I didn’t enjoy the process. I love the idea of making another one, but remembering how much I struggled with it, I just can’t bring myself to do it.
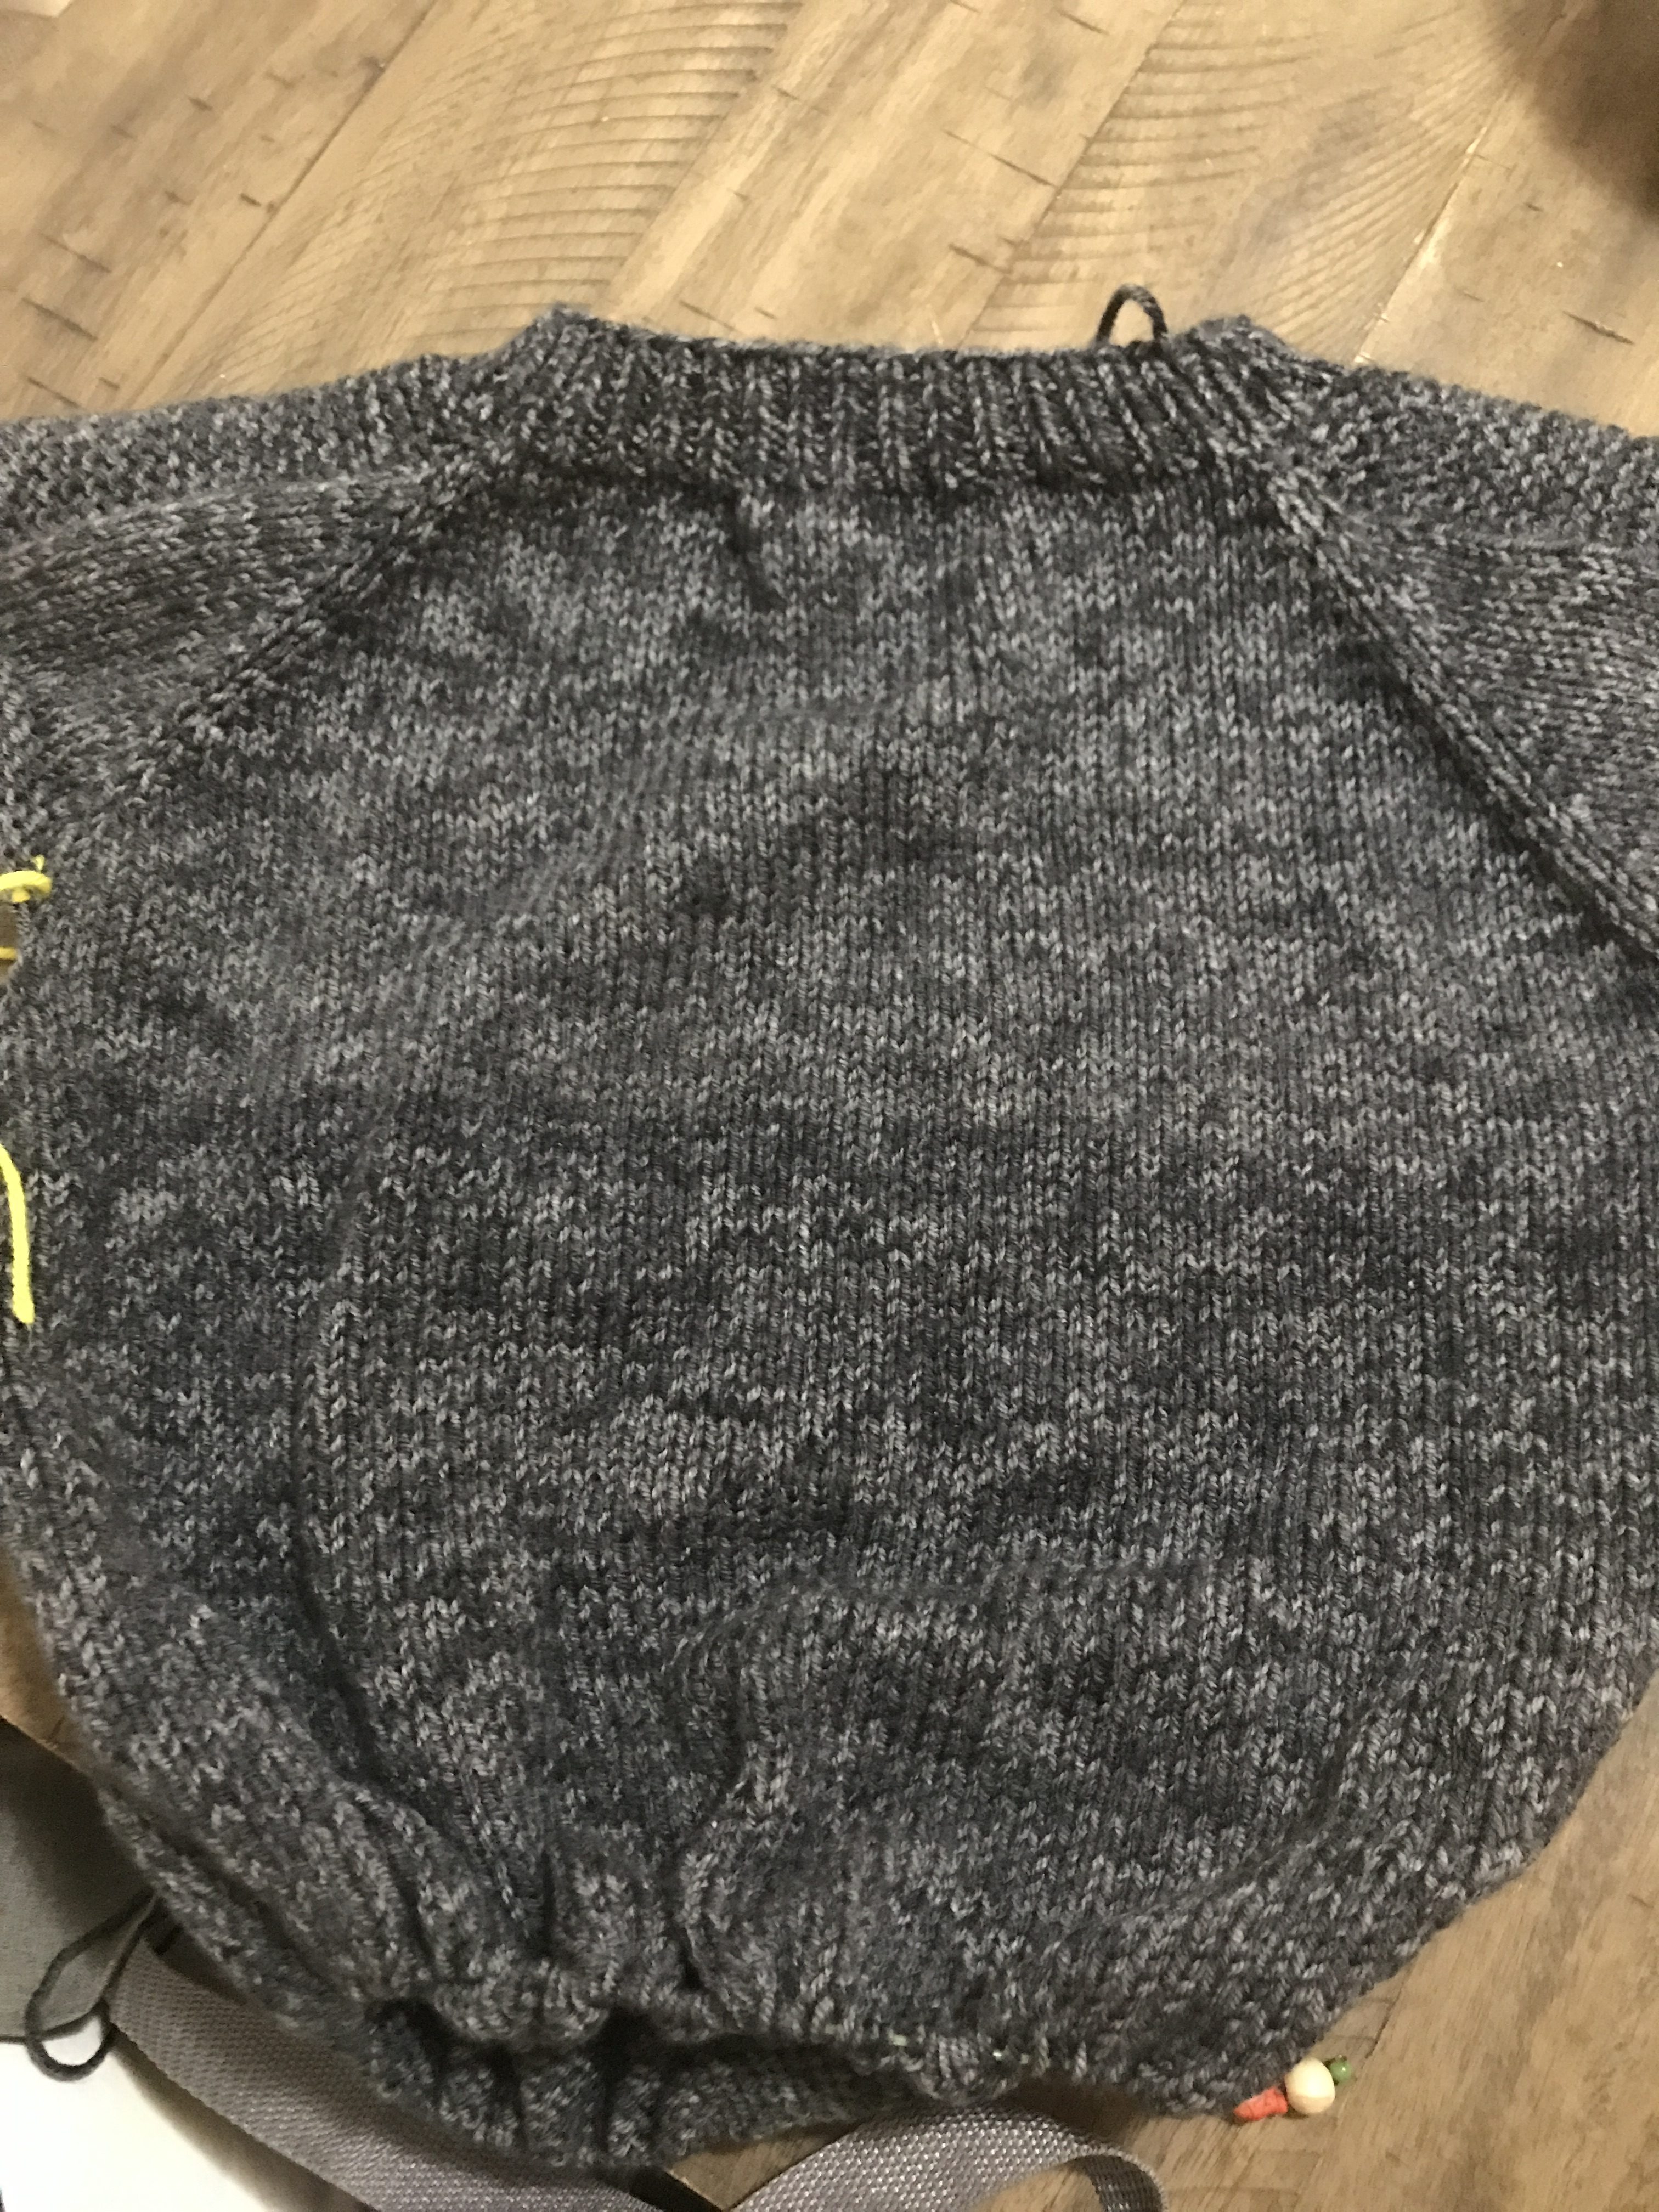
The sweater in progress. Obviously I have a ways to go still, but I’m struggling a bit with motivation right now. Probably because it’s so hot here in the Pacific Northwest. The last thing I want is a winter sweater in my lap all day.
So when he outgrew that one (don’t worry; we’ve kept it and Grasshopper will wear it one day), he and I brainstormed ideas for another sweater for him. He wasn’t super particular. He had just two criteria: it needed to be dark gray, and it needed to be a pullover. My kids are too nice to say it so bluntly, but they all have let me know in their own ways that I suck at plotting buttonholes! They all prefer pullovers because the buttons never quite fasten tidily when I make them a sweater.
So after looking over tons of patterns, we fell back on an old favorite: the Flax sweater. This pattern is one of the most popular on Ravelry, and for good reason. It’s free, it’s easy, and it comes in a huge variety of sizes (newborn – 3XL). You can literally make this sweater for anyone you know and it will fit them. The sweater is constructed top down, which means you’re working upside-down for most of it. The sleeves have just the tiniest bit of interest: a stripe of garter stitch along the top, from shoulder to wrist.
I’m using Hobby Lobby “I Love This Yarn!” in the color Dark Gray for the sweater. It’s a lovely heathered black-gray color, and it’s making the sweater turn out really prettily. The yarn is a bit heavy when it’s knit up, but that will assure that the sweater is quite warm for him this fall and winter. And we definitely picked the right pattern for this yarn. The heathering gives interest where the pattern leaves simplicity. But that plush garter stitch on the sleeves is just a very pleasant touch.
 If you want to knit a sweater but you’ve never done it before, I can’t recommend the Flax sweater enough. Find it free on Ravelry (from Tin Can Knits’s “The Simple Collection”). There are tons of tutorials available to walk you through the process because it was designed to be a learner sweater. And if you’re new to knitting but aren’t quite sure you want to tackle a sweater yet, The Simple Collection has you covered anyway. It includes patterns for a scarf, a blanket, mittens that can be made regular or fingerless, a shawl, a hat, socks, a pullover, a cardigan, and a cowl. The pieces all “match” in that they have a bit of garter paneling somewhere on the item. This allows you to practice both your knits and your purls, whether you’re working on an “in the round” project or a flat one.
What do you want to knit first?
Blessings,