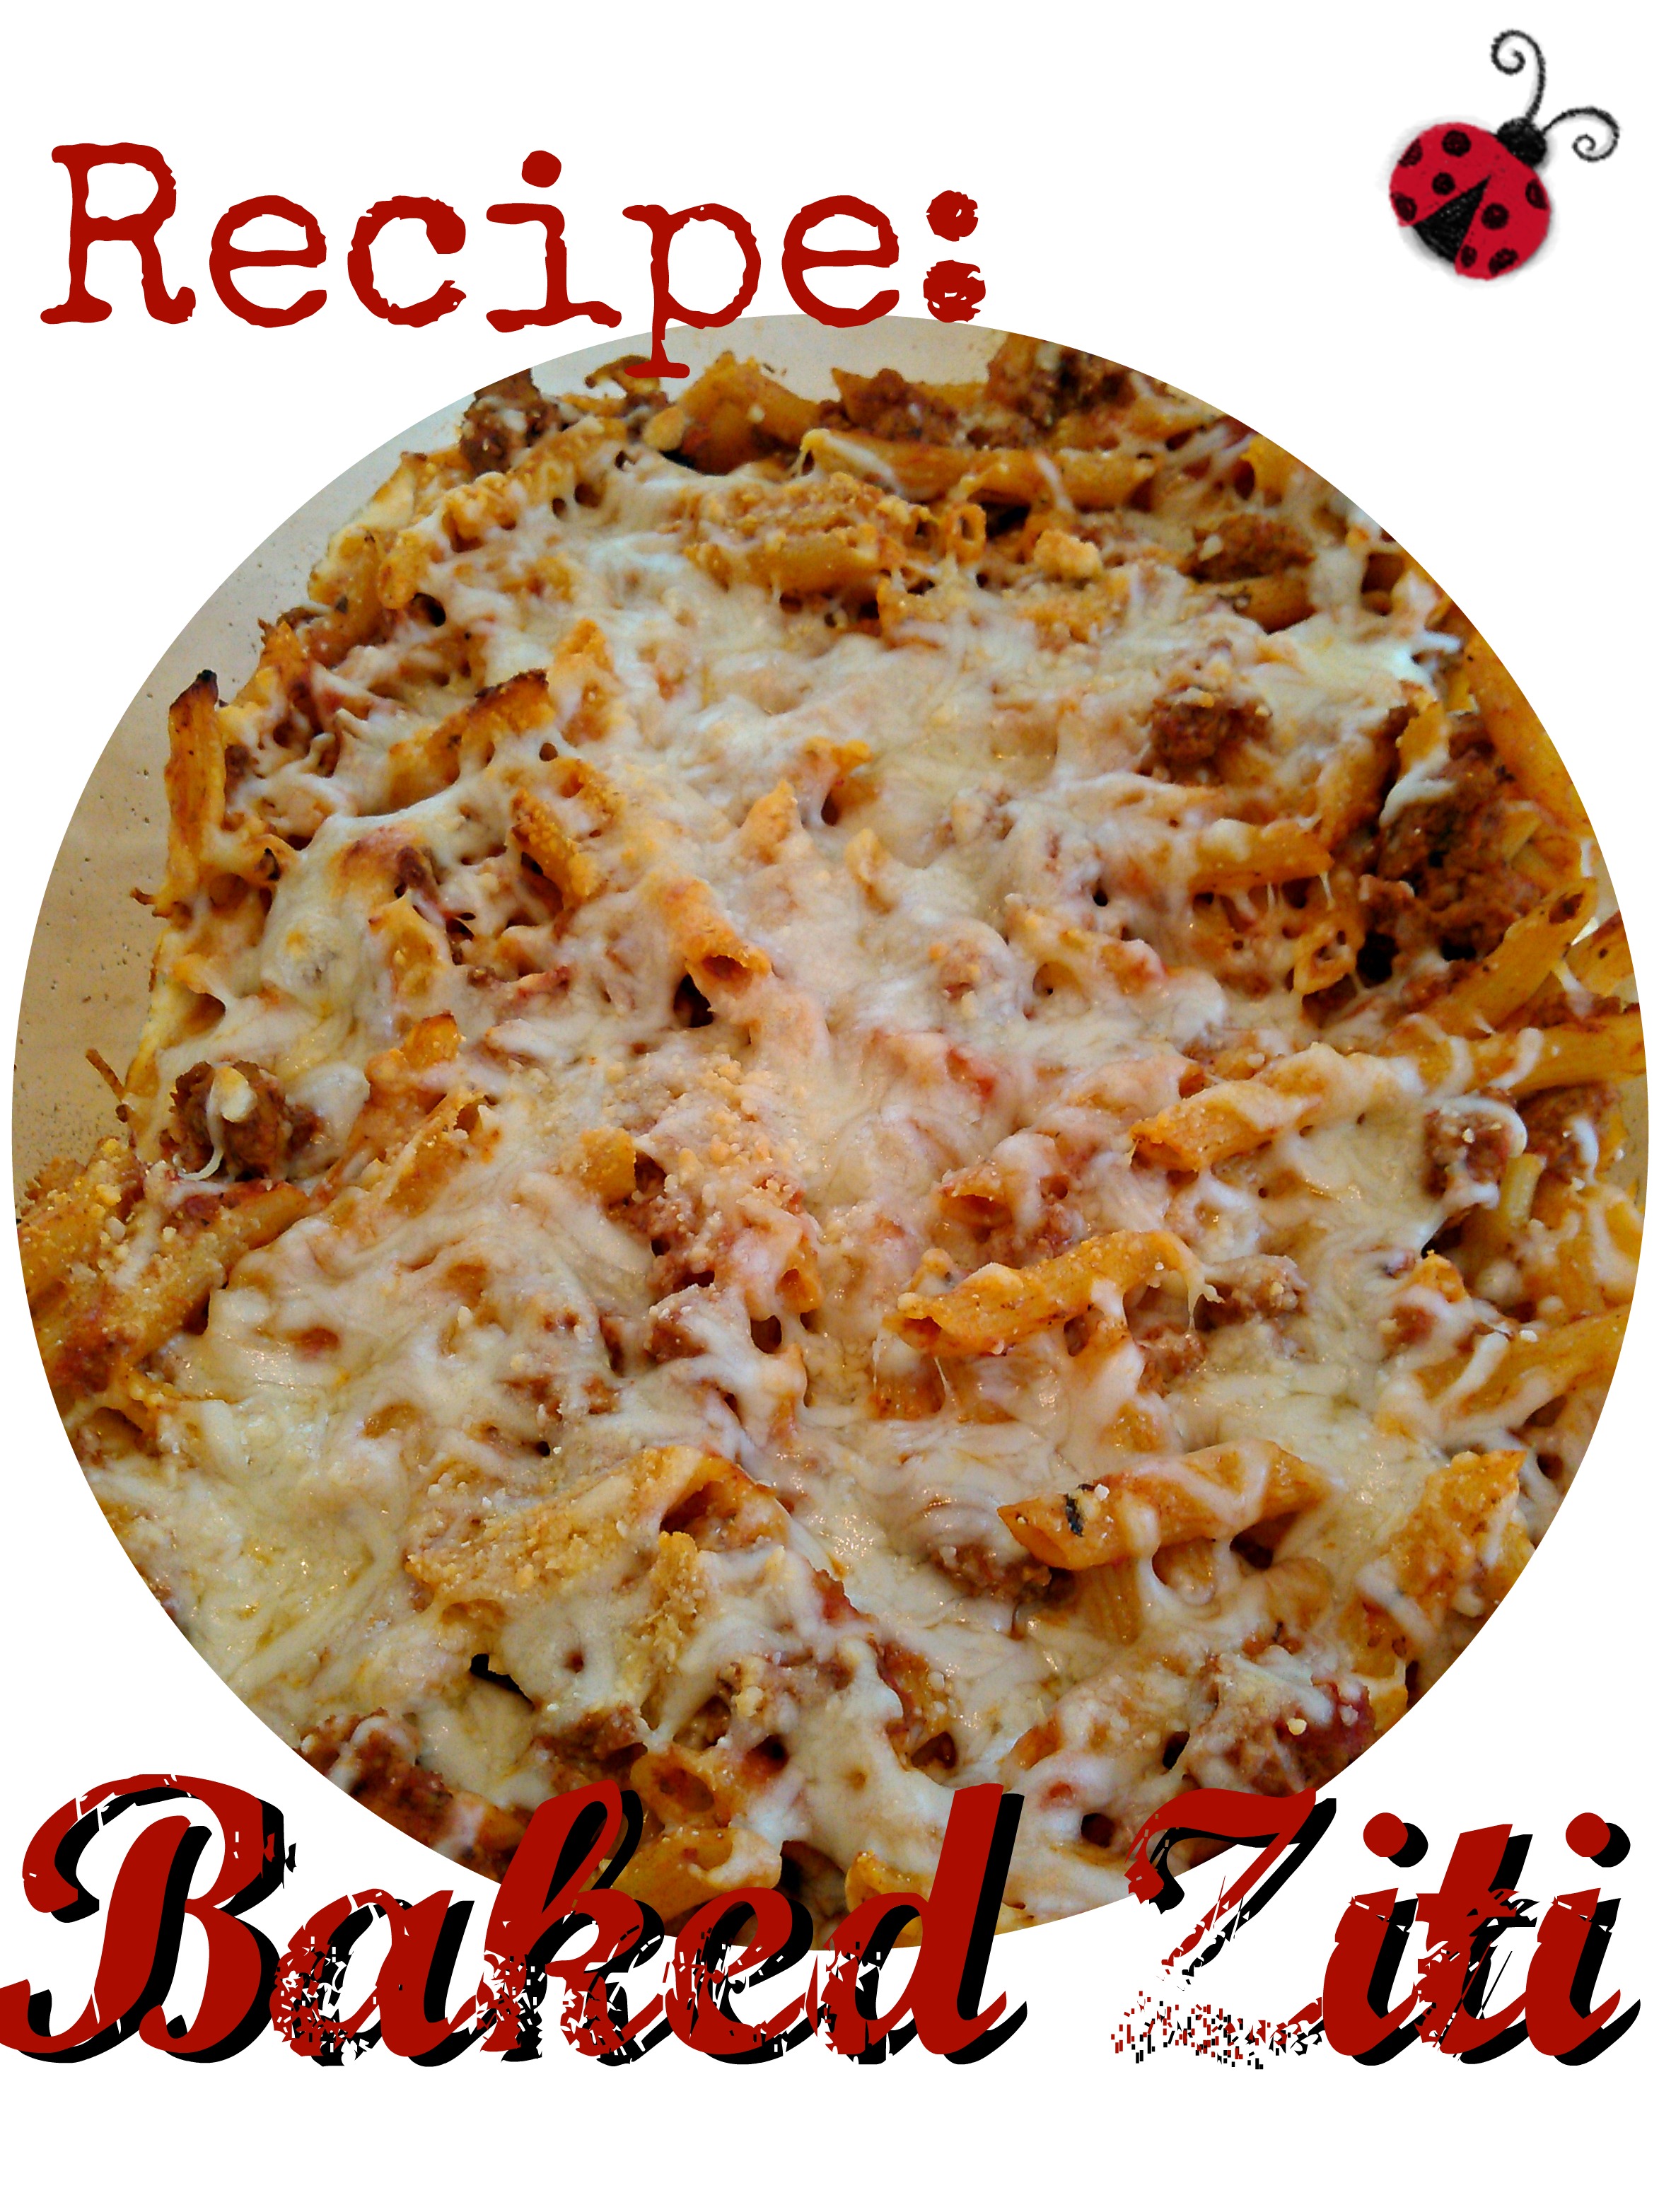
Recipe: Baked Ziti

Baked Ziti Recipe

Baked Ziti is one of those dishes that most of my family has always enjoyed – everyone but Munchkin. Since he really dislikes it when made traditionally, I rarely served it. But then I came across a recipe on AllRecipes that I thought might make him like it more. It called for Provolone instead of Ricotta; other than that, it was practically the same. So I made it one night, and it was a huge hit! We all like baked ziti this way much better than the “lasagna but with bite size noodles” way. Enjoy!

Baked Ziti

Preparation Time: 10 minutes

Cooking Time: 40 minutes

  • 1 1/2 pounds ground beef or turkey (or a wide variety of chunky vegetables – mushrooms, zucchini, carrots, etc)
  • 1 jar (28 ounces) spaghetti sauce (or equivalent homemade)
  • 1 pound bite-size pasta, any shape
  • 6 slices provolone cheese
  • 6 tbsp sour cream
  • 1 cup shredded mozzarella
  • 1/4 cup grated Parmesan
  1. Brown meat or cook vegetables until done. Add spaghetti sauce and simmer while the pasta cooks.
  2. Cook pasta according to package directions, draining it at the lowest recommended cooking time. You’ll be baking it after this, so even if you prefer softer pasta, drain it now. It will continue to cook in the oven.
  3. Add pasta to sauce and combine well.
  4. In a 13×9 baking dish coated with cooking spray, add half the pasta. Layer the provolone slices over the top, then top each one with a tablespoon of sour cream. Spread the sour cream evenly over the whole dish.
  5. Add the other half of the pasta. Top with the mozzarella and Parmesan.
  6. Bake at 350 F for 30 minutes or 425 F for 20 minutes, until the cheese is melted and the whole dish is hot and bubbly.

Blessings,

ladybug-signature-3 copy

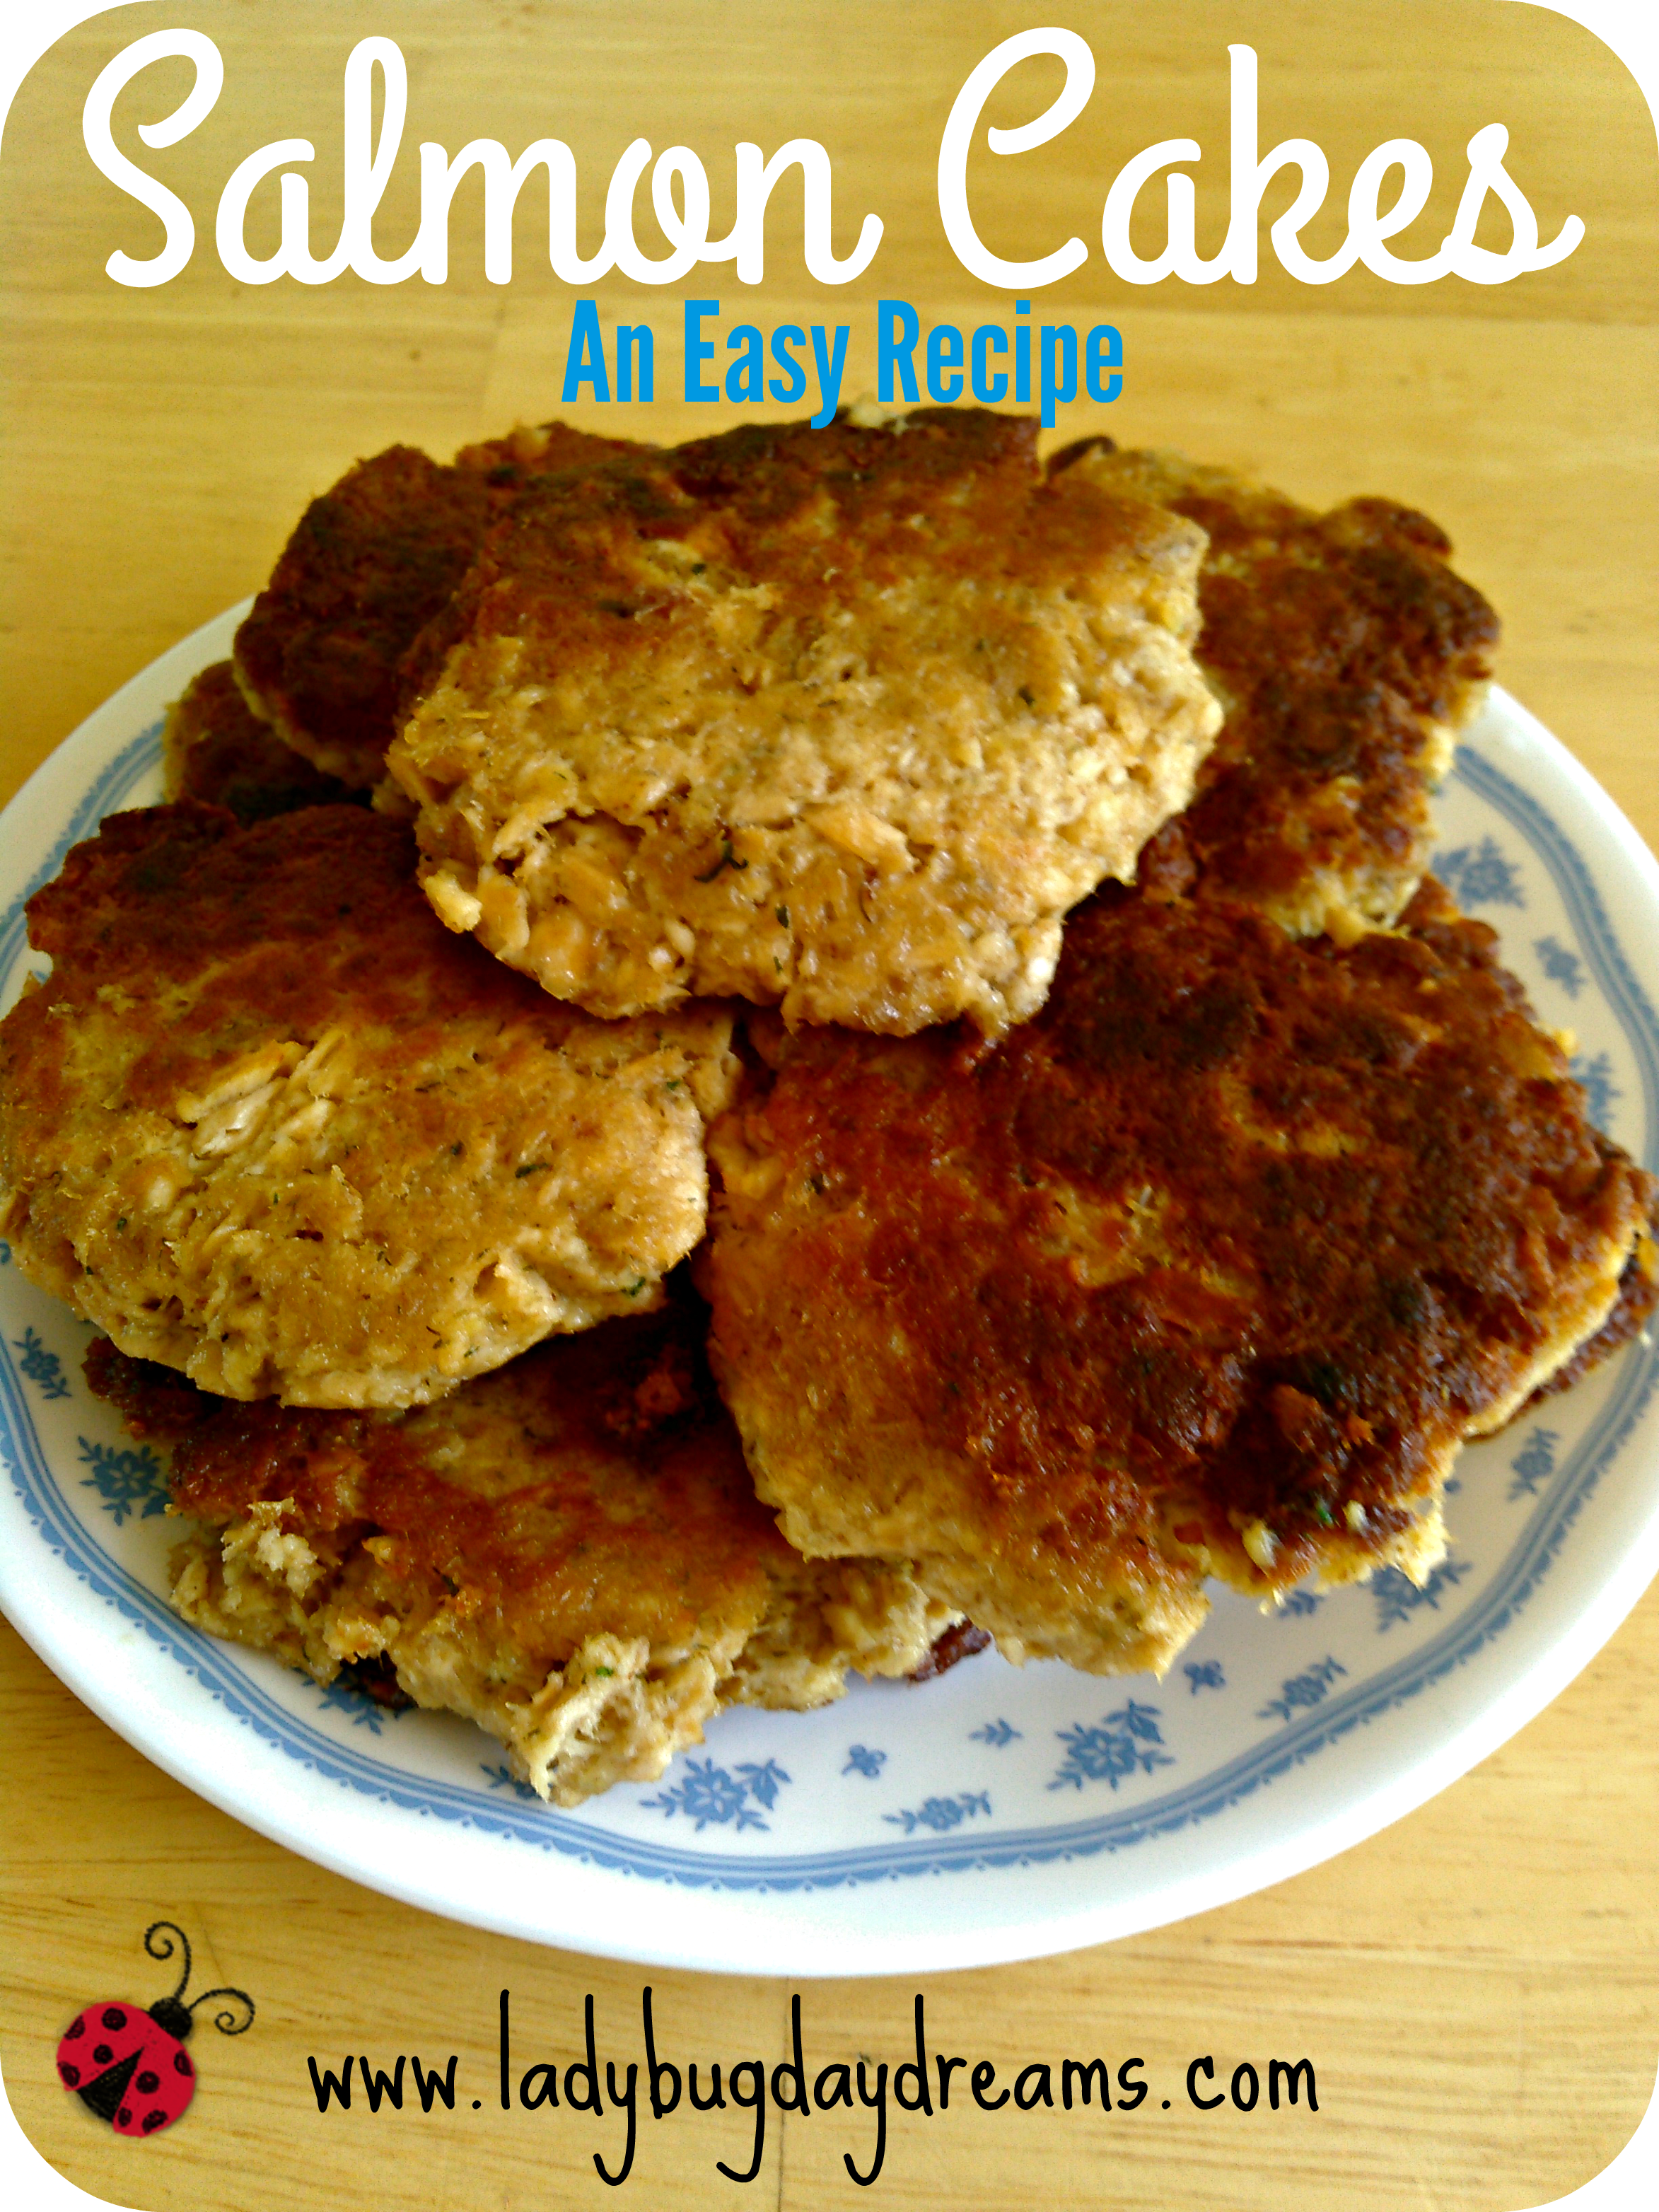
Salmon Cakes (recipe)

salmon cakes

There are probably as many recipes for fish cakes as there are cooks who make them. I recently came across one for salmon cakes that included Rice Krispies, but we didn’t have any on hand. I decided to try making it using bread crumbs instead, since the cereal was the only ingredient we didn’t already have. When I got it all mixed together, I could tell they were going to try to fall apart on me (which seems to happen all the time with fish cake recipes as they’re written), so I added a little bit of mayonnaise to help them hold together better. It worked like a charm! Now these delicious patties are one of our favorite easy go-to lunches; it’s not much harder than a sandwich (especially in my house where everyone likes a different kind), but it gives us a nice hot lunch that feels more like a meal than a lot of other options. I hope you like it too.

If you don’t like salmon, or just don’t have any in the house, this could be made just as easily with tuna.

Salmon Cakes

Preparation Time: 10 minutes

Cooking Time: 15 minutes

Makes 9 patties

  • 5 cans salmon (5 ounces each), drained
  • 2 large eggs
  • 1 tbsp dill weed
  • 1 tsp mustard
  • 3/4 cup bread crumbs
  • 1/4 cup reduced fat mayonnaise
  1. In a large bowl, beat the eggs.
  2. Mix in bread crumbs, dill weed, and mustard to create a slurry.
  3. Add salmon and combine well.
  4. Stir in mayo to create a paste-like mixture (think meatballs or meatloaf).
  5. Shape mixture into balls, then flatten into patties. I usually get 9 decent sized cakes from this recipe, but you could easily make smaller ones for a side dish instead of these main-dish sized ones.
  6. Saute in hot oil 5-7 minutes per side, until golden brown and heated through.

Blessings,

ladybug-signature-3 copy

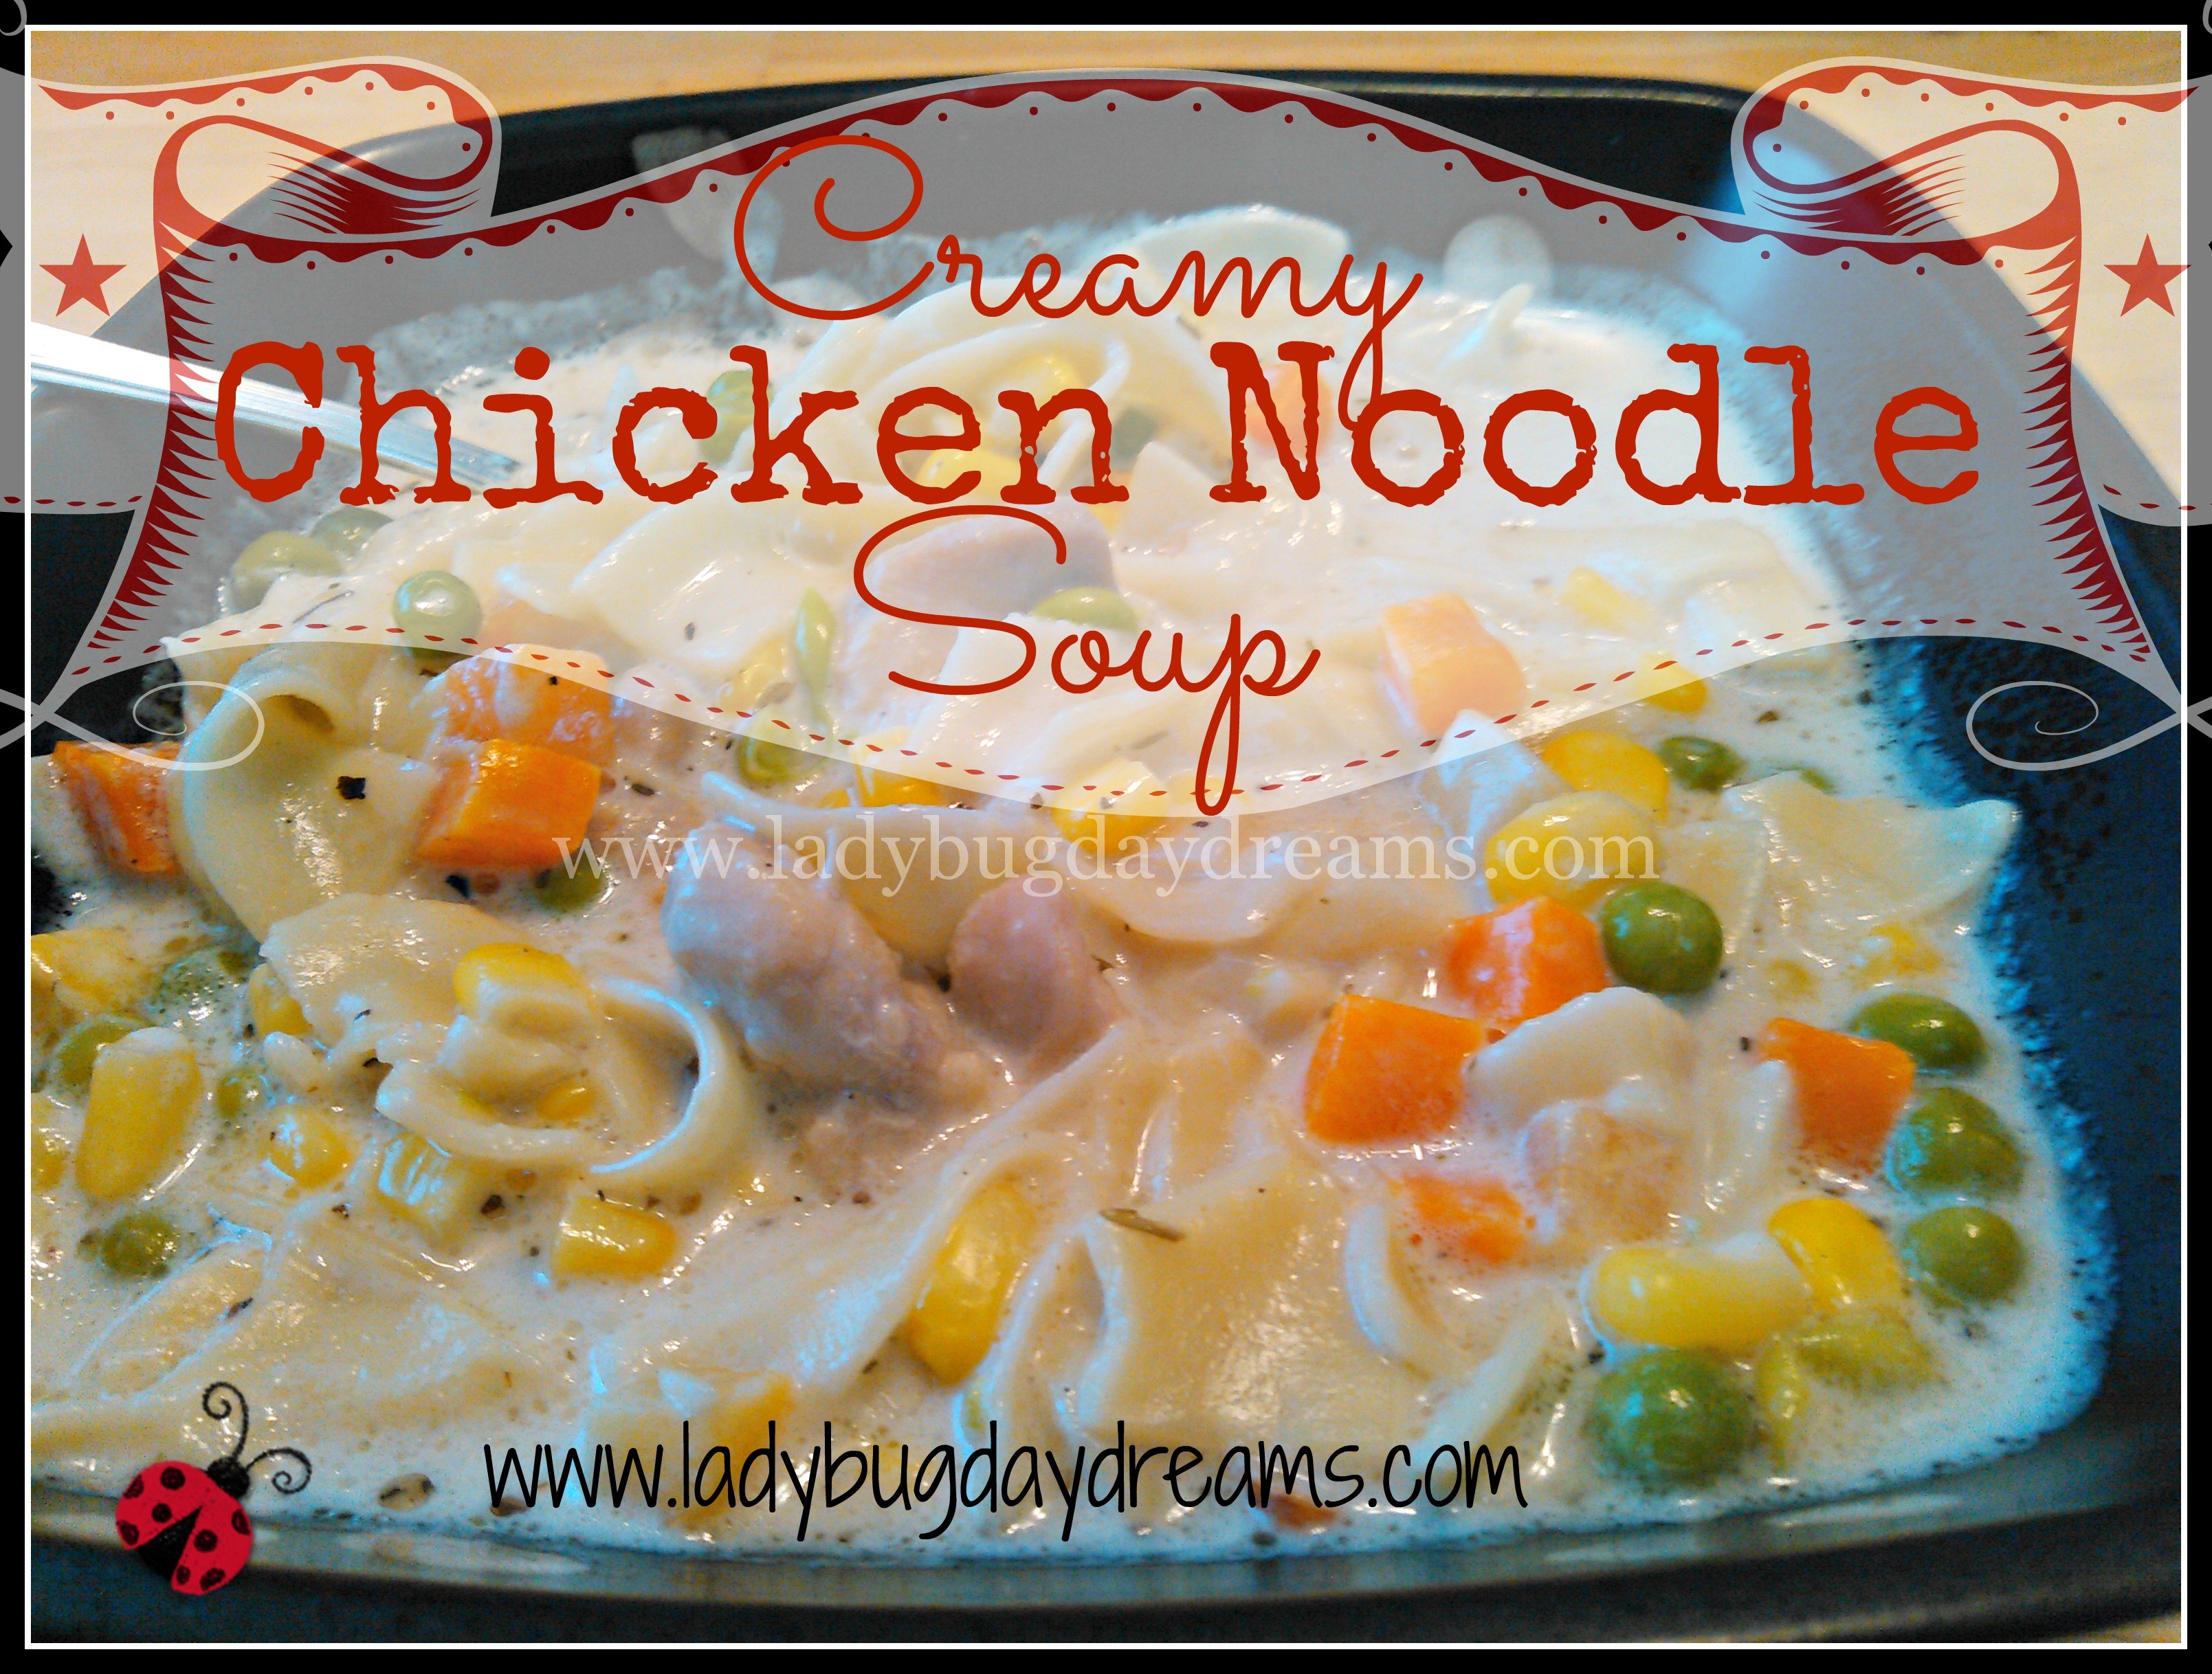
Recipe: Creamy Chicken Noodle Soup

Creamy Chicken Noodle Soup Recipe

As the weather cools down here in the northern hemisphere, we start craving warmer foods. It was absolutely pouring down rain earlier this week, and staying home and out of it wasn’t an option (too many appointments). So I decided that while I was out anyway, I was going to make a trip to the store to pick up some ingredients to make a soup for lunch. The result was this, and I must say, it was easily the most delicious chicken noodle soup I’ve ever tasted, and definitely the best soup I’ve ever made. Enjoy!

Creamy Chicken Noodle Soup
Serves 8
Write a review
Print
454 calories
34 g
168 g
25 g
25 g
13 g
471 g
665 g
2 g
0 g
10 g
Nutrition Facts
Serving Size
471g
Servings
8
Amount Per Serving
Calories 454
Calories from Fat 220
% Daily Value *
Total Fat 25g
38%
Saturated Fat 13g
66%
Trans Fat 0g
Polyunsaturated Fat 2g
Monounsaturated Fat 8g
Cholesterol 168mg
56%
Sodium 665mg
28%
Total Carbohydrates 34g
11%
Dietary Fiber 4g
16%
Sugars 2g
Protein 25g
Vitamin A
85%
Vitamin C
16%
Calcium
10%
Iron
14%
* Percent Daily Values are based on a 2,000 calorie diet. Your Daily Values may be higher or lower depending on your calorie needs.
Ingredients
  1. 1 yellow onion, diced
  2. 4 boneless, skinless chicken thighs (or you can substitute 2 breasts)
  3. 2 bags frozen vegetables, whatever kind you like (12 ounces each)
  4. 8 cups chicken broth
  5. 1/2 pound egg noodles
  6. 1 pint cream
  7. 2 pinches dried basil
  8. 2 pinches dried oregano
  9. 3 pinches dried thyme
Instructions
  1. In a splash of oil, saute the onion until it softens, about 5 minutes.
  2. Add the chicken and brown. Don't worry about cooking it through just yet; it will finish cooking in the broth.
  3. Add the vegetables and heat through. (I used one bag of peas and carrots, and another of corn.)
  4. Pour in the broth and bring to a boil. Add the herbs. Reduce heat slightly and simmer for 10-12 minutes, until the chicken is cooked through and the vegetables are soft.
  5. Add the egg noodles and cook for another 7 minutes (or according to package directions).
  6. Stir in the cream and heat through.
  7. Serve with your favorite sandwiches, bread, or crackers.
beta
calories
454
fat
25g
protein
25g
carbs
34g
more
Ladybug Daydreams http://www.ladybugdaydreams.com/

This recipe has been linked up at Try a New Recipe Tuesday.

Update: I was the featured recipe for the week I linked up! Special thanks to Lisa for hosting.

 photo 9c2d3d39-9e5d-4351-b060-d6251ee13eaa_zpseda17cd5.jpg

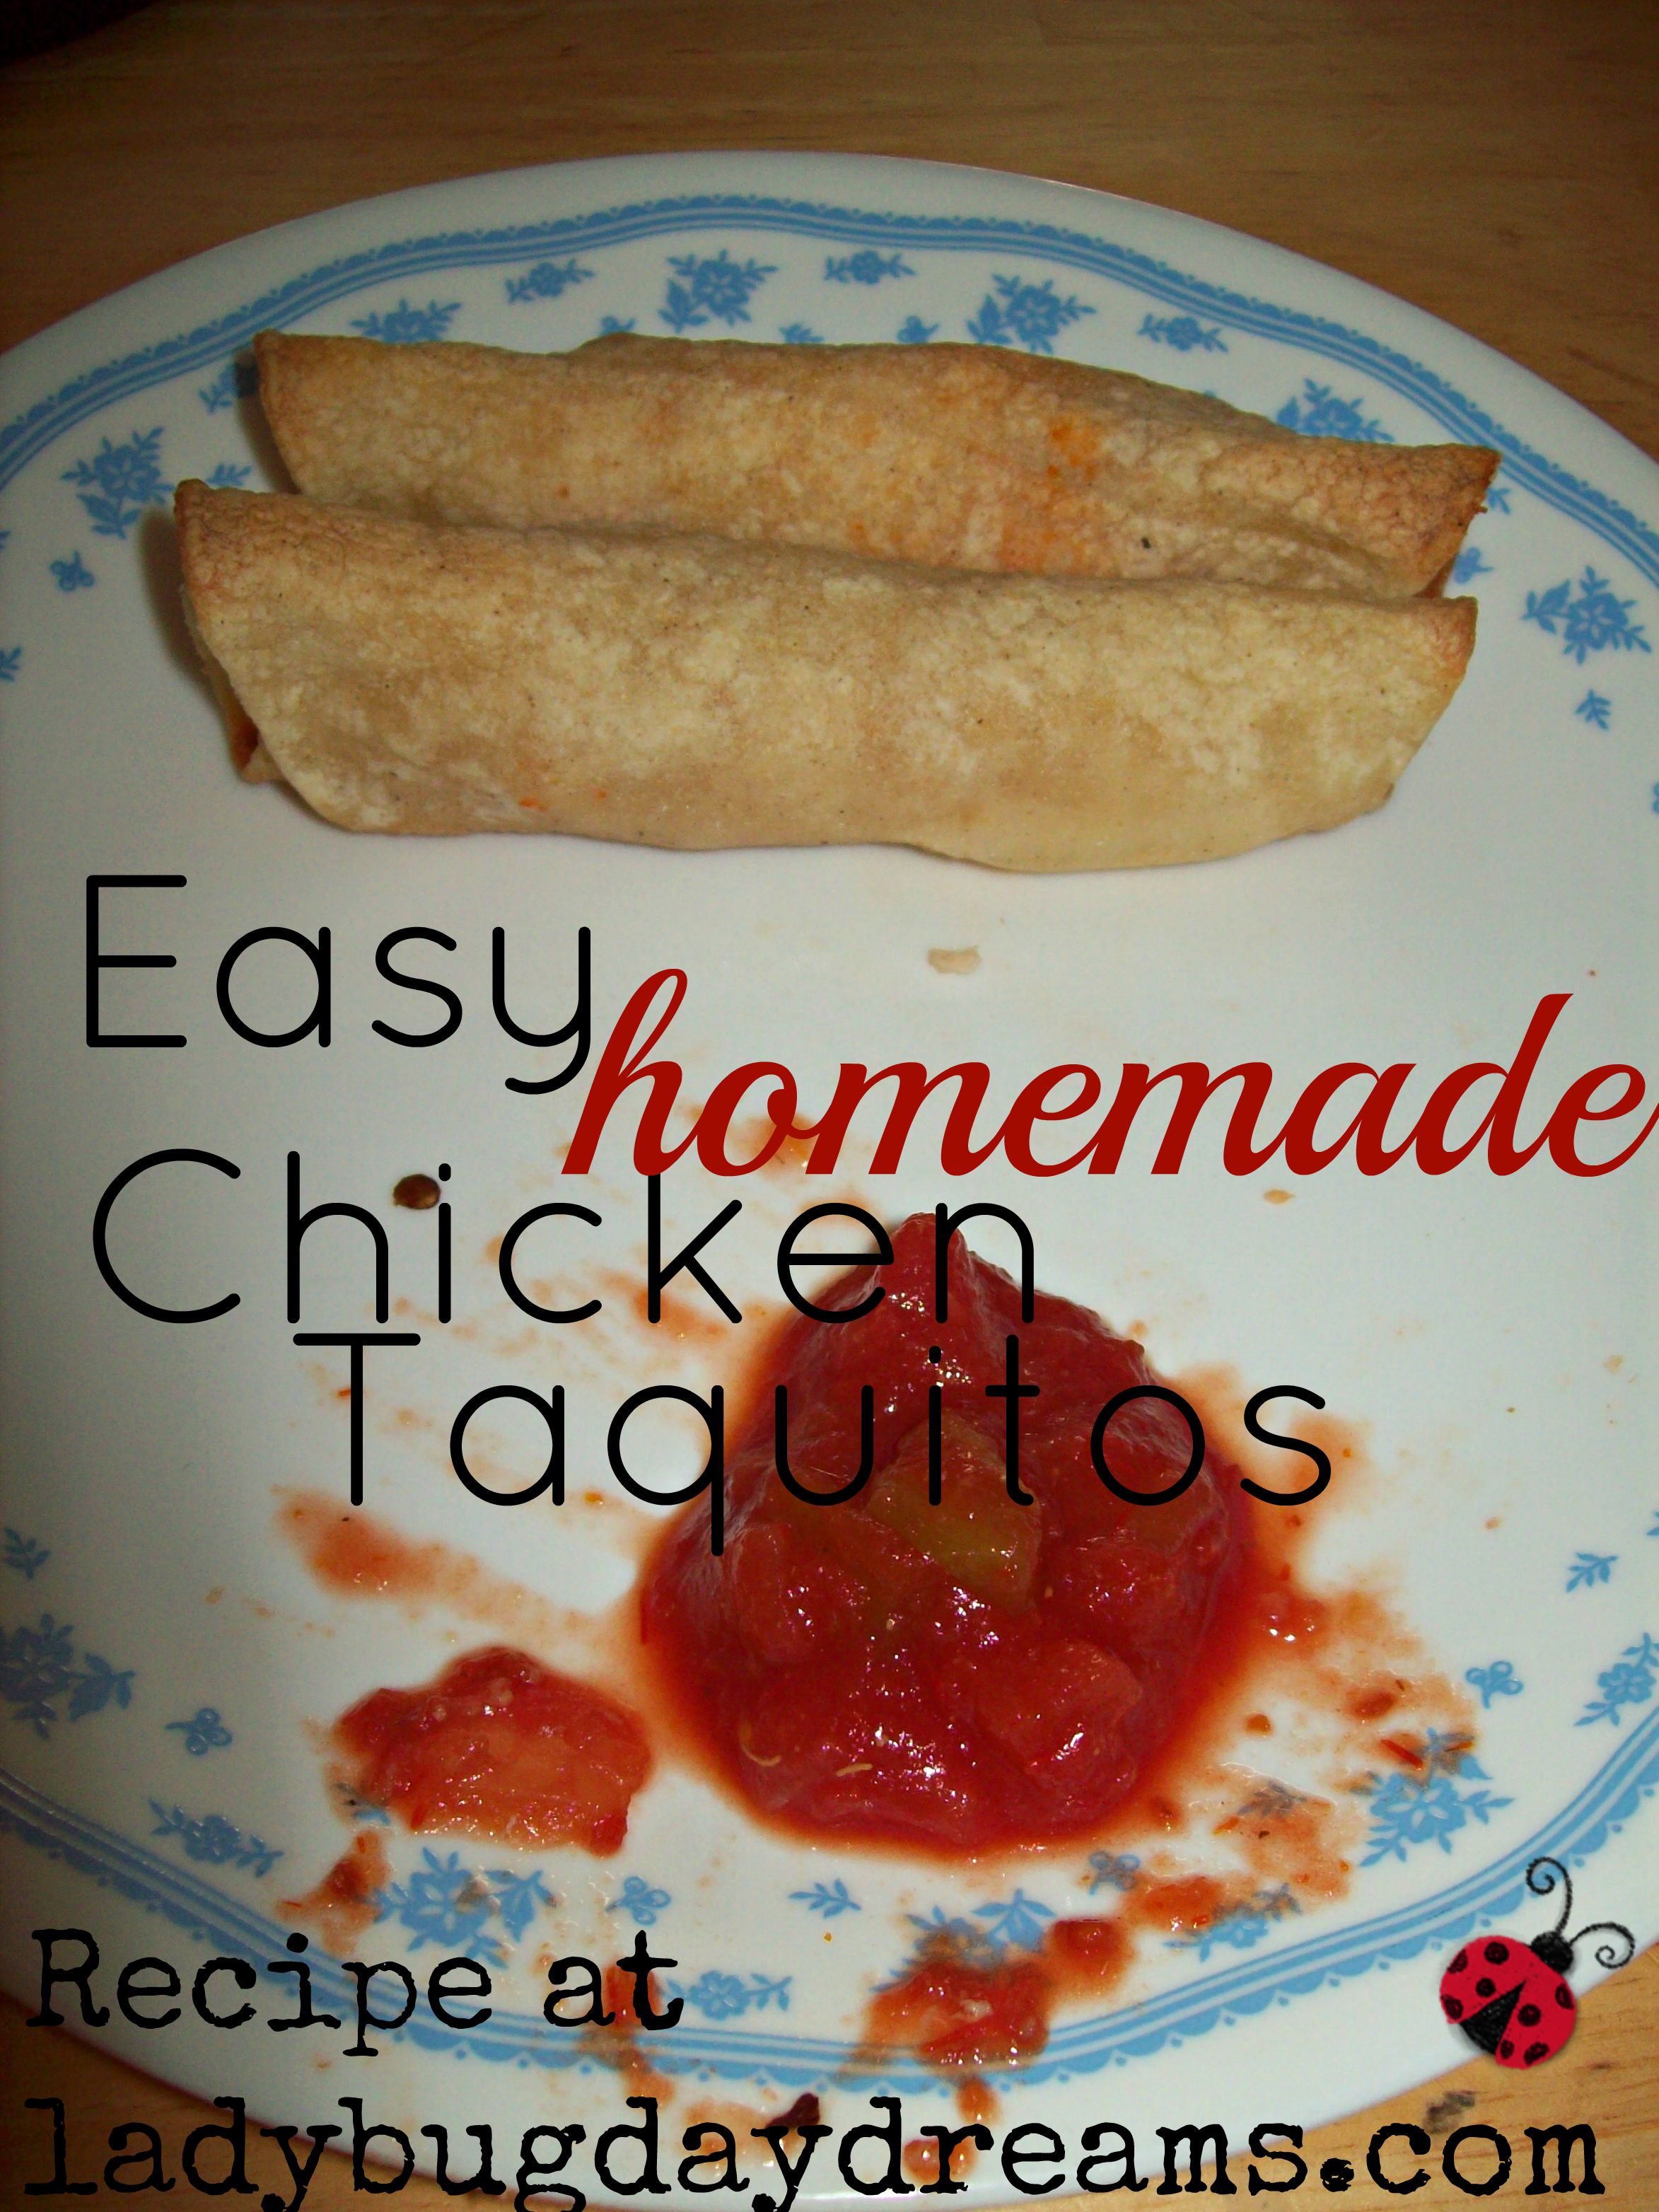
Easy Homemade Chicken Taquitos (Recipe)

Easy Homemade Chicken Taquitos Recipe

Have you ever had taquitos? I only have a few times, but the other day, I got one of those pregnancy cravings for them. Don’t ask where it came from since they’re not something I eat often enough to really “know” about, but there it was. So I looked up the basic method on my favorite recipe website (allrecipes.com) and modified it to fit our tastes, budget, and what we had on hand. Enjoy!

Blessings,

ladybug-signature-3 copy


Easy Chicken Taquitos
Yields 30
Write a review
Print
Prep Time
45 min
Cook Time
15 min
Total Time
1 hr
Prep Time
45 min
Cook Time
15 min
Total Time
1 hr
100 calories
13 g
17 g
2 g
7 g
1 g
54 g
79 g
0 g
0 g
2 g
Nutrition Facts
Serving Size
54g
Yields
30
Amount Per Serving
Calories 100
Calories from Fat 21
% Daily Value *
Total Fat 2g
4%
Saturated Fat 1g
3%
Trans Fat 0g
Polyunsaturated Fat 1g
Monounsaturated Fat 1g
Cholesterol 17mg
6%
Sodium 79mg
3%
Total Carbohydrates 13g
4%
Dietary Fiber 1g
6%
Sugars 0g
Protein 7g
Vitamin A
1%
Vitamin C
0%
Calcium
6%
Iron
3%
* Percent Daily Values are based on a 2,000 calorie diet. Your Daily Values may be higher or lower depending on your calorie needs.
Ingredients
  1. 30 corn tortillas
  2. 6 boneless, skinless chicken breasts
  3. 1 cup salsa (your favorite)
  4. 1/2 cup shredded cheddar cheese, optional
  5. oil, for brushing
For the filling
  1. Poach the chicken breasts in broth or water for 10-15 minutes, until cooked through. (Poaching is recipe talk for boiling.)
  2. Shred the chicken using two forks.
  3. Add the salsa and toss to coat, using the same forks that you shredded the chicken with.
To build the taquitos
  1. Coat a large baking sheet (mine is 11x17) with oil.
  2. Warm your tortillas. This makes them easier to roll and less likely to crack and break. You can do this by wrapping them in damp towels and microwaving, placing them in a hot oven for 10-15 minutes, or warming them in a dry skillet for 30-60 seconds per side.
  3. Place a small amount of the chicken mixture on the edge of a tortilla.
  4. Top with a slight sprinkling of cheese, if using.
  5. Roll the tortilla up tight.
  6. Place seam side down on the prepared baking sheet.
  7. Repeat with remaining tortillas.
  8. Brush each taquito with oil. This helps them get nice and crispy in the oven without drying out.
  9. Bake at 475F for 15 minutes.
  10. Let cool 5 minutes before serving.
Notes
  1. When the taquitos are rolled properly, they should look like super-skinny enchiladas without sauce.
Serving ideas
  1. Add additional salsa, some sour cream, and/or guacamole to each plate for dipping.
  2. Serve taquitos just like you would enchiladas or other Mexican fare, with Spanish (or Mexican) rice and refried beans.
beta
calories
100
fat
2g
protein
7g
carbs
13g
more
Ladybug Daydreams http://www.ladybugdaydreams.com/

Recipe: “Man Dish”

mandish collage

I have a really yummy recipe to share with you guys today – and it’s easy to boot! We affectionately call it “Man Dish” in my house because Will found the recipe in Esquire magazine. He’d been out selling books one day and he picked up the magazine to read during the slow times. After reading the entire magazine, he decided that night that he wanted to cook one of the recipes he’d found. Something that claimed both “impress her” and “one pot meal” really appealed to him, so he thought he’d give it a try.

There was just one glitch: none of our stove-top pans were big enough to cook enough chicken for our family of five all at once. (The recipes in the magazine were designed to be date meals.) So he asked me to step in and help solve this problem. The solution was this recipe. Enjoy. [Read more…]

Simplicity: Lessons from Macaroni Salad

simplicity copyWhen I first started this series, one of the things I talked about was how “Simplicity is NOT taking the easy way out.” I want to share with you a lesson I learned this past week based on that theme, and then I’ll share a recipe at the end.

Have you seen those boxed “Simply Pasta Salad” kits in the grocery store? I’d seen them lots of times over the years, but never tried one. One night recently, we were having grilled burgers for dinner, and I wanted a quick, easy, won’t-heat-up-the-kitchen side. Pasta salad seemed like just the ticket. Unfortunately, it was already nearing time to start cooking, so I didn’t have time to make a macaroni salad from scratch and none of my family likes the Reser’s stuff that the deli carries. So I decided to try the box kit. They were on sale for $.99 that day, so I picked up four of them – some for now, some for later.

The concept is simple. Inside the box, you’ll find a packet of dressing powder which you mix with oil and water, and a bag of pasta, which you need to cook. Mix the two items together, and voila! Pasta salad. It was really quick to put together, but it wasn’t great in the flavor department. The dressing was really oily and honestly, pretty bland. The pasta was fine; it was just corkscrew pasta, not unlike what I would be likely to use for my from-scratch pasta salad (my grandma’s recipe). There were no add-ins. I suppose that could be considered my fault – there’s nothing on the instructions that says “don’t add anything to this, it’s perfect as-is.”

As we were eating the second batch of it (with my in-laws over for dinner), I was thinking about how “ho-hum” this salad was, and how I should have just made macaroni salad from “scratch.” It takes more work, but the result is so far superior that it’s worth it. And to me, that’s what simplicity is all about. It’s not about taking shortcuts so you can have more down time. It’s about making the thing you do worth the time and energy so that they’re more enjoyable.

My Grandmother’s Macaroni Salad

(I don’t have the exact proportions anymore, so I’m doing this out of my head. My grandma passed away in 2001, so I can’t just get a new copy of the recipe from her, but I’ve made this enough over the years to know it.)

3 8-oz bags of small pasta – your choice on the shape
You can find these on the Mexican food aisle of the grocery store; you could just use 24 ounces of pasta from “traditional” means, but I like the small bags for this recipe.
1 cucumber, diced

1 bell pepper, diced
6 hard boiled eggs, chopped
4-6 sweet or dill pickles, chopped
8 ounces cheddar cheese, cut into 1/4 to 1/2 inch cubes

Dressing:
1 1/4 cups mayonnaise – store bought or homemade, whichever you prefer

2-4 tablespoons mustard
1-2 tablespoons white vinegar
Relish, optional

Cook pasta according to package directions.

Combine dressing ingredients in a small bowl. Set aside.

When pasta is cooked, drain the water and rinse with cold water until you can work with it with your hands. Combine pasta, vegetables, eggs, and cheese in a large bowl. Add dressing and toss to combine. I find that my hands are the best tools for this job. It’s messy, but effective.

Eat immediately or chill before eating. (It should be pretty cold already since you rinsed the pasta.) Refrigerate leftovers.

I think my favorite part about this recipe is that it’s so incredibly versatile. Don’t like cucumbers or bell peppers? Use carrots and celery instead. Don’t like vegetables at all? Add more eggs and cheese. Not in the mood for macaroni salad? Substitute potatoes for the pasta, and now you have potato salad. The cheese cubes add a little something special, too, in the midst of the soft pasta and crunchy vegetables. It’s a texture right in the middle. Yum.

I’ll never buy “Simply Pasta Salad” kits again!

Blessings,

Wendy