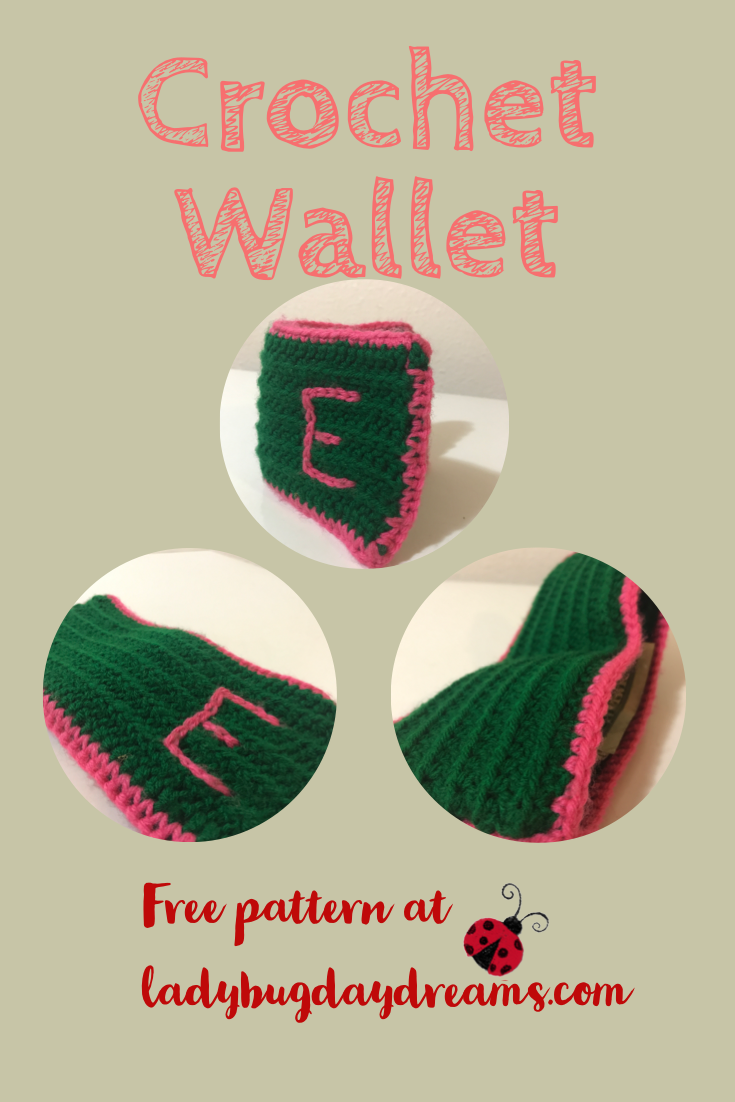
Grasshopper (8) recently came into some money, and he didn’t have a good place to keep it. He asked his brothers to make him a duct tape wallet, but all we had was Dollar Tree box tape (which is really thin) so they told him no. He was pretty upset, so I got to thinking about how I could help him. My main skills are in yarn, so I realized it would be pretty easy to crochet a wallet.
I started out with a double crochet stitch using a small hook so the fabric would be tightly woven, but I didn’t love the way that was turning out so I ripped it out and tried again. For my second attempt, I used fewer stitches (the first one was way too wide) and the half double crochet. I utilized a variation of the “third loop” method of the stitch (though not in a way I’ve ever seen done before), giving the wallet an interesting texture – and that extra solidity I was looking for in the beginning. This wallet would be great for any kid, and maybe even a woman who keeps it in a purse. If you’re a “wallet in the pocket” person, it’s probably a bit too thick (although, you could perhaps make it with thinner yarn to combat that ?).
Crochet Wallet
Yarn: any worsted weight yarn (I used JoAnn Big Twist in Varsity Green and Bubblegum ) in one or two colors
Hook: H
Panel (make 2):
Chain 36.
Row 1: HDC in 3rd ch from hook and every ch across (35)
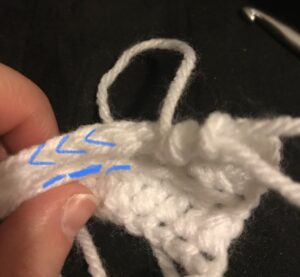
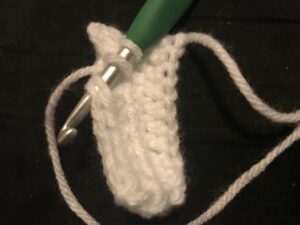
Rows 2-12: ch 2 (counts as HDC). Sk 1st st; HDC in the “front V” of each remaining st across. (See photos for clarification.) HDC in top of ch 2 from previous row.

I’ve highlighted the parts of the HDC in blue. The V at the top is where you normally would insert your hook to create the next stitch. For this pattern, you want to use the bottom loop (the line below) and the “traditional front loop” of the V to make your stitch into. Treat those two loops together as if they were the normal V.
Fasten off; weave in ends.
When both panels are made, you can add an appliqué (Jayda in Stitches on YouTube has lots of tutorials) or surface stitch a design to one or both, but this is completely optional. I added my son’s first initial.
Stack the two panels together. Push your hook through one corner of both panels. Attach contrasting yarn (or the same color, for a calmer look) with a slip stitch. Single crochet through both panels together on 3 sides (one long and two short). As you turn the last corner, now start single crocheting on just one of the panels. When you get back to the starting point, SC into the seam between the panels, and then continue around on the other top. When you finish the second top (SC into the other seam too), join to the top of the first SC in the opposite side. Fasten off and weave in ends.
If you make this wallet, tag me on Instagram (@ladybugdaydreams) or Twitter (@ladybugdaydream) – I’d love to see!
Blessings,


Nice!!