
I really enjoy watching Dollar Tree DIY videos on YouTube, and Kelly Barlow Creations is one of my favorite channels. I was watching one of her videos recently, and the idea of a sign displaying all of the birthdays in the family seemed really cute. I knew it wasn’t something we would display, but I wanted to make it anyway. So I decided to make it to give to my grandmother-in-law. I went to the Dollar Tree to get the supplies, and my local store was out of some of the supplies Kelly had used, so I found alternatives. Also, she used a Cricut for her sign, and since I don’t have one of those I had to improvise on some of the other pieces too. Here is how I made my sign.
I started with two of the Dollar Tree signs that have the shape that looks kind of like offset boards. The way those signs are built, they don’t line up to perfectly when you try to put two of them together (I wanted to keep the up-down pattern intact), so I had Ballet Boy help me saw one of the planks off one sign. Then, with a little bit of puzzle solving, the signs lines up the way I wanted them to. I used the piece we cut off, as well as some popsicle sticks, to hold the two signs together (I hot glued the pieces onto the signs, going across the seam). With my sign built, I was ready to decorate!
I started by painting the sign white using Apple Barrel gloss acrylic paint. When the paint dried, I used a Sharpie to draw lines where the “planks” shifted because I wanted a fence-look. With the lines drawn, I used the dry brush technique to add another coat of white paint in order to soften the black lines.
I added the words Family Birthdays next. “Family” is a metal word cutout from the Dollar Tree, which I painted with Apple Barrel Cool Blue. I used hot glue to attach it to the sign. I mixed my own purple using blue, red, and white paint to add the word Birthdays to the sign. Using a Sharpie I wrote the names of the months across the bottom of the sign, one month per plank. Then I painted the entire sign (including the metal word) with Mod Podge to seal the paint. Finally, I added a bit of ribbon to the two short sides to hide the rough edges.
I drafted Ballet Boy to help me again at this point. He drilled one hole into the bottom of each of the planks with a month, and a larger one up near the top so I could install the pinwheel.
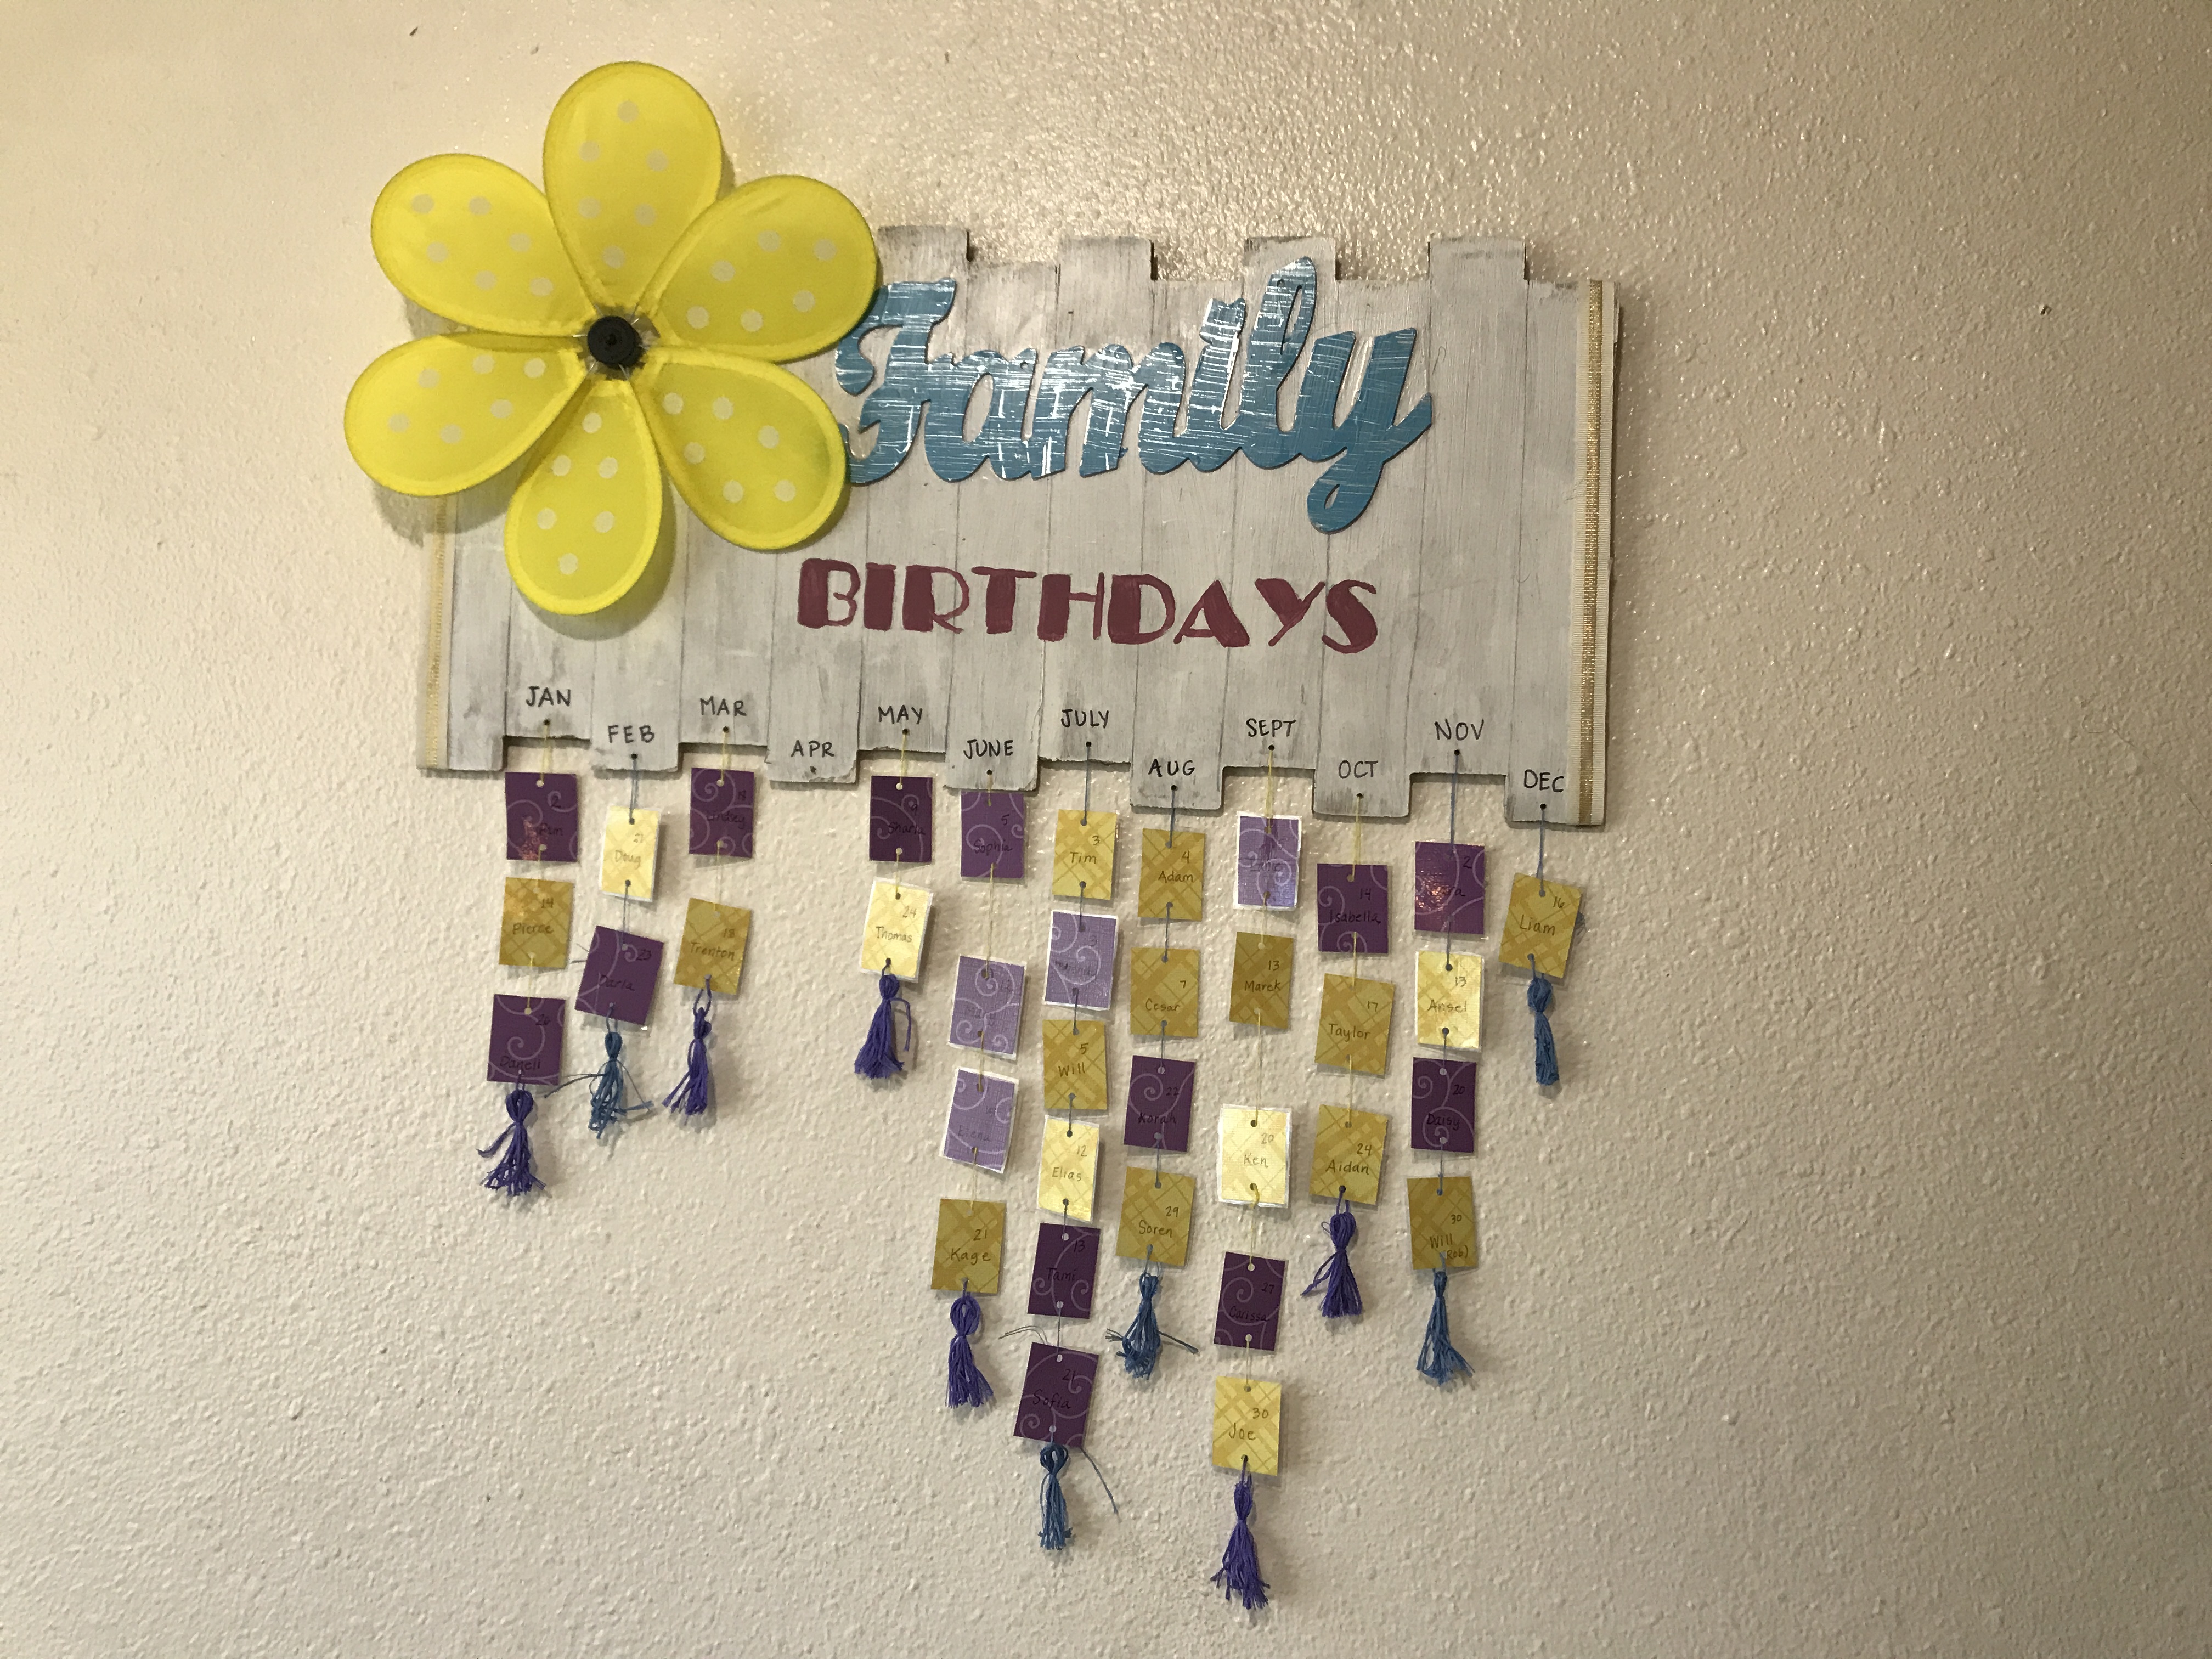
I gathered up all the birthdays from the extended family, and took some decorative cardstock (from the scrapbook paper open stock at JoAnn). Using the planks on my sign as a template of sorts, I cut small rectangles from the paper and added each person’s name and day of birth (not the month) to one rectangle. I laminated all the rectangles using DT packing tape, and then organized them by month. I used a small hole punch to add holes to the top and bottom of each rectangle, then using embroidery thread I attached the papers to the bottom of the sign under the correct month (in order within the month). I added a bit of hot glue to the back of each rectangle to help keep the thread in place, and added a tassel to the last rectangle of each month.
The last thing I did was to take some brown Kraft paper and cover up the ugly back. It used to be the fronts of the two signs, but now it was terrible looking because of those popsicle sticks holding the two boards together. I used a bit of hot glue to hold the paper on. Then I used cotton yarn (ch 13, slip stitch in 2nd ch from hook and in each ch across) to create two hangers for the back. Using copious amounts of hot glue for stability, I attached the hangers to the back of the sign.
If you’re still here after all this, thank you for reading!
Blessings,
