Ladybug Daydreams

food

New York Style Bagels at Home

Posted by Wendy on April 29, 2013 7 Comments

We love bagels at my house. On Sunday mornings before church, I make breakfast sandwiches – egg, cheese, and bacon on a bagel. Yum! We used to buy them from a local coffee shop, but they got a new owner who raised the prices (drastically) and lowered the quality. So I figured out how to make them at home instead. Until this week, I’ve been buying the bagels, but a couple weeks ago there was an article about bagels in the local newspaper, which was accompanied by a recipe. I’d been meaning to try it, but never remembered until it was too late on Saturday night. Well, this week, I remembered on Saturday morning!

So here we go: New York style bagels in 6 basic steps…

image

Make the dough and knead it for ten minutes. (Recipe to follow)

image

Let it rise for an hour until doubled in size.

image

image

image

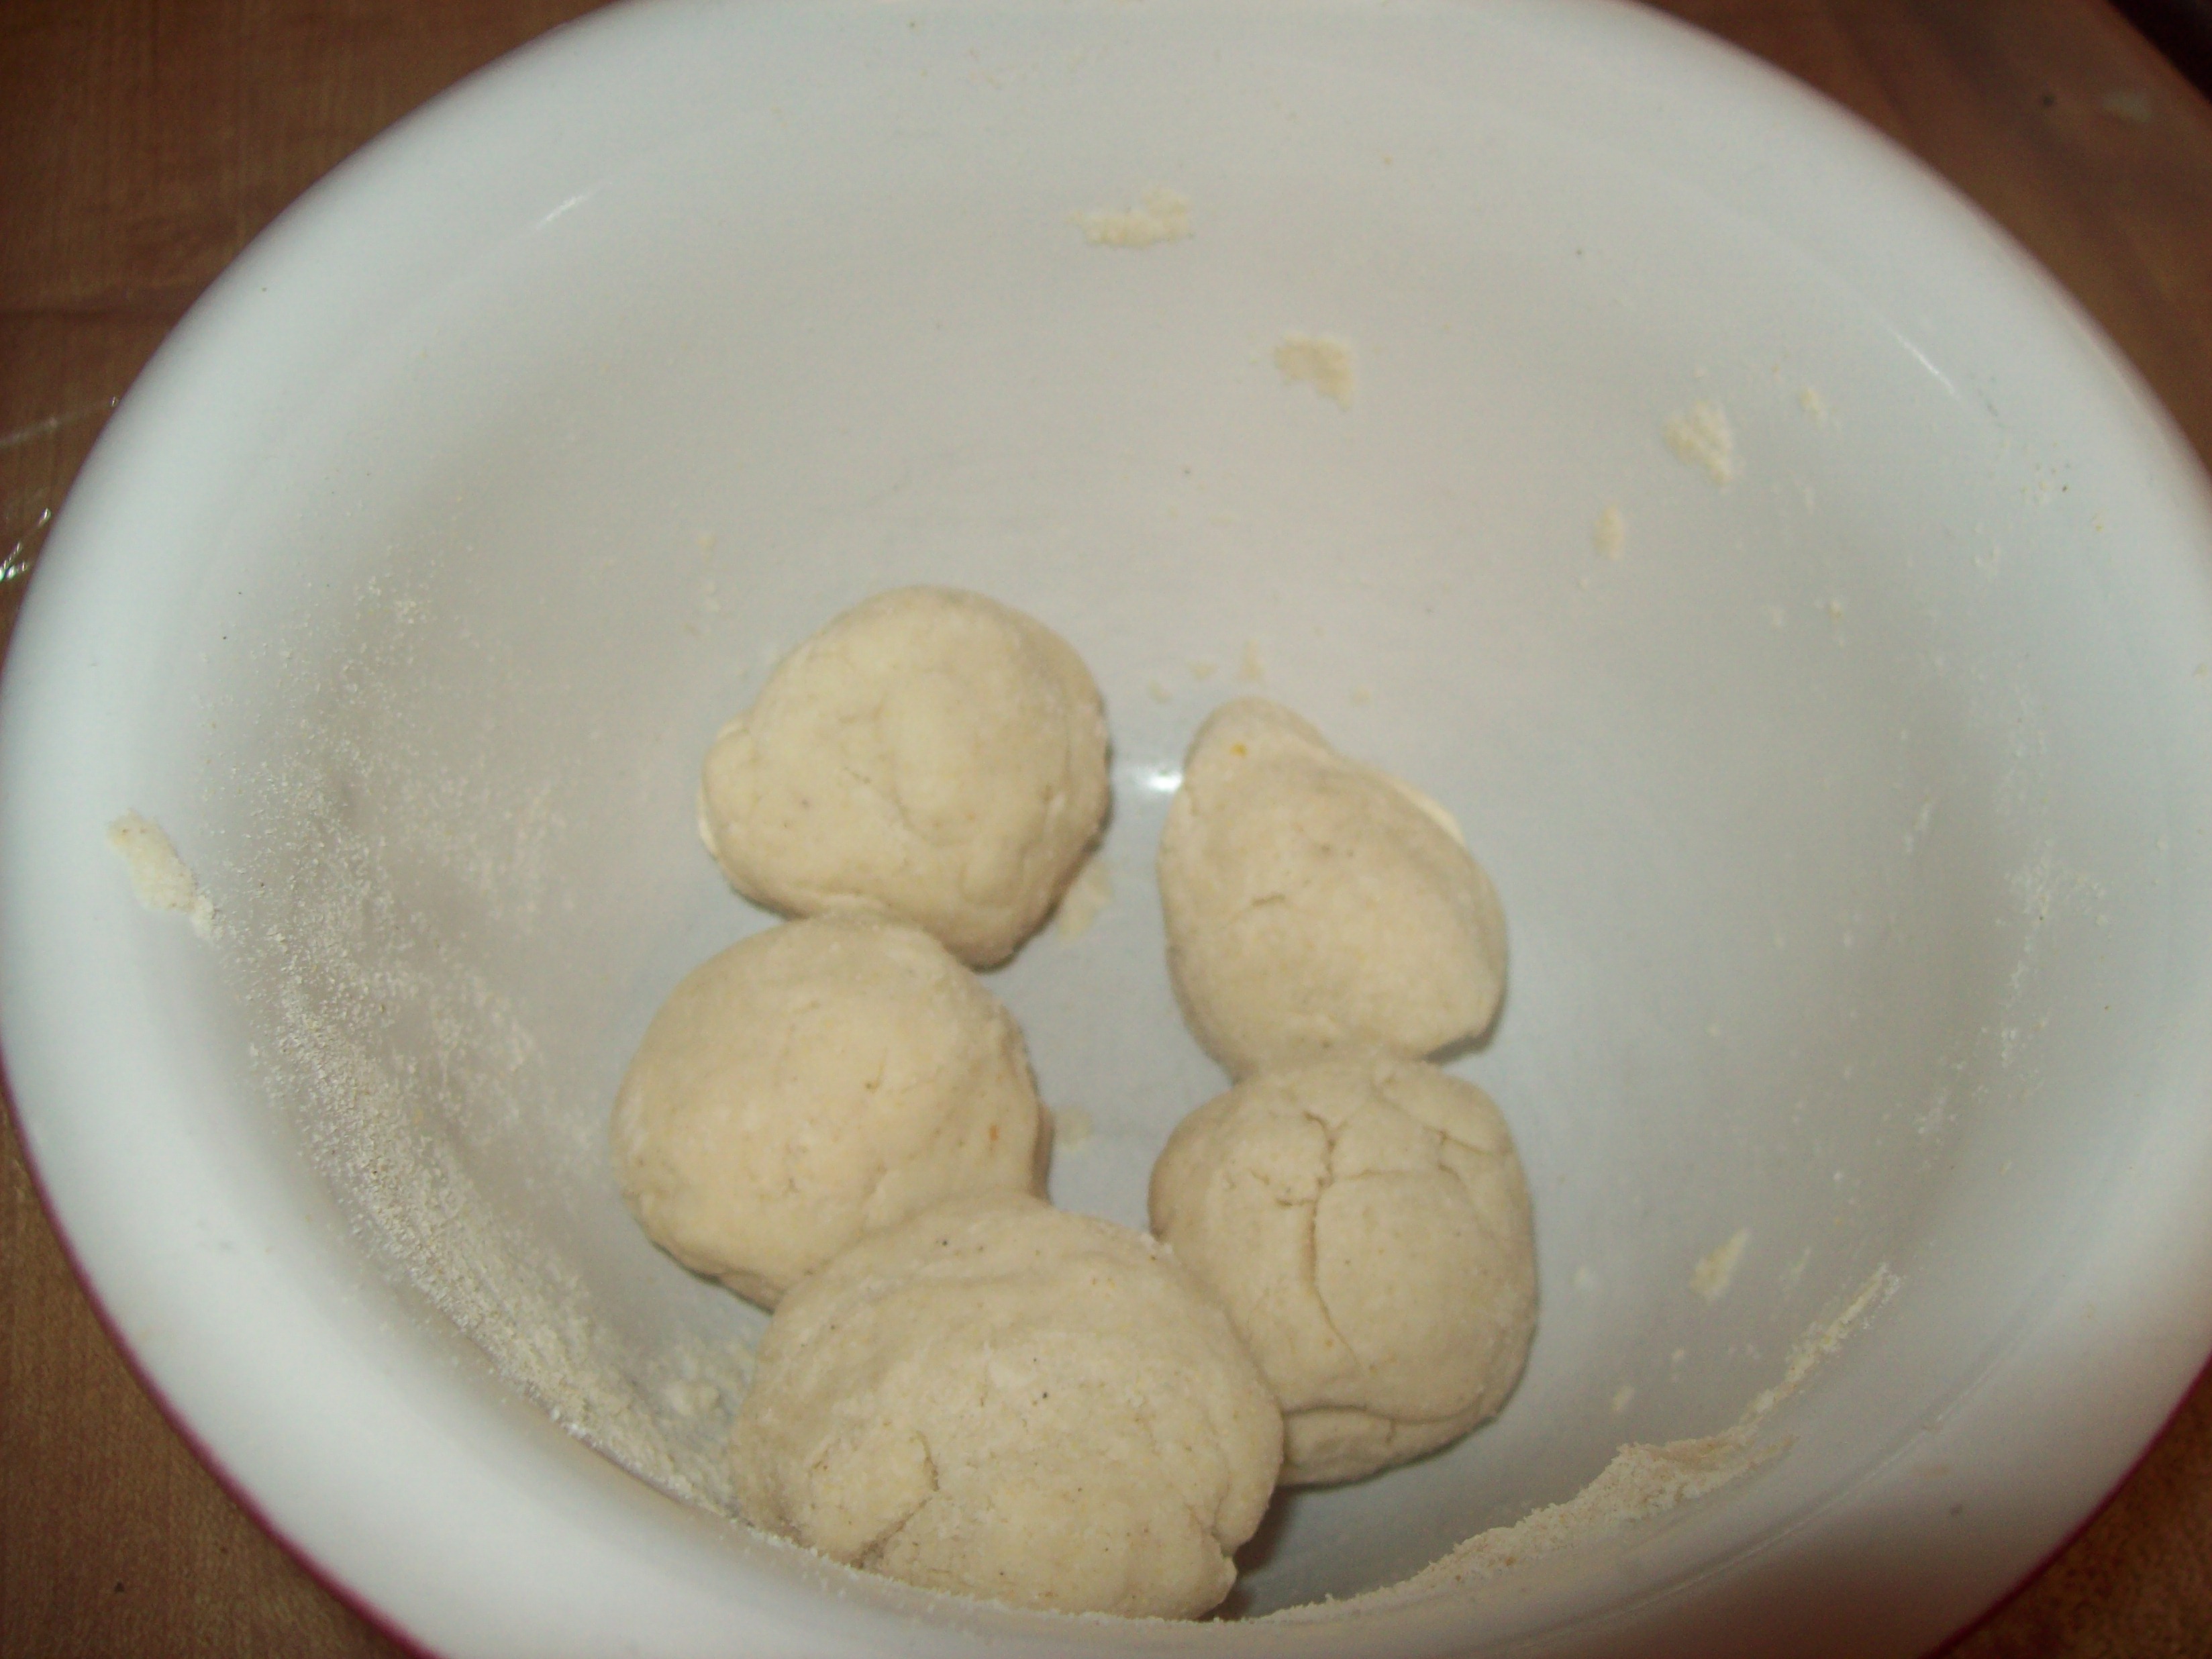
Divide the dough into 8 pieces and shape into balls.

image

Using your finger, create a hole in each dough ball. Let the bagels rest for 10 minutes.

image

Boil the bagels. This is the step that turns “bagel shaped bread” into bagels.

image

Bake.

I hope you enjoy making – and eating – your own bagels as much as I did!

EASY NEW YORK STYLE BAGELS
Yield: 8 bagels
Recipe from The Oregonian, Tuesday April 2nd

1 1/4 cup water (more as needed)
1 1/2 tablespoons granulated sugar (I use raw, not granulated, and they turned out fine)
2 teaspoons active dry yeast
3 1/2 cups bread flour, plus more for kneading (I used 2 1/2 cups King Arthur bread flour and 1 cup generic whole wheat flour)
2 1/4 teaspoon salt
Egg wash (optional)
Various toppings (optional)

In a small bowl, add 1/2 cup warm water. Pour in sugar and yeast but do not stir. Let sit for 5 minutes, then stir to dissolve.

In a large bowl, combine flour and salt. Make a well in the center and pour in the yeast/sugar mixture.

Add enough of the remaining water (it took about another full cup for me) and mix well to form a moist, firm dough.

On a well floured countertop, knead the dough for about 10 minutes, being generous about working in additional flour. Your finished dough should be firm and stiff.

Lightly brush a large bowl with oil. Add the dough and turn it so it’s coated with oil. Cover and let rise for an hour, until doubled in size. Punch the dough down and let rest for 10 minutes.

Using a bench scraper or knife, divide dough into 8 equal pieces. Shape each into a ball by rolling gently on the countertop.

Coat a finger in flour and gently press your finger into the center of each dough ball to form a ring. Stretch the ring to about a third of the diameter of the bagel and place on a lightly oiled baking sheet. Repeat with remaining dough balls. Cover bagels and allow to rest for 10 minutes.

*note: use a bigger baking sheet than you think you’ll need in this step to avoid dirtying 2 pans. The bagels grow considerably during the boiling process. Mine was 11×17 which was about perfect.

Meanwhile, bring a large pot of water to a boil and heat your oven to 425*. When water is boiling, reduce heat to a simmer. Working in batches of 2 to 3 bagels, gently slide into the water. They should float almost immediately. When they do, set the timer for 2 minutes. Turn and boil for 2 additional minutes. Move to a wire rack to drain.

Return to the oiled baking sheet. If you want to add toppings, brush the bagels with an egg wash and add toppings as desired. If not, omit the egg wash. Bake in preheated oven for 20 minutes.

Enjoy!

Posted in: cooking/baking | Tagged: bagels, baking, diy, food, homemade

Homemade Corn Tortillas

Posted by Wendy on March 27, 2013 5 Comments

I know I’m not the first, and I probably won’t be the last, to blog about the joys of making your own corn tortillas, but I gotta tell you, if you’ve never tried it, you MUST!

Tortillas are one of those things that I always thought just kind of “existed.” I never even considered the idea that I could make my own. I started with flour tortillas a few weeks ago, and while they’re better than store-bought, they’re not “I’ll never buy them again” good. The corn tortillas, though, are to die for! It takes about an hour start to finish (plus the time to make your filling), but it’s completely worth it! Here’s how you do it:

First, buy some Maseca from the Hispanic foods aisle of your grocery store. It’s priced comparably to flour, so not too much :). In case you don’t know, Maseca is corn flour – NOT to be confused with corn starch. Maseca won’t thicken your gravy, and corn starch won’t make good tortillas.

Kids Nov 2012 015

Here’s what it looks like out of the bag:

Kids Nov 2012 016

Now, I forgot to take a picture of the next step, but it’s just adding water according to the specifications on the bag to make a dough.

Then you form your dough into balls. I actually made 12, not 5, but again, forgot to take a picture in the beginning.

Kids Nov 2012 023

The next several pictures are essentially one step: flatten the balls into tortillas. If you have a tortilla press, I’ve heard (read) that this is a lot easier. If you, like me, don’t, it’s still not worth not trying over. The most important thing to remember is that you have to use plastic wrap on either side of your tortilla. Using additional Maseca, like flour on a pie dough, doesn’t work. Trust me on that! I tried it that way the first time I made these and almost gave up. Plastic wrap, or a cut open plastic bag, is the way to go.

First, place your tortilla ball between two pieces of plastic:

Kids Nov 2012 017

Then flatten it with a cast iron skillet (I found that it’s best to squish it down, then turn the whole thing, plastic wrap and all, over and do it again before moving on):

Kids Nov 2012 018

Finally, without removing the plastic wrap, roll it out with a rolling pin (again, flipping it over inside the wrap a time or two):

Kids Nov 2012 020

Kids Nov 2012 019

Kids Nov 2012 021

Kids Nov 2012 022

Carefully peel the plastic wrap away and place your tortillas on a baking sheet (with layers separated by plastic – are you sensing a theme here?) to await their turn on the griddle:

Kids Nov 2012 024

Kids Nov 2012 025

Kids Nov 2012 027

I then put my plastic wrap into my jar of Maseca so I can use it next time. I hate throwing away plastic, so I’m going to use that baby as many times as I can!

Kids Nov 2012 026

Now you’re ready to cook them! They take 45-60 seconds per side.

Kids Nov 2012 028

Kids Nov 2012 030

You’ll more than likely end up with small pieces that break off; cook them anyway and enjoy them as a cooking snack!

Kids Nov 2012 031

That’s it! Once they’re all done, use them the same way you would their store-bought counterparts.

Kids Nov 2012 032

Have you ever made your own tortillas? How did it go? If you haven’t, are you interested in trying? Let me know in the comments!

name plate copy

Posted in: cooking | Tagged: cast iron skillet, corn tortillas, dinner, diy, food, homemade

Welcome!

Welcome to Ladybug Daydreams! My name is Wendy, and I’m glad you’re here. I am a homeschooling mom to 5 boys. I write about homeschooling, homeschool curriculum, yarn (both knitting and crochet), and more! I hope you enjoy what you read.

June 2025
S M T W T F S
1234567
891011121314
15161718192021
22232425262728
2930  
« Feb    

Search

MyFreeCopyright.com Registered & Protected

Copyright © 2025 Ladybug Daydreams.

Theme by themehall.com.