Picture of the Week

What could be better than a sleeping Small Fry wrapped up in the quilt my late grandmother made for me as a child? I love it so much that I’ve been restoring it the past few weeks, and it’s back in action now!


What could be better than a sleeping Small Fry wrapped up in the quilt my late grandmother made for me as a child? I love it so much that I’ve been restoring it the past few weeks, and it’s back in action now!
If your kids are anything like mine, you probably have a lot of pants come through your washing machine with ripped out knees. Here’s a creative way to patch them up, courtesy of Family Fun Magazine!


The tutorial in the magazine had you use white felt for the eyes, but we used buttons instead, mostly because it was 1 a.m. and we were ready to be done with this project! We did it as a surprise for Seahawk – he’s much harder on his pants than Munchkin, which is only compounded by the fact that when we were buying them, Target only one pair in his size. He was dubious at first, but loves his Monster Patch now. Oh, and lest you think I’m the only crafty one in the family, that’s hubby’s hand doing the sewing :).
What’s your favorite way to patch a hole? Let me know in the comments!
I know I’m not the first, and I probably won’t be the last, to blog about the joys of making your own corn tortillas, but I gotta tell you, if you’ve never tried it, you MUST!
Tortillas are one of those things that I always thought just kind of “existed.” I never even considered the idea that I could make my own. I started with flour tortillas a few weeks ago, and while they’re better than store-bought, they’re not “I’ll never buy them again” good. The corn tortillas, though, are to die for! It takes about an hour start to finish (plus the time to make your filling), but it’s completely worth it! Here’s how you do it:
First, buy some Maseca from the Hispanic foods aisle of your grocery store. It’s priced comparably to flour, so not too much :). In case you don’t know, Maseca is corn flour – NOT to be confused with corn starch. Maseca won’t thicken your gravy, and corn starch won’t make good tortillas.

Here’s what it looks like out of the bag:

Now, I forgot to take a picture of the next step, but it’s just adding water according to the specifications on the bag to make a dough.
Then you form your dough into balls. I actually made 12, not 5, but again, forgot to take a picture in the beginning.
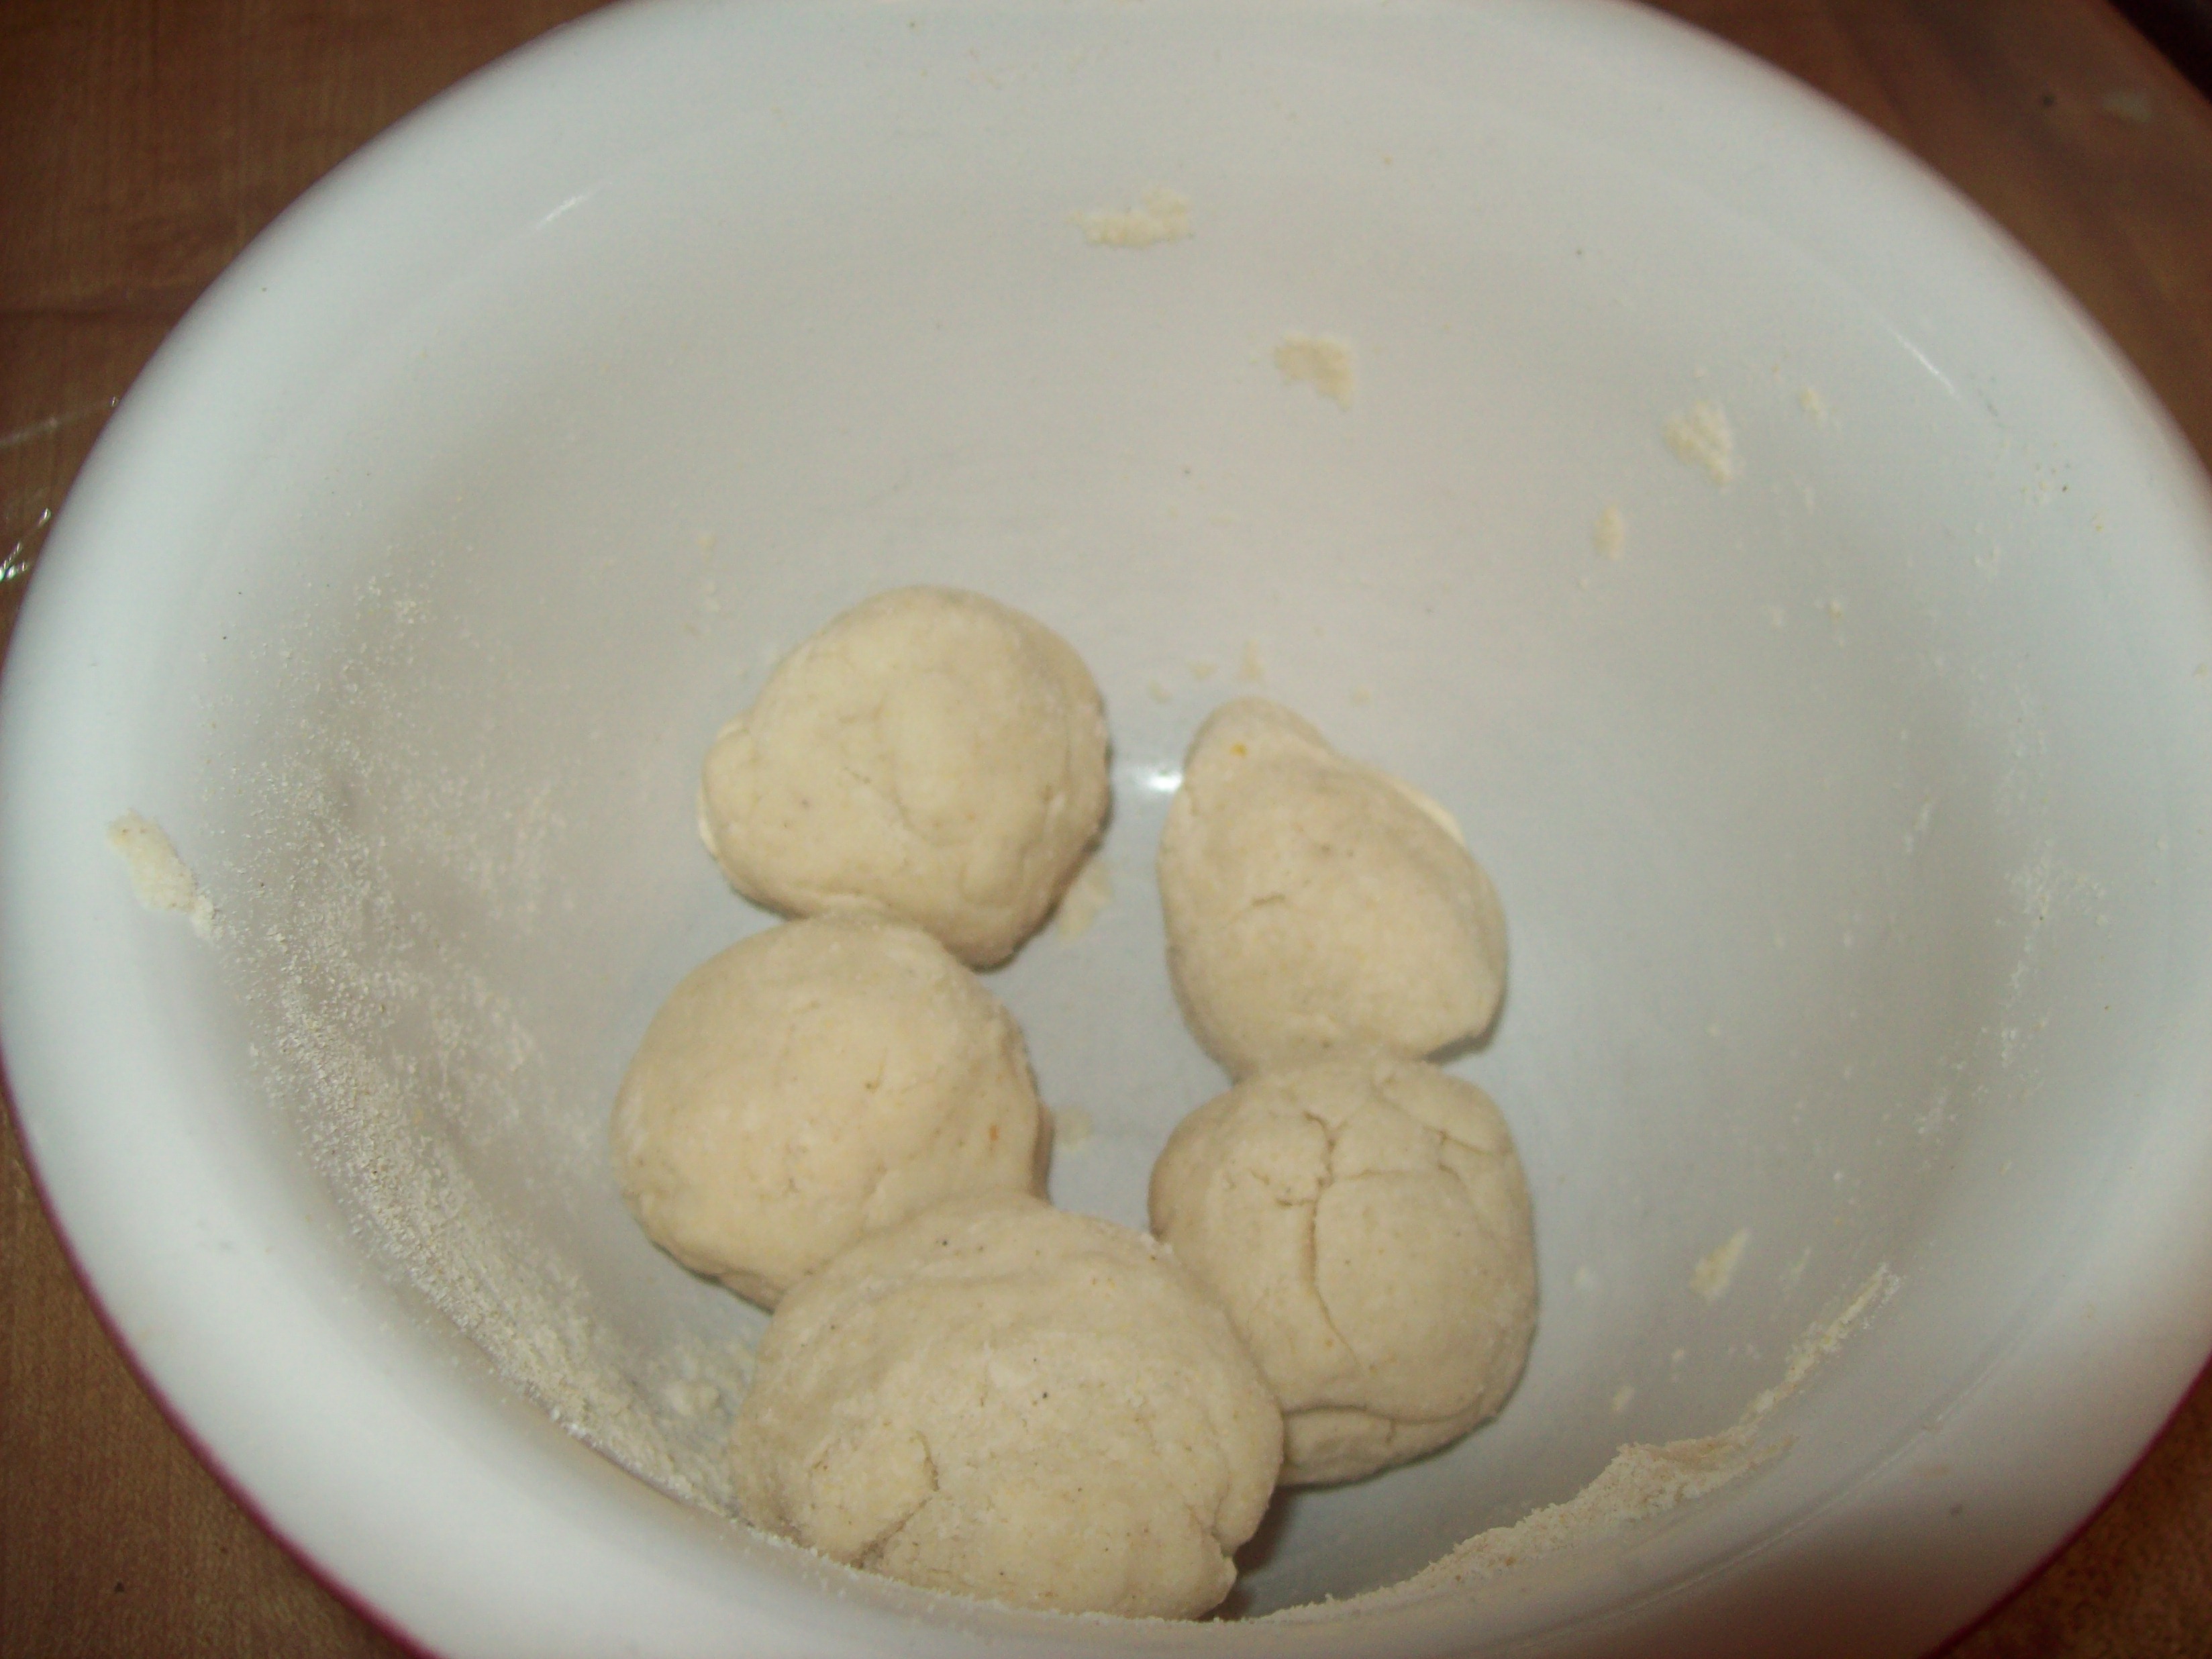
The next several pictures are essentially one step: flatten the balls into tortillas. If you have a tortilla press, I’ve heard (read) that this is a lot easier. If you, like me, don’t, it’s still not worth not trying over. The most important thing to remember is that you have to use plastic wrap on either side of your tortilla. Using additional Maseca, like flour on a pie dough, doesn’t work. Trust me on that! I tried it that way the first time I made these and almost gave up. Plastic wrap, or a cut open plastic bag, is the way to go.
First, place your tortilla ball between two pieces of plastic:

Then flatten it with a cast iron skillet (I found that it’s best to squish it down, then turn the whole thing, plastic wrap and all, over and do it again before moving on):

Finally, without removing the plastic wrap, roll it out with a rolling pin (again, flipping it over inside the wrap a time or two):


Carefully peel the plastic wrap away and place your tortillas on a baking sheet (with layers separated by plastic – are you sensing a theme here?) to await their turn on the griddle:


I then put my plastic wrap into my jar of Maseca so I can use it next time. I hate throwing away plastic, so I’m going to use that baby as many times as I can!

Now you’re ready to cook them! They take 45-60 seconds per side.


You’ll more than likely end up with small pieces that break off; cook them anyway and enjoy them as a cooking snack!

That’s it! Once they’re all done, use them the same way you would their store-bought counterparts.

Have you ever made your own tortillas? How did it go? If you haven’t, are you interested in trying? Let me know in the comments!
Hello everyone! Just a quick post to let you know that I’m going to be expanding the content I blog about beyond just my crafting. You may have gotten that idea with my last post, being as it was about our homeschool more than just a craft I made, but as I move forward from here, it will be even more obvious. I hope you enjoy the more varied content, and thanks for your support!
My hugest apologies for the long time with no posts! We moved in December and hubby decided to move his office out of the house. What that means for me is no computer or internet at home… I have access to the computer approximately once every other week (it’s not that strict, that’s just about what it ends up being on average).
Anyway… here’s a peek at what I’ve been up to. Enjoy :).
We recently studied newspapers with my boys. It was a pretty fun unit to have worked on, and I’m pleased to share our experience here with you!

First thing each morning, we read a chapter of Henry and the Paper Route by Beverly Cleary. They kids had attempted a Beverly Cleary book on their own before, and while the writing was fine for them, they were put off by the length of the chapters. So having me read aloud to them helped them notice that even though the chapters are “24 pages!” (emphasis theirs) each, it’s really not so bad. Having done this now, they’re trying again to read their copy of Henry Huggins with much more success :).
We also did a lap book about newspapers. I don’t have ready access to a computer, so everything in the lap book was handmade by me. Except for the covers. I just had them cut a page from one of the local papers to about the right size and glue it to the cover.
Here are each of their covers:


Inside, I included things not just about newspapers, but about paper in general. We learned about how a tree is made into paper:

The life cycle of a newspaper from tree to recycle bin, different parts of a newspaper, the people in the newspaper office, and the importance of ads:

On the final side of our lap book, we drew a comic. Because my husband draws comics, I had to specifically ban the kids from just copying his characters and ideas. Hubby thought that was absolutely hilarious! We also talked about the similarities and differences between newspapers and books.

In addition, we made our paper – but from other paper, not from trees ;). I used this tutorial for that.

This week, the kids are making their own newspapers. Because of that whole “no computer at home” dilemma, those will likely end up looking very similar to the lap books – handmade and rustic!
To top the whole thing off, we went in and got a private tour of the newspaper office in our town today. The publisher was incredibly generous with his time and showed us everything from a detailed going-over of the current issue to meeting the staff and showing us the computer program they use to lay out the paper.
Overall, a huge success!!