A “New” Desk
Hubby is always on a quest for the “perfect” home office. It’s always a very elusive goal, but for the first time in years, we seem to be on the right track in getting him what he wants.
We live in a split-level home; you enter on the landing between the stairs and the top floor is the main living areas (living room, kitchen, 3 bedrooms, & 2 bathrooms). The bottom floor is half underground (the windows, while normal height inside are ground level outside) and has the kids’ playroom, one bedroom, a half bathroom, and laundry facilities.
Hubby took the downstairs bedroom for his office.
When we moved in, it was an awful shade of blue – too light to be “blue” but too dark to be “white” – and had blue trim just a few shades darker than the walls. The light fixture covering was a huge yellow sun, and when you turned on the light, the yellow of the sun combined with the blue of the walls made the room appear green.
Needless to say, the first thing hubby did when he decided to make the room his home office was to take down the sun. The next thing he did was paint. He chose charcoal gray for the walls and crisp white for the trim. That alone made the room about a million times better.
His next task was furnishing it.
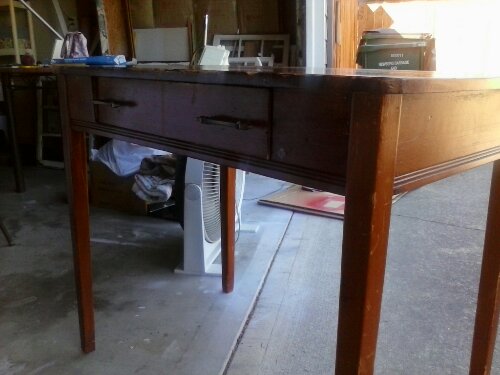
Our church was getting rid of this desk. Hubby loved it, so he brought it home.
It was quite nice as-is, but the color didn’t really go with his new gray-and-white office. Our neighbor is a wonderful lady, and she offered to help paint the table. She taught us a technique called “chalk paint” (not chalkboard paint). Basically, you mix up some Plaster of Paris with water and add it to any latex paint to make it a bit thicker, then apply as normal.
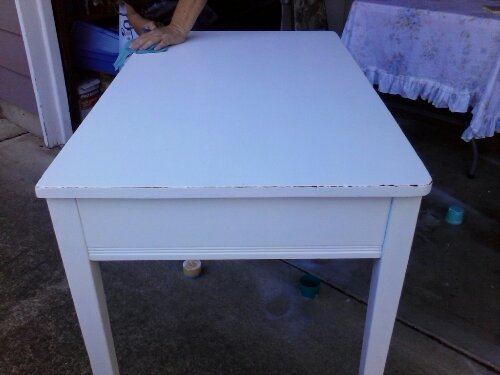
Here’s the desk after the first coat:
Tip: If you’re painting something and you need to get all the way to floor-level, lift the item to be painted up on something. In our case, we were painting the desk legs, so we propped each one up on an old spray-paint can lid.
It took a total of 3 coats to get the brown completely covered. Then our neighbor took some sandpaper and distressed the edges of the table.
We polished it up with a bit of wax, and it was like a whole new desk!
Before:
After:
It looks so amazing in the room now!
–Wendy


