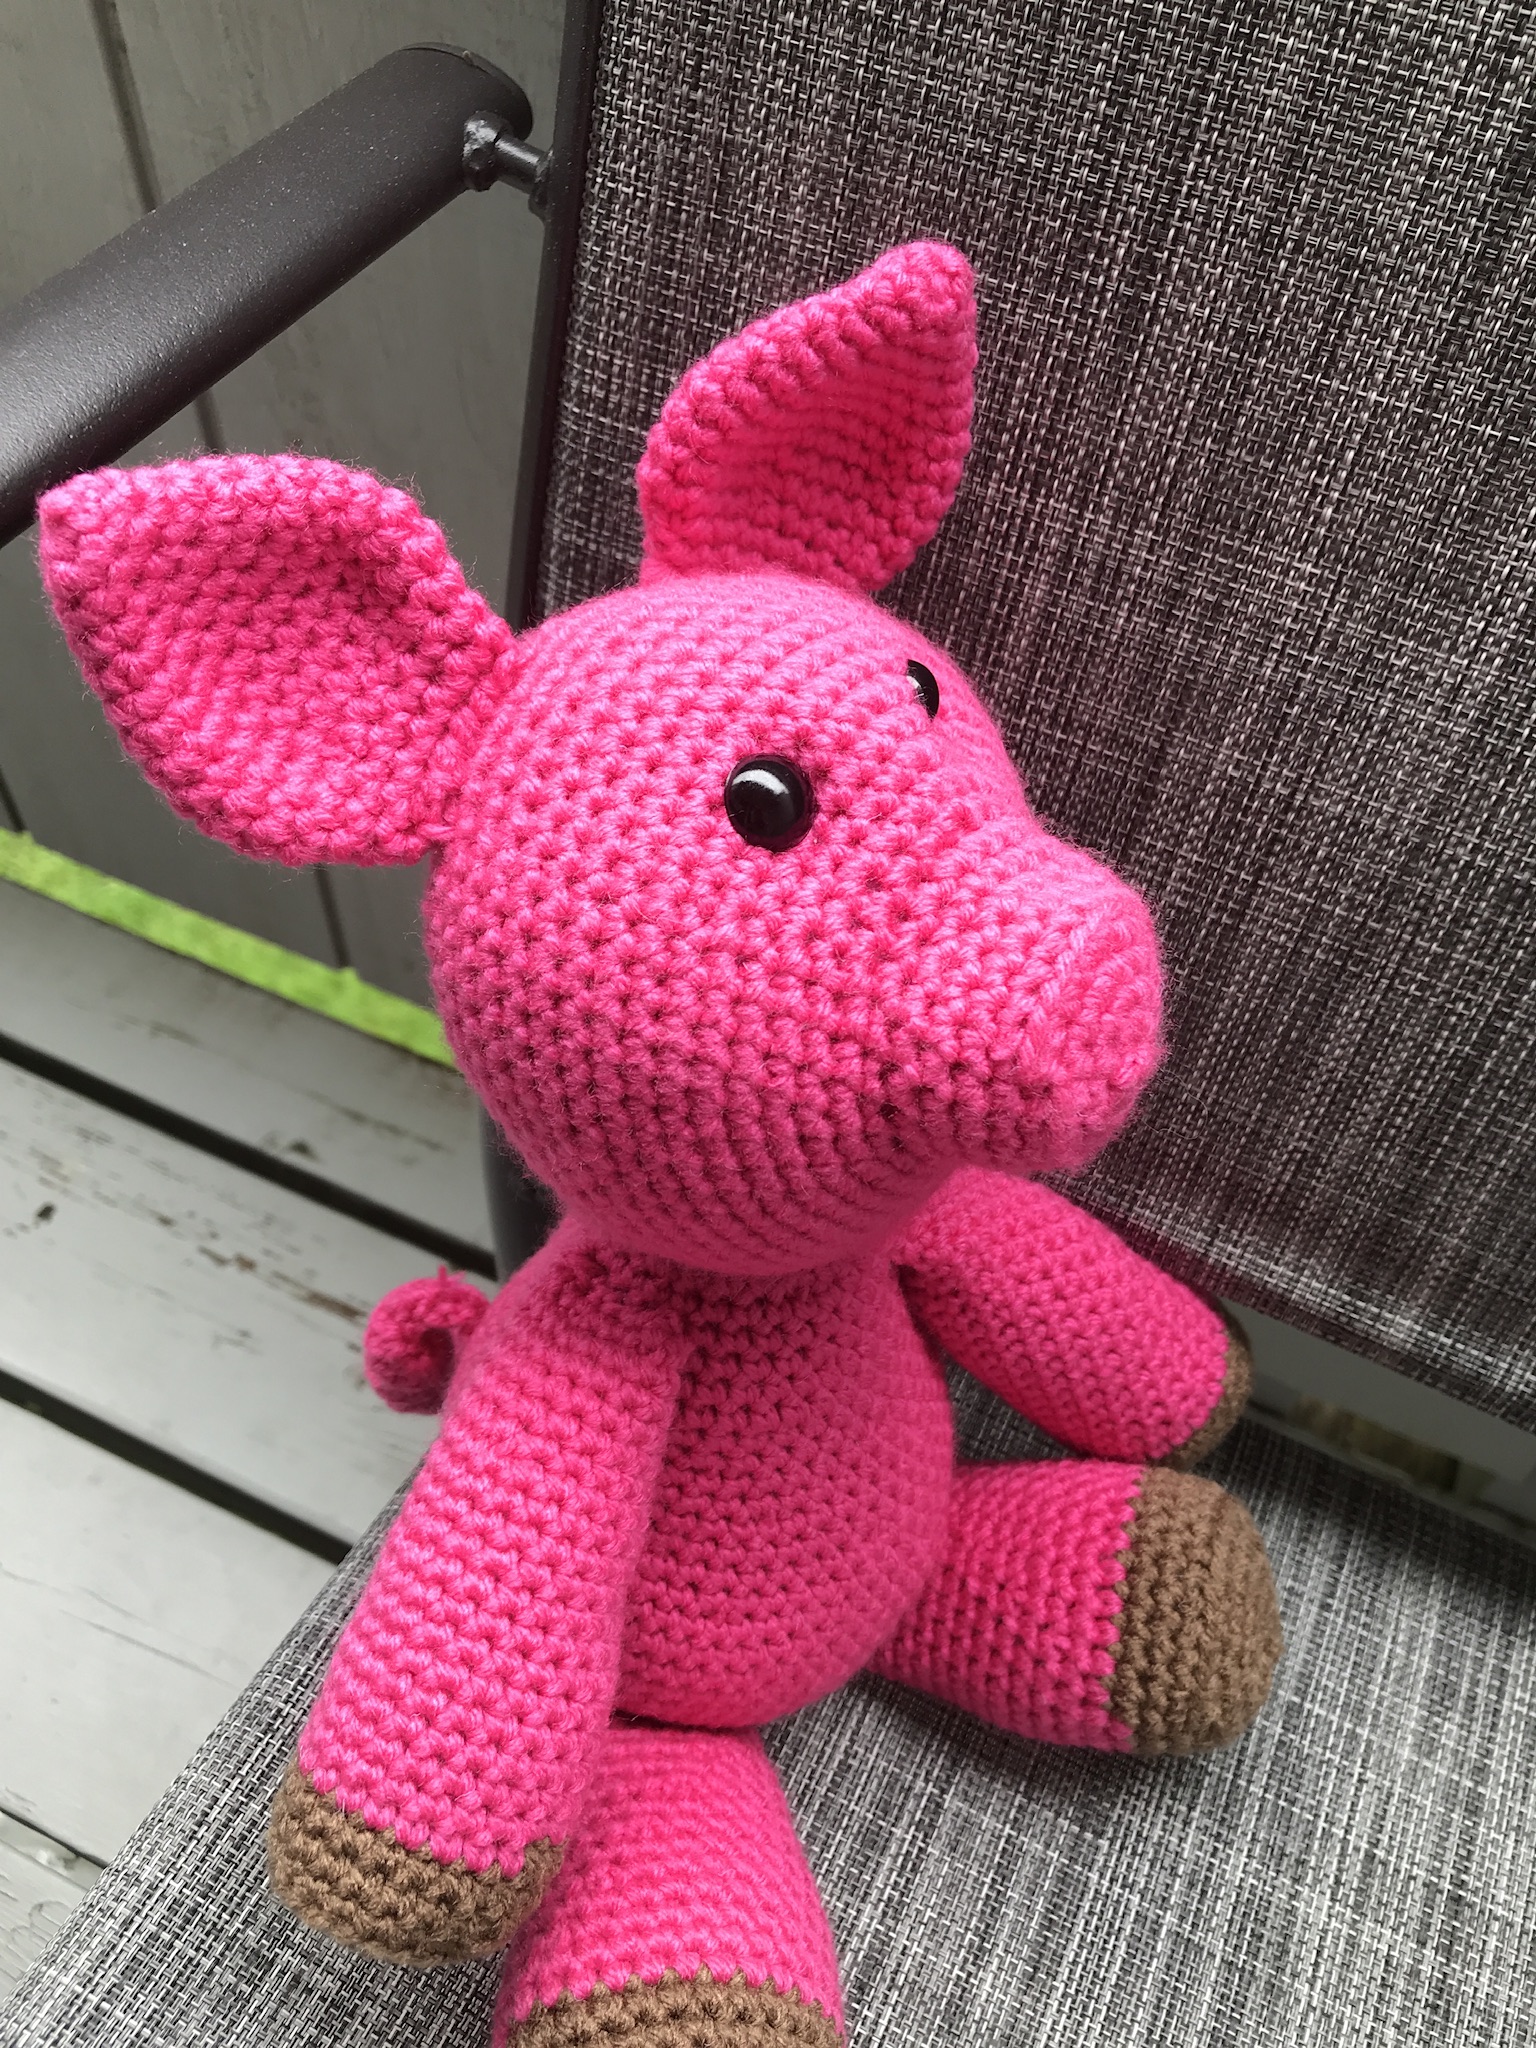
It’s no secret that I’ve spent much of April and May making crochet toys (also known as “amigurumi”). After making so many, I got the idea stuck in my head that I wanted to make a pig. I loved the patterns from Jess Huff so much that I decided to base my pig off of her design. Hers all follow the same basic pattern, and they really are some of the cutest I’ve ever come across. The parts of the design that are my own I will give a pattern for here. Those that are hers, I will link to (it wouldn’t be right to republish her pattern).
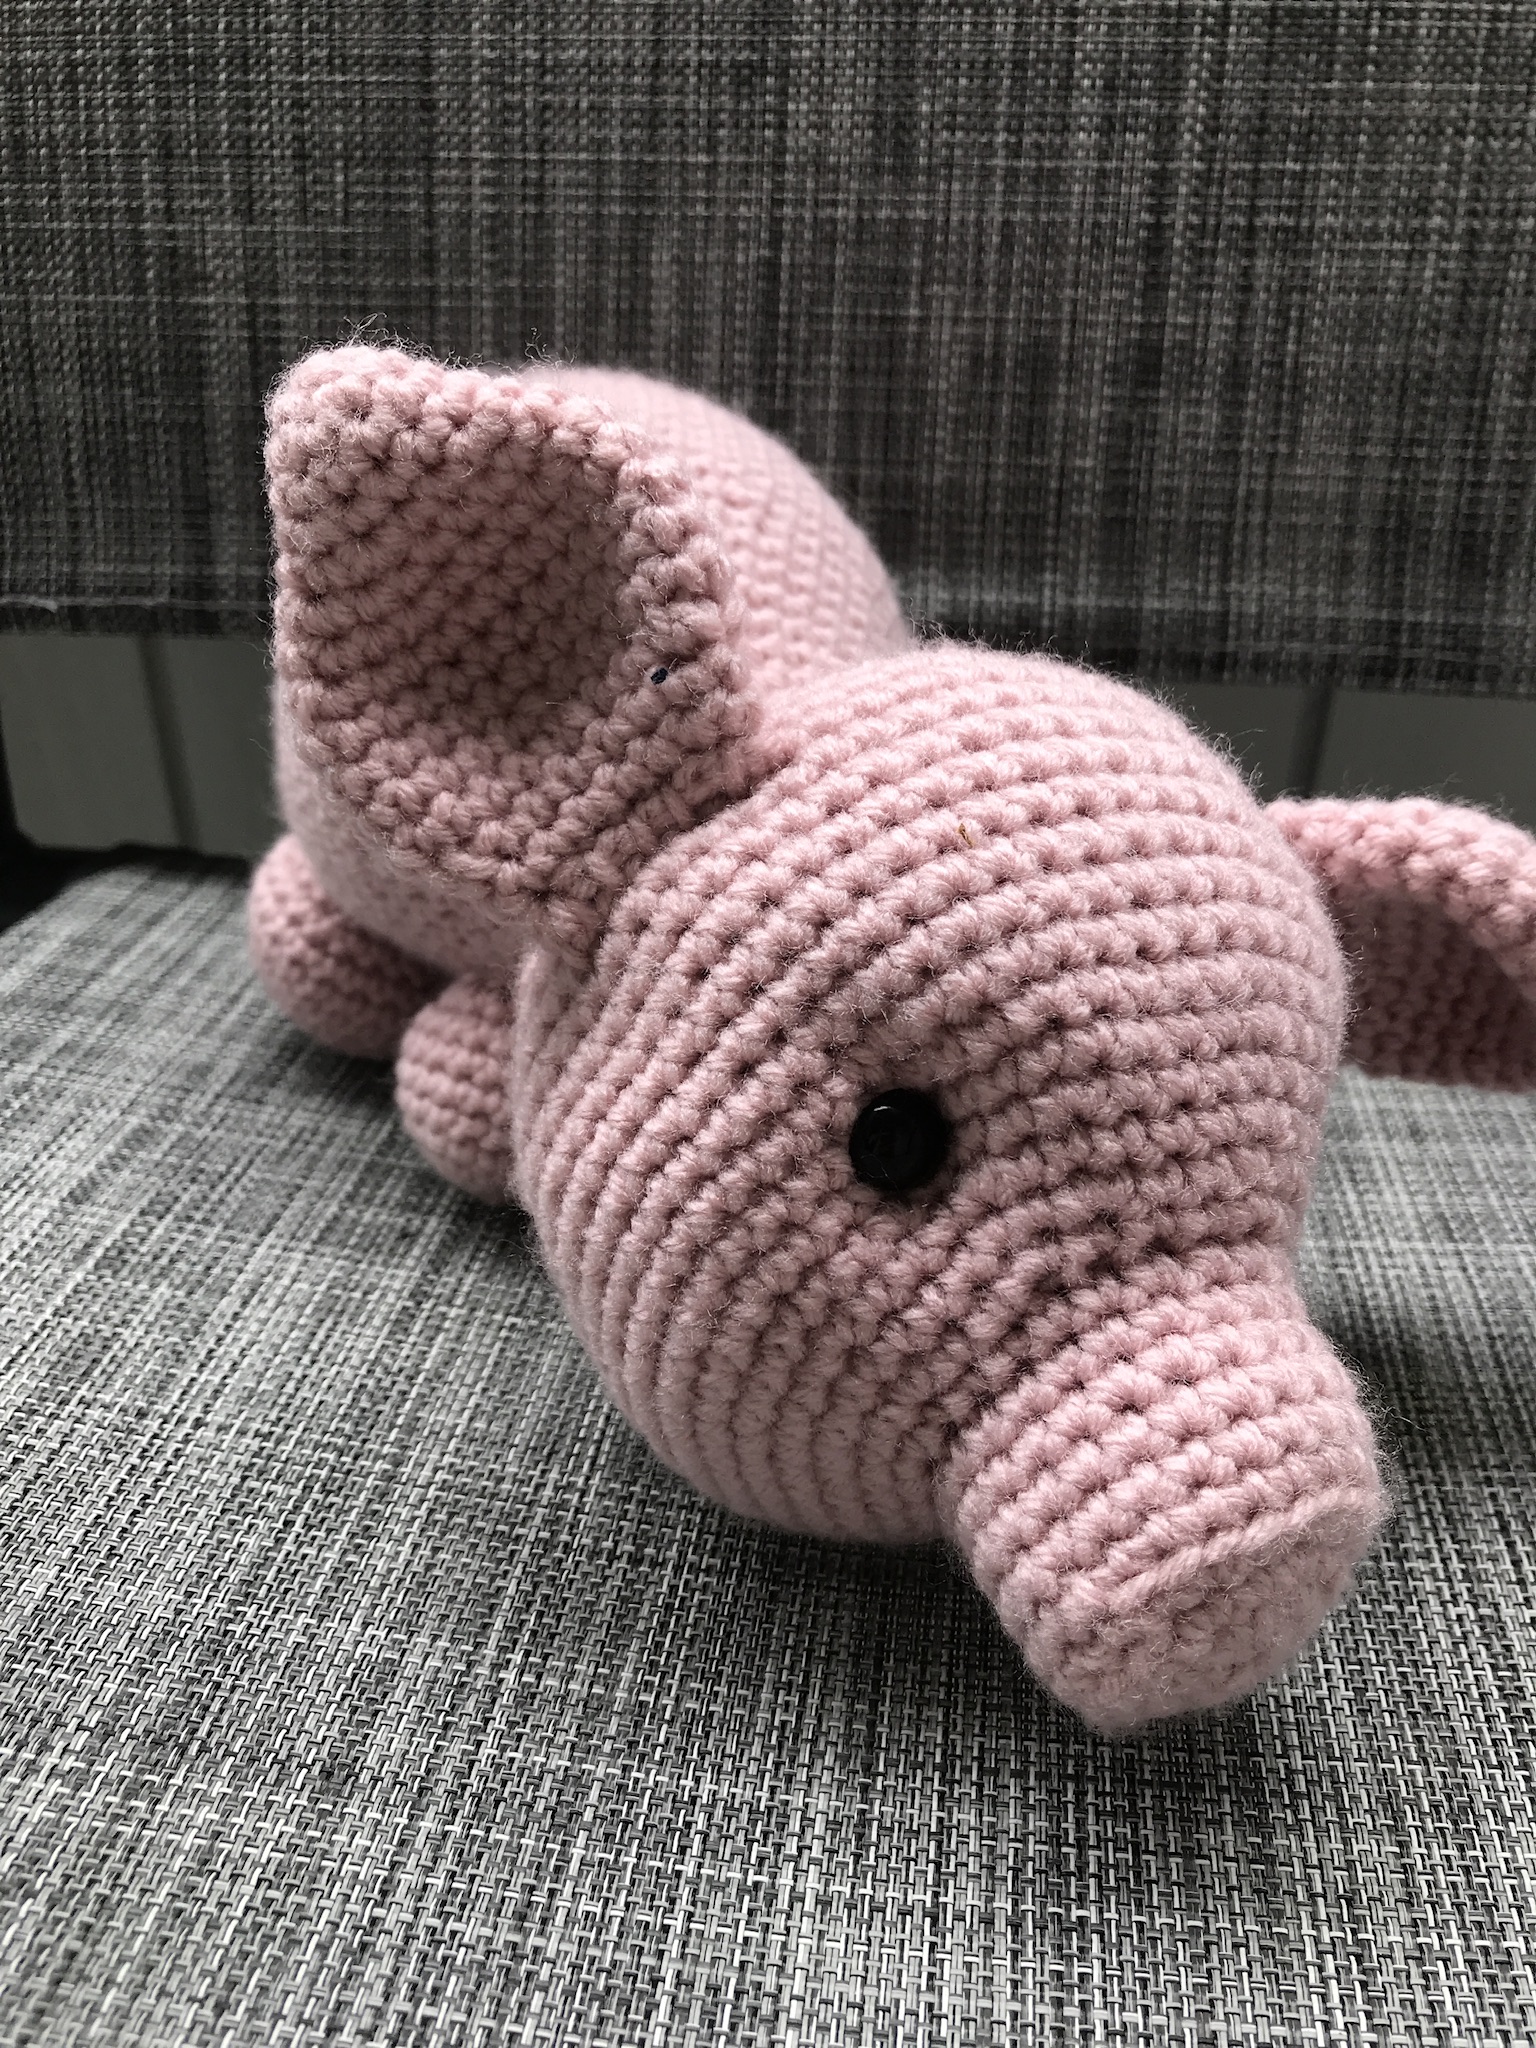
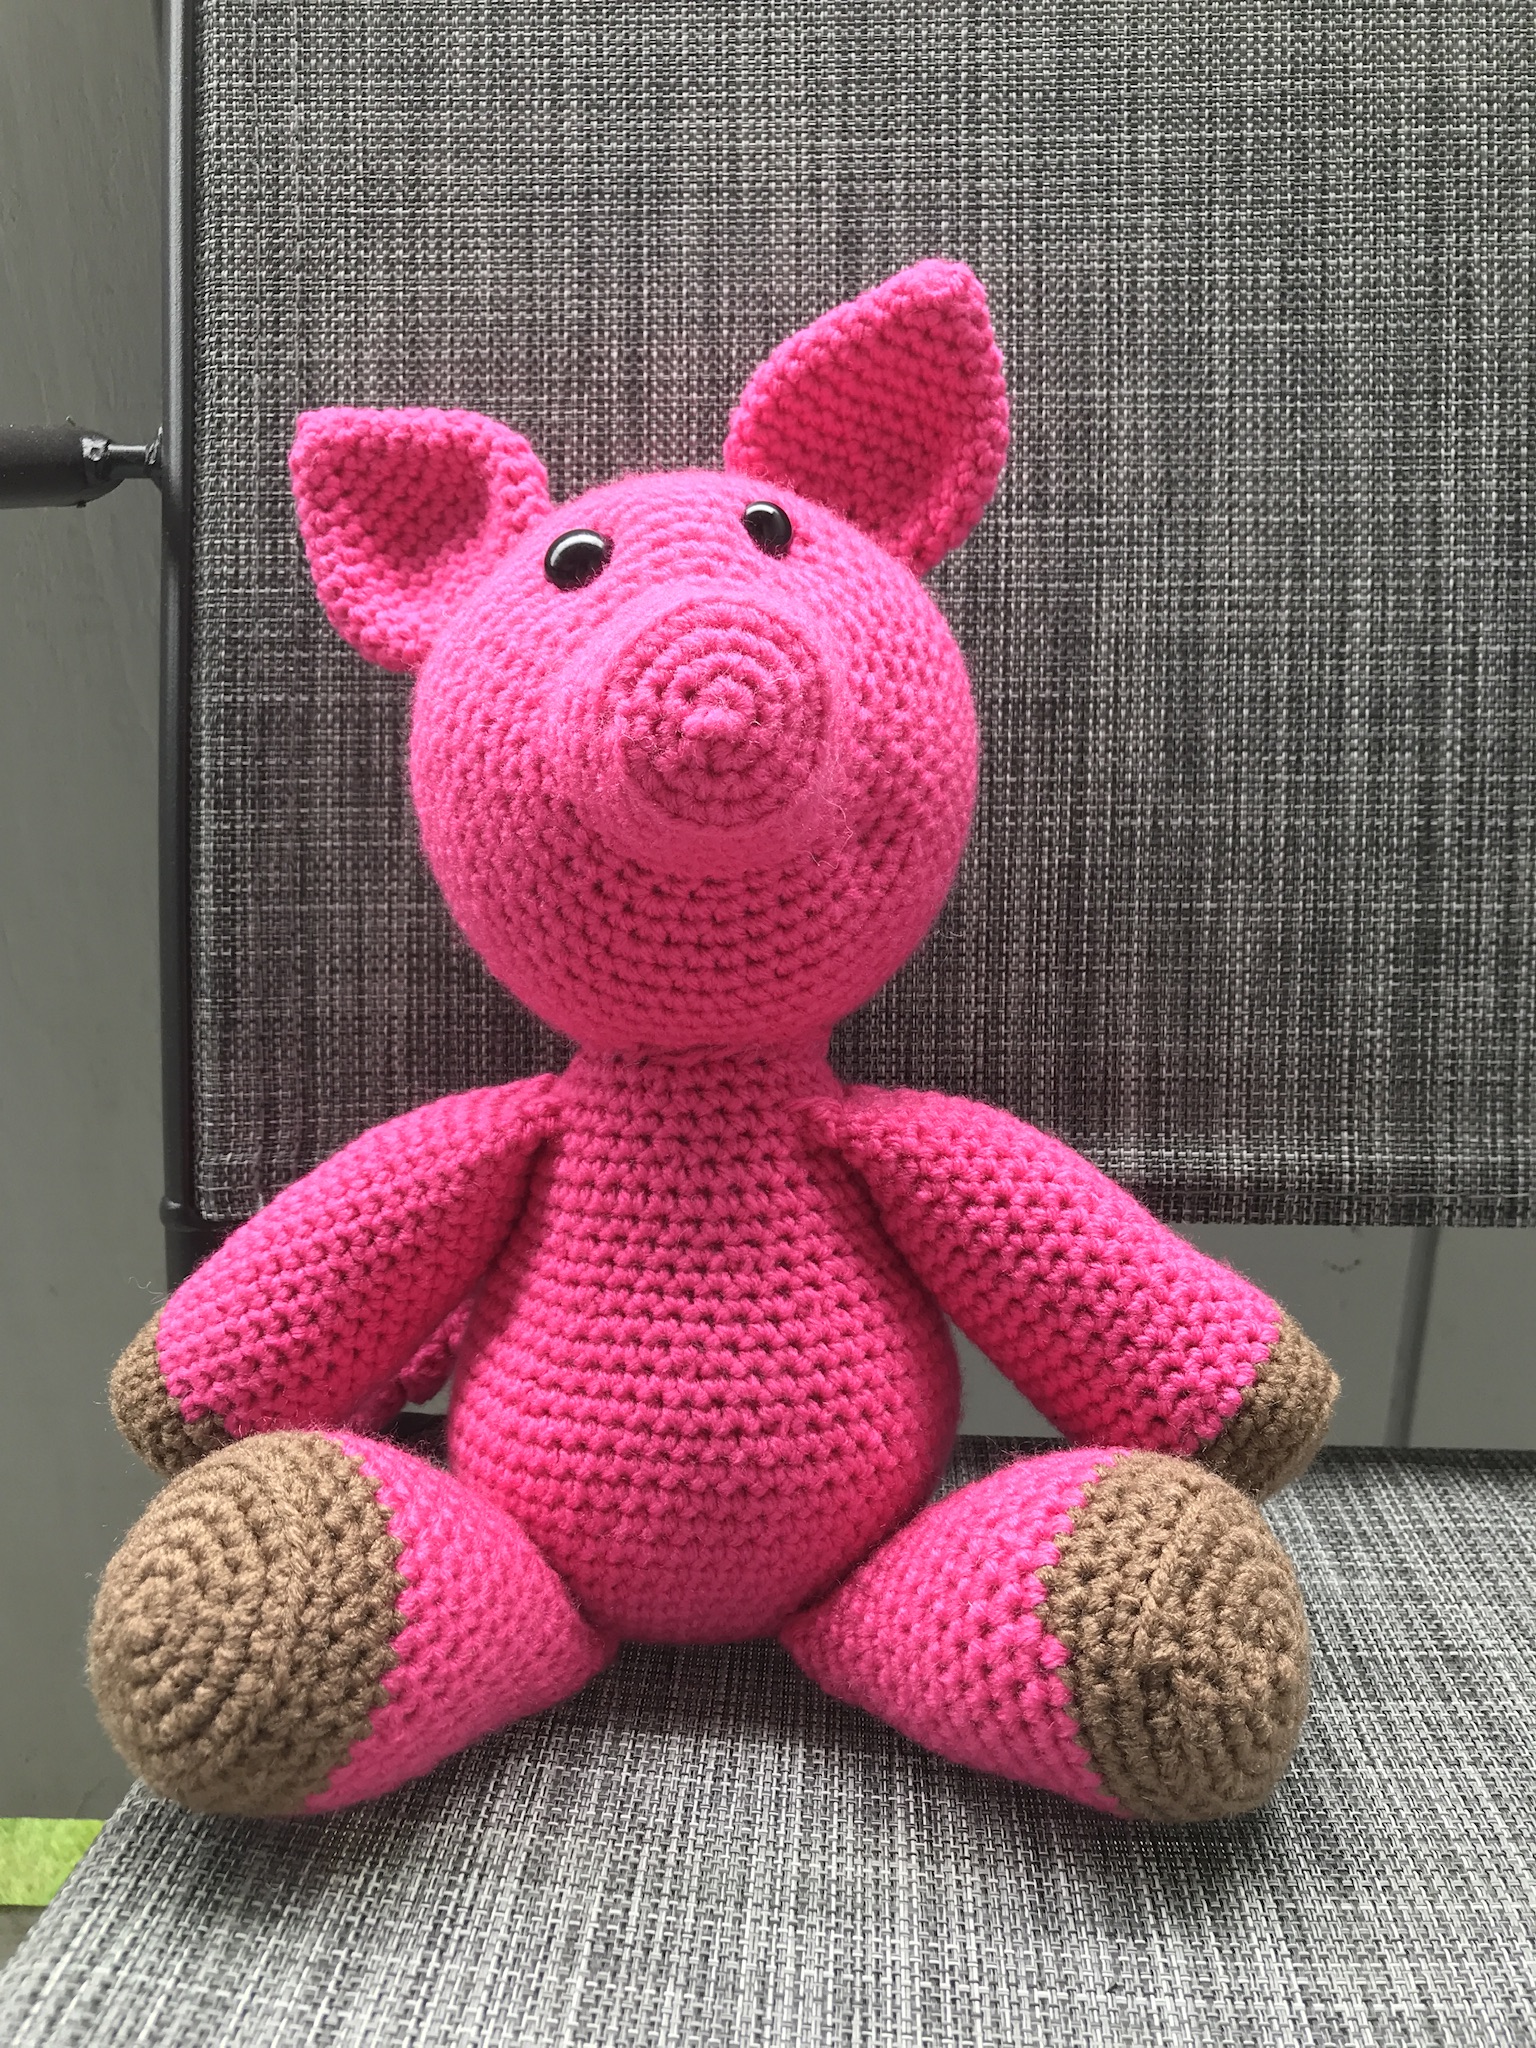
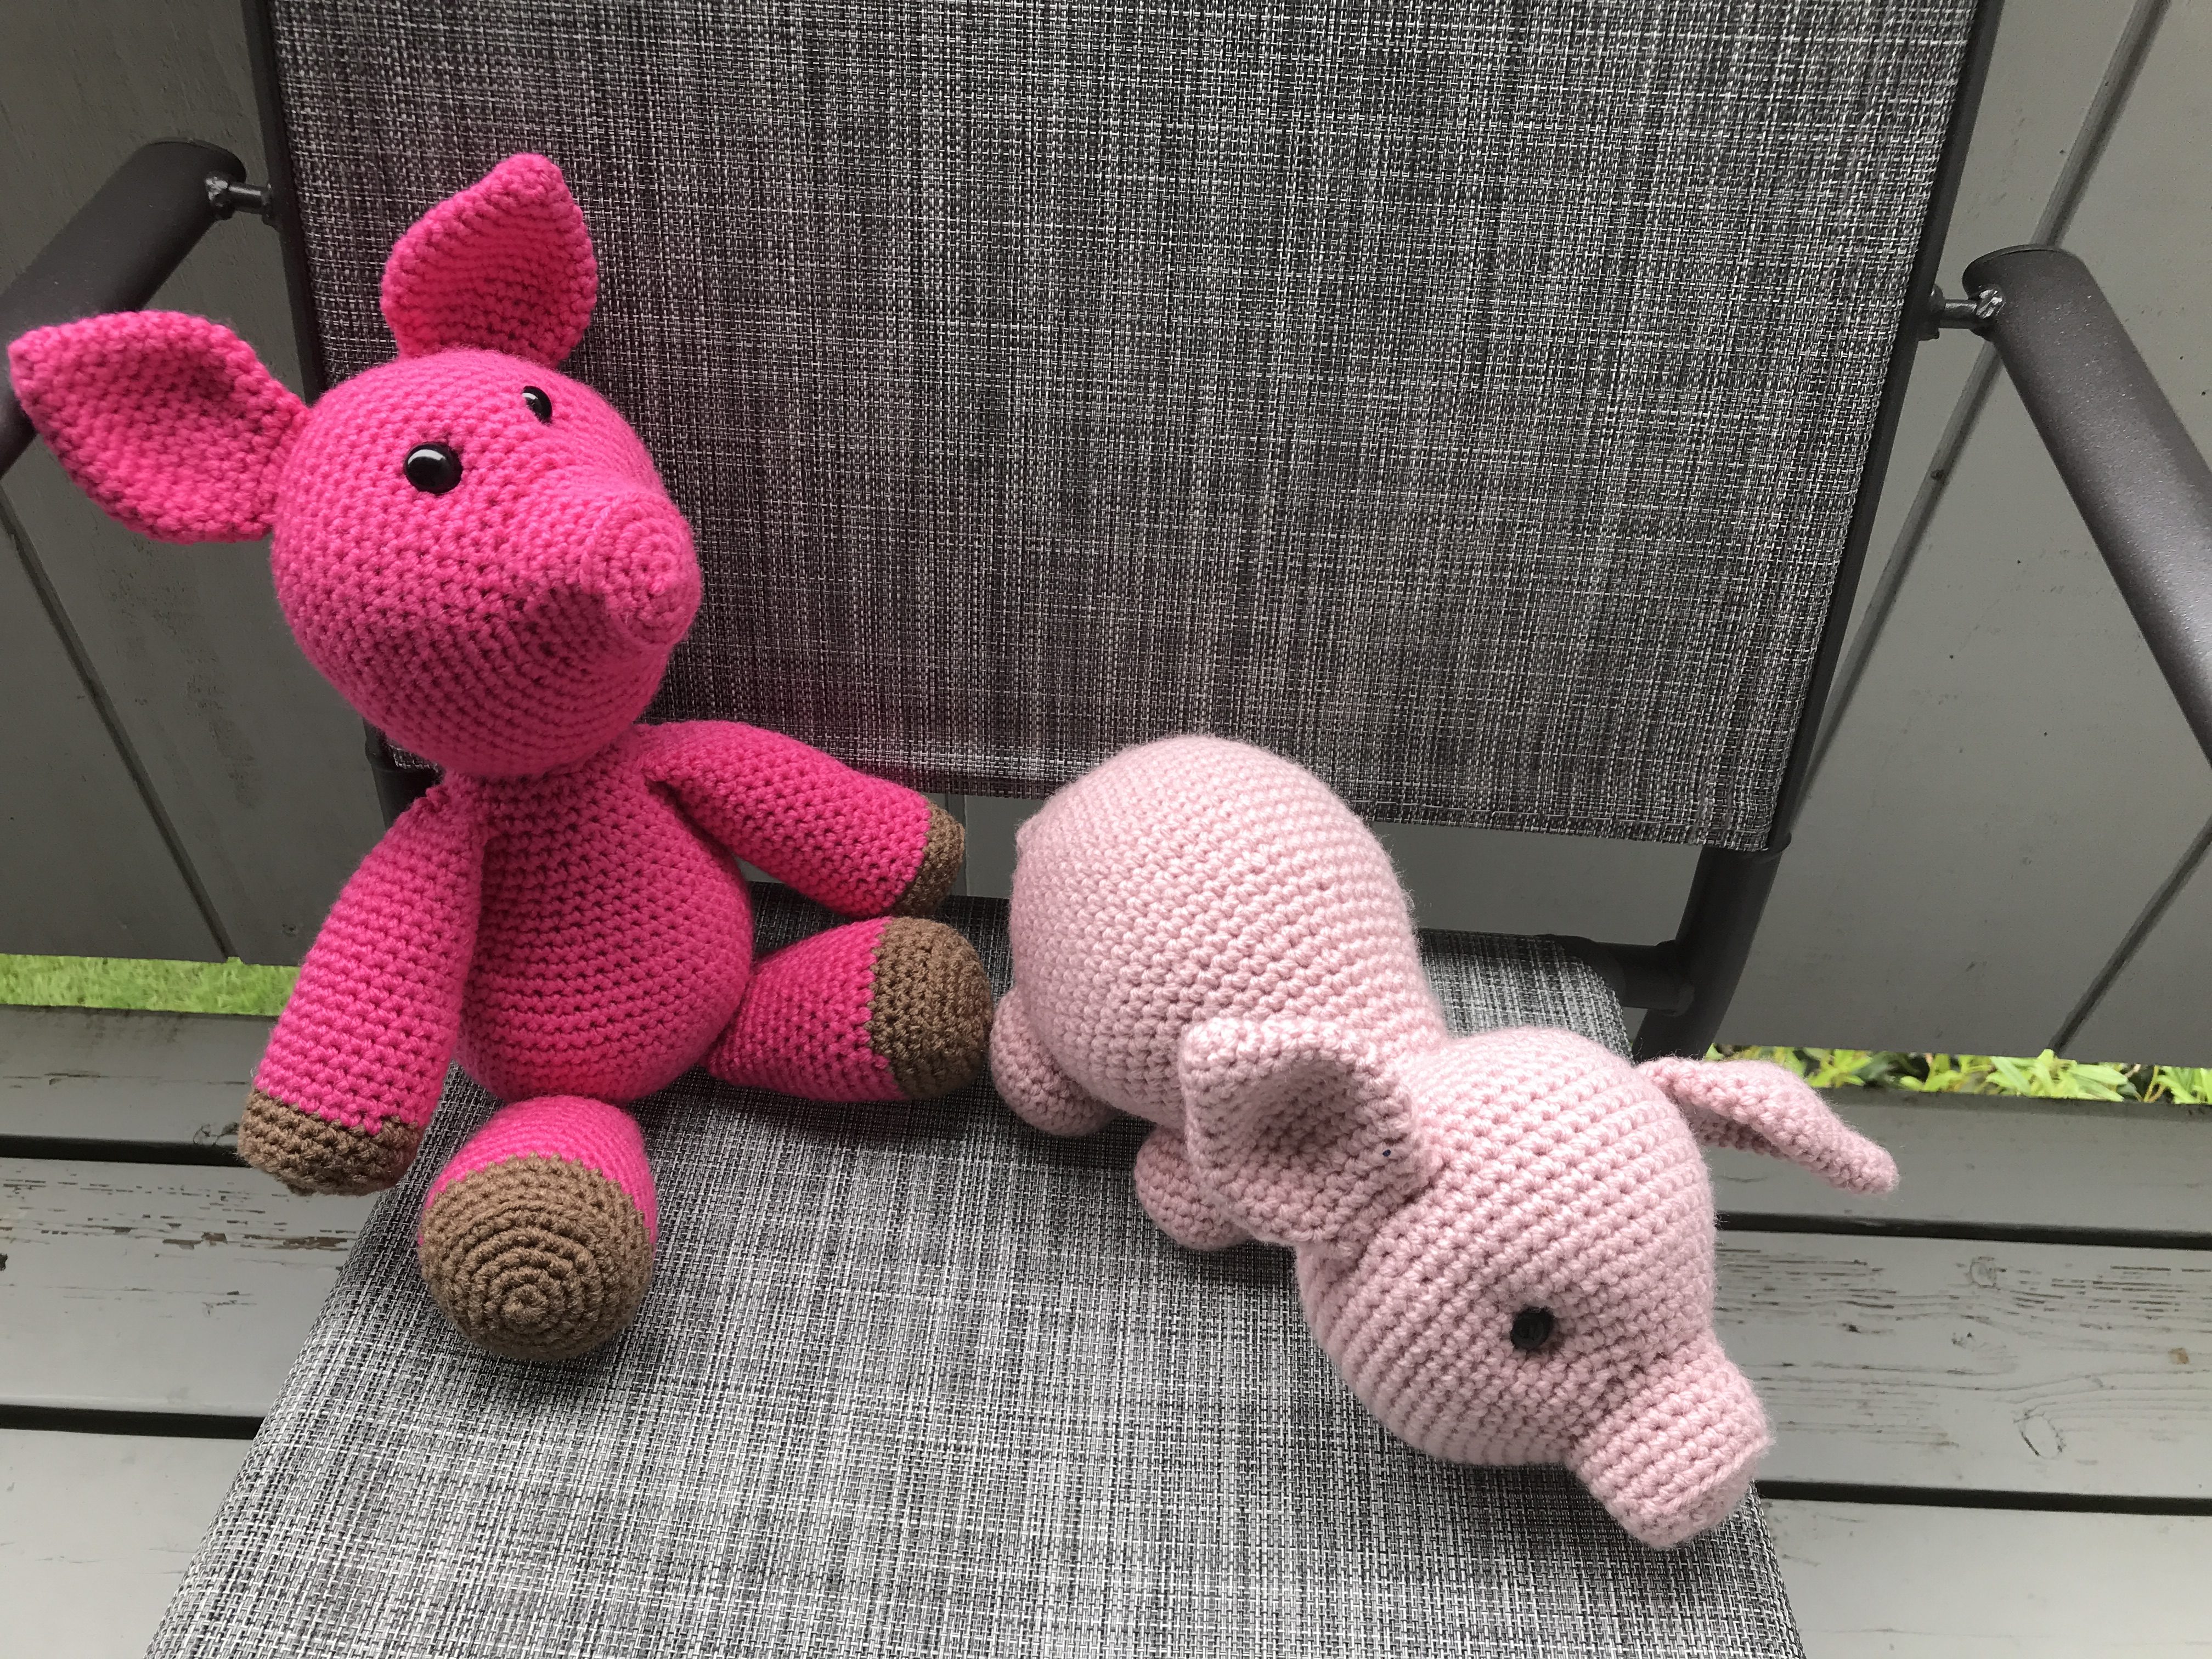
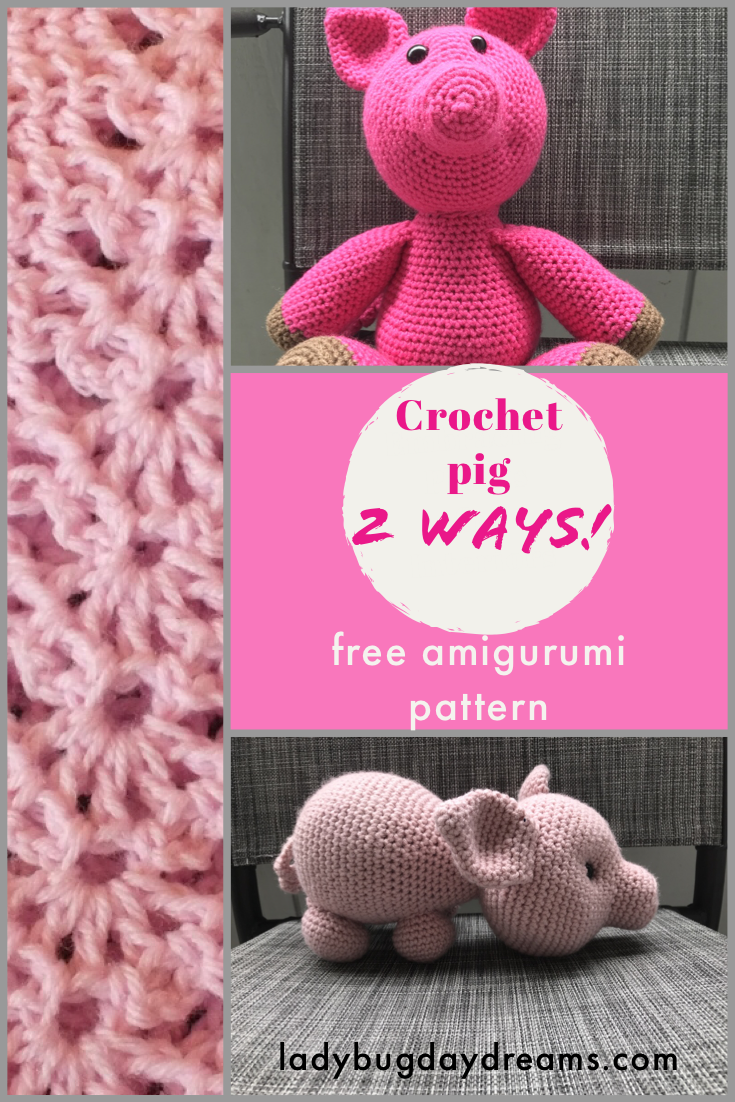
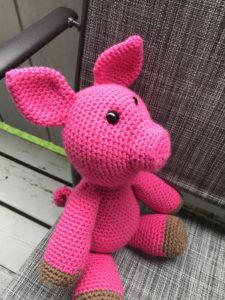
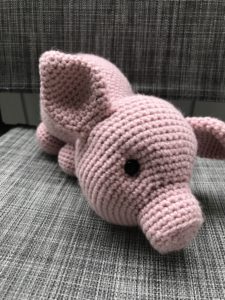
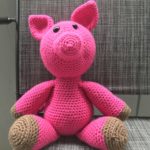
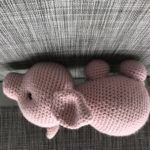
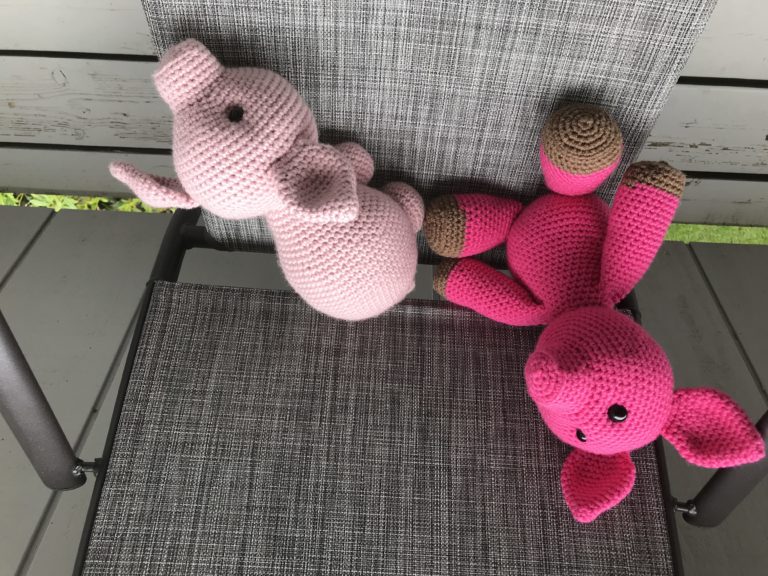
The pig can be made two ways: like a “farm” pig, or more like a “teddy bear pig.” Everything but the legs (and arms, in the case of the teddy bear style) are the same for both. The main difference is the direction in which you sew on the head. Whichever way you choose, it’s sure to be a cherished gift!
Crochet Pig pattern
Supplies:
Worsted weight pink yarn (I used JoAnn brand Big Twist in the colors bubblegum and light rose)
Worsted weight brown yarn if you’re making the teddy bear style pig (I used Red Heart Super Saver in the color cafe latte)
Size E (3.5 mm) crochet hook
Yarn needle
Fiber Fill (I used Poly-fil)
12-15mm safety eyes
Key:
sc = single crochet
dc = double crochet
inc = increase (2 sc into one stitch)
blo = back loop only (single crochet using only the back loop of the stitch, not both loops like normal)
flo = front loop only (single crochet using only the front loop of the stitch, not both loops like normal)
dec = decrease (one sc over two stitches – I use the invisible decrease)
R[number] = round
Note:
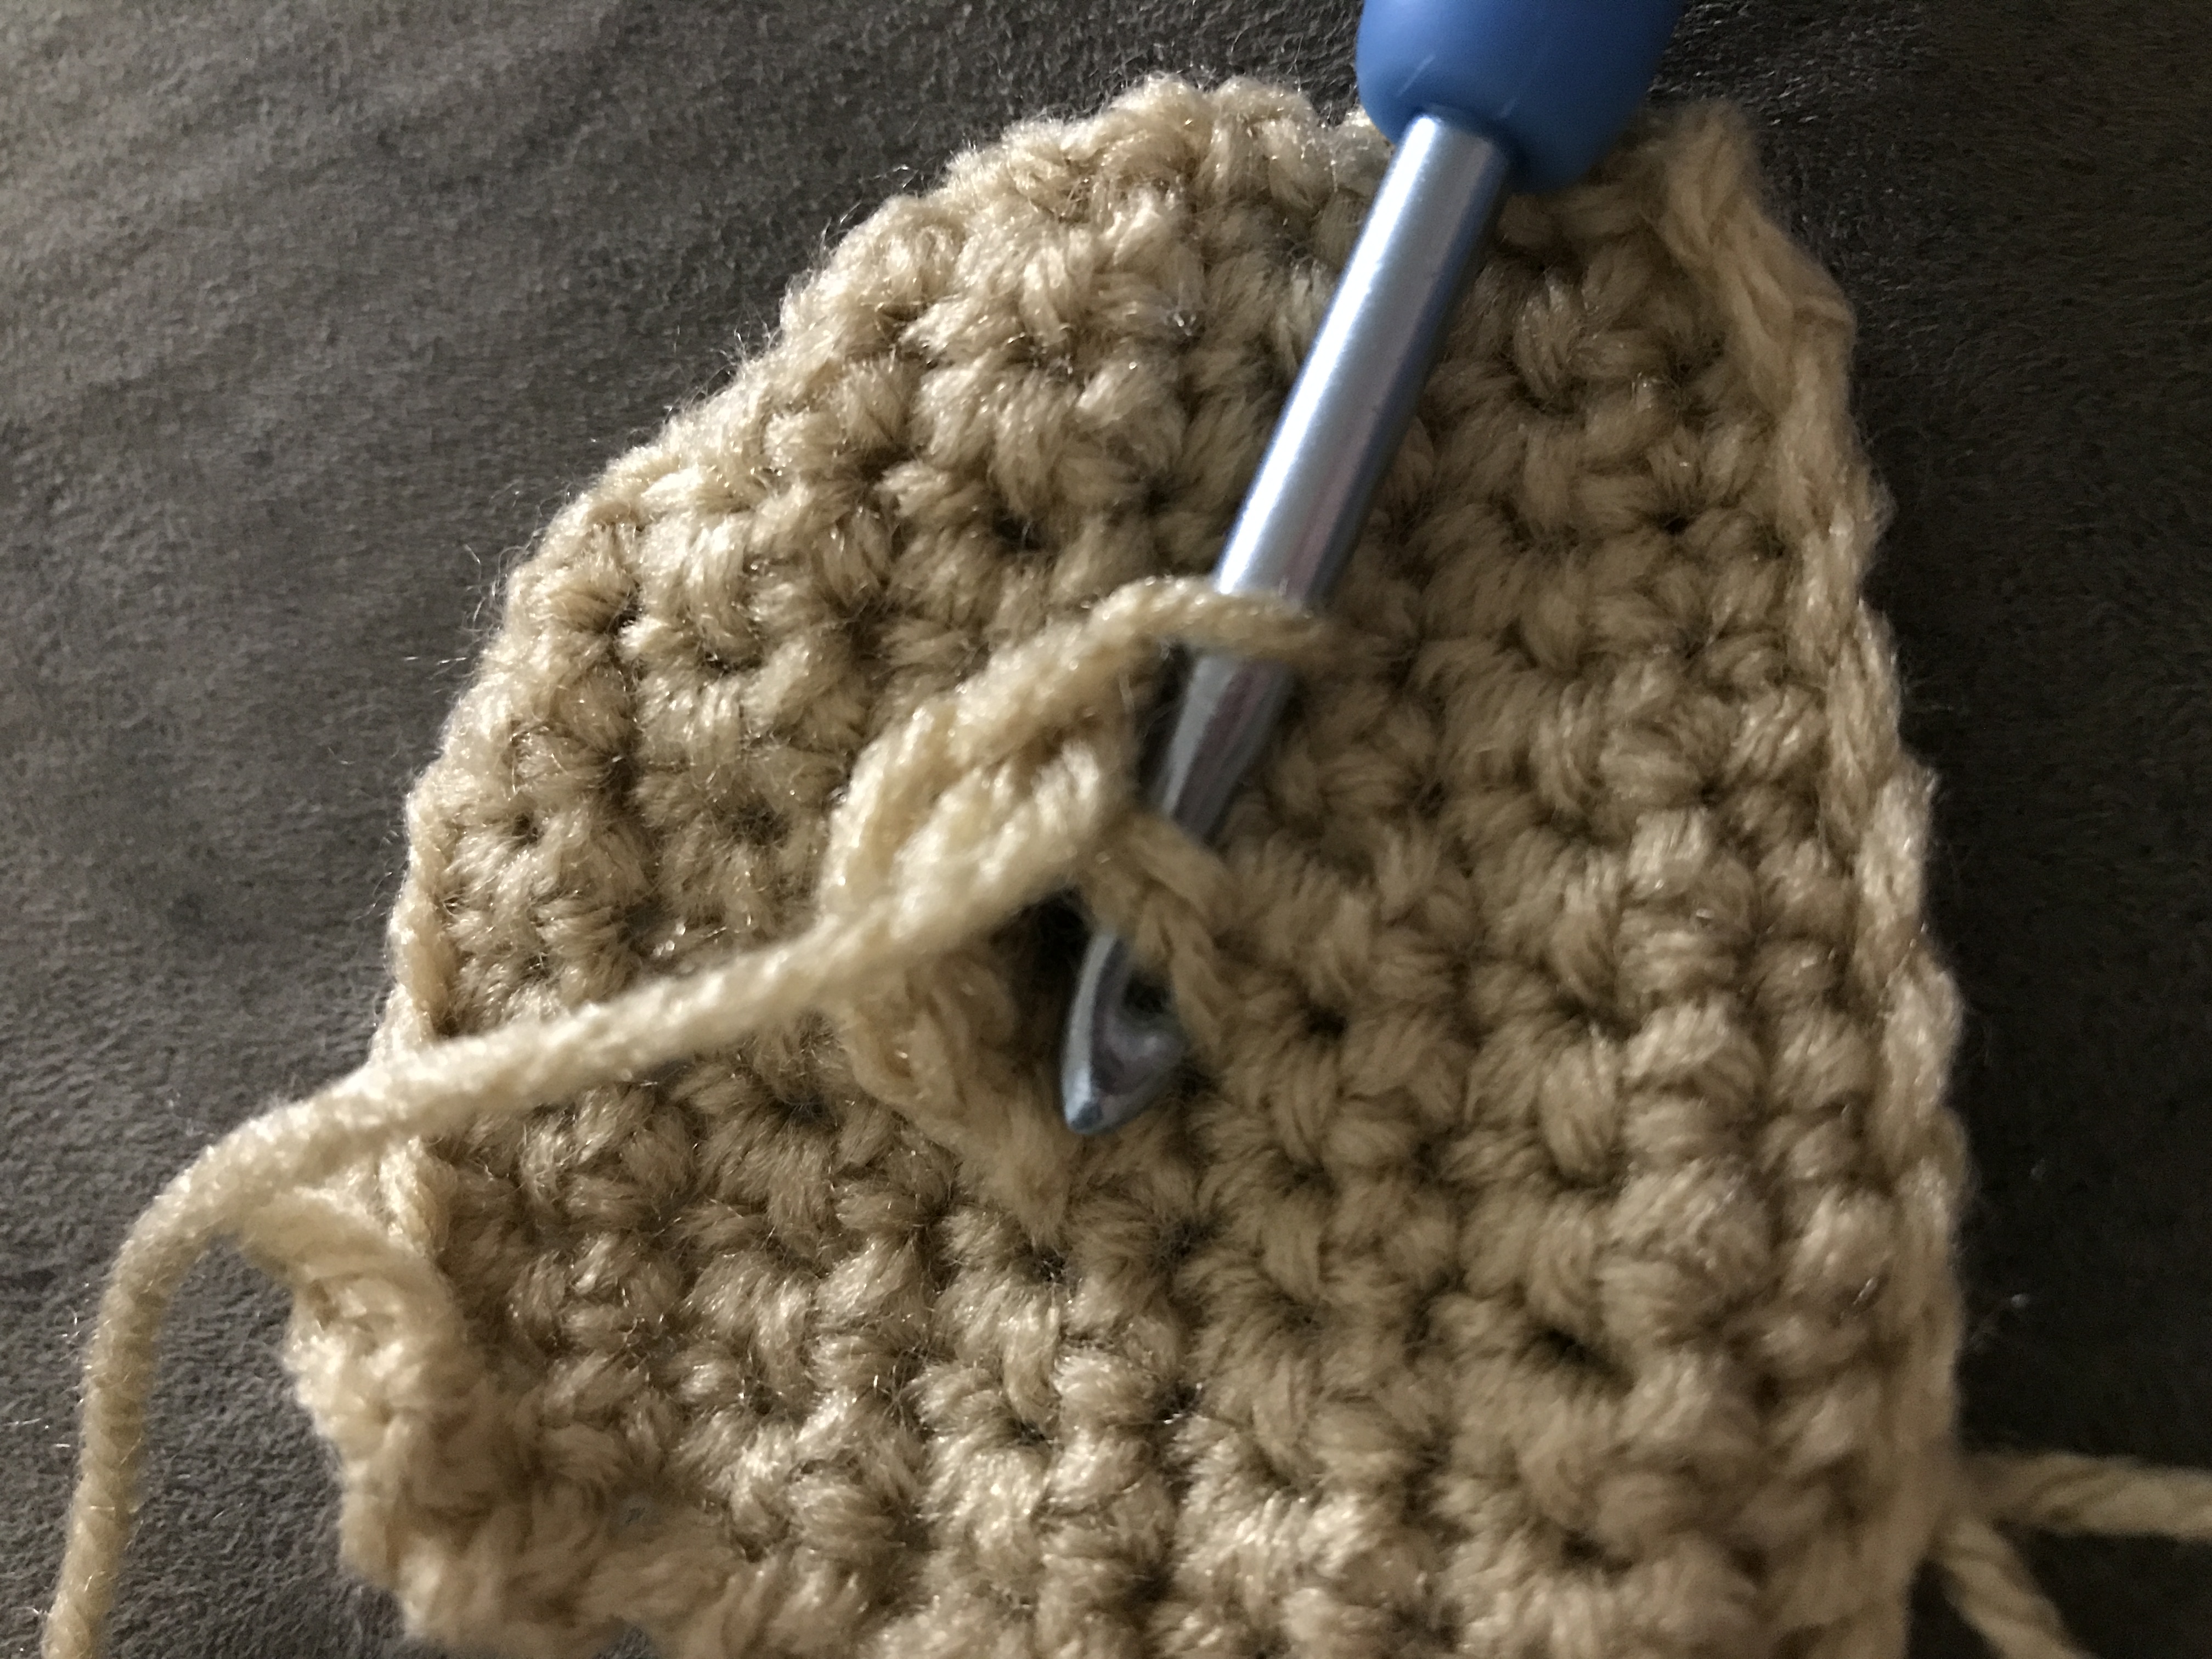
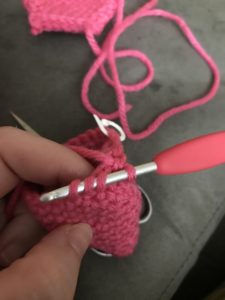
This pig, in either style, is made in continuous rounds (a spiral). In order to know where the beginning of each round is, you can count very carefully, or you can use a stitch marker to help you keep your place. I don’t recommend trying to find your spot based on seeing the increase pattern, because you can’t really see it due to the increases being shifted slightly from one round to the next. I used to just count really carefully, but now I use a stitch marker when I’m making amigurumi. It’s much less stressful to use the marker!
 Snout and Head
R1: 6 sc in magic ring
R2: inc around (12)
R3: *sc, inc* (18)
R4: sc, inc, *sc 2, inc* 5 times, sc (24)
R5: in blo, sc around (24)
R6-9: sc (24)
R10: in flo, *sc 3, inc* (30)
R11: sc 2, inc, *sc 4, inc* 5 times, sc 2 (36)
R12: *sc 5, inc* (42)
R13: sc 3, inc, *sc 6, inc* 5 times, sc 3 (48)
R14: *sc 7, inc* (54)
R15: sc 4, inc, *sc 8, inc* 5 times, sc 4 (60)
R16-24: sc around (60)
R25: sc 4, dec, *sc8, dec* 5 times, sc 4 (54)
R26: *sc 7, dec* (48)
R27: sc 3, dec, *sc 6, dec* 5 times, sc 3 (42)
R28: *sc 5, dec* (36)
R29: sc 2, dec, *sc 4, dec* 5 times, sc 2 (30)
At this point, stuff head ¾ full and shape eye sockets (this post shows you how; just scroll down to the right spot on the page). Insert safety eyes (or embroider eyes).
R30: *sc 3, dec* (24)
R31: sc, dec, *sc 2, dec* 5 times, sc (18)
R32: *sc, dec* (12)
Finish stuffing
R33: decrease around (6)
Finish with ultimate finish.
 Ears (make 2)
R1: 6 sc in magic ring
R2: sc, inc (9)
R3: sc (9)
R4: sc, inc, *sc 2, inc* twice, sc (12)
R5: *sc 3, inc* (15)
R6: sc 2, inc, *sc 4, inc* twice, sc 2 (18)
R7: *sc 5, inc* (21)
R8: sc 3, inc *sc 6, inc* twice, sc 3 (24)
R9-11: sc (24)
R12: inc, sc 23 (25)
R13: sc, dec over 3 stitches, *sc 2, dec over 3* 4 times, sc (15)
R14-15: sc (15)
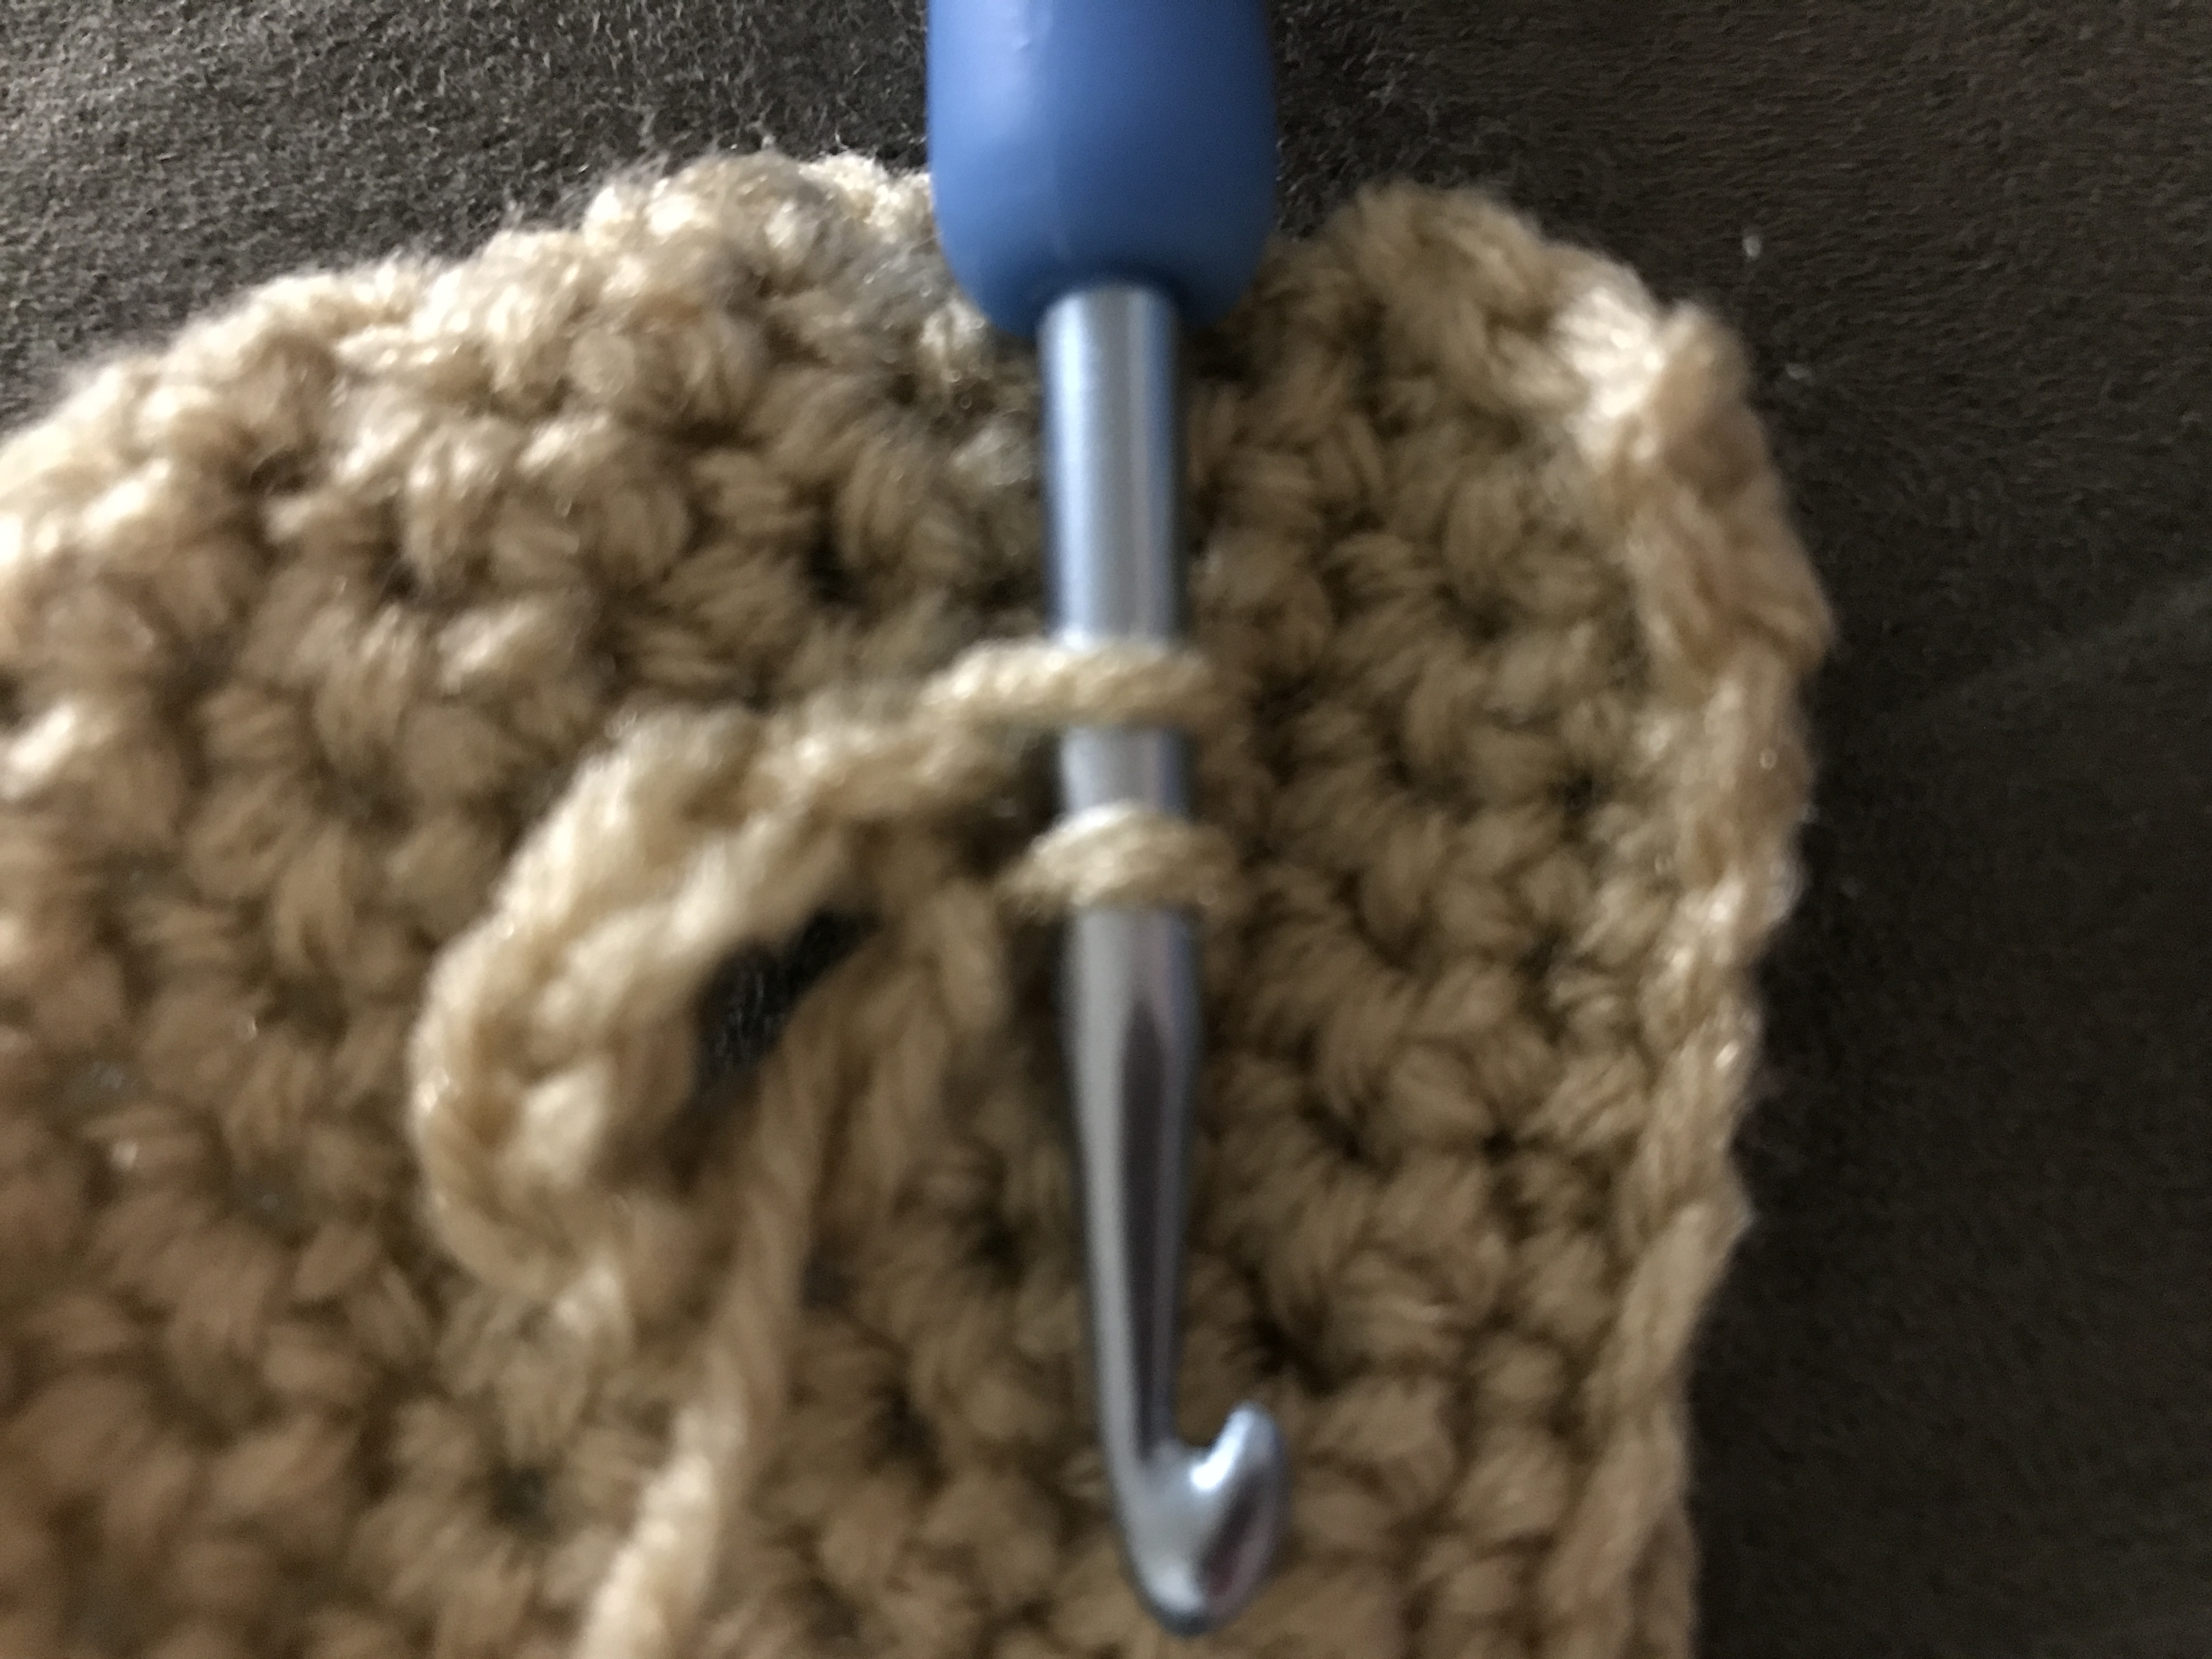
To make an invisible decrease over three stitches instead of two, simply insert your hook into the front loops only of three stitches, yarn over, pull through, yarn over, and finish the stitch.
Fasten off. Flatten and slip stitch closed (do not stuff). Sew to head.
Body
Any of the bodies from Jess Huff (except the giraffe) will do. Although, I do recommend making the neck (the later rows of the pattern) shorter than written if you’re making the farm style pig. I didn’t do this, and I wish I had. If I make this again, I’ll likely stop after round 27.
 Arms and Legs (teddy bear style)
Again, any of the patterns from Jess Huff will do; they’re all the same.
 Legs (farm style) (make 4)
R1: 6sc in magic ring
R2: inc around (12)
R3: *sc, inc* (18)
R4: sc, inc, *sc 2, inc* 5 times, sc (24)
R5-9: sc around (24)
R10: sc, dec, *sc 2, dec* 5 times, sc (18)
Fasten off, leaving a long tail for sewing onto body.
Tail
Ch 29
dc into third ch from hook
dc twice into each chain all the way down. Fasten off, leaving long tail to sew onto body.
The tail can be made longer or shorter according to your preference (just chain more or fewer chains).
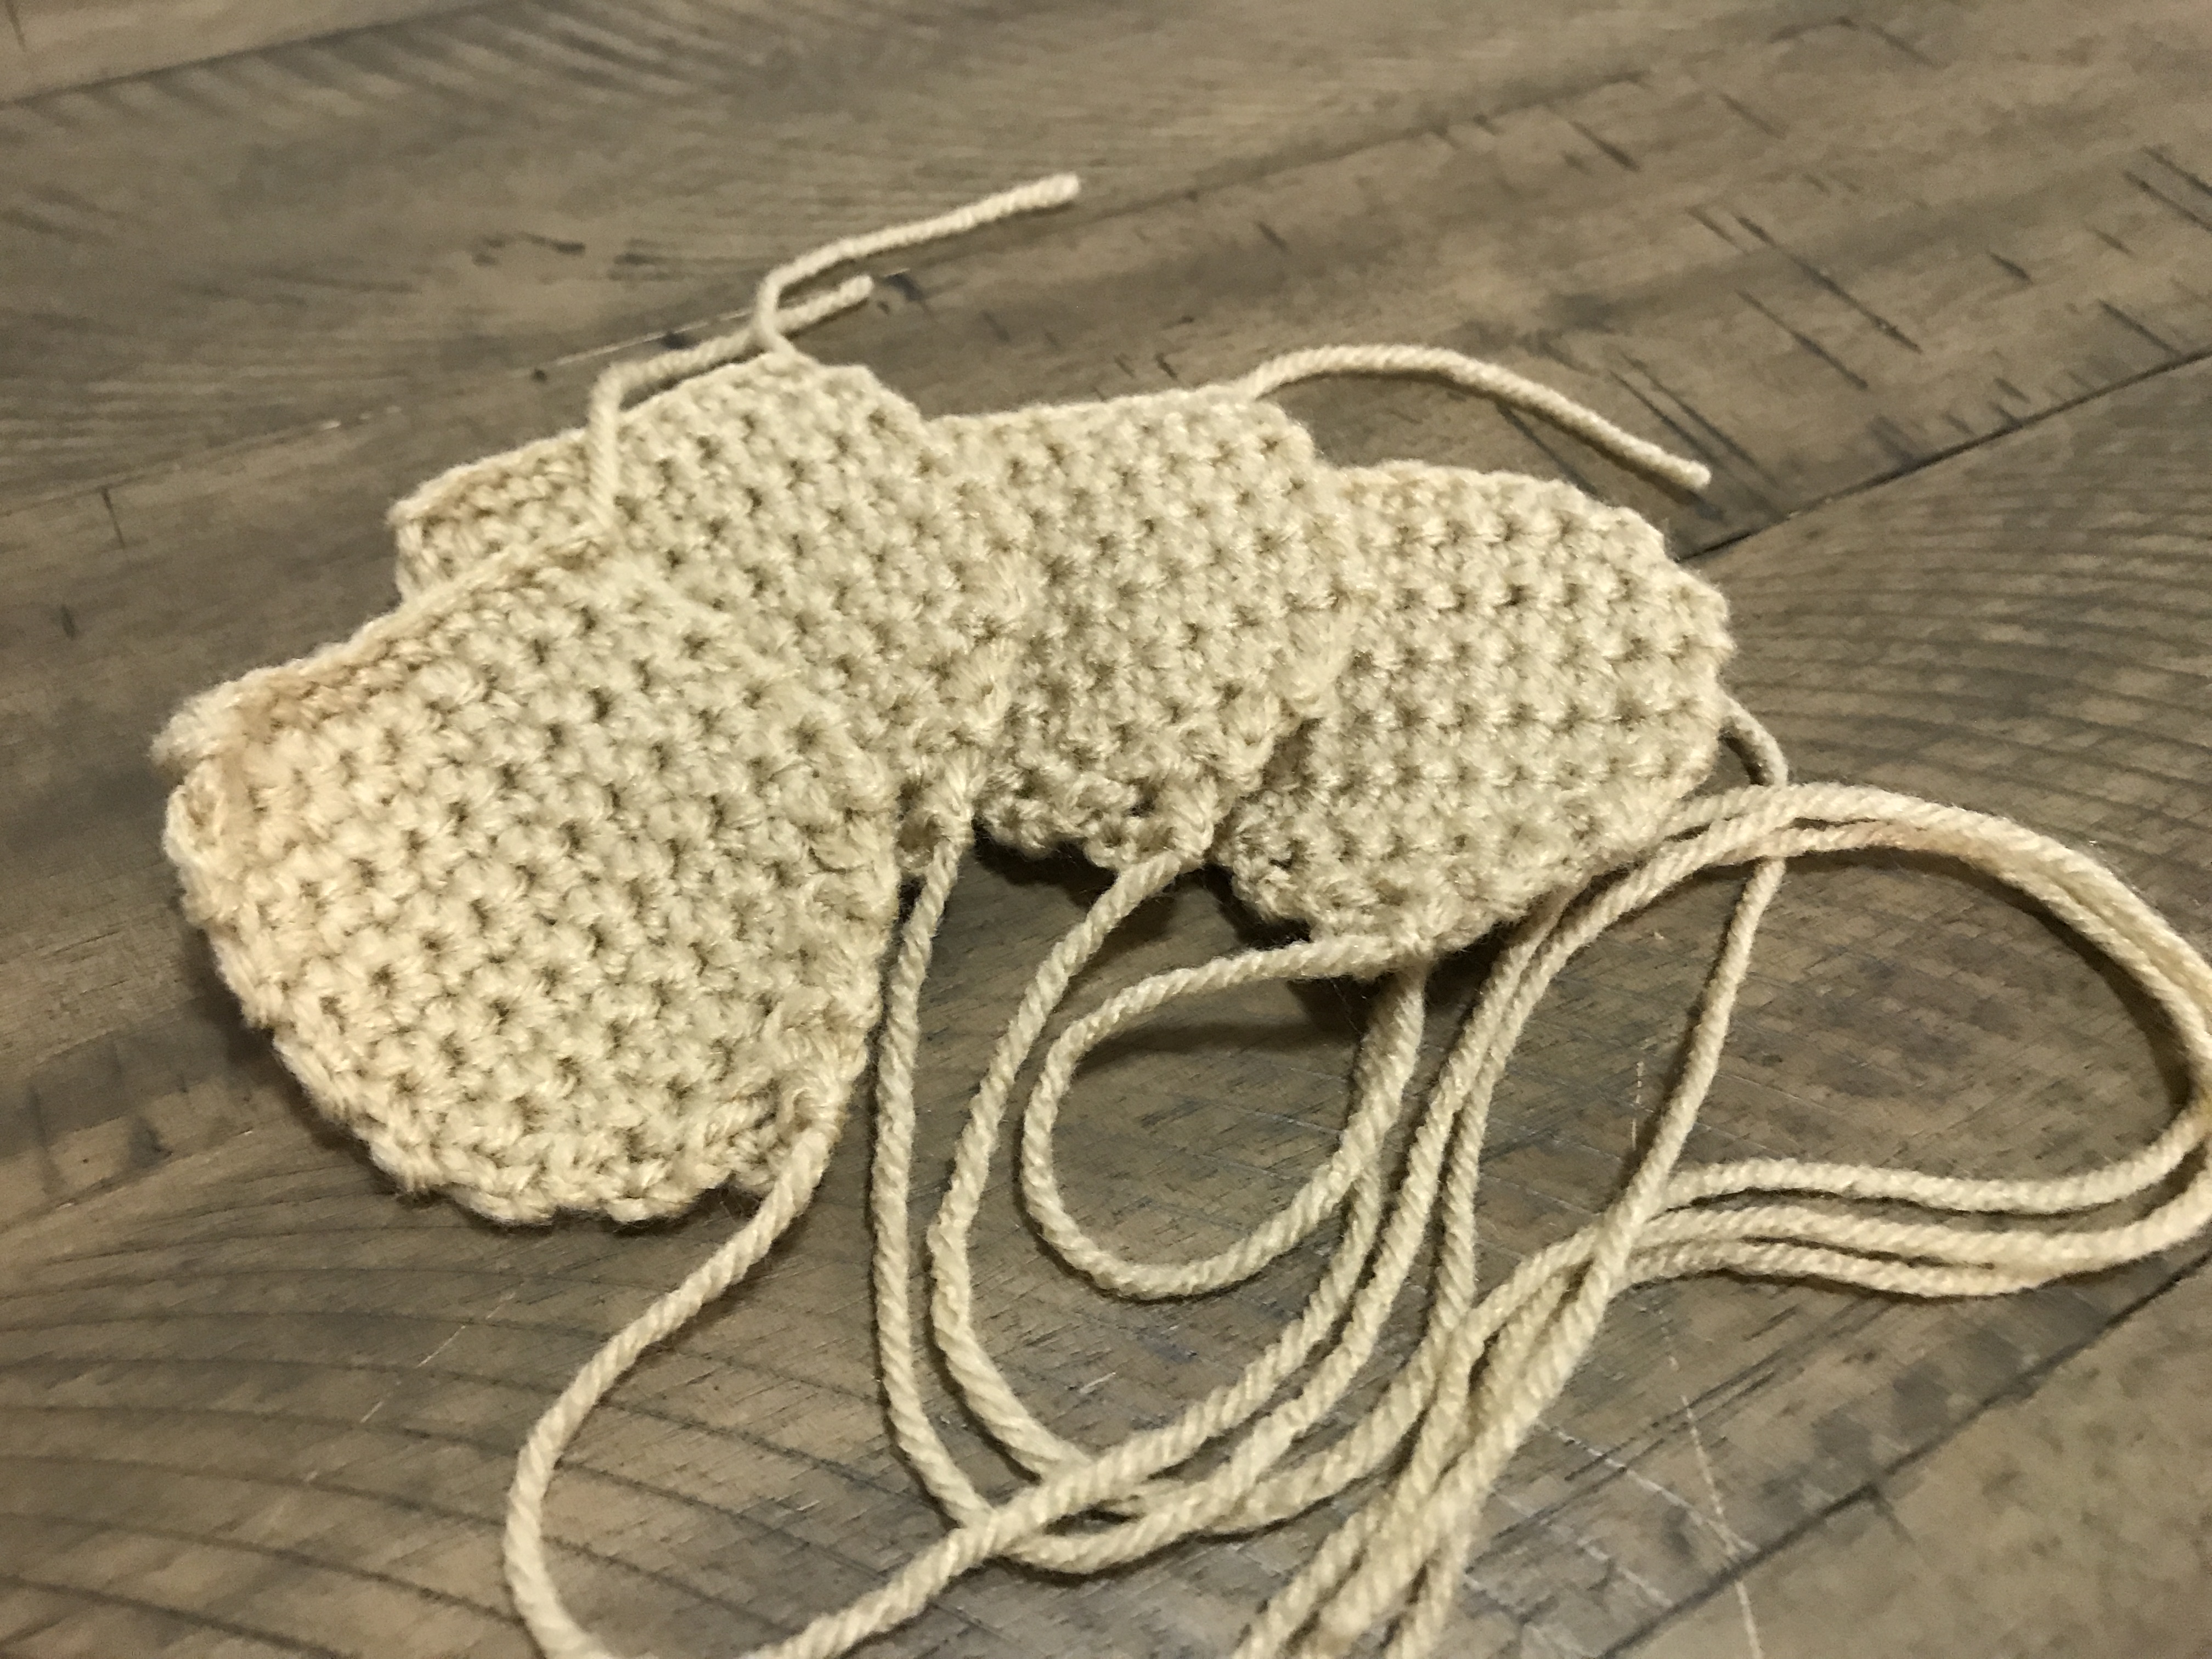
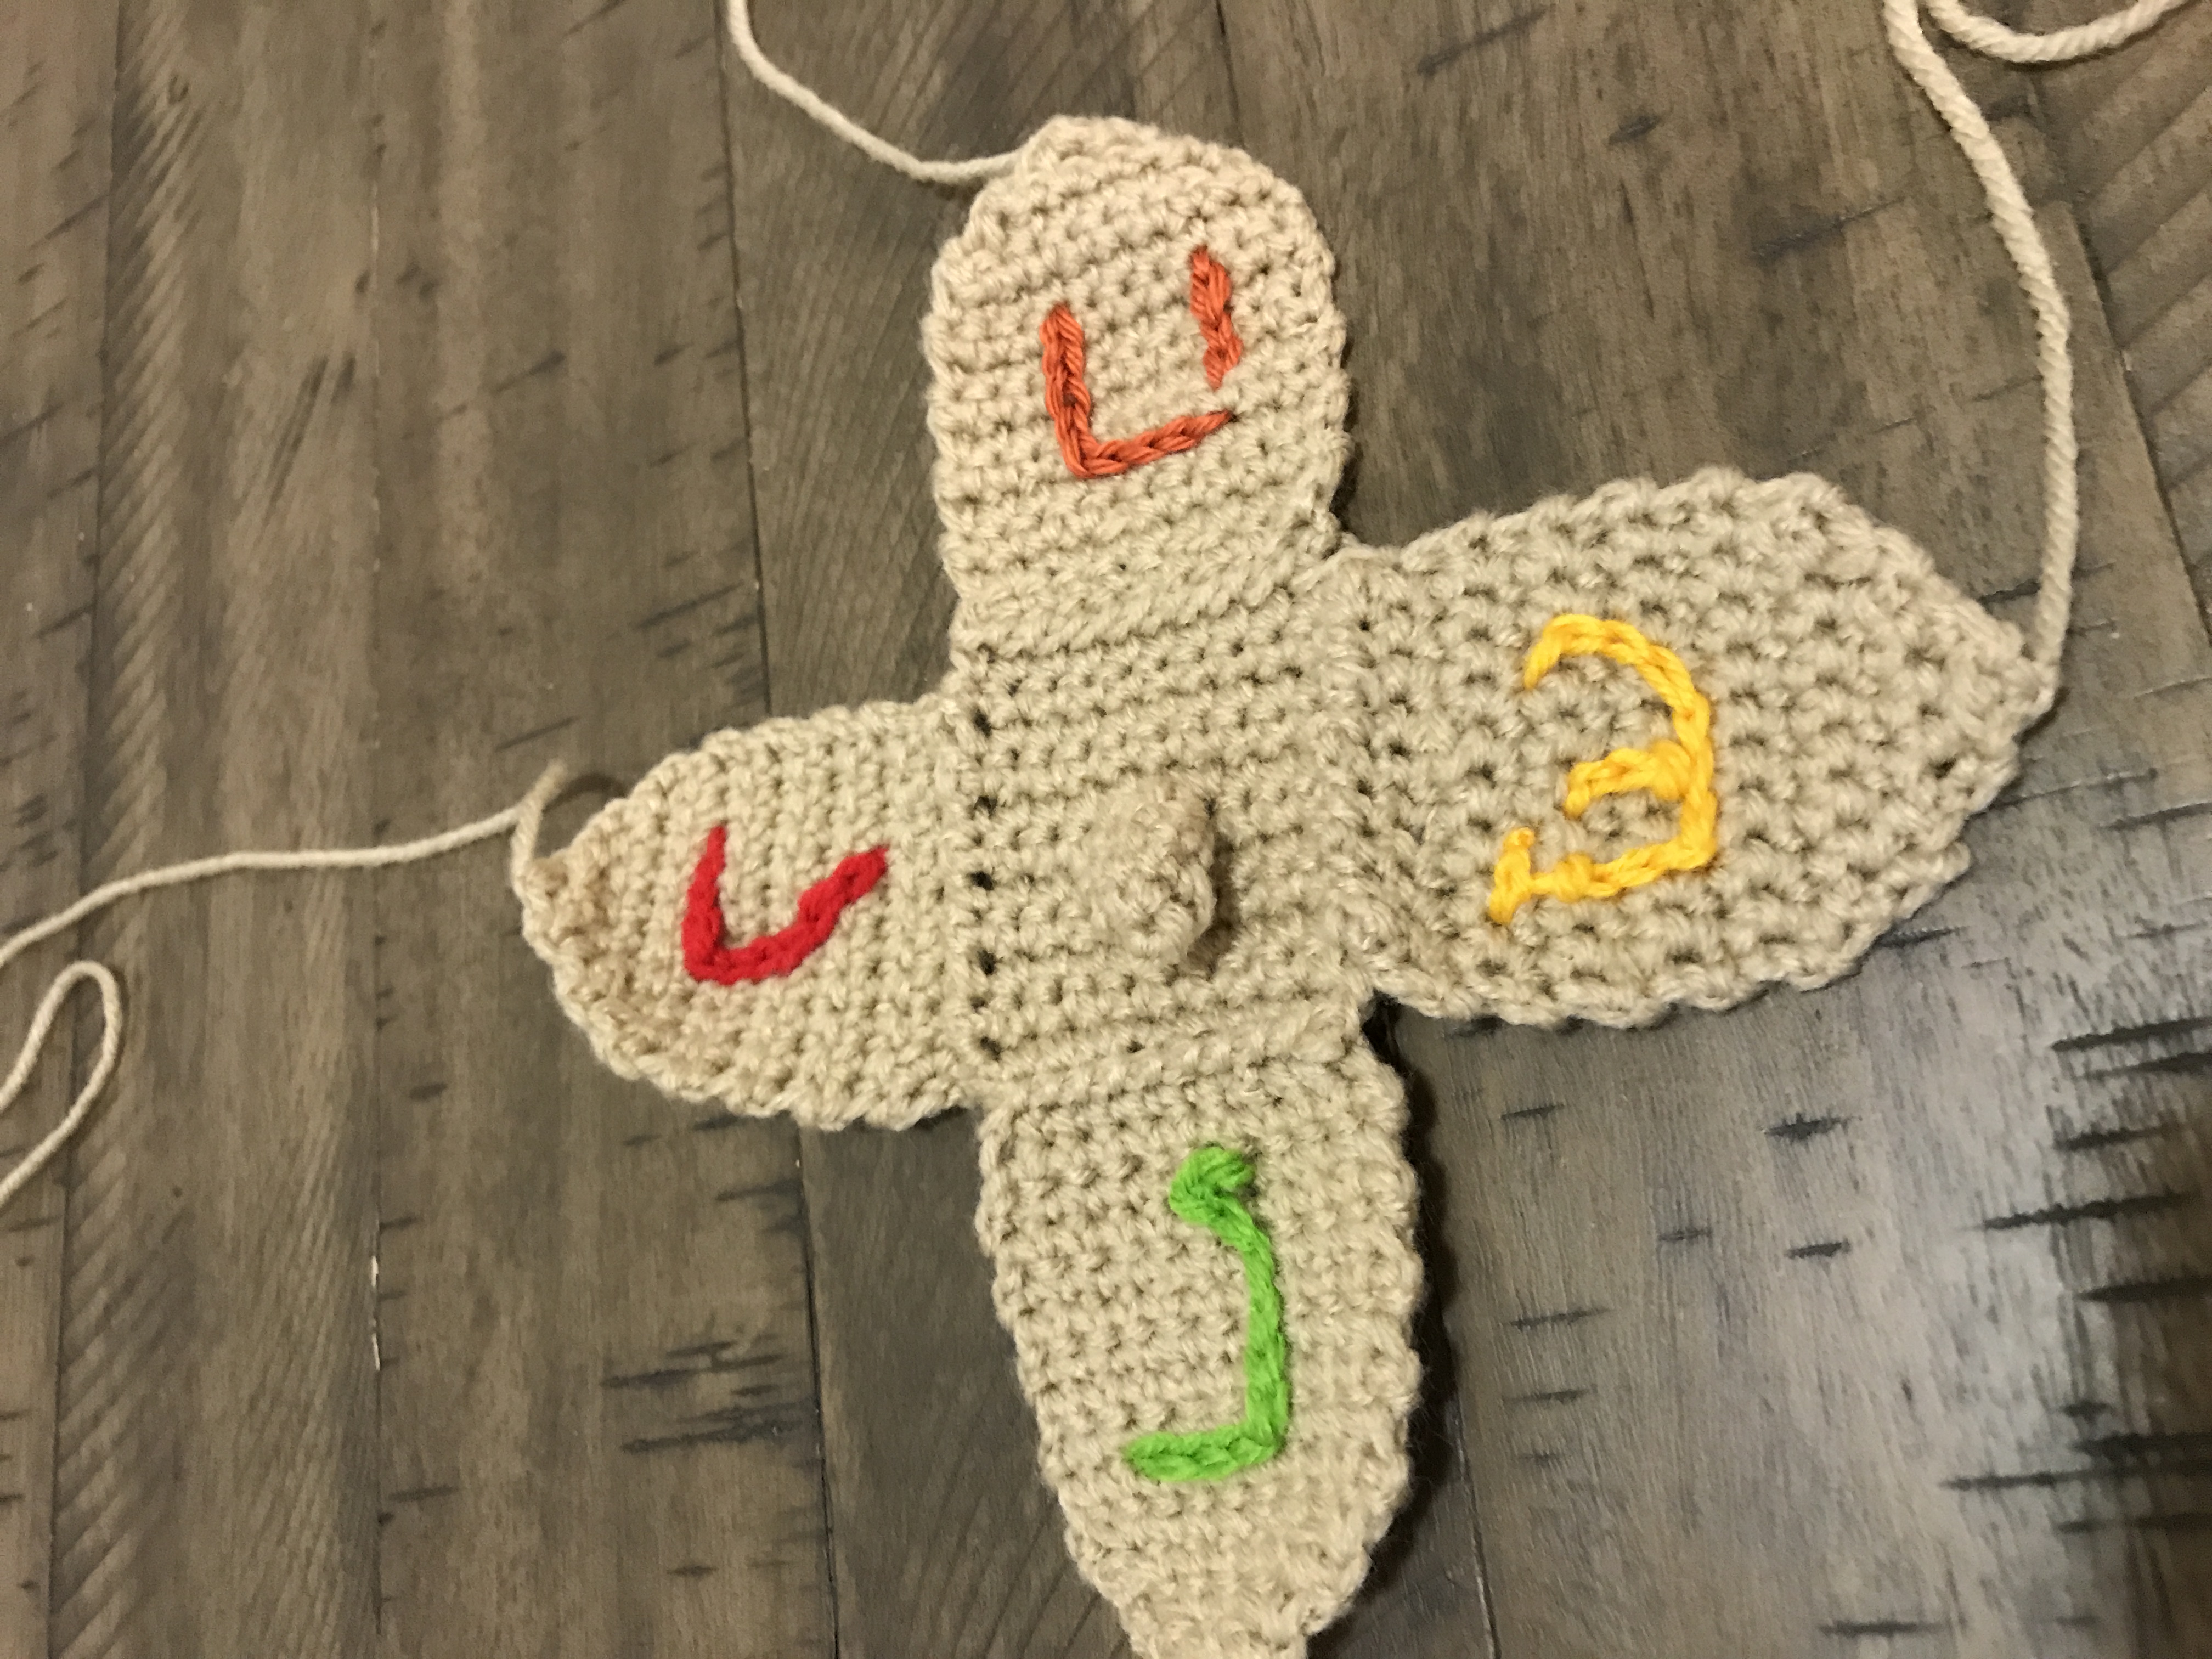
When all the pieces are made, stuff them and sew them all together.
I loved designing and making these pigs, and I hope someone out there will make one and love it too. If you do, would you let me know?
Blessings,