Crochet Cocomelon Blanket
When we were planning Bumblebee’s Cocomelon birthday party, one of the options for large banners really caught my eye. We chose a different banner for the party, but I couldn’t get the other one out of my head. I knew it would be pretty easy to create a crocheted blanket inspired by that banner, so I set out to do just that.
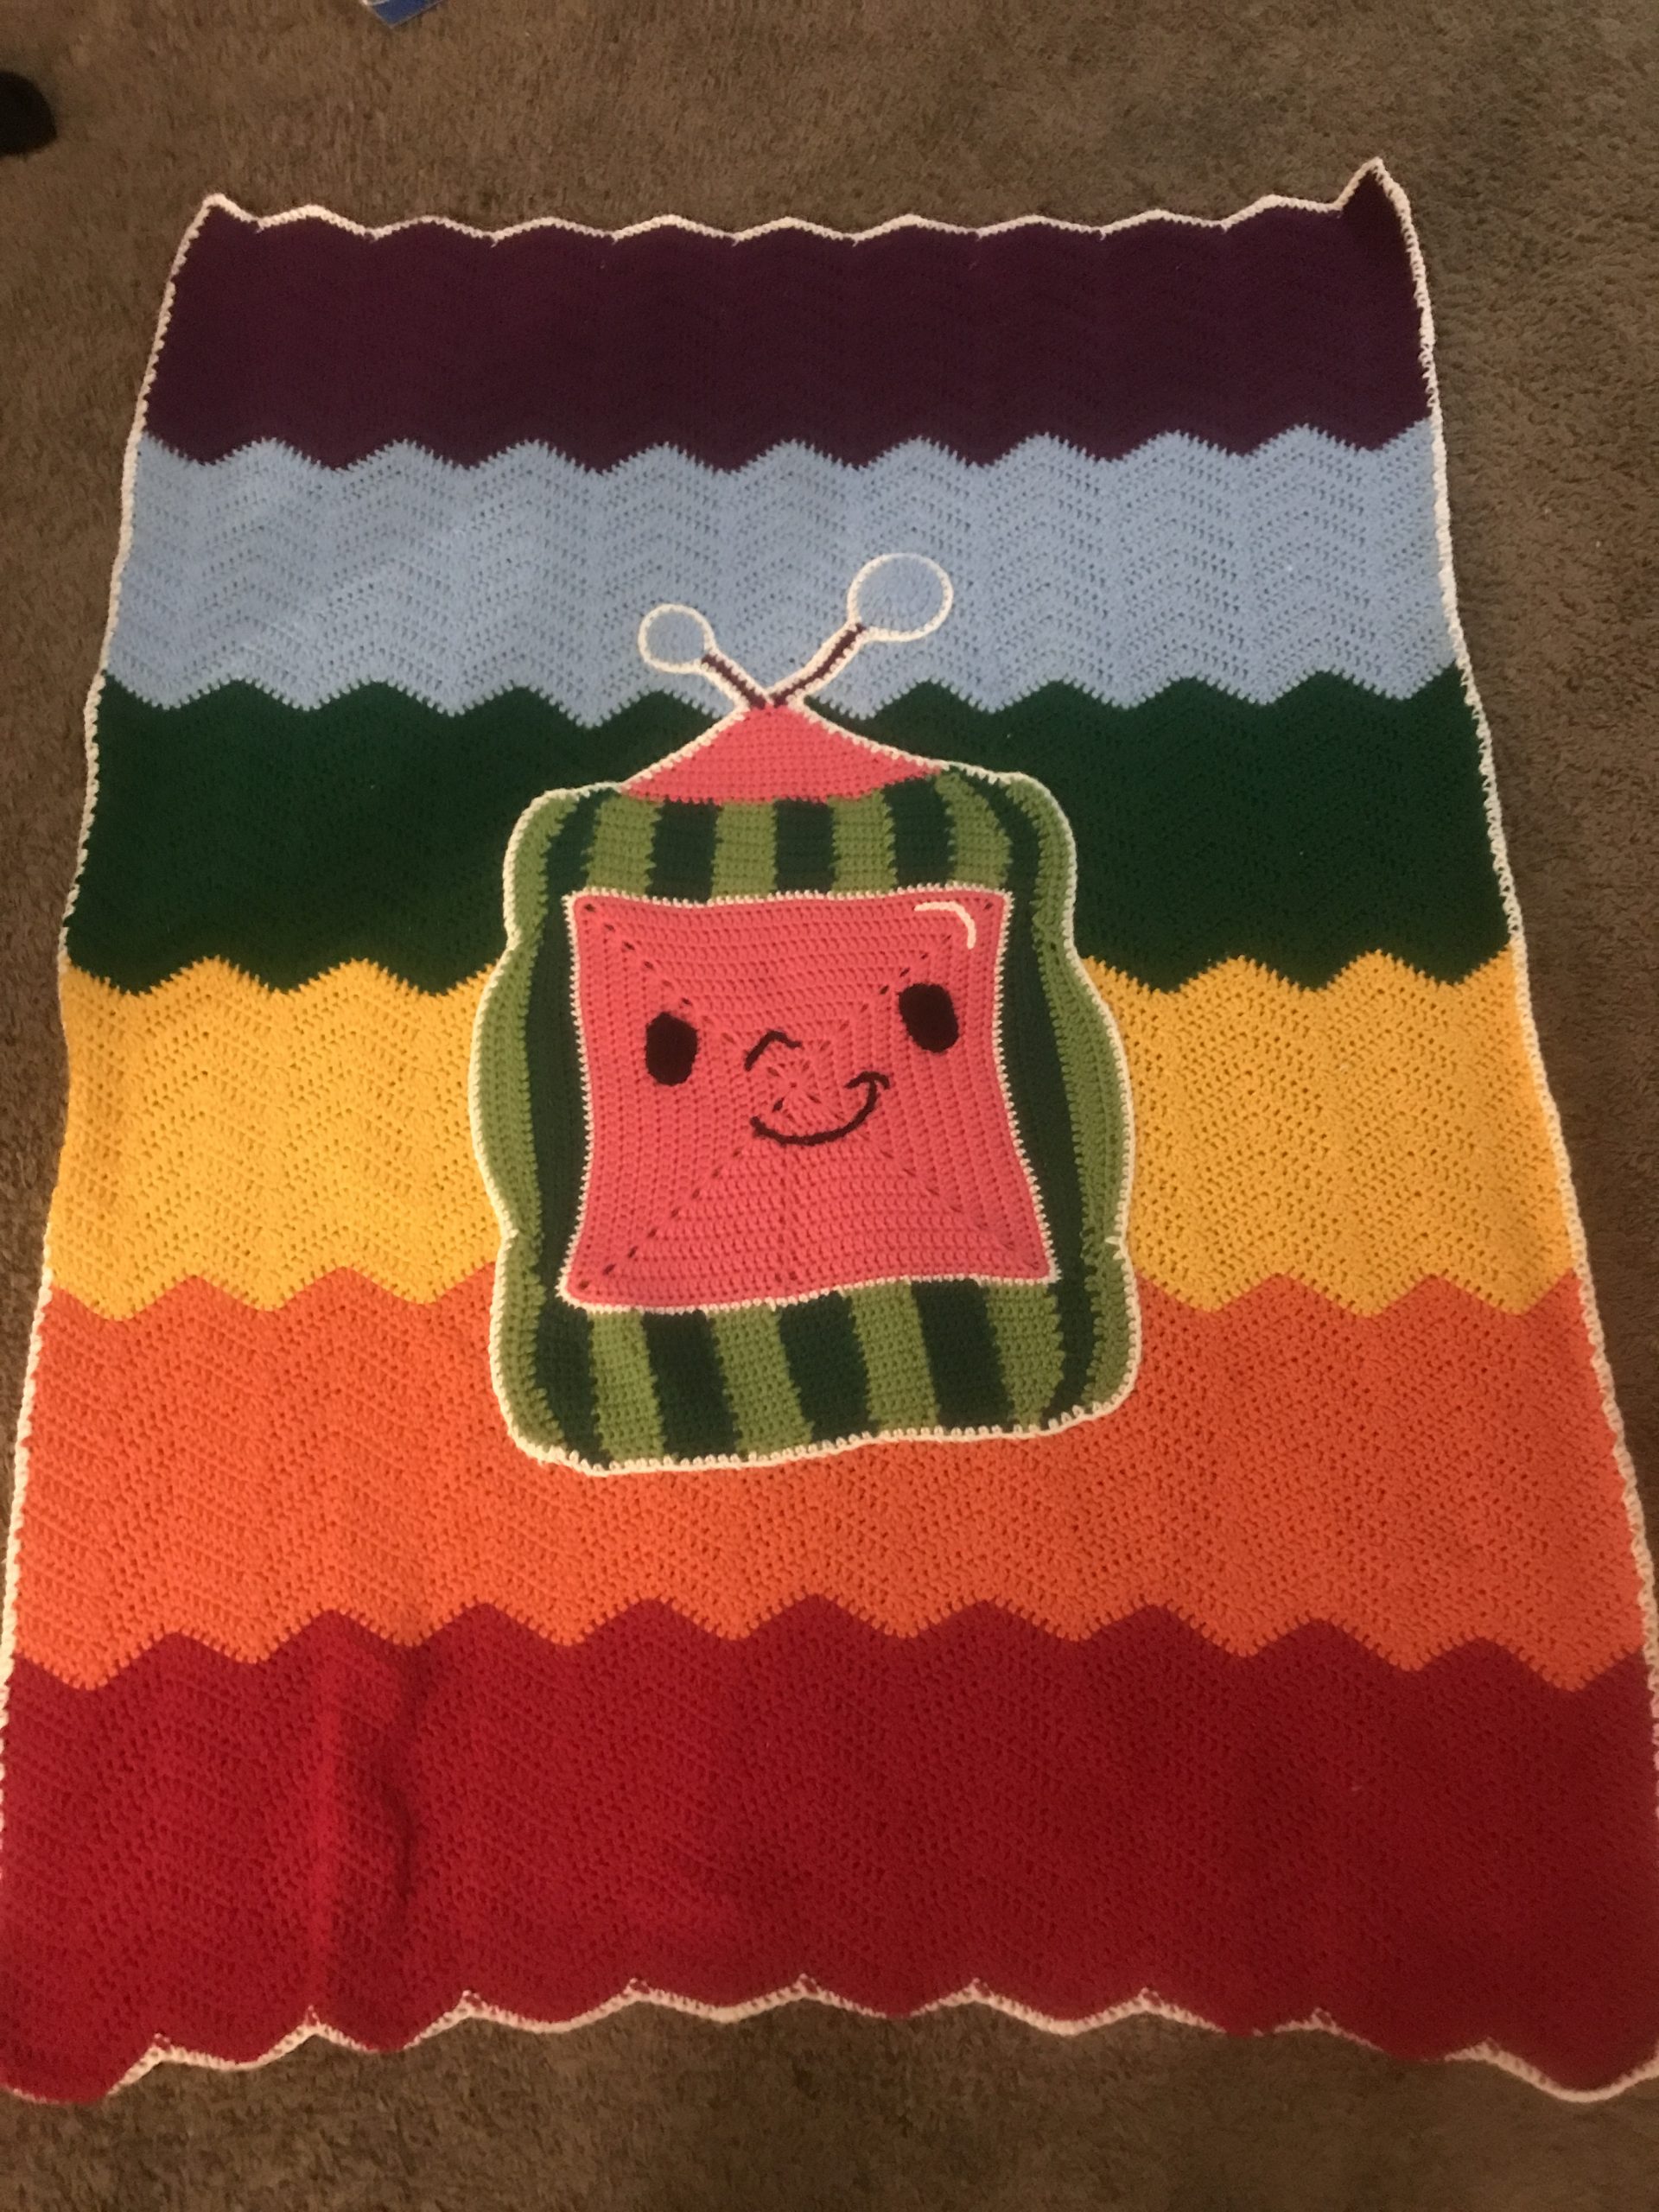
I started by making a rainbow chevron blanket. The chevron, or zigzag, blanket is a pattern nearly as old as crochet itself (the way I understand it), and almost every designer has their own take on it. The one I’ve always had the most success with is the version by Jayda in Stitches on YouTube. I followed her pattern exactly, except that I changed the colors and added 2 repeats to what she does on her tutorial. I wanted a decent size, so I chose to do 16 rows of each color. Because it’s a double-crochet blanket, that gave me about 8 inches per color, and my blanket ended up being about 40×48 – perfect for a toddler! My favorite border for a chevron blanket is a simple, one-row single crochet border. I love the design of the chevrons so much that I don’t want my border to detract from the blanket itself, so every time I make one of these blankets that’s the border I use. For this blanket, I chose white.
When it came time to make the Cocomelon logo, I referred to Google images for the inspiration. Rather than giving a specific pattern, I’m going to describe my method instead; if you want to make this, I hope it’s easy enough to follow. If not, feel free to leave questions in the comments and I’ll try to answer them.
 I went back to Jayda to get started, making a solid granny square (10 rows around) for the main portion of my watermelon logo. When I finished making that, it was time for the green stripes. I finished the square off by making an eleventh round, but this time using single crochet stitches. I also did 3 single crochets in each corner instead of the standard sharp corner to get the rounded look I wanted. Then I lined the square with a row of white single crochets. I made 2 single crochets into each of the corner stitches from the row before.
 When my square was done, it was time to figure out the watermelon stripes. I started with dark green. My square was 44 stitches on each side, so to get that “round” shape to the melon, I did 7 sc, 7 hdc, 16 dc, 7 hdc, 7 sc. I repeated this pattern for 3 rows of dark green and then 3 more rows of light green.
The top ended up having 46 stitches once I incorporated the corner stitches, so I divided that up into the 9 sections of the logo. The two on either end were technically continuations of the dark green side, so I did 4 stitches for each of those. That left me with exactly 6 stitches available for each of the other stripes. I used the method of joining as you go for these stripes (as seen in this video – again, thanks to Jayda in Stitches). I didn’t count my rows, but each one is about 3 inches tall. The edge stripes start decreasing about halfway up – decrease on the outside edge (3), crochet 3 rows, decrease on outside edge (2), crochet 1 row, decrease (1), crochet 1 row. The rows in the middle of the melon are only decreased at the top, either on the last row or second-to-last row of each stripe (again, I wasn’t super careful here, hence the variation). The main thing is to end each stripe with 4 stitches at the top instead of 6. This pulls it in a bit at the top and bottom to round it out a little.
 After finishing all of that, I realized that I needed a bit more of the light green at the top and bottom on each side, so I took a moment to add those in – 1 sc, enough dcs to “feel” right, and another sc.
For the pink nubby thing at the top of the cocomelon, I started my yarn a few stitches in and single crocheted across the top, stopping the same number of stitches from the other side. I did a single crochet decrease on both sides in every row, and worked until I had just 4 stitches left.
To make the antennae, I attached my dark purple yarn and chained up (16 for one of them and 11 for the other). Then I slip-stitched back down and fastened off.
The blue circles at the top of the antennae were made separately. If you’ve every made a crochet hat, you’ll know how to do this. Work 8 DC into a magic circle. For the second round, work 2DC into each stitch. Round 3: *2DC, 1DC* all the way around. One of the circles was 2 rounds and the other one is 3 rounds. Set these aside.
For Cocomelon’s eyes, here’s the pattern (make 2 of these using black yarn):
Chain 5.
R1: 2 SC in first stitch. SC in next 2. 5 SC in last chain. SC in next 2 (bottom of chain). 3 SC in last chain. Total of 14 stitches.
R2: 2 SC in first stitch. SC in next 4. 2 SC in each of the next 3. SC in next 4. 2 SC in each of the next 2. Total of 20 stitches.
Fasten off, leaving a long tail for sewing.
Sew the eyes onto the face, referring to a picture for placement. For the nose and mouth, use surface slip stitches to add them using black yarn. Use the same method but with white yarn for making the “shine” in the upper right corner.
Now you get to put the whole thing together! Starting anywhere you like, single crochet around the entire Cocomelon in white. When you get to the top of the antennae, place your blue circles there and continue single crocheting around them, joining them to the antennae. Put the bigger circle at the top of the longer antenna. I recommend increasing your circles during this phase (*2SC in first st, 1 SC in next 2* around for the bigger one; follow round 3 above except using SC stitches for the smaller one). I didn’t do this, and my circles were a bit tricky to flatten out when I sewed them onto the blanket. When you’ve finished your final border, sew your (giant!) applique onto the blanket in whatever position you’d like. There are about a million ends on this project, but the good news is that you don’t have to weave in any of them! Just make sure they’re tucked underneath your applique as you sew and you’ll be good to go.
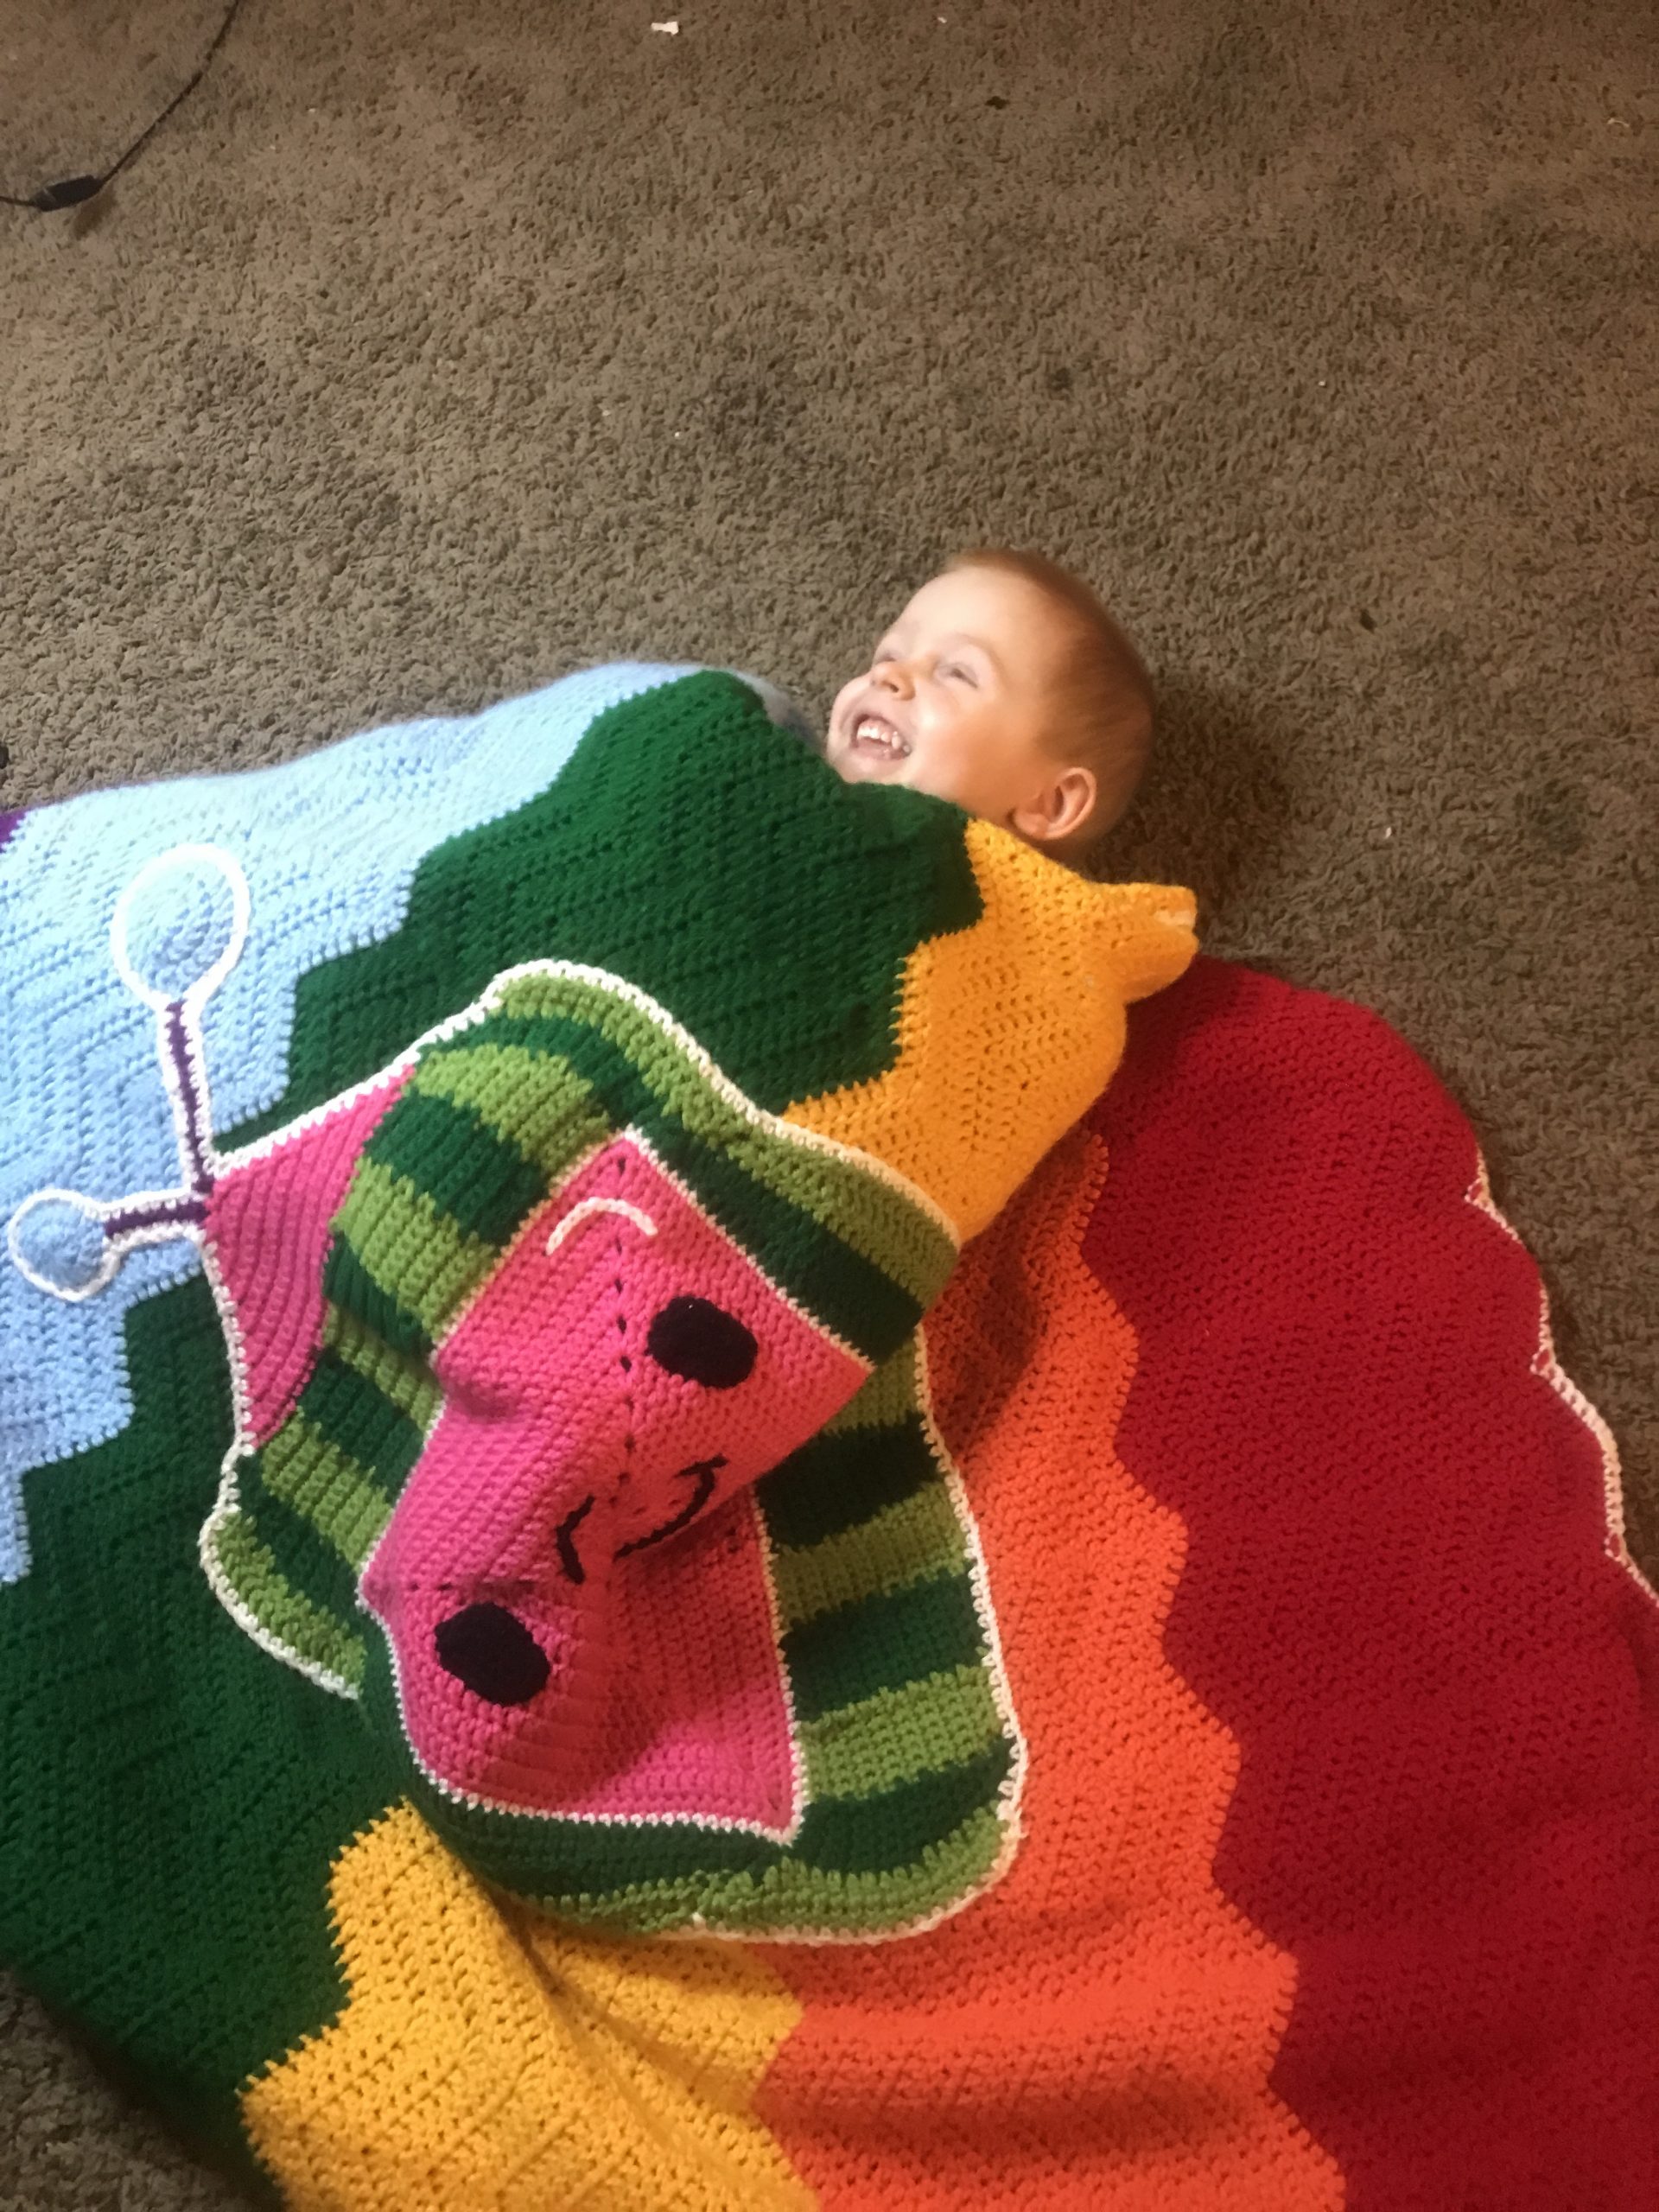
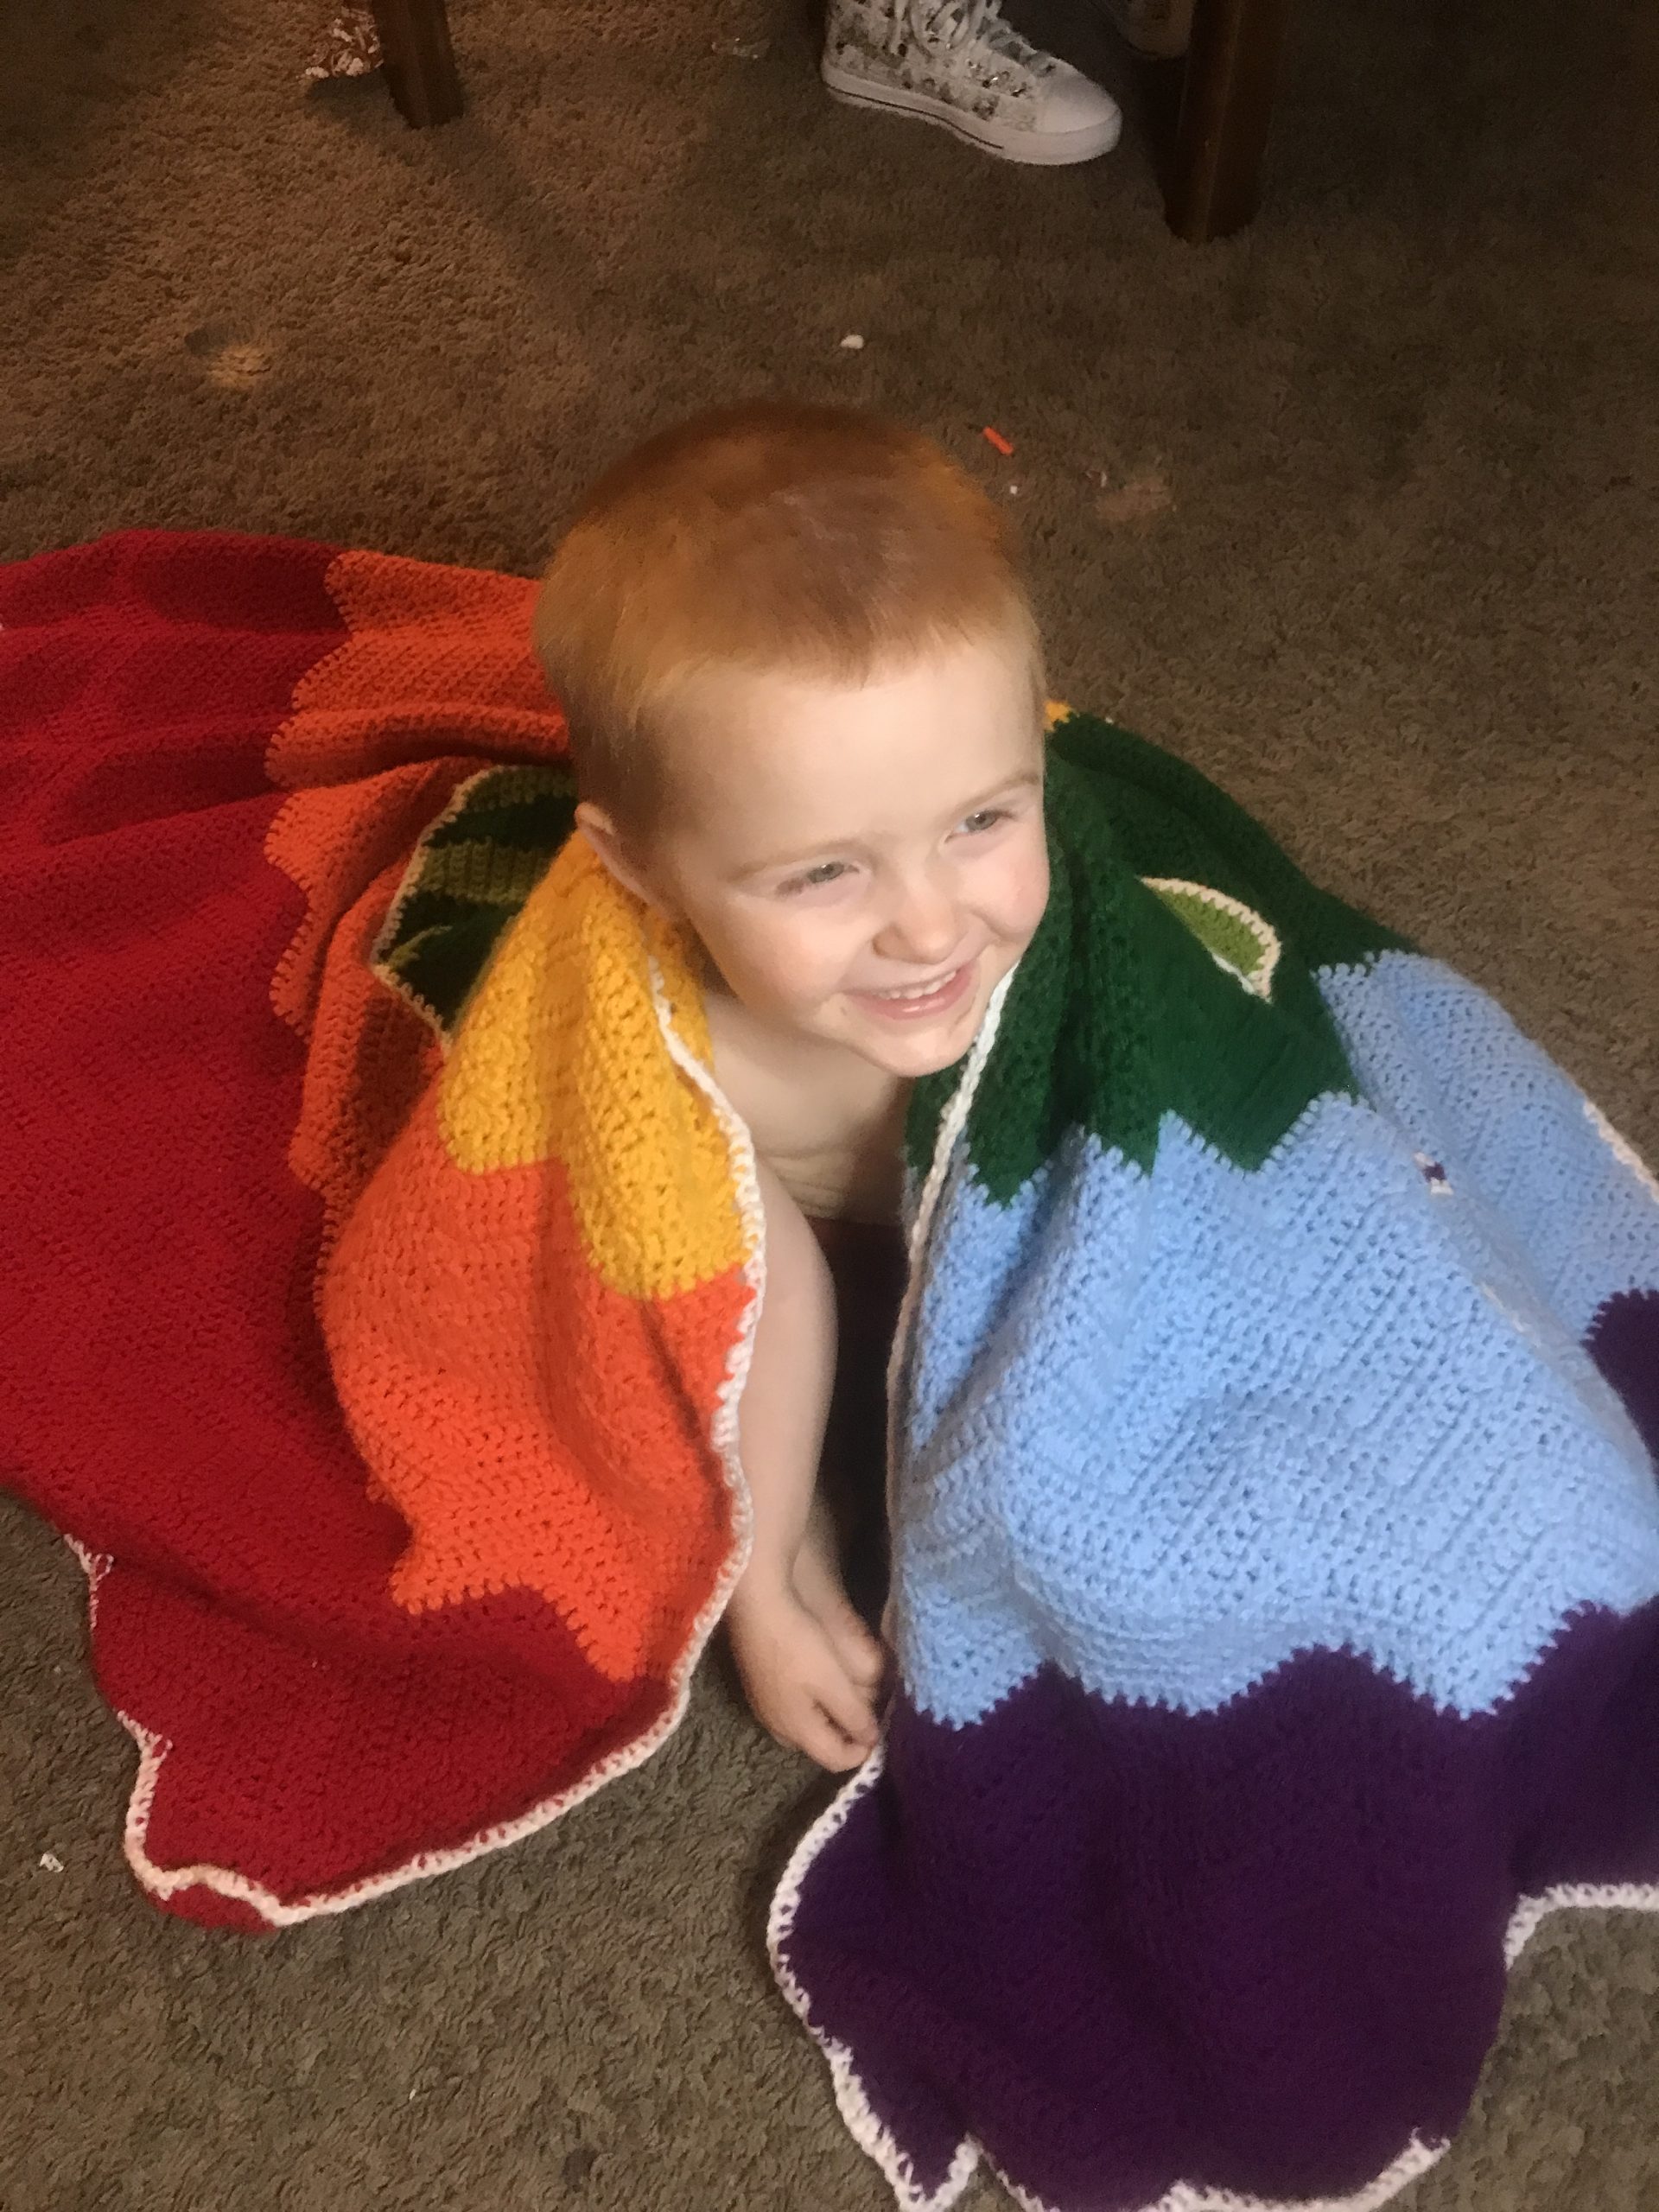
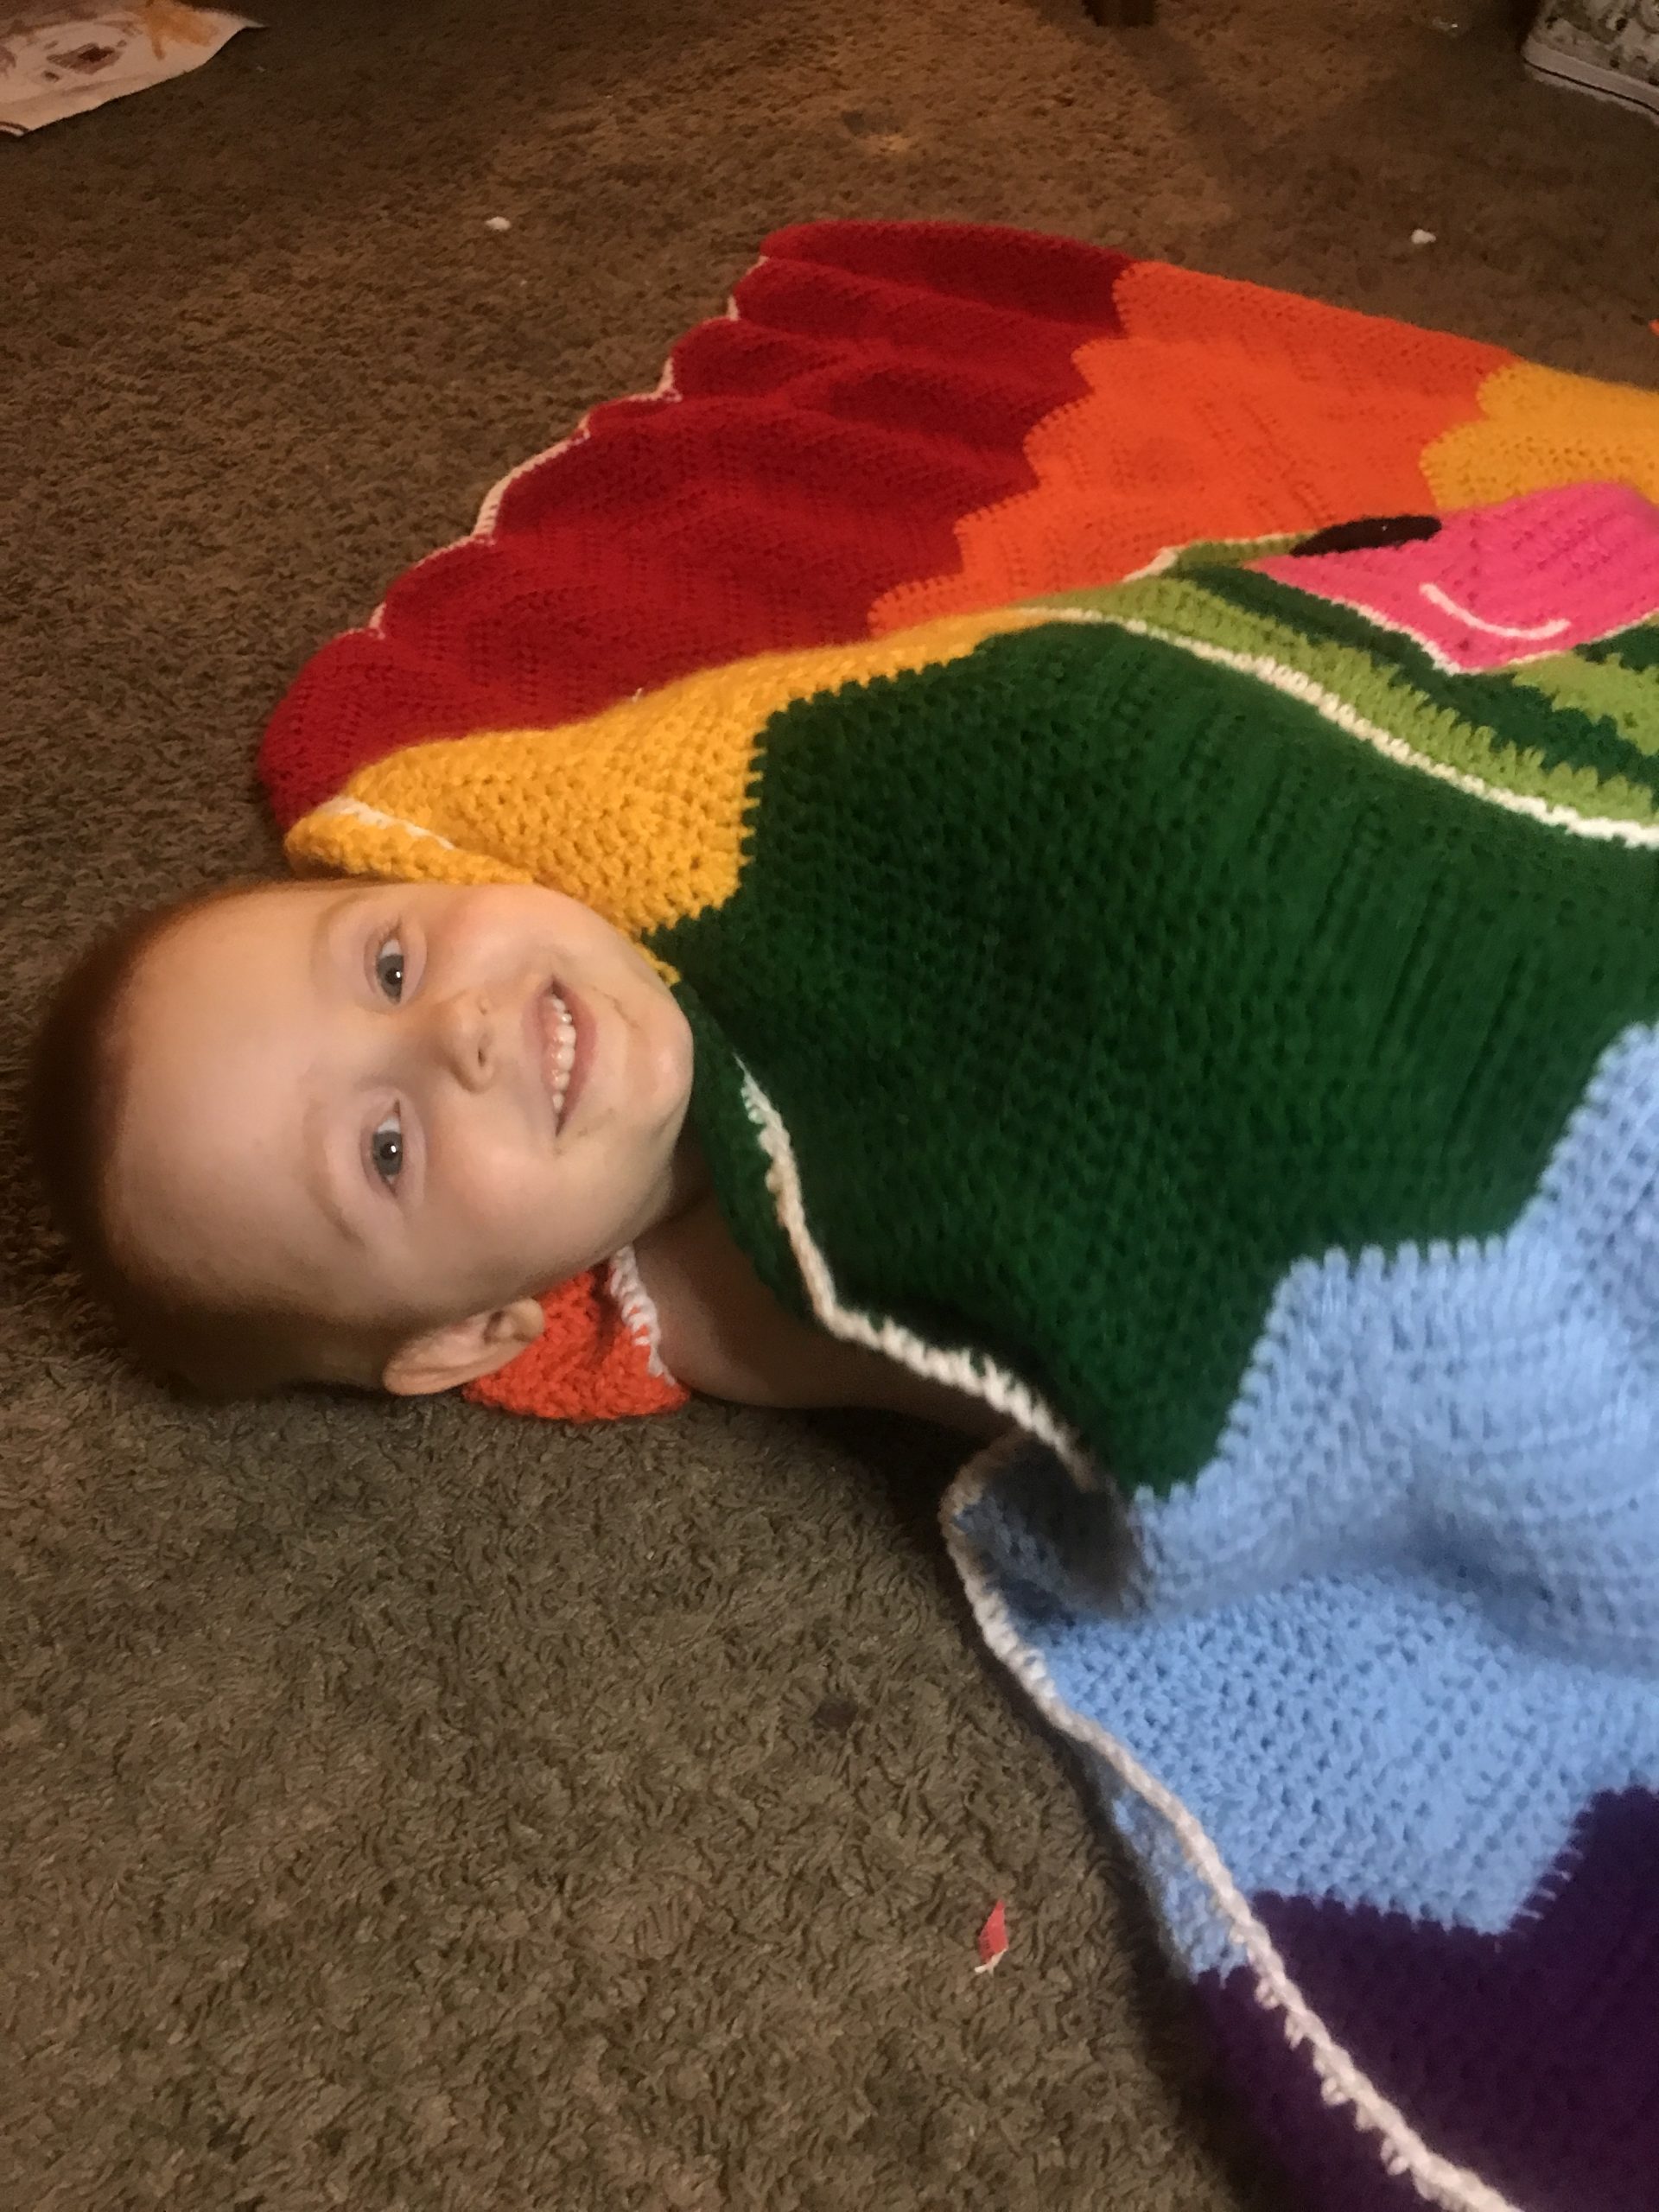
My Cocomelon didn’t turn out perfectly. It’s a bit wobbly and more square than rectangular, but it’s close enough to get the job done. And most importantly, Bumblebee loves it!
If you make this, please tag me on Instagram (@ladybugdaydreams) so I can see!
Blessings,