
Disclosure: I received this complimentary product through the Homeschool Review Crew.
Last year, I was able to review the Starter Kit from Fermentools, and it didn’t go so well. I was able to technically ferment some vegetables, but they weren’t a family favorite, taste-wise. This summer, I’ve been making a lot of coleslaw (the traditional kind, not fermented), and I wanted to give fermented coleslaw a try. I’ve had some “sour” coleslaw in restaurants with fish and chips. When I saw the recipe for fermented coleslaw on the Fermentools blog, I suspected that that tart flavor I’ve enjoyed in restaurants might be a fermented slaw. I wanted to try making it myself! For this reason, I asked for another opportunity to write a review for Fermentools.
Fermenting foods is a great way to incorporate good bacteria into your intestinal tract (necessary for optimal “gut health”), and it’s gained a lot of popularity over the past few years (never mind the fact that it’s been a traditional way of preserving food for over a century). If you like sour things, like pickles and sauerkraut, or fermented things, like wine, then good news for you: you already like fermented food! But if you buy these foods from the grocery store, you’re missing out on all the good bacteria that you get when you ferment your own food at home. This is because in the process of canning to make food shelf stable, all that heat kills the bacteria. Killing bad bacteria is a good thing, but killing the good bacteria… not so much.
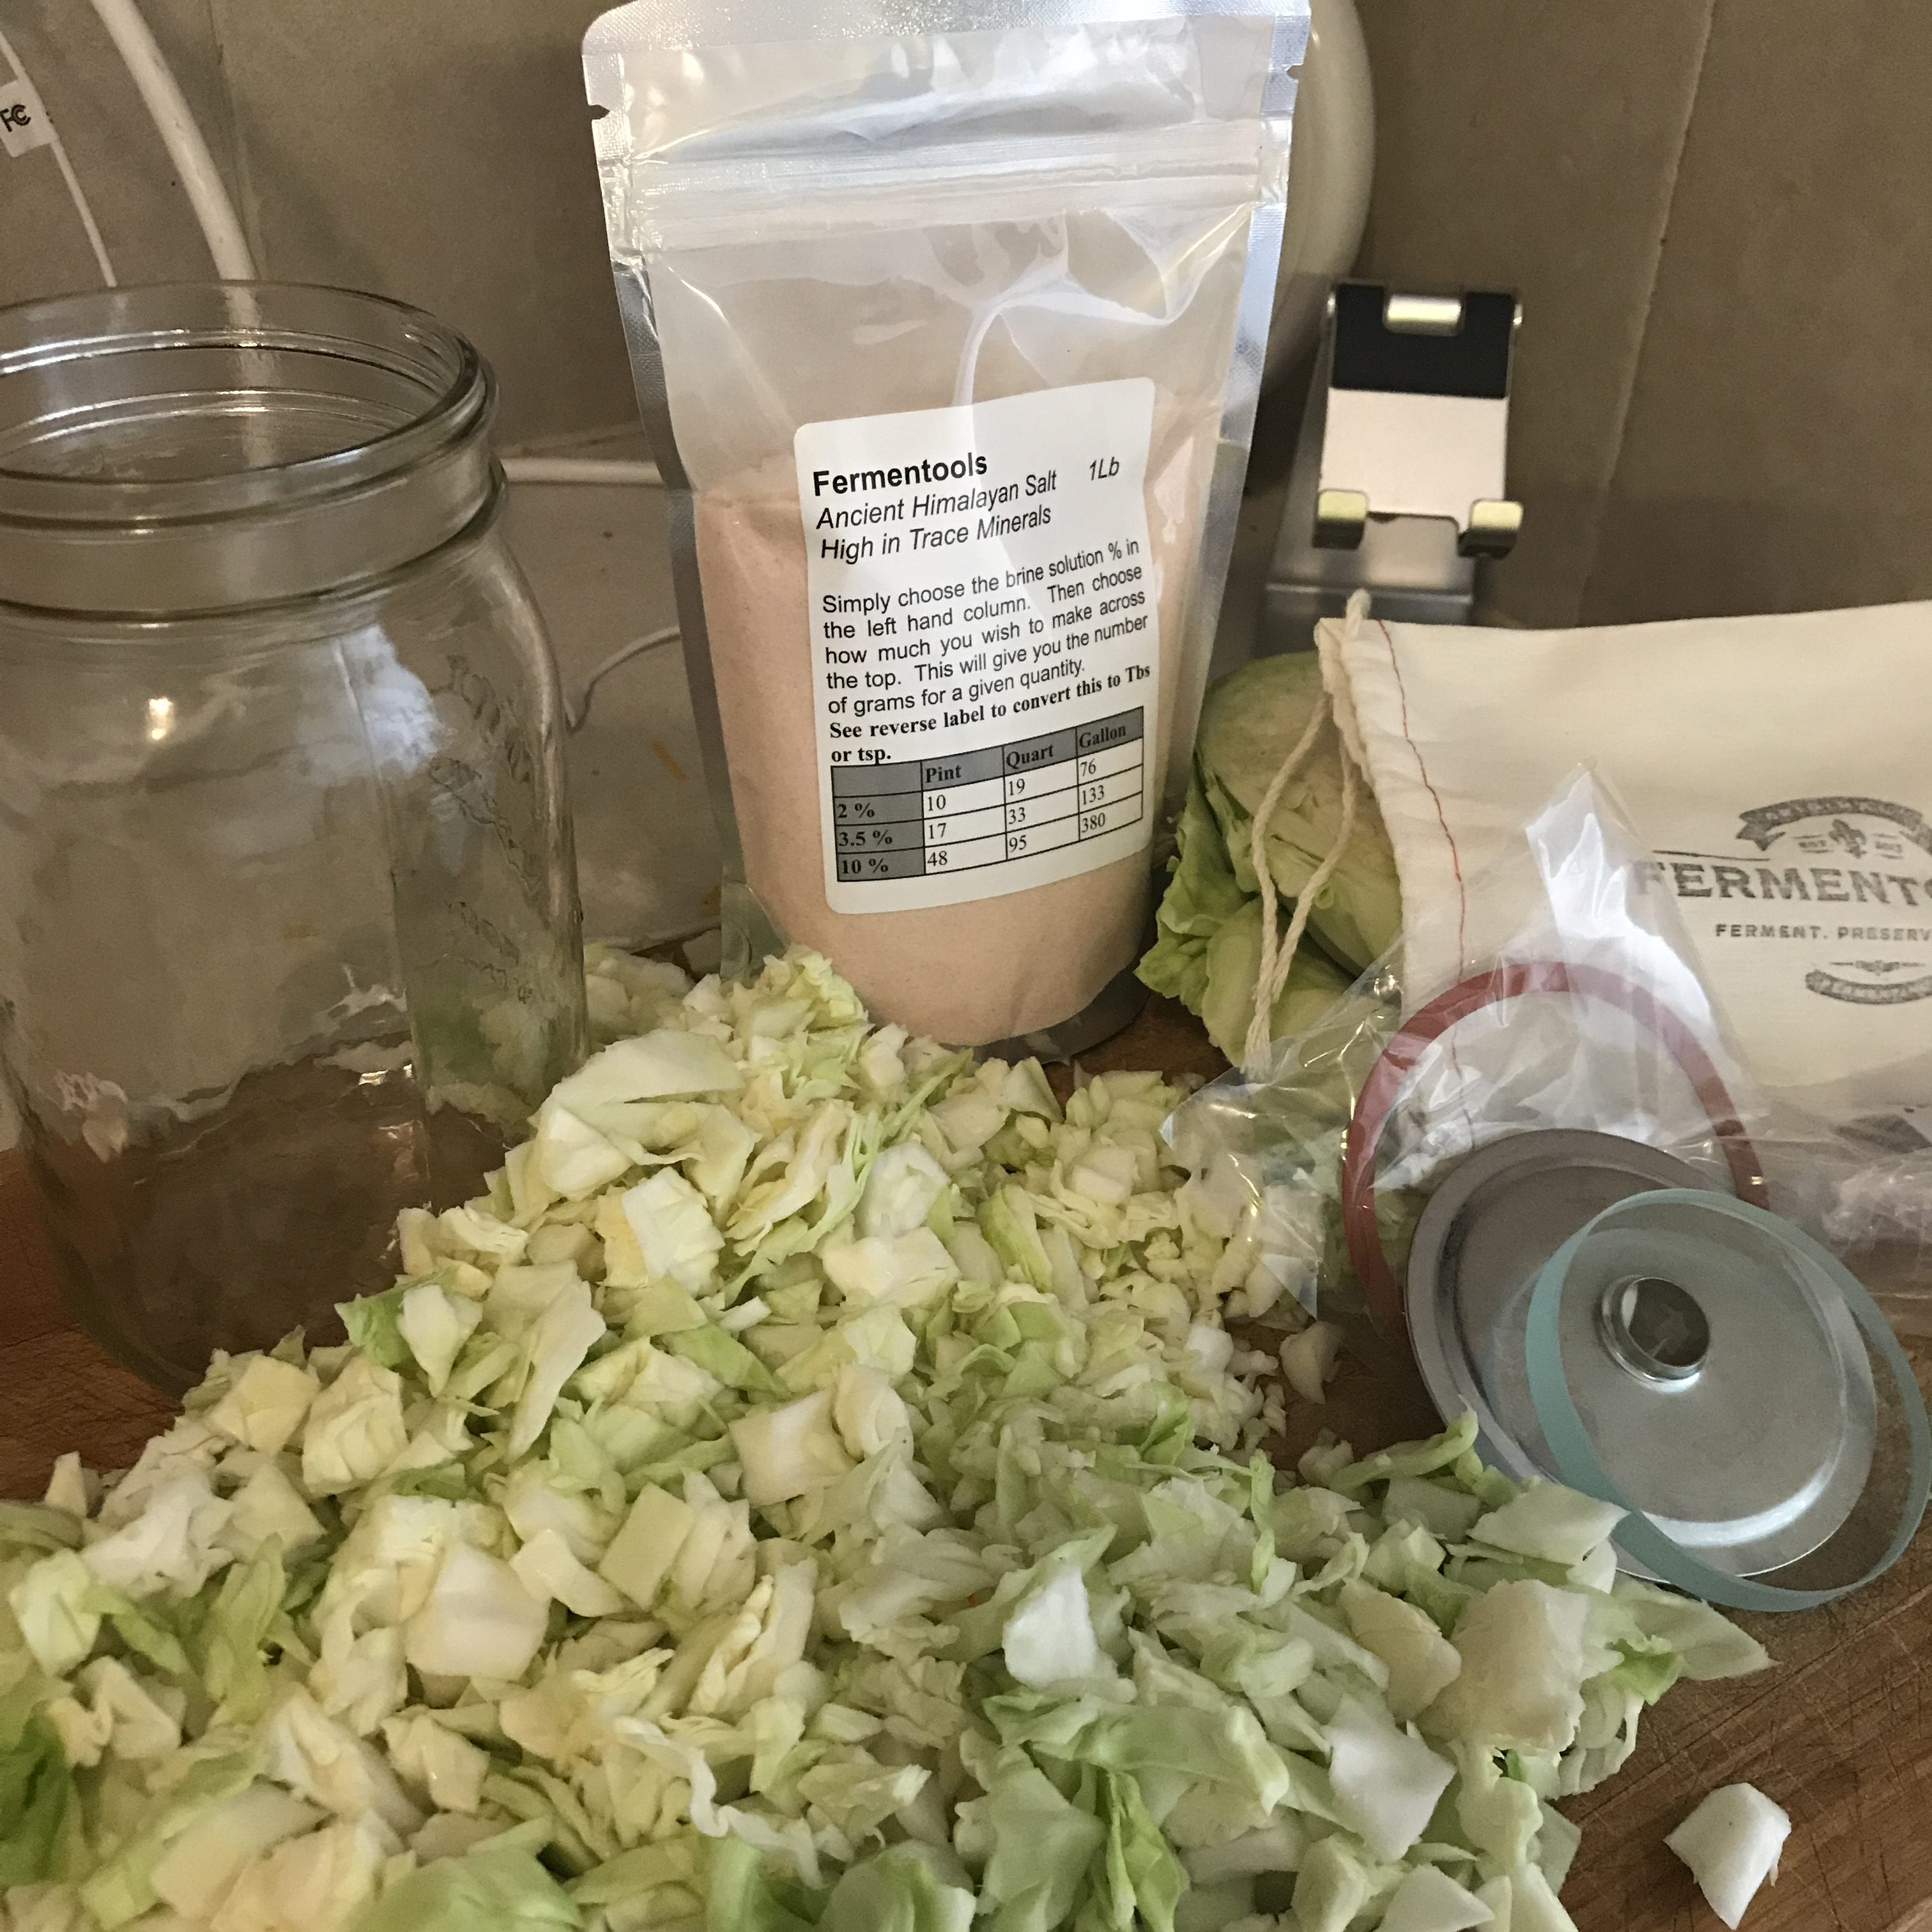
 The Fermentools Starter Kit comes with everything you need to turn any size wide-mouthed Mason jar into a fermenting vessel. Just add the jar and the food! The starter kit comes in a nice small box that will fit easily into a standard mailbox when you order it. Inside the box is a little cloth bag with all of the tools: a glass weight, an air lock, a special lid that fits a wide-mouthed jar, a rubber stopper, and a rubber ring. Also inside the box, but outside of the bag, is a bag of specially formulated Fermentools Himalayan pink salt and an instruction sheet with two recipes. Let’s talk about how to ferment food using the kit.
The first thing you do is to choose your recipe. As I mentioned before, I opted for coleslaw. This meant chopping up some cabbage, shredding carrots, and getting started. I used green cabbage only because it’s what I had on hand already, but you could easily do a mix of green and purple. For a quart sized jar, I used about half a large head of cabbage and two carrots.
 Once my vegetables were chopped, I sprinkled a tablespoon of the pink salt from the kit over the top of the mix (it was still just laid out on my cutting board at this point). I mixed it altogether with my hands and then pressed it into the jar. With the jar filled up, I then made a brine solution. I didn’t have any distilled water at the time, so I used the method on the instruction sheet to dechlorinate some tap water by boiling it for ten minutes and then letting it cool. I cheated on the cooling and added some store-bought ice to speed up that process. In the future, I will just buy a gallon of distilled water and not worry about it, but I’d already chopped and salted the cabbage at this point, forgetting that fermenting requires non-chlorinated water.
Making the brine with Fermentools is super easy. The salt bag has everything you need to know to measure properly. If you look at the front of the bag, it tells you how much salt you need for a specific amount of water (not for the size of your jar, so be aware of that when you measure) in grams. Flip the bag over and you’ll see a grams-to-teaspoons/tablespoons chart. Simply add the salt to your water, stir to dissolve, and your brine is ready.
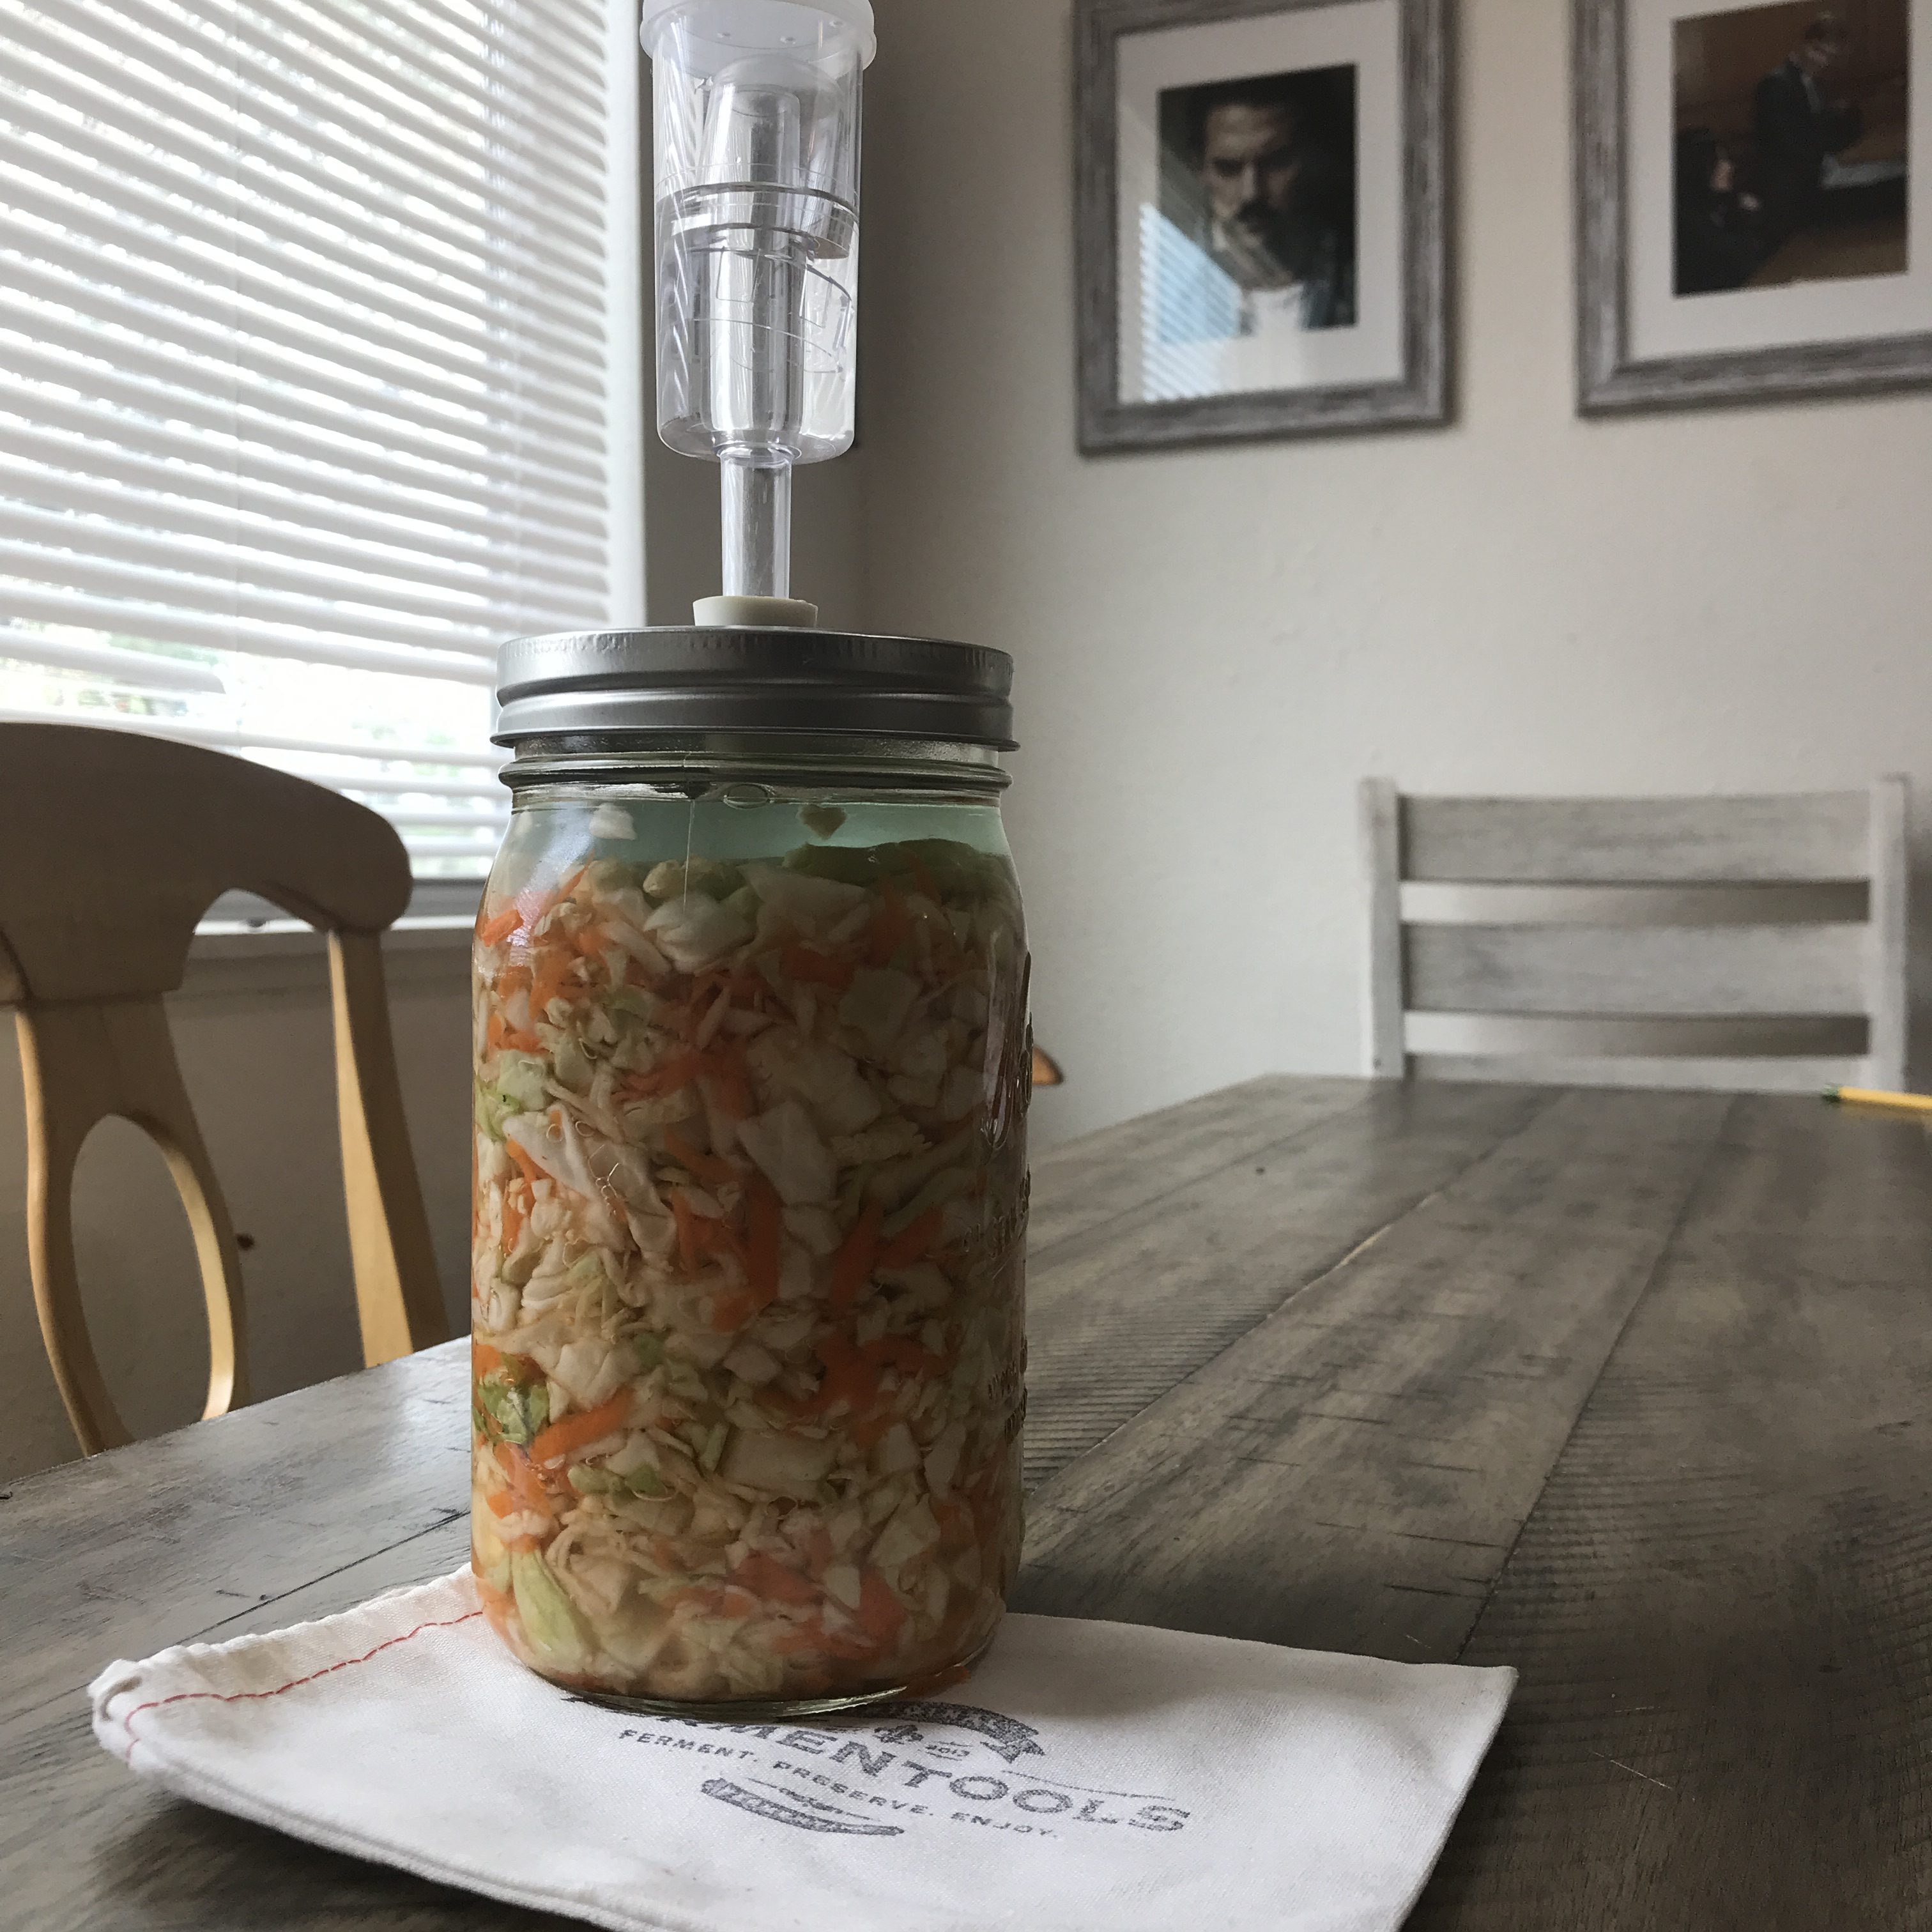 Back to my jar of coleslaw. It was packed down now, so I slowly poured the brine over the mixture. My recipe recommended placing a cabbage leaf over the top of the mixture, so I did that and then added the glass weight. The weight is perfectly sized to fit inside the Mason jar, and its job is to keep the vegetables submerged in the brine during the fermenting process, assuring that all of the food ferments – none is above the brine being left unfermented. From here, you add the special Fermentools lid (it has a hole in the top) and rubber gasket, then secure it with the ring that came with your jar. Pop the rubber stopper into that hole, then add your air lock to the rubber stopper. Fill the air lock halfway with water (there’s a line right on there so you don’t have to guess; I used brine in mine) and place your jar in a dark place to ferment for the time specified in your recipe. The fermenting process varies based on the food in your jar; my coleslaw recipe said about 5 days. I forgot about it, though, and it ended up going 8 days before I got back to it.
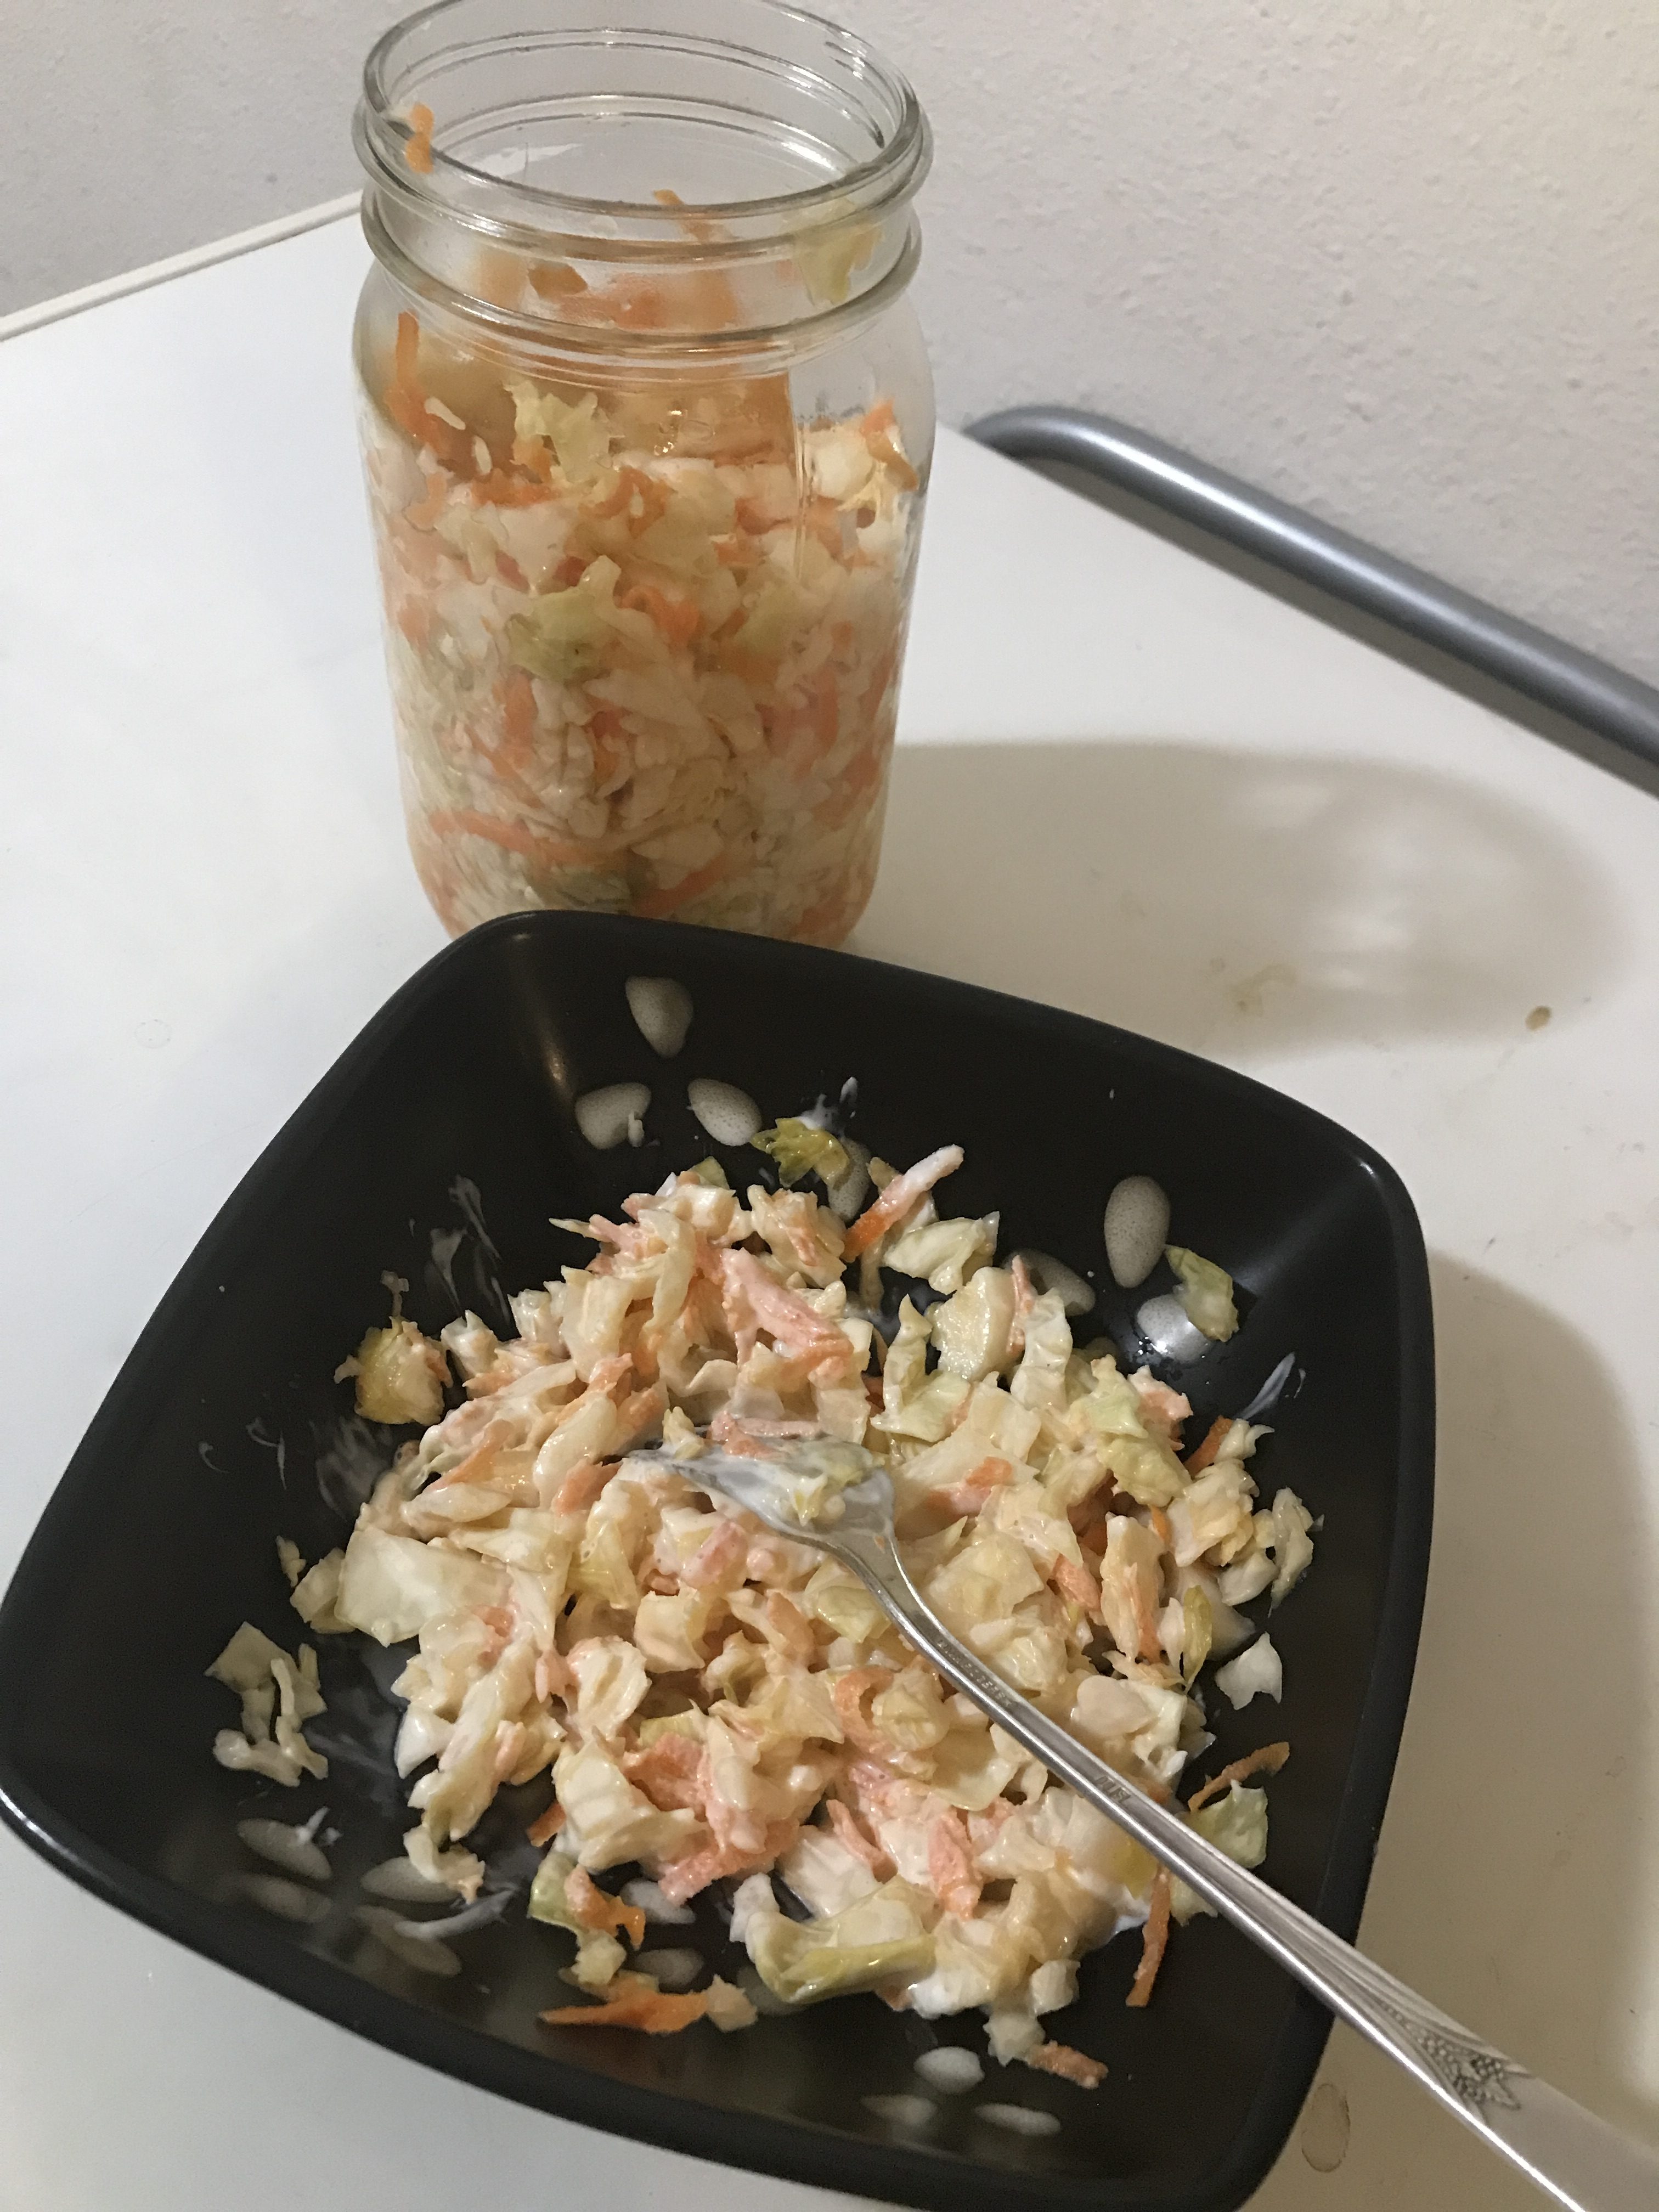 Now the big question… did the fermented coleslaw taste good? Yes! I was a bit leery to taste it at first, so I just had a little bit. The recipe said that when the fermenting was over, to mix it with a bit of mayonnaise to complete the recipe, so I did that. And it was really good! I will definitely be making more fermented coleslaw in the coming months. And it gave me the confidence in tasty fermented foods that I didn’t get last year, so I want to try some other options. I learned last year that it’s best not to attempt to make something that’s not what it’s supposed to be. For example, I confused “fermented asparagus” with “pickled asparagus” last year, and I was disappointed. But going in with the right mentality this year, I was much happier with the results. If you already know you like fermented food and want to make it yourself to preserve those good bacteria, or you’re interested in trying something new, then I definitely recommend the Fermentools Starter Kit.
One last thing before I wrap up today. Last year, I gave my Starter Kit to my mom because I didn’t expect to use it again after our family’s disappointment in the asparagus. She made some fermented garlic, and I have a short review from her too.
I used your fermenting process to ferment some garlic. It was very easy. All I had to do was put the stuff together and put it in the garage for three months. After that, I put it in the refrigerator and let it cool down because I like my stuff cool, and then I gave it a try. I thought it tasted really good. Your product was very fun to use and very easy.
Make sure to click through to the Homeschool Review Crew website, too, and see what other families fermented. I know I’m excited to read those reviews!
Blessings,

I really like coleslaw so maybe I should try that next. Should have bought cabbage at the store this afternoon! I saw the garlic recipe on the site and wondered about it. What does you mom do with the garlic after it is fermented? Does she eat it like a pickle?
I asked my mom for you, and she said she likes to just eat the garlic straight once it’s fermented. But she said it’s also good for cooking. ?