Knitting consists of four things: casting on, the knit stitch, the purl stitch, and bonding off. Yesterday I taught you to cast on, and today we’ll cover the knit stitch.
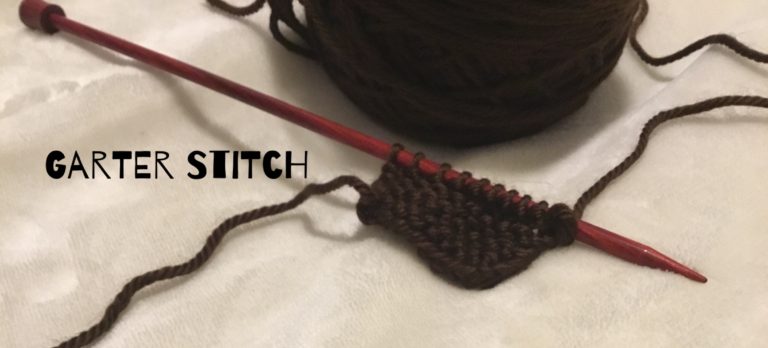
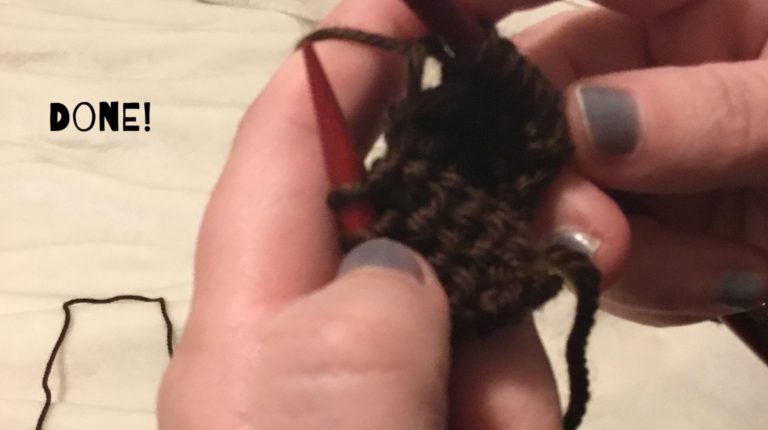
When you use the knit stitch for ever row in a flat project, you get what’s known as garter stitch. Garter stitch is defined by its horizontal dashes and squishy feel. For this sample, it’s what I used.
Special thanks to Seahawk for being my photographer.
Once you’ve cast on, you’re ready to knit. Here are the steps.
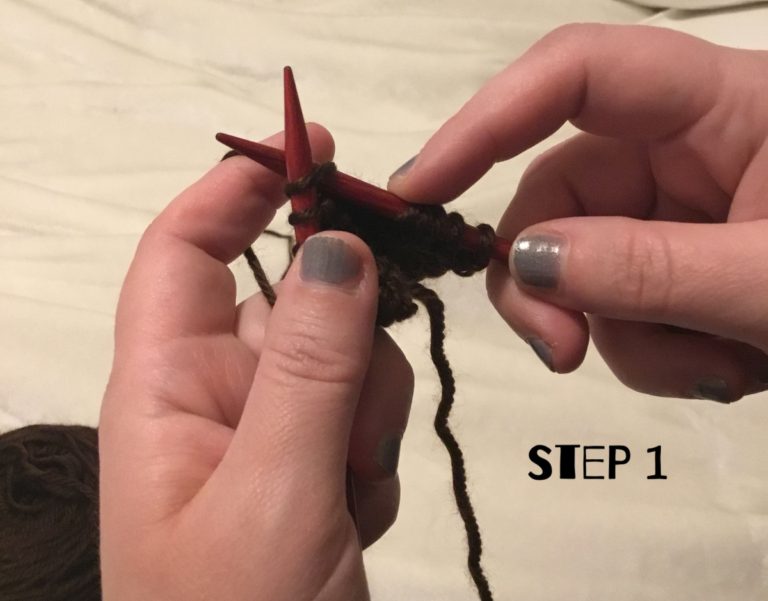
Put the needle with the stitches into your left hand and the empty needle in your right hand. Make sure the working yarn (the part attached to the ball) is behind your work, and also that you’ve pulled it under your needle, not over. If you pull it over the needle, you’ll create an extra stitch, which is not what you want to do.
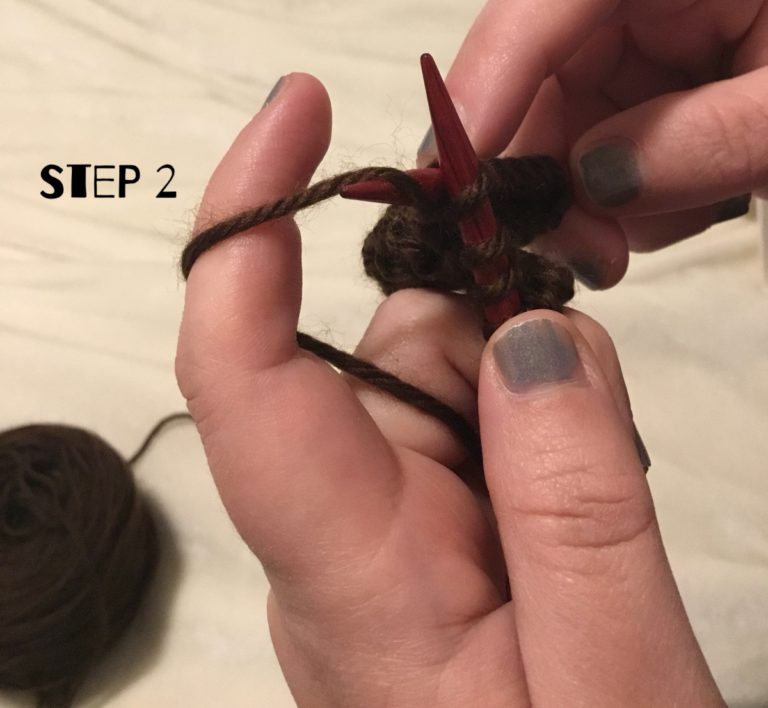
Slide the right needle through the first stitch on the left needle. It should go in through the front and out the back.
Wrap the yarn counterclockwise around the right needle.
Using the right needle, pull the wrapped yarn through the loop. This will move your needle back to the front of the other one.
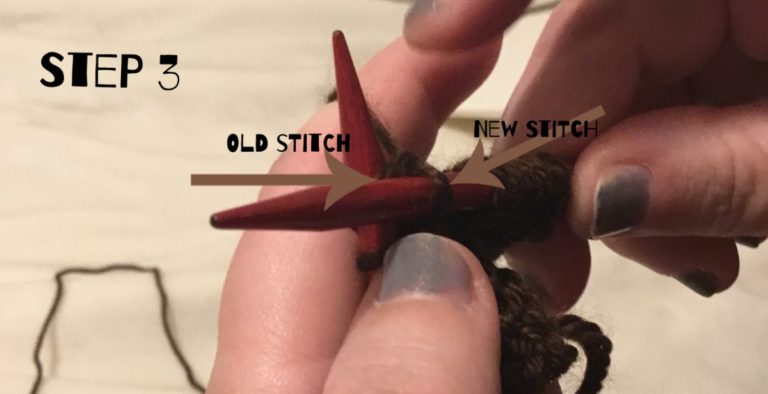
Slide the old stitch off of the left needle. The new stitch you just created will be on the right needle. Continue in this manner until you get to the end of the row. When you’ve worked all the stitches on the left needle, you’ll be left with a full right needle and an empty left one. Switch the needles and start all over again.
Thats it! If you’ve worked through this tutorial with me, you can officially call yourself a knitter. Tomorrow I’ll teach the purl stitch.
Blessings,

