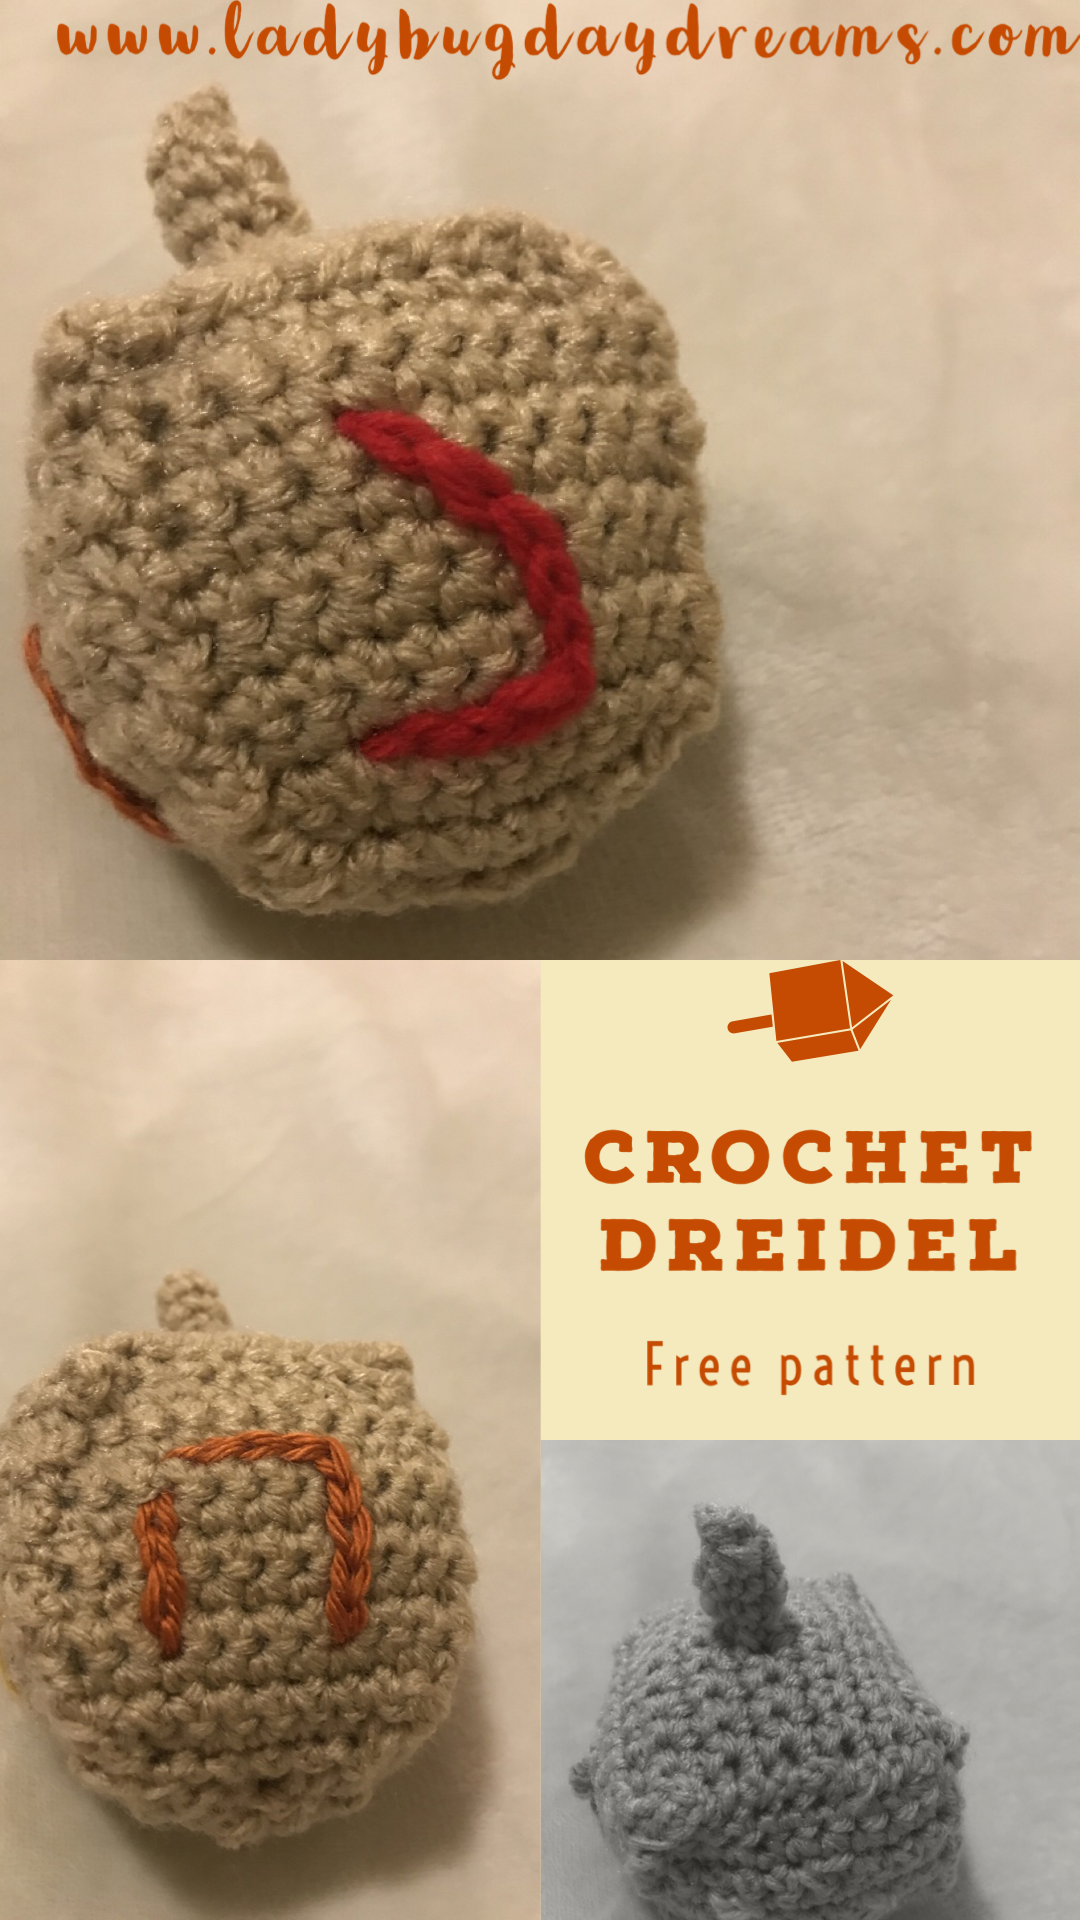
Crochet Dreidel (free pattern)

This year is our family’s first time celebrating Hanukkah, and I am trying to embrace that by making some decorations for our home. (Christmas decorations are easy to find; Hanukkah ones not so much.) Even finding patterns to make your own is difficult, so I created this dreidel and am excited to share it here today. 

AF4F0323-5F74-45DD-B79F-2482F47631FC

Crochet Dreidel

Gauge is not important to this project. Use any yarn you like and an appropriate hook for the yarn. The hook and yarn you choose will affect the size, but not in a positive or negative way. It’s all about preference. I used worsted weight yarn and a size H hook to get a dreidel about 3x3x5 (including the stem).

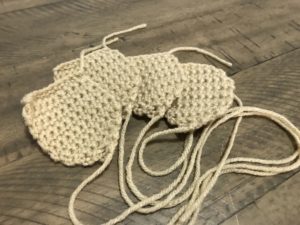
Side Panel: make 4
CDC163A4-98D4-4C2F-812E-4CE867587EA6

chain 11. SC in second chain from hook and each chain across. Ch 1. Turn. (10)

Rows 2-10. SC across (10). Ch 1. Turn.

Row 11: SC2tog, sc 6, SC2tog (8)

Row 12: SC2tog, sc 4, SC2tog (6)

Row 13: SC2tog, sc 2, SC2tog (4)

Row 14: SC2tog twice (2)

Row 15: SC2tog (1)

Fasten off, leaving a long tail for sewing.

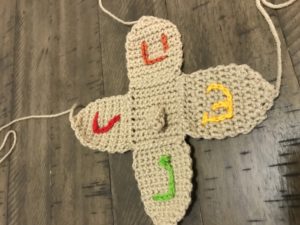
On each panel, surface slip stitch a (stylized) Hebrew letter.

Top:

Chain 11.

Row 1: SC in second stitch from hook and all the way across. Ch 1 and turn. (10)

Rows 2-5: SC across. Ch 1 and turn. (10)

Row 6: SC in first 4 stitches. Chain 2. Skip next 2 stitches. SC in remaining 4 stitches. Ch 1 and turn. (8 SC + 2 chains)

Row 7: SC in all stitches, including the two chains. Ch 1 and turn. (10)

Rows 8-11: SC across. Ch 1 and turn. (10)

Fasten off, leaving a long tail for sewing.

Into the buttonhole made in row 6, attach yarn with a slip stitch. Ch 1. SC into same stitch. SC in each of the other 5 stitches around the buttonhole (the two chains on each side, plus one side stitch on opposite sides.) Join with slip stitch to first stitch of round and chain 1 but do not turn. (6)

F2D04D4B-FB0C-424A-9A19-0926110273CB

Rounds 2-4: SC around. Join and turn. (6)

10C0C19E-A4B8-40FA-8755-5AD7087DCD33

Round 5: SC2tog three times. (3)

Fasten off and use the short tail to close the top of the “stem.”

Construction:

1908ABAD-C175-403B-A905-FEE48114BA6A

Sew the top of the side pieces to the sides of the top piece, one at a time. (See pictures for clarity.) Starting at the bottom of each side piece, sew them together until you get to the upper corner of each one. Stuff lightly before sewing the final side closed.

I hope this blesses someone out there!

ladybug-signature-3 copy

How to Crochet Surface Slip Stitch

How to crochet surface slip stitch | ladybugdaydreams.com

I have a free crochet pattern that I’ll be posting in a couple of days, but I wanted to post this tutorial on the surface slip stitch first, because my pattern requires use of the technique. You may be asking yourself, What is surface slip stitch? It’s simply a way to stitch designs onto your work that’s easier than using a crochet chain as an appliqué. The method is easy once you get the hang of it, so if you’ve never used it before, I hope this inspires you to try.

How to crochet surface slip stitch | ladybugdaydreams.com

The main thing to remember about this technique is that your working yarn should be behind your main piece all the time. With that in mind, here’s a step by step tutorial. (These steps assume that you know how to crochet and have an idea of the design you want to make.)

1. Insert your hook from front to back of your work, right where you want your design to begin. Attach your “drawing” yarn to your hook with a slip knot, then pull the loop through to the front.

how to crochet surface slip stitch | ladybugdaydreams.com


423AC7B7-7967-44D6-869A-D2E0A46CA94E

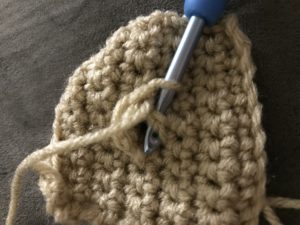
2. Keeping your design in mind, push your hook down through the fabric about one stitch away from where it is now. With your hook on the back of the fabric, yarn over and pull up a loop. With that loop now on the front of your fabric, complete the slip stitch.

71BB5792-851D-4F94-91CF-33AA80C05DEA

3. Continue in this fashion until you’re done with your design.

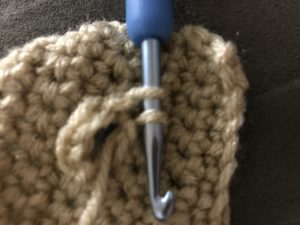
4. When you’ve completed your last stitch, remove the hook from your work and gently pull out the final stitch. Push your hook back through the fabric in the same spot you just undid that stitch from, this time from back to front. Grab the loop from the second to last stitch and carefully (without pulling too tightly and distorting your stitches) pull it to the back. 

A43C2F17-B4E8-4BA8-AA0E-9F1A6DAC1B7C

5. Break the yarn and fasten off as normal. Tie the beginning tail and ending tail together in a knot at this point, just for extra security. This also assures that your work will stay in place without you having to weave in the ends (since your yarn is probably a contrasting color to your main work, weaving the ends in is less than ideal). Once the tails are knotted together, you can cut the ends short. 

I hope this helps you!

Blessings,

ladybug-signature-3 copy

Dollar Tree DIY winter welcome sign

I’ve been watching loads of “Dollar Tree DIY” channels on YouTube lately (did you even know there was such a thing? They’re so cool!), and they’re all very inspiring. These crafters have sent me into the Dollar Tree store more during the past three months than in the past three years! And one of those times, I saw this snowman sign that I knew I wanted. The only problem with him was that he said NOEL at the bottom, and I wanted a sign that would last all winter long. So, using some tips and inspiration from all those YouTube creators, I made a few adjustments to my snowman to make him look more winter and less Christmas. Here’s what I did (Unfortunately I don’t have a before picture, and I can’t find the sign I got on Dollar Tree’s website either.)

739102C3-BE1B-4CB0-B567-2ACD7CBFAE42

First, I found a gift bag that said “Season’s Greetings” in a font I liked (also from the Dollar Tree). I cut the “greetings” portion off (because after all, “greetings” is another way of saying “welcome”). After sanding all the glitter off of the “Noel” part of the sign, I used Mod Podge to glue the paper down. Because I was using Mod Podge, I also painted glue over the top of my bag cutout.

I got a piece of blue fabric from Walmart for 97 cents and cut out pieces for his scarf and mittens, using Mod Podge to cover up the red. I had some jingle bells leftover from another project, so I painted 8 of them in “cool blue” paint from Apple Barrel (50 cents at Walmart). Then I used hot glue to apply them over the top of the ornaments on the snowman’s wreath. 

I love how this sign turned out, especially for my first project of this type. Seeing it outside my door every time we come or go makes me happy, and I won’t be embarrassed to leave him out all winter now.

Blessings,

ladybug-signature-3 copy

Crochet 2019 Calendar Blanket

All year long, I’ve been working on a “mystery crochet along” or MCAL, with Jayda from the YouTube channel Jayda InStitches. She does one of these every year, but this is my first time participating (definitely not my last though!). For 2019, the calendar blanket is a mural of sorts. We started the year, way back in January and February, by crocheting the canvas for our blanket. The color changes represent different landscape areas, from the dark blue “water” at the bottom up through the light blue “sky” at the top. 

Each month from March through December, there has been a new appliqué to crochet and sew onto the blanket – some months two or more. As of today, we’re still waiting for the December appliqué pattern to be released. There will also be a border added this month. (I will post the blanket in its entirety when I finish.) But for now, here’s what I’ve done on it. 

March: Sun

34B4A0DA-4DB4-4502-8282-9A0E55BB98D7

April: Trees
031D17AE-8C74-447D-B110-971573A801C5

May: Barn

0907DBAF-47EB-4C26-8D1B-8BCA1905D5BE

June: Town

907670C5-BA6D-4356-B8F1-E5146CE23324

July: Lighthouse

37A26BCC-11CE-405B-81CB-5FD103B1DF97

August: Tractor

BDC8084F-A026-4CD8-B5B7-9535E23F8472

September: Sailboat

E2214437-9D34-480C-9887-71C252A2A08B

October: Pumpkins and Sunflowers

6276605A-7DCD-403C-83CB-708492C01512

9871A674-2D66-412B-A5DA-F04481BBC672

November: Horse

9DD1DE20-F5F6-4A70-8327-9AA26E6D3A17

In addition to these “official” parts of the blanket, Jayda has released a few optional appliqués. I haven’t gotten around to those yet, but I do plan to add them to my blanket as well (clouds, toadstools, and evergreen trees). I also added the tractor’s trailer on my own (no pattern), thanks to a suggestion from Seahawk (my 16-year-old son). And of course, a tractor pulling a trailer to the barn needed to be full of hay! I will also be adding a sheep next to the horse.