
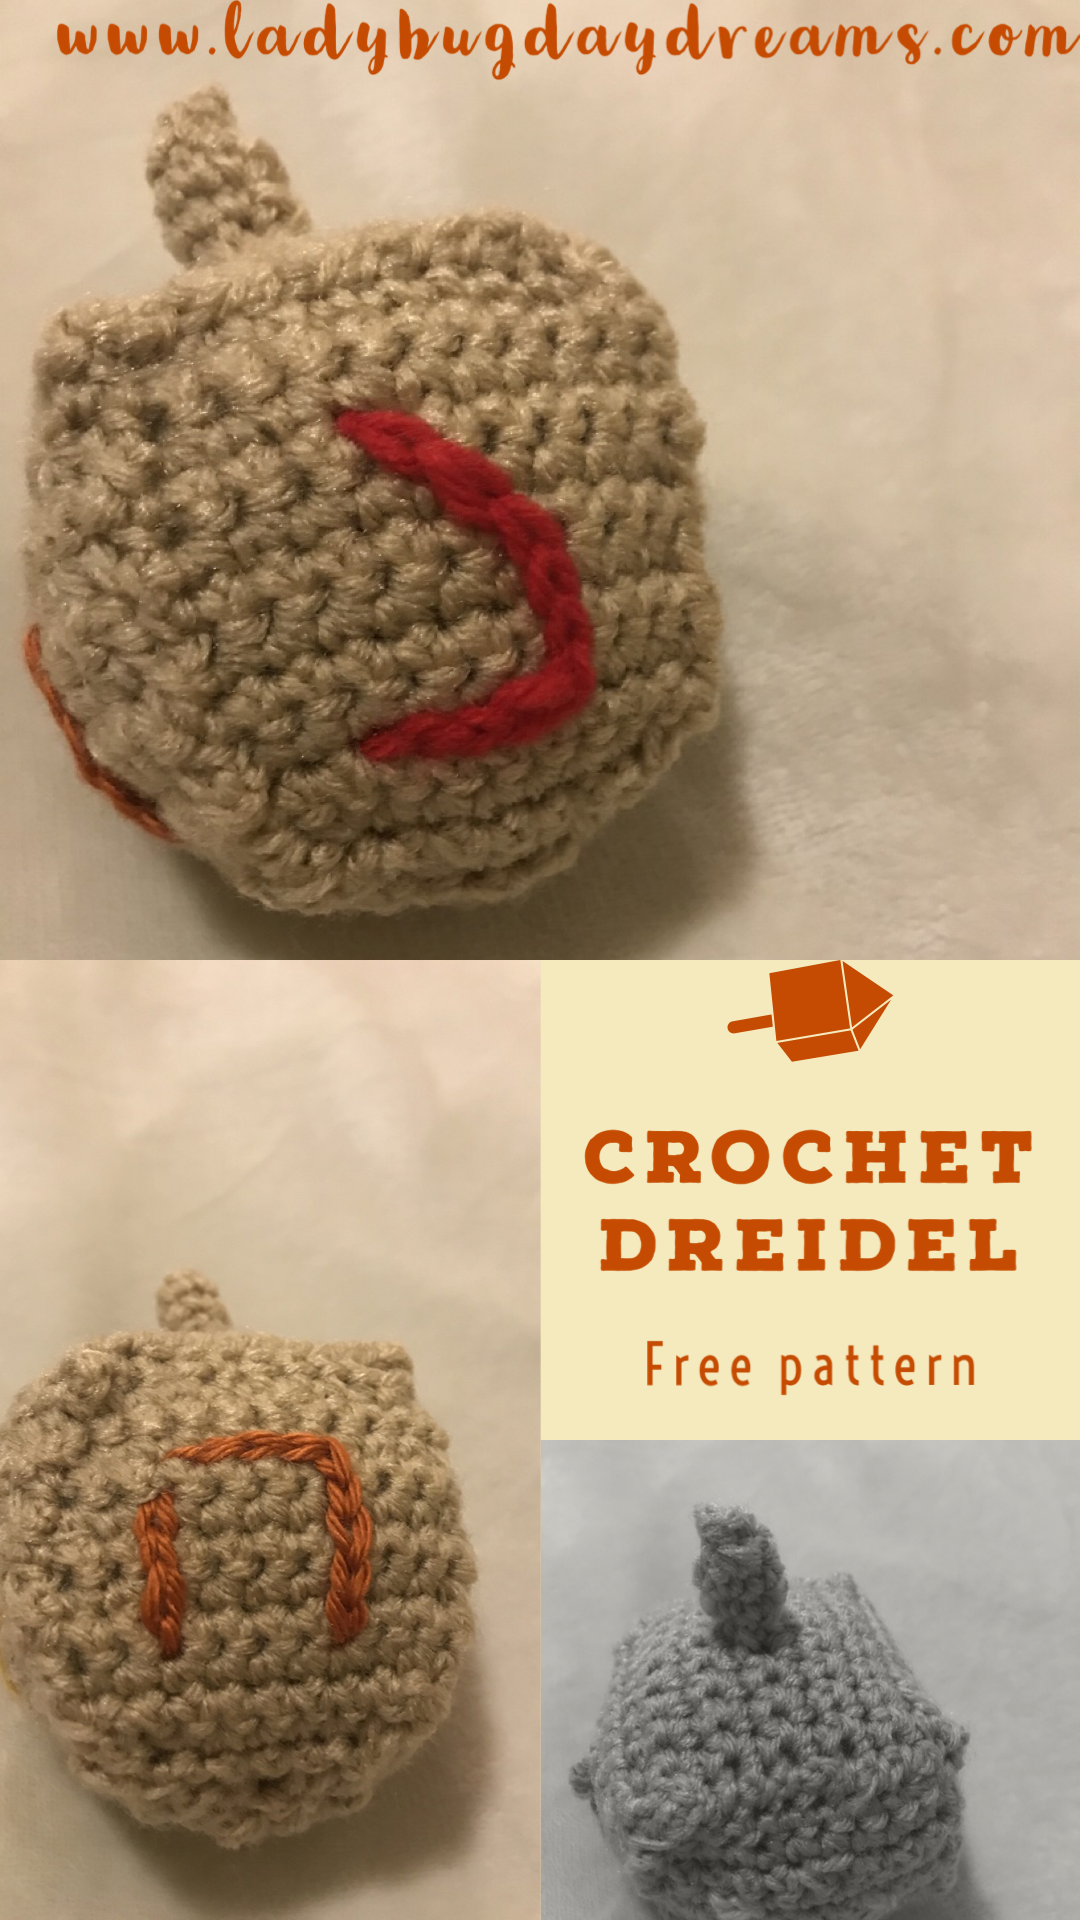
Crochet Dreidel (free pattern)
This year is our family’s first time celebrating Hanukkah, and I am trying to embrace that by making some decorations for our home. (Christmas decorations are easy to find; Hanukkah ones not so much.) Even finding patterns to make your own is difficult, so I created this dreidel and am excited to share it here today.
Crochet Dreidel
Gauge is not important to this project. Use any yarn you like and an appropriate hook for the yarn. The hook and yarn you choose will affect the size, but not in a positive or negative way. It’s all about preference. I used worsted weight yarn and a size H hook to get a dreidel about 3x3x5 (including the stem).
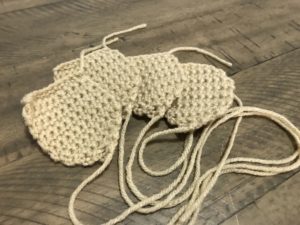
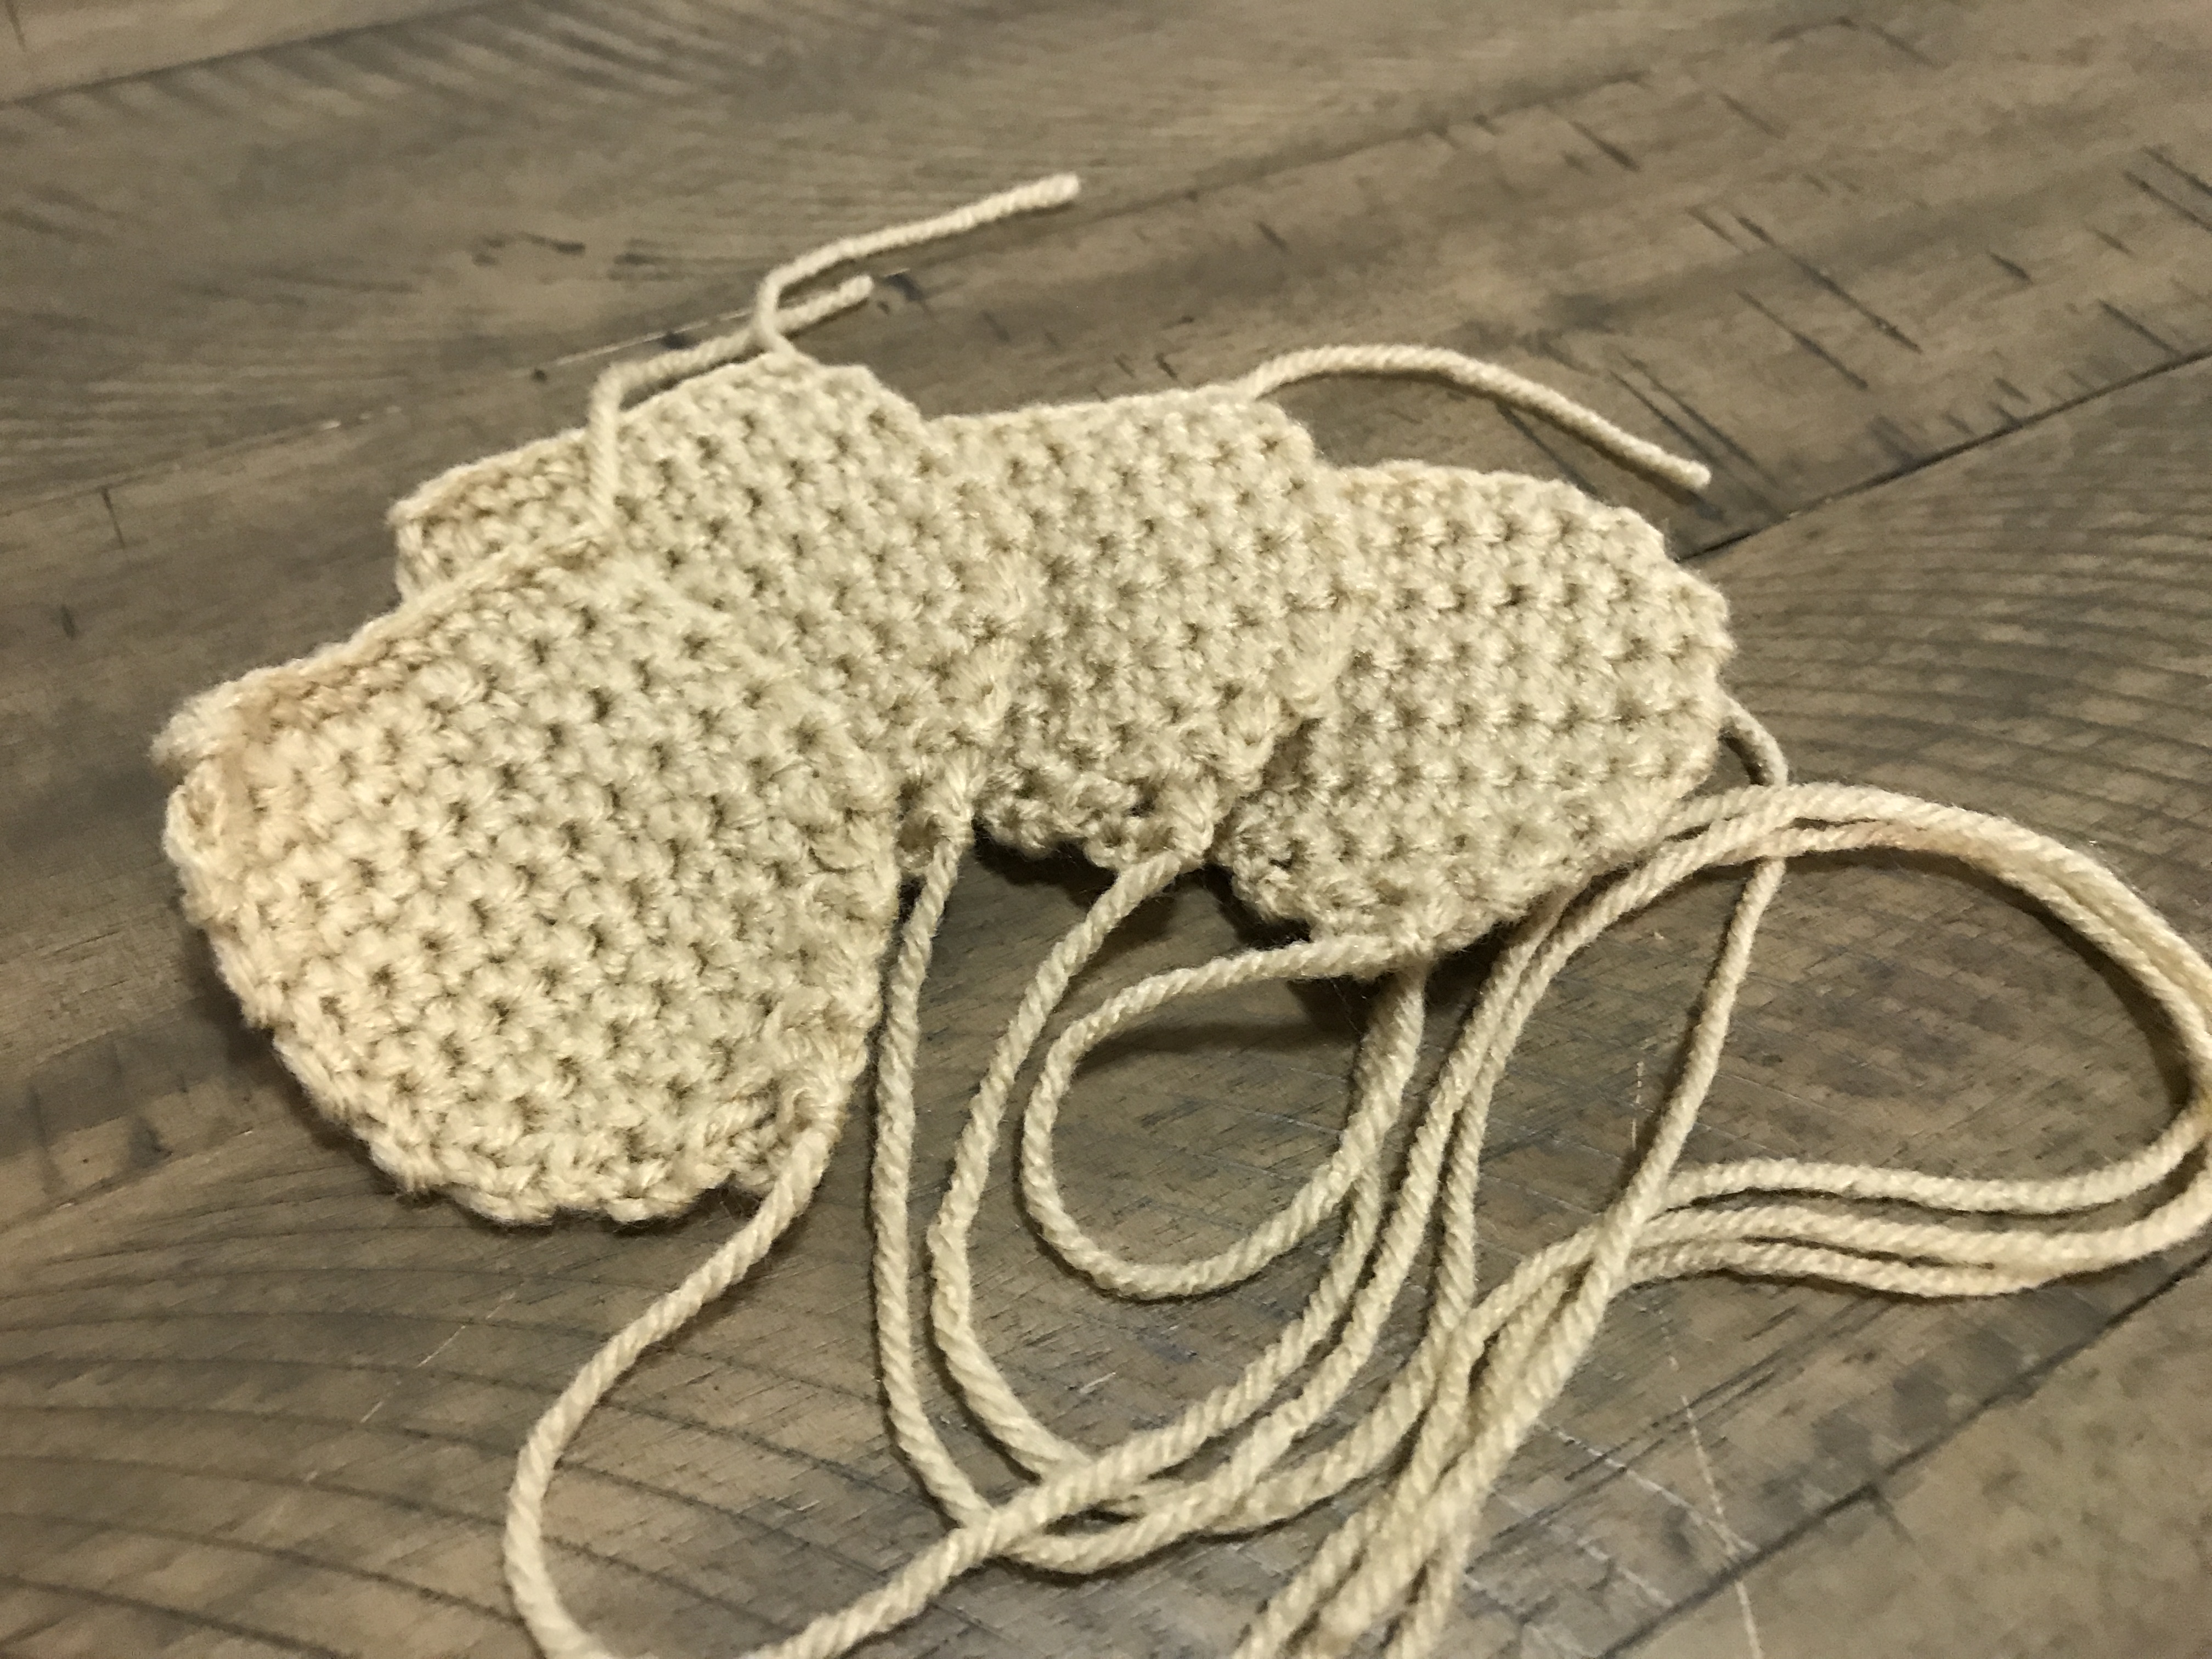
Side Panel: make 4
chain 11. SC in second chain from hook and each chain across. Ch 1. Turn. (10)
Rows 2-10. SC across (10). Ch 1. Turn.
Row 11: SC2tog, sc 6, SC2tog (8)
Row 12: SC2tog, sc 4, SC2tog (6)
Row 13: SC2tog, sc 2, SC2tog (4)
Row 14: SC2tog twice (2)
Row 15: SC2tog (1)
Fasten off, leaving a long tail for sewing.
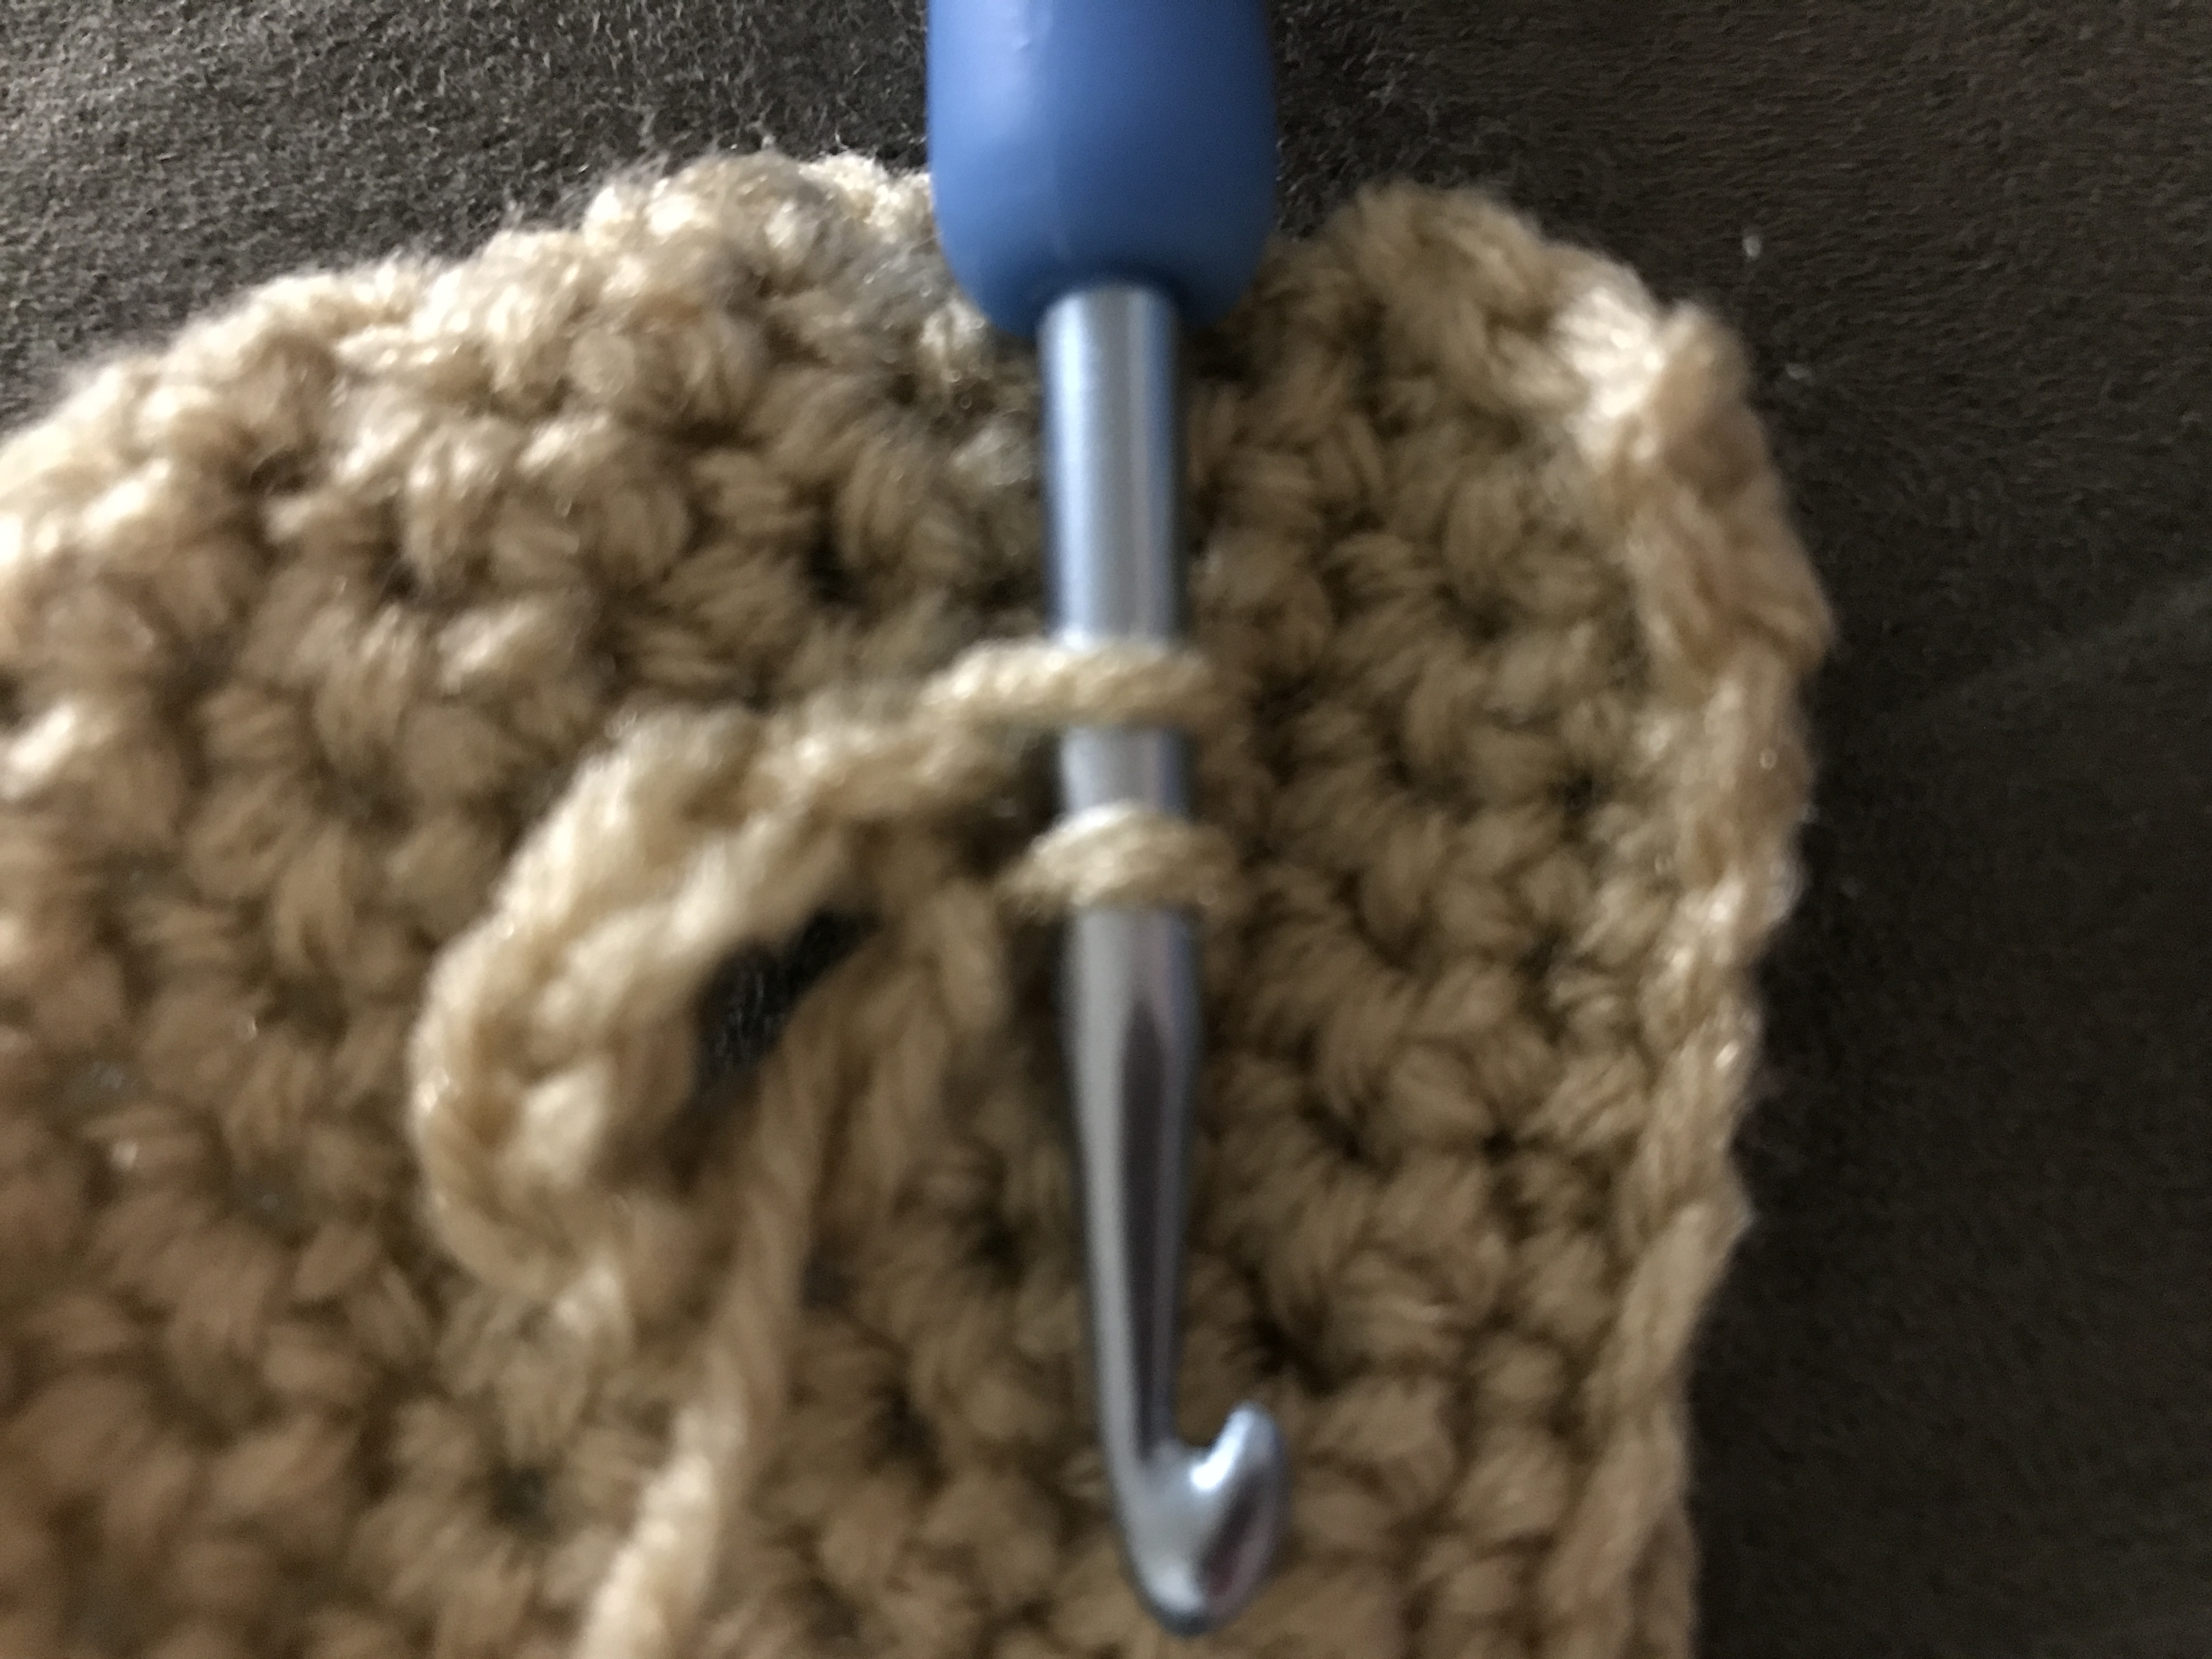
On each panel, surface slip stitch a (stylized) Hebrew letter.
Top:
Chain 11.
Row 1: SC in second stitch from hook and all the way across. Ch 1 and turn. (10)
Rows 2-5: SC across. Ch 1 and turn. (10)
Row 6: SC in first 4 stitches. Chain 2. Skip next 2 stitches. SC in remaining 4 stitches. Ch 1 and turn. (8 SC + 2 chains)
Row 7: SC in all stitches, including the two chains. Ch 1 and turn. (10)
Rows 8-11: SC across. Ch 1 and turn. (10)
Fasten off, leaving a long tail for sewing.
Into the buttonhole made in row 6, attach yarn with a slip stitch. Ch 1. SC into same stitch. SC in each of the other 5 stitches around the buttonhole (the two chains on each side, plus one side stitch on opposite sides.) Join with slip stitch to first stitch of round and chain 1 but do not turn. (6)
Rounds 2-4: SC around. Join and turn. (6)
Round 5: SC2tog three times. (3)
Fasten off and use the short tail to close the top of the “stem.”
Construction:
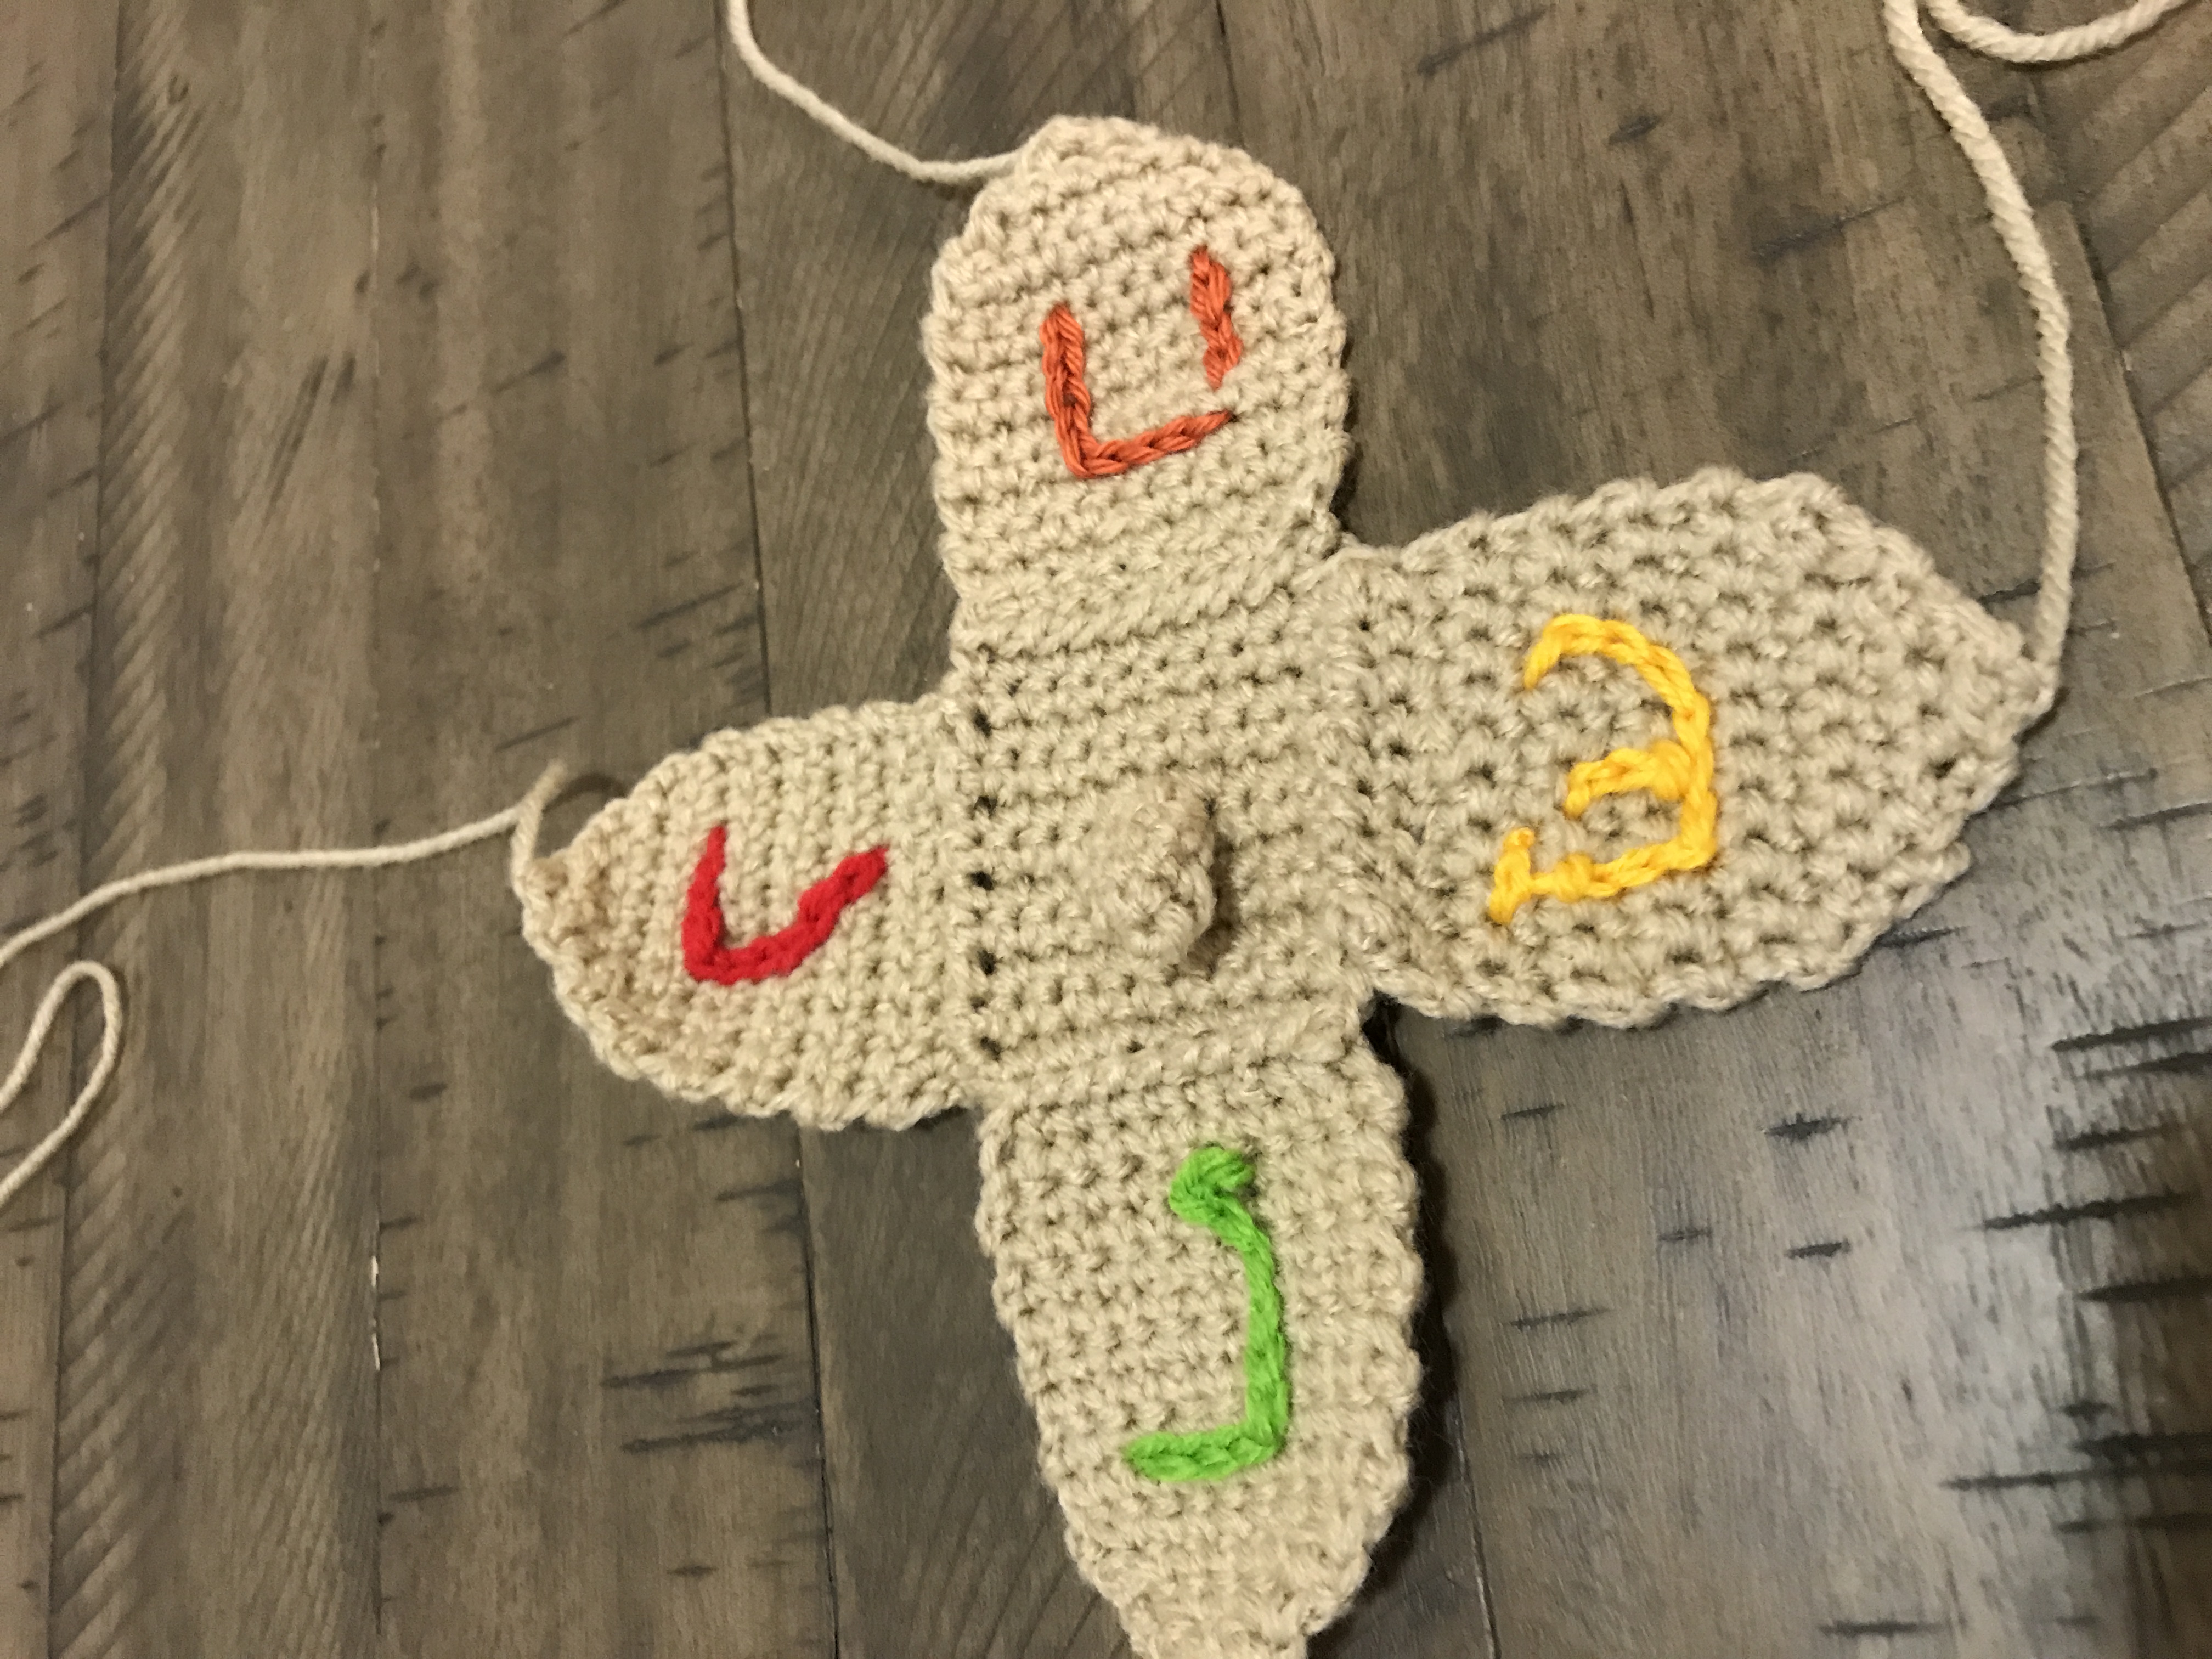
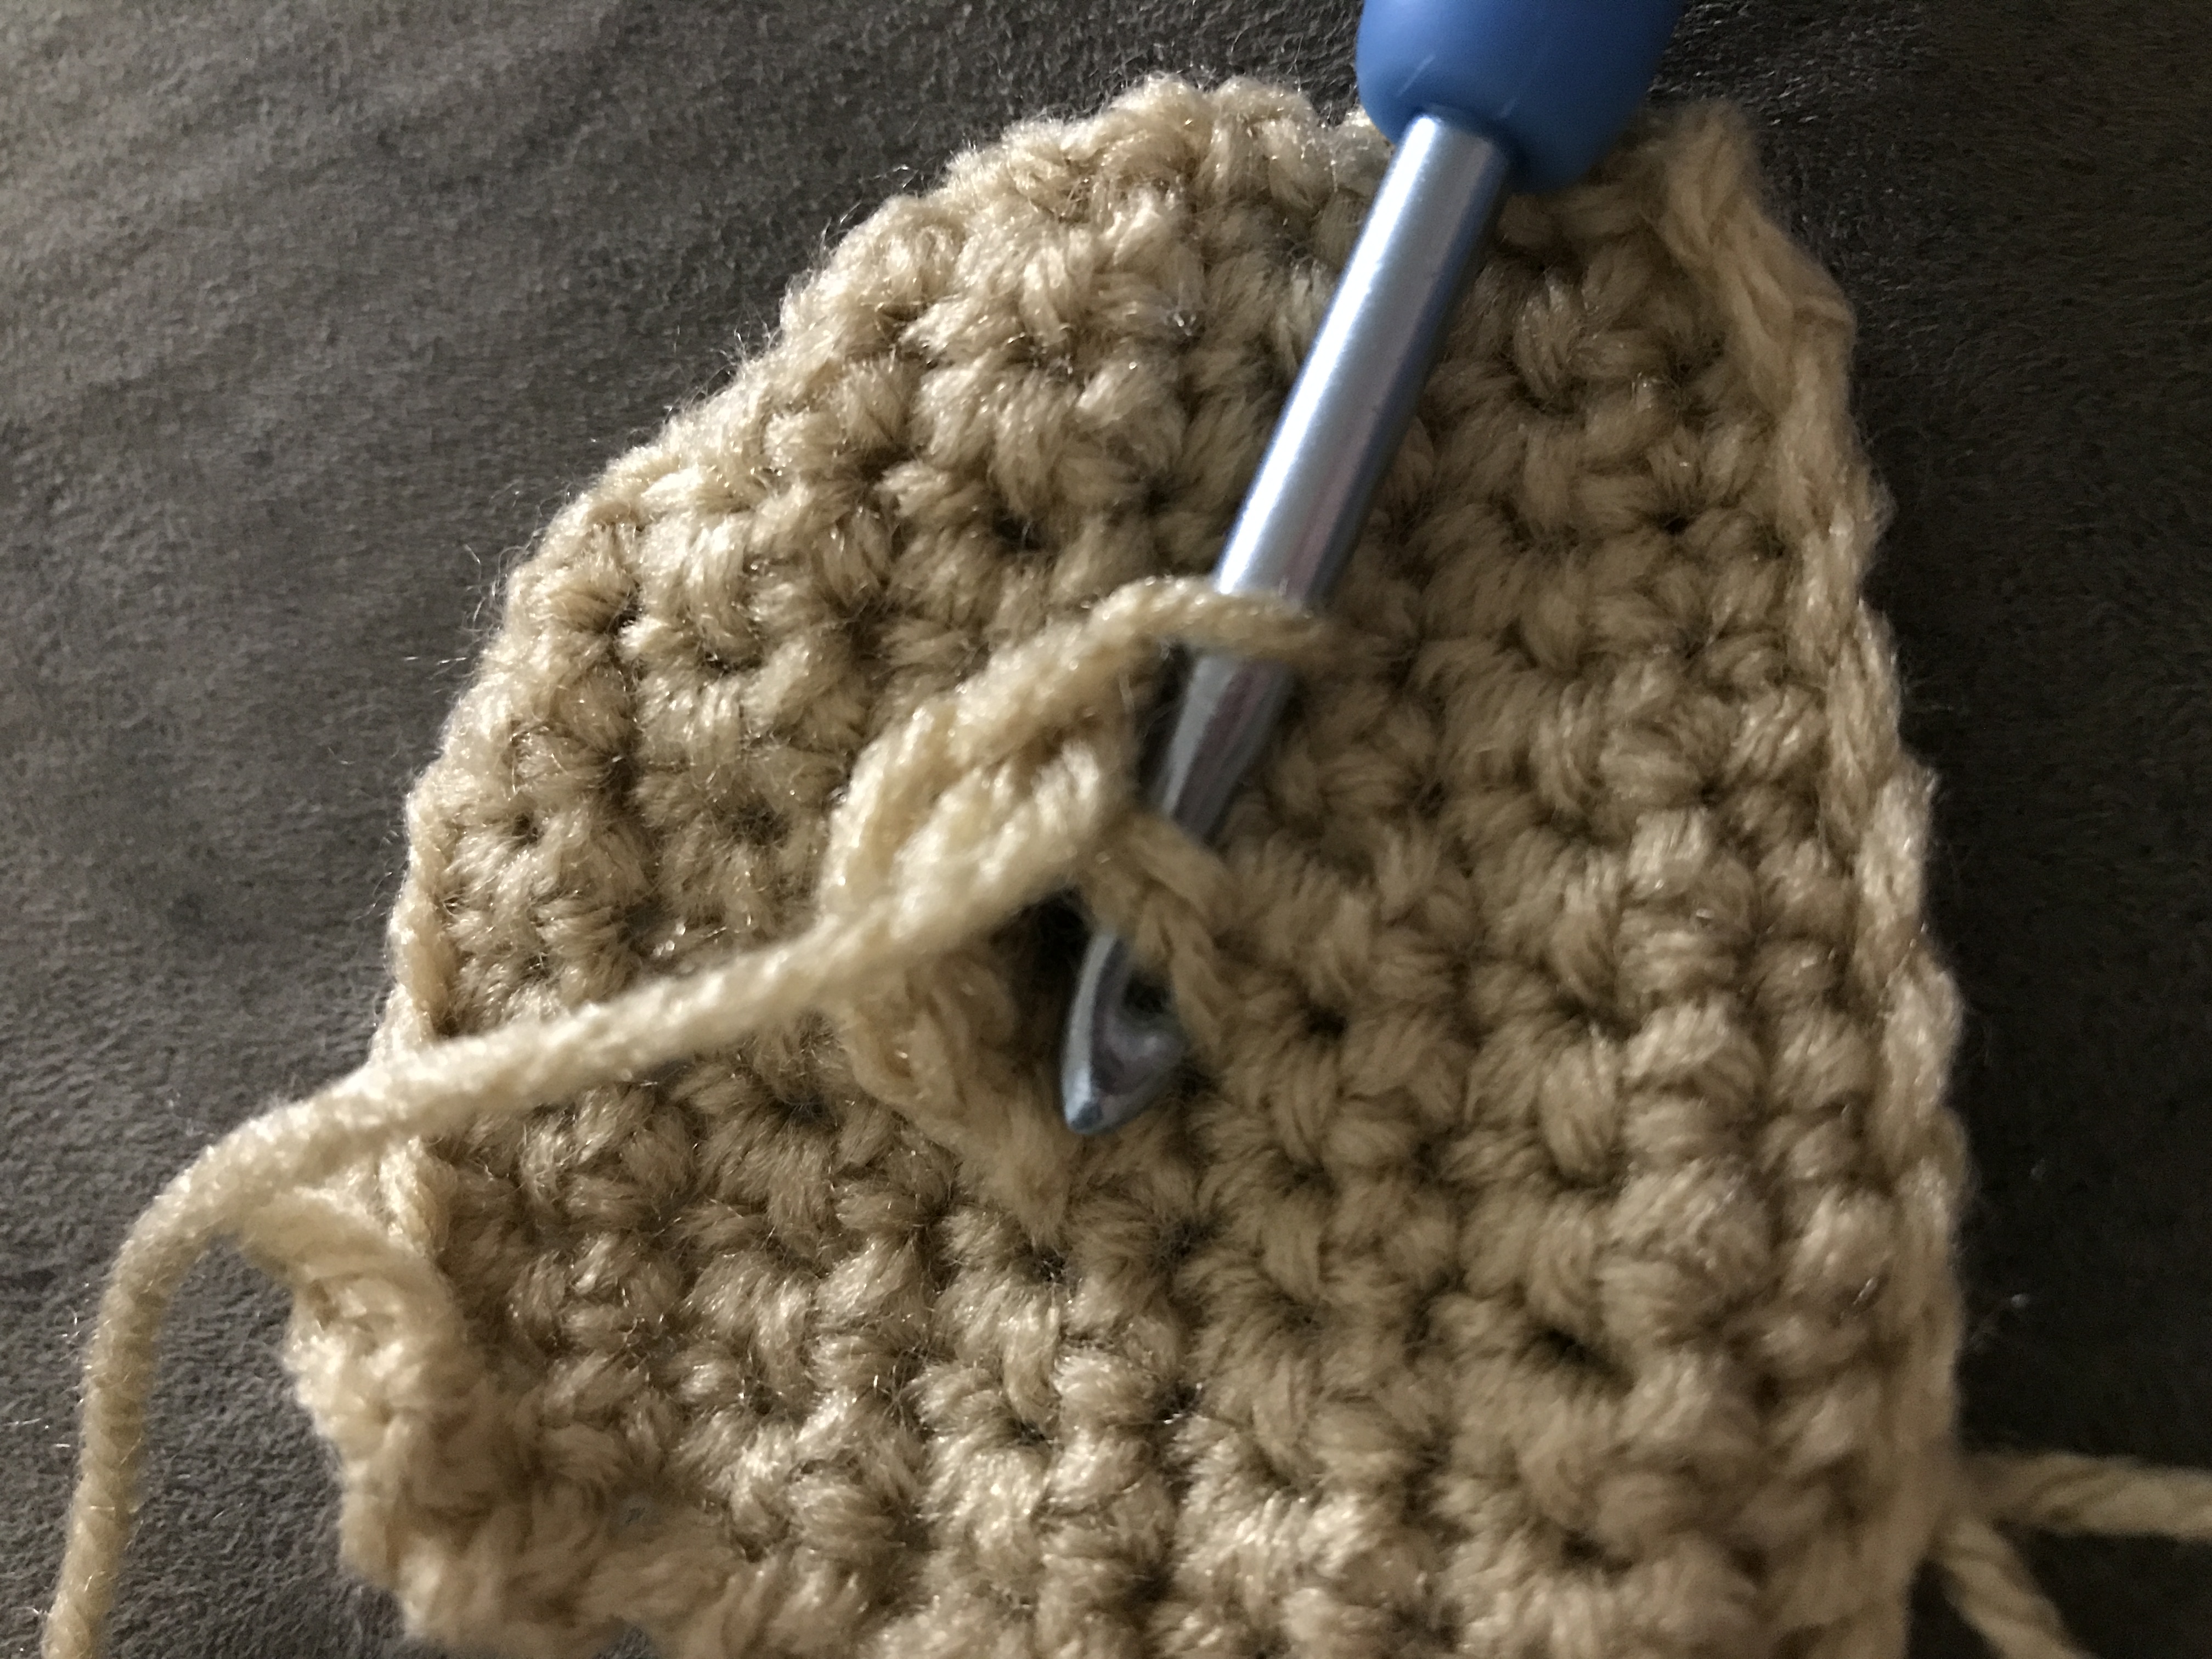
Sew the top of the side pieces to the sides of the top piece, one at a time. (See pictures for clarity.) Starting at the bottom of each side piece, sew them together until you get to the upper corner of each one. Stuff lightly before sewing the final side closed.
I hope this blesses someone out there!
