How to Knit a Washcloth

F24A5CE1-B6A7-460B-A4DE-0B4D2D2CBCFA

The next three posts will focus on knitting things that aren’t clothes. While my very favorite things to knit are sweaters for my family (both my kids and some extended family), there are situations when you need or want to knit something that you can’t wear. Let’s start with a simple washcloth.

3C68E271-E019-4AF9-8B82-62995CD73409
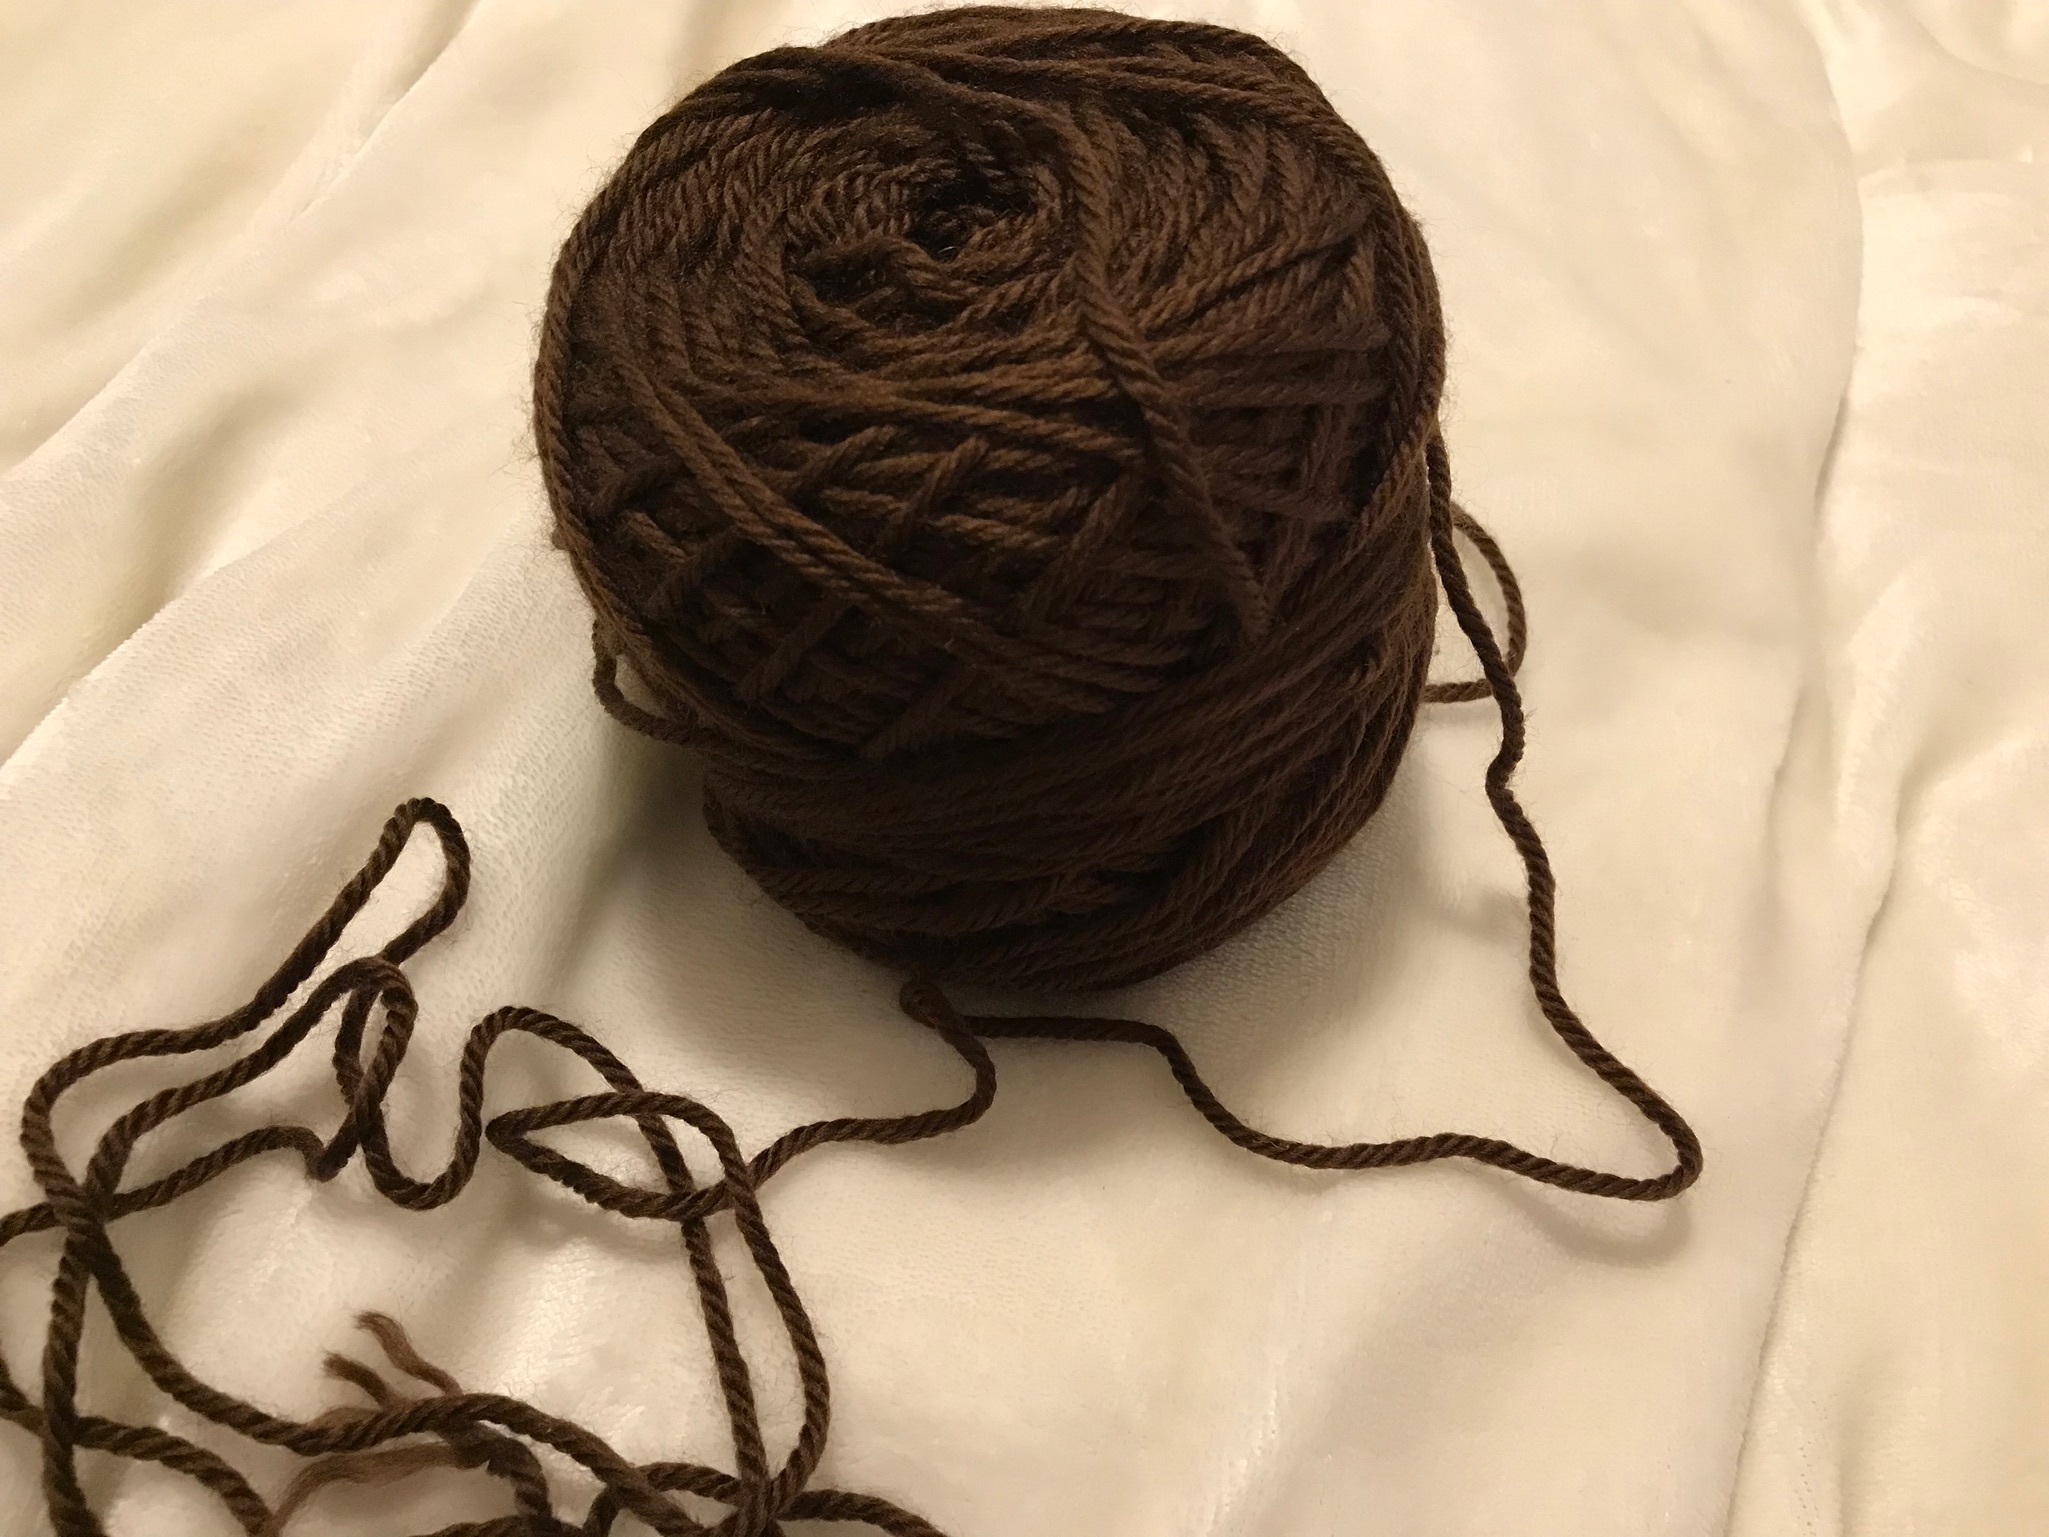
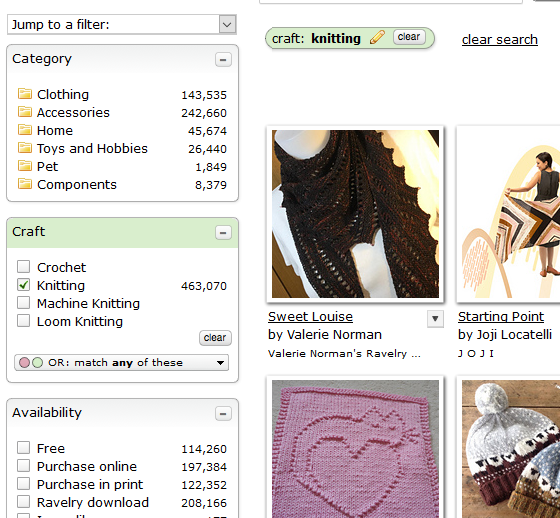
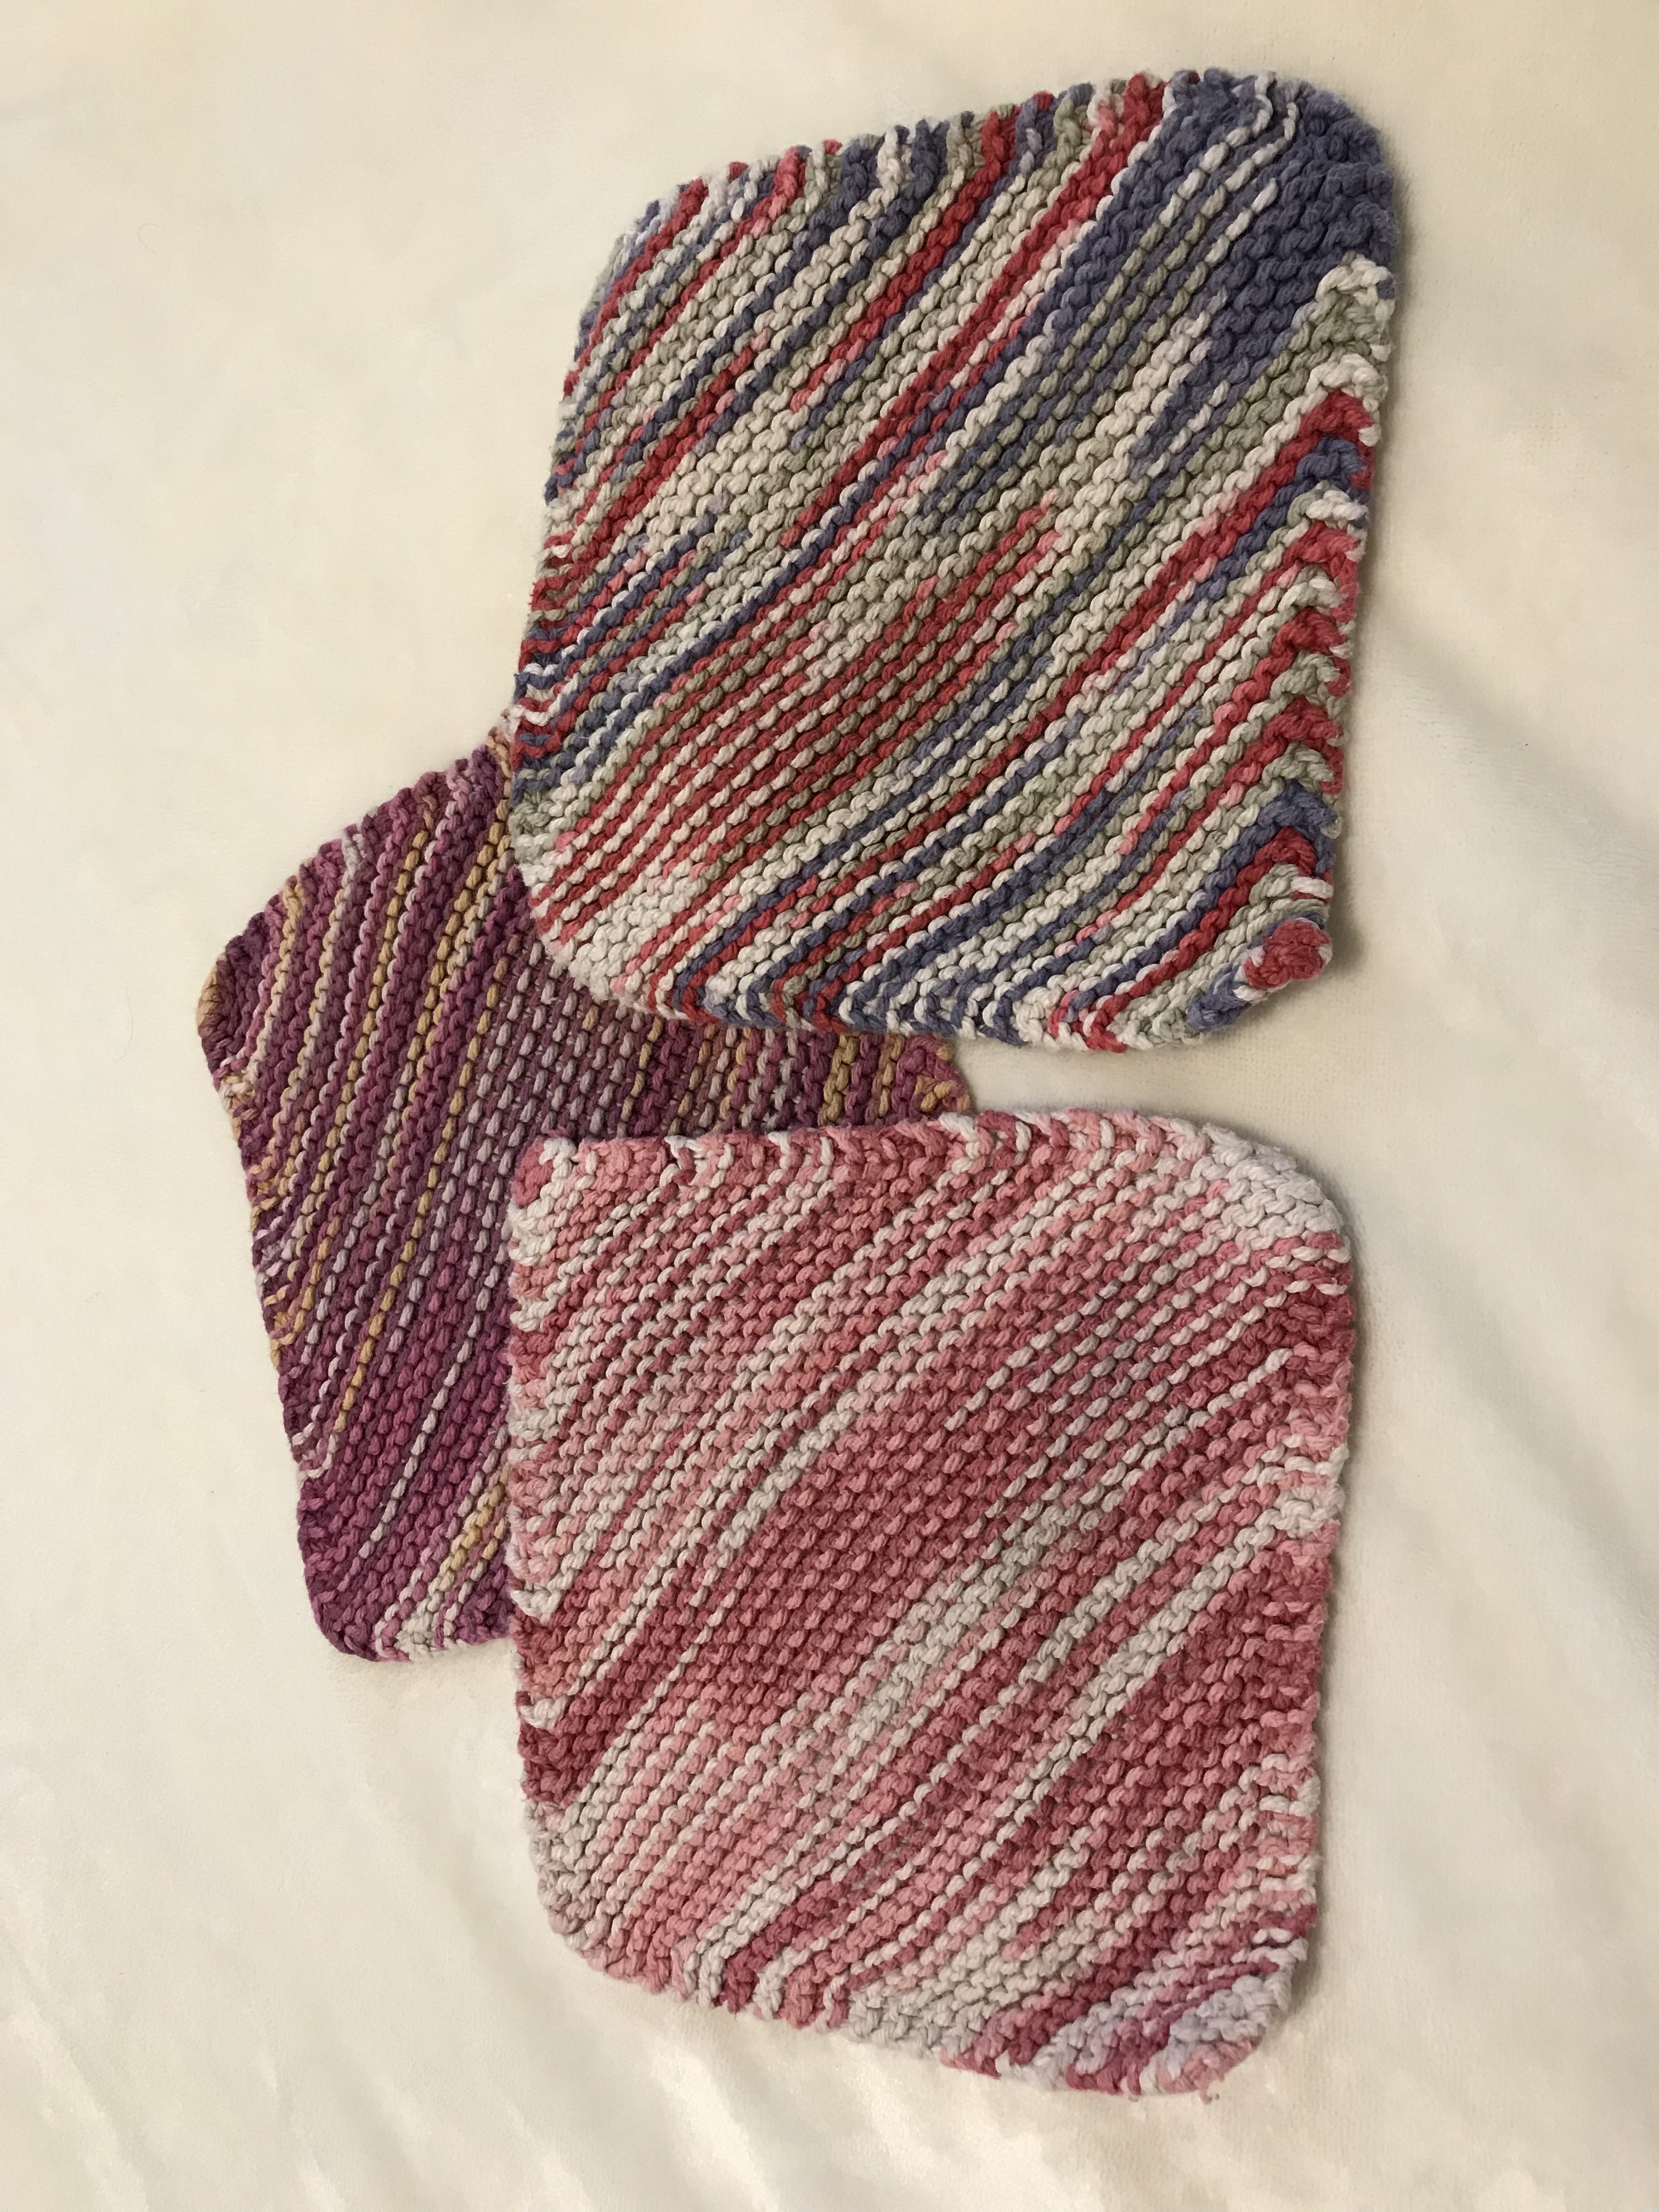
I’ve only ever knit one style of washcloth, and it’s not a terribly difficult one. You can get your own copy of the free pattern here. I recommend 100% cotton yarn for washcloths. This type of yarn is very stiff and can be difficult to work with, so I don’t necessarily suggest this as a first project, despite the fact that it’s really easy on the stitches.

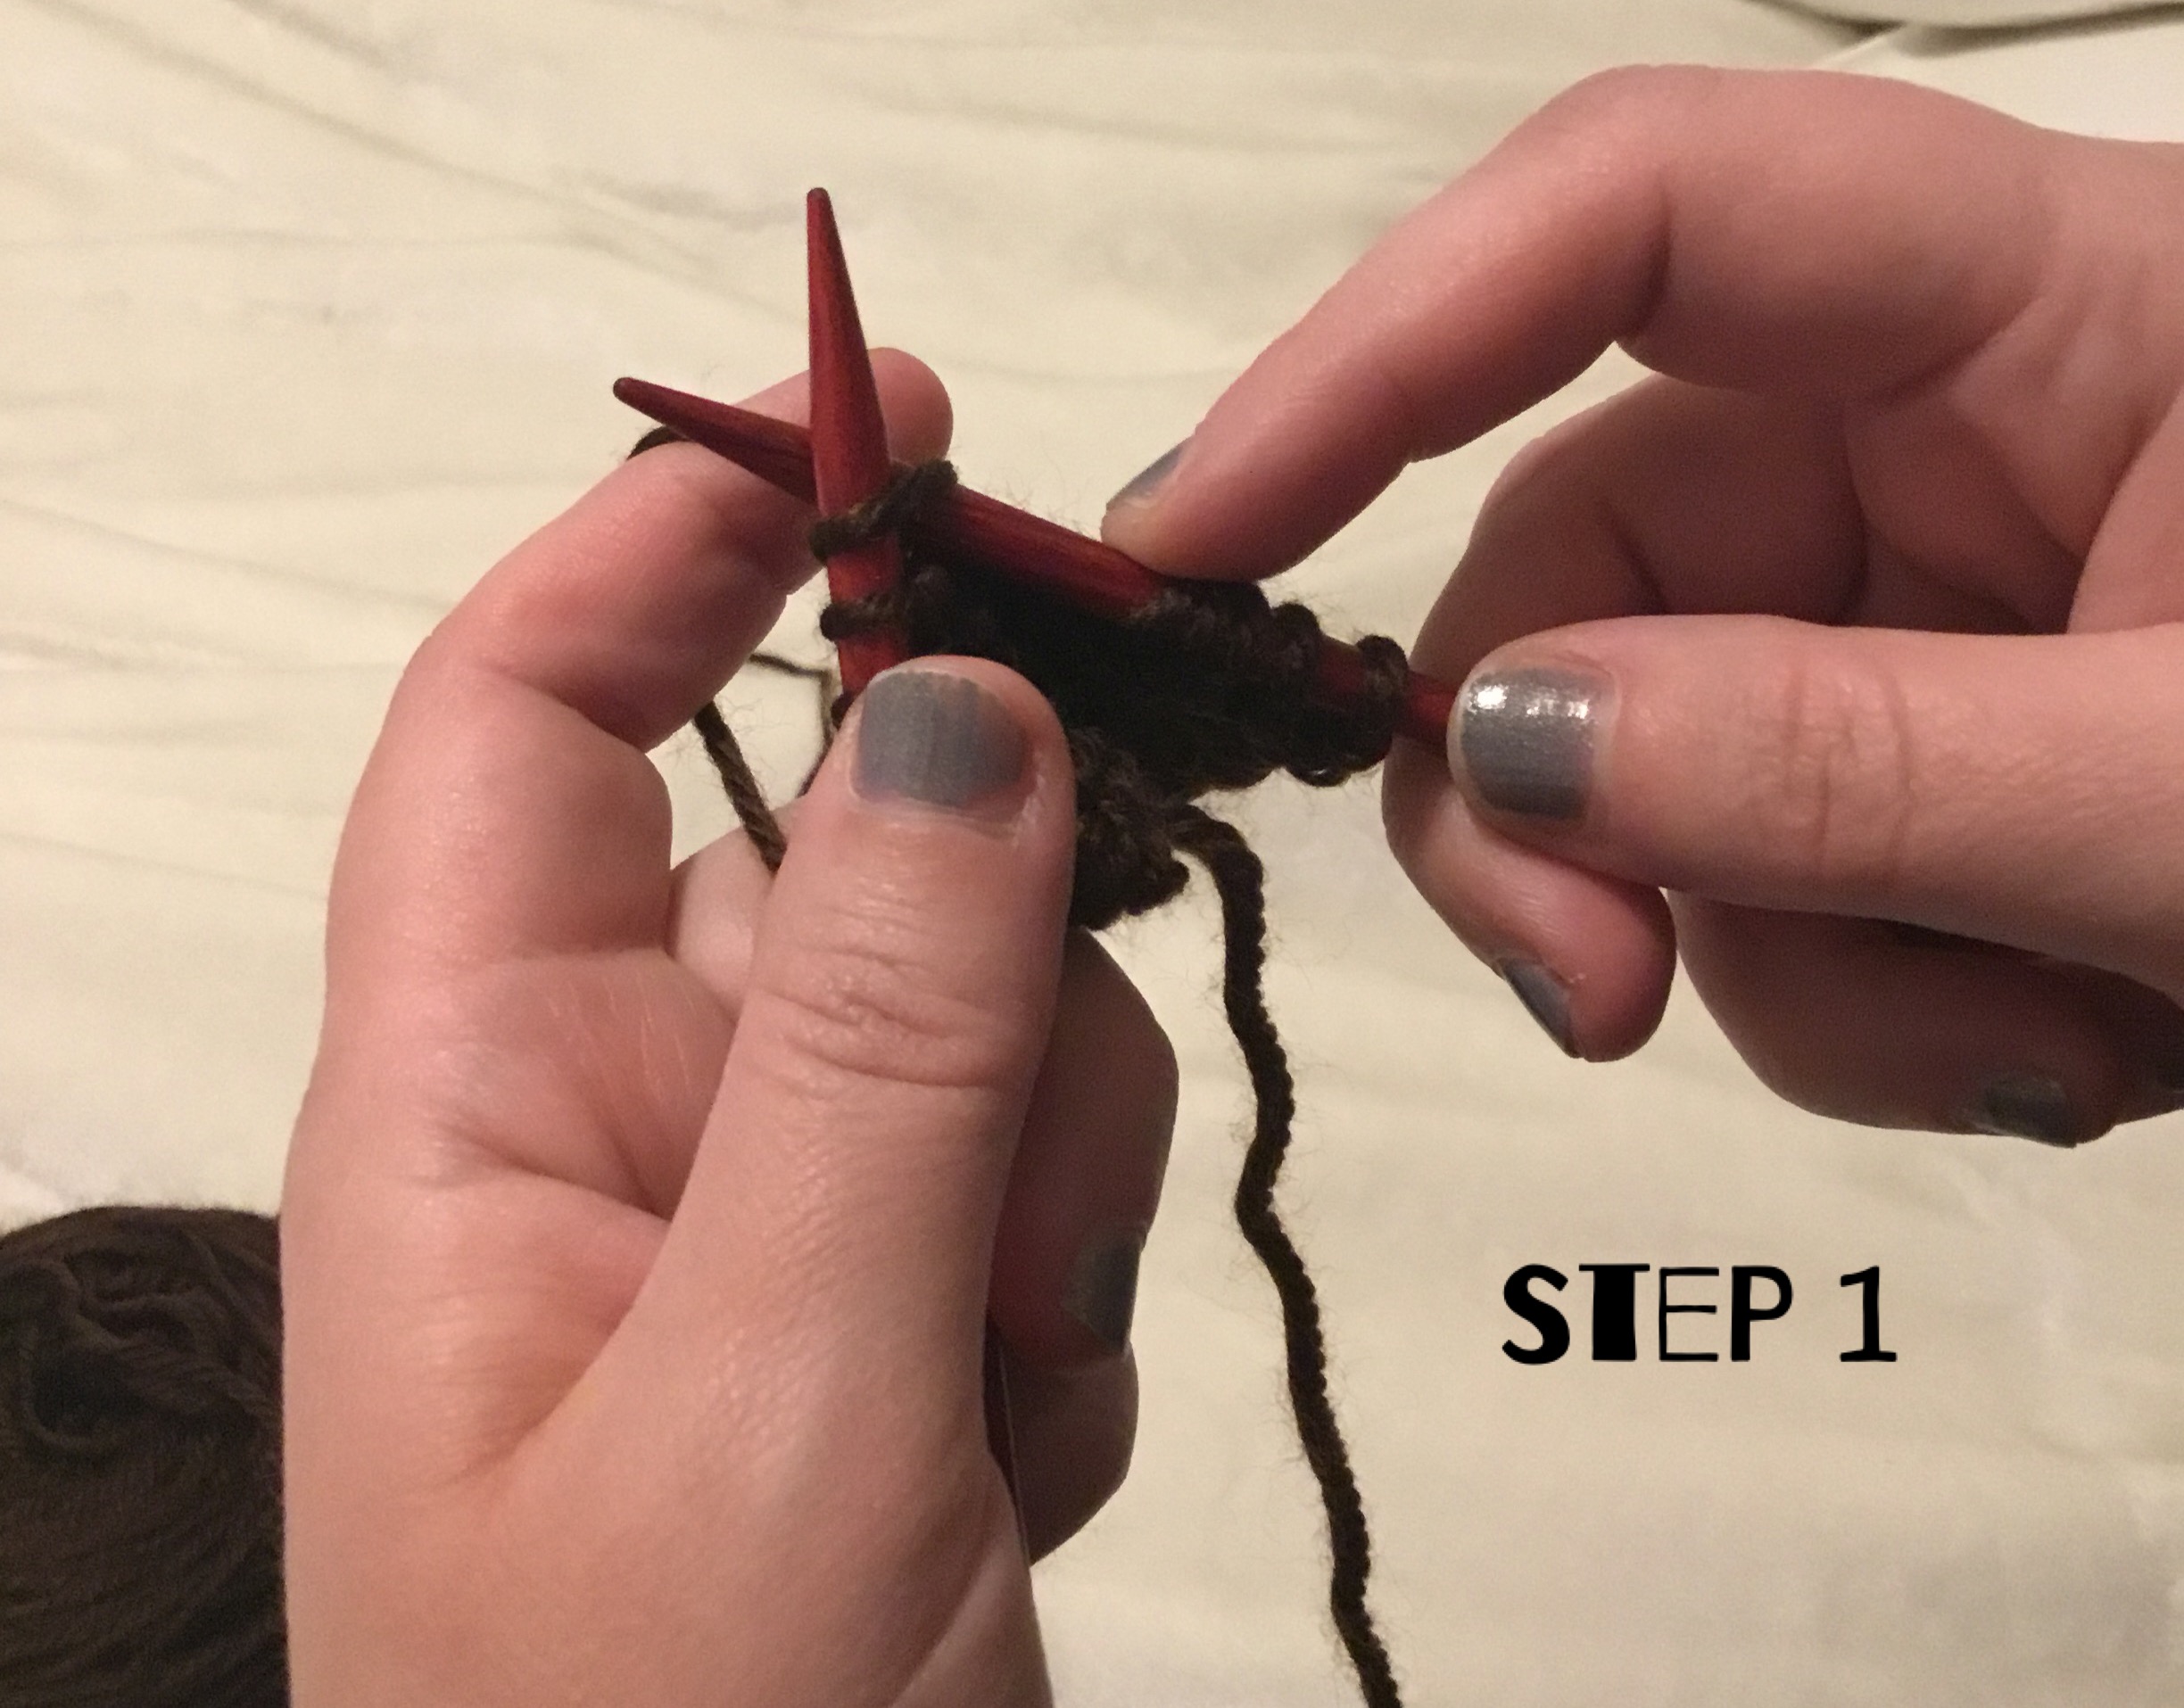
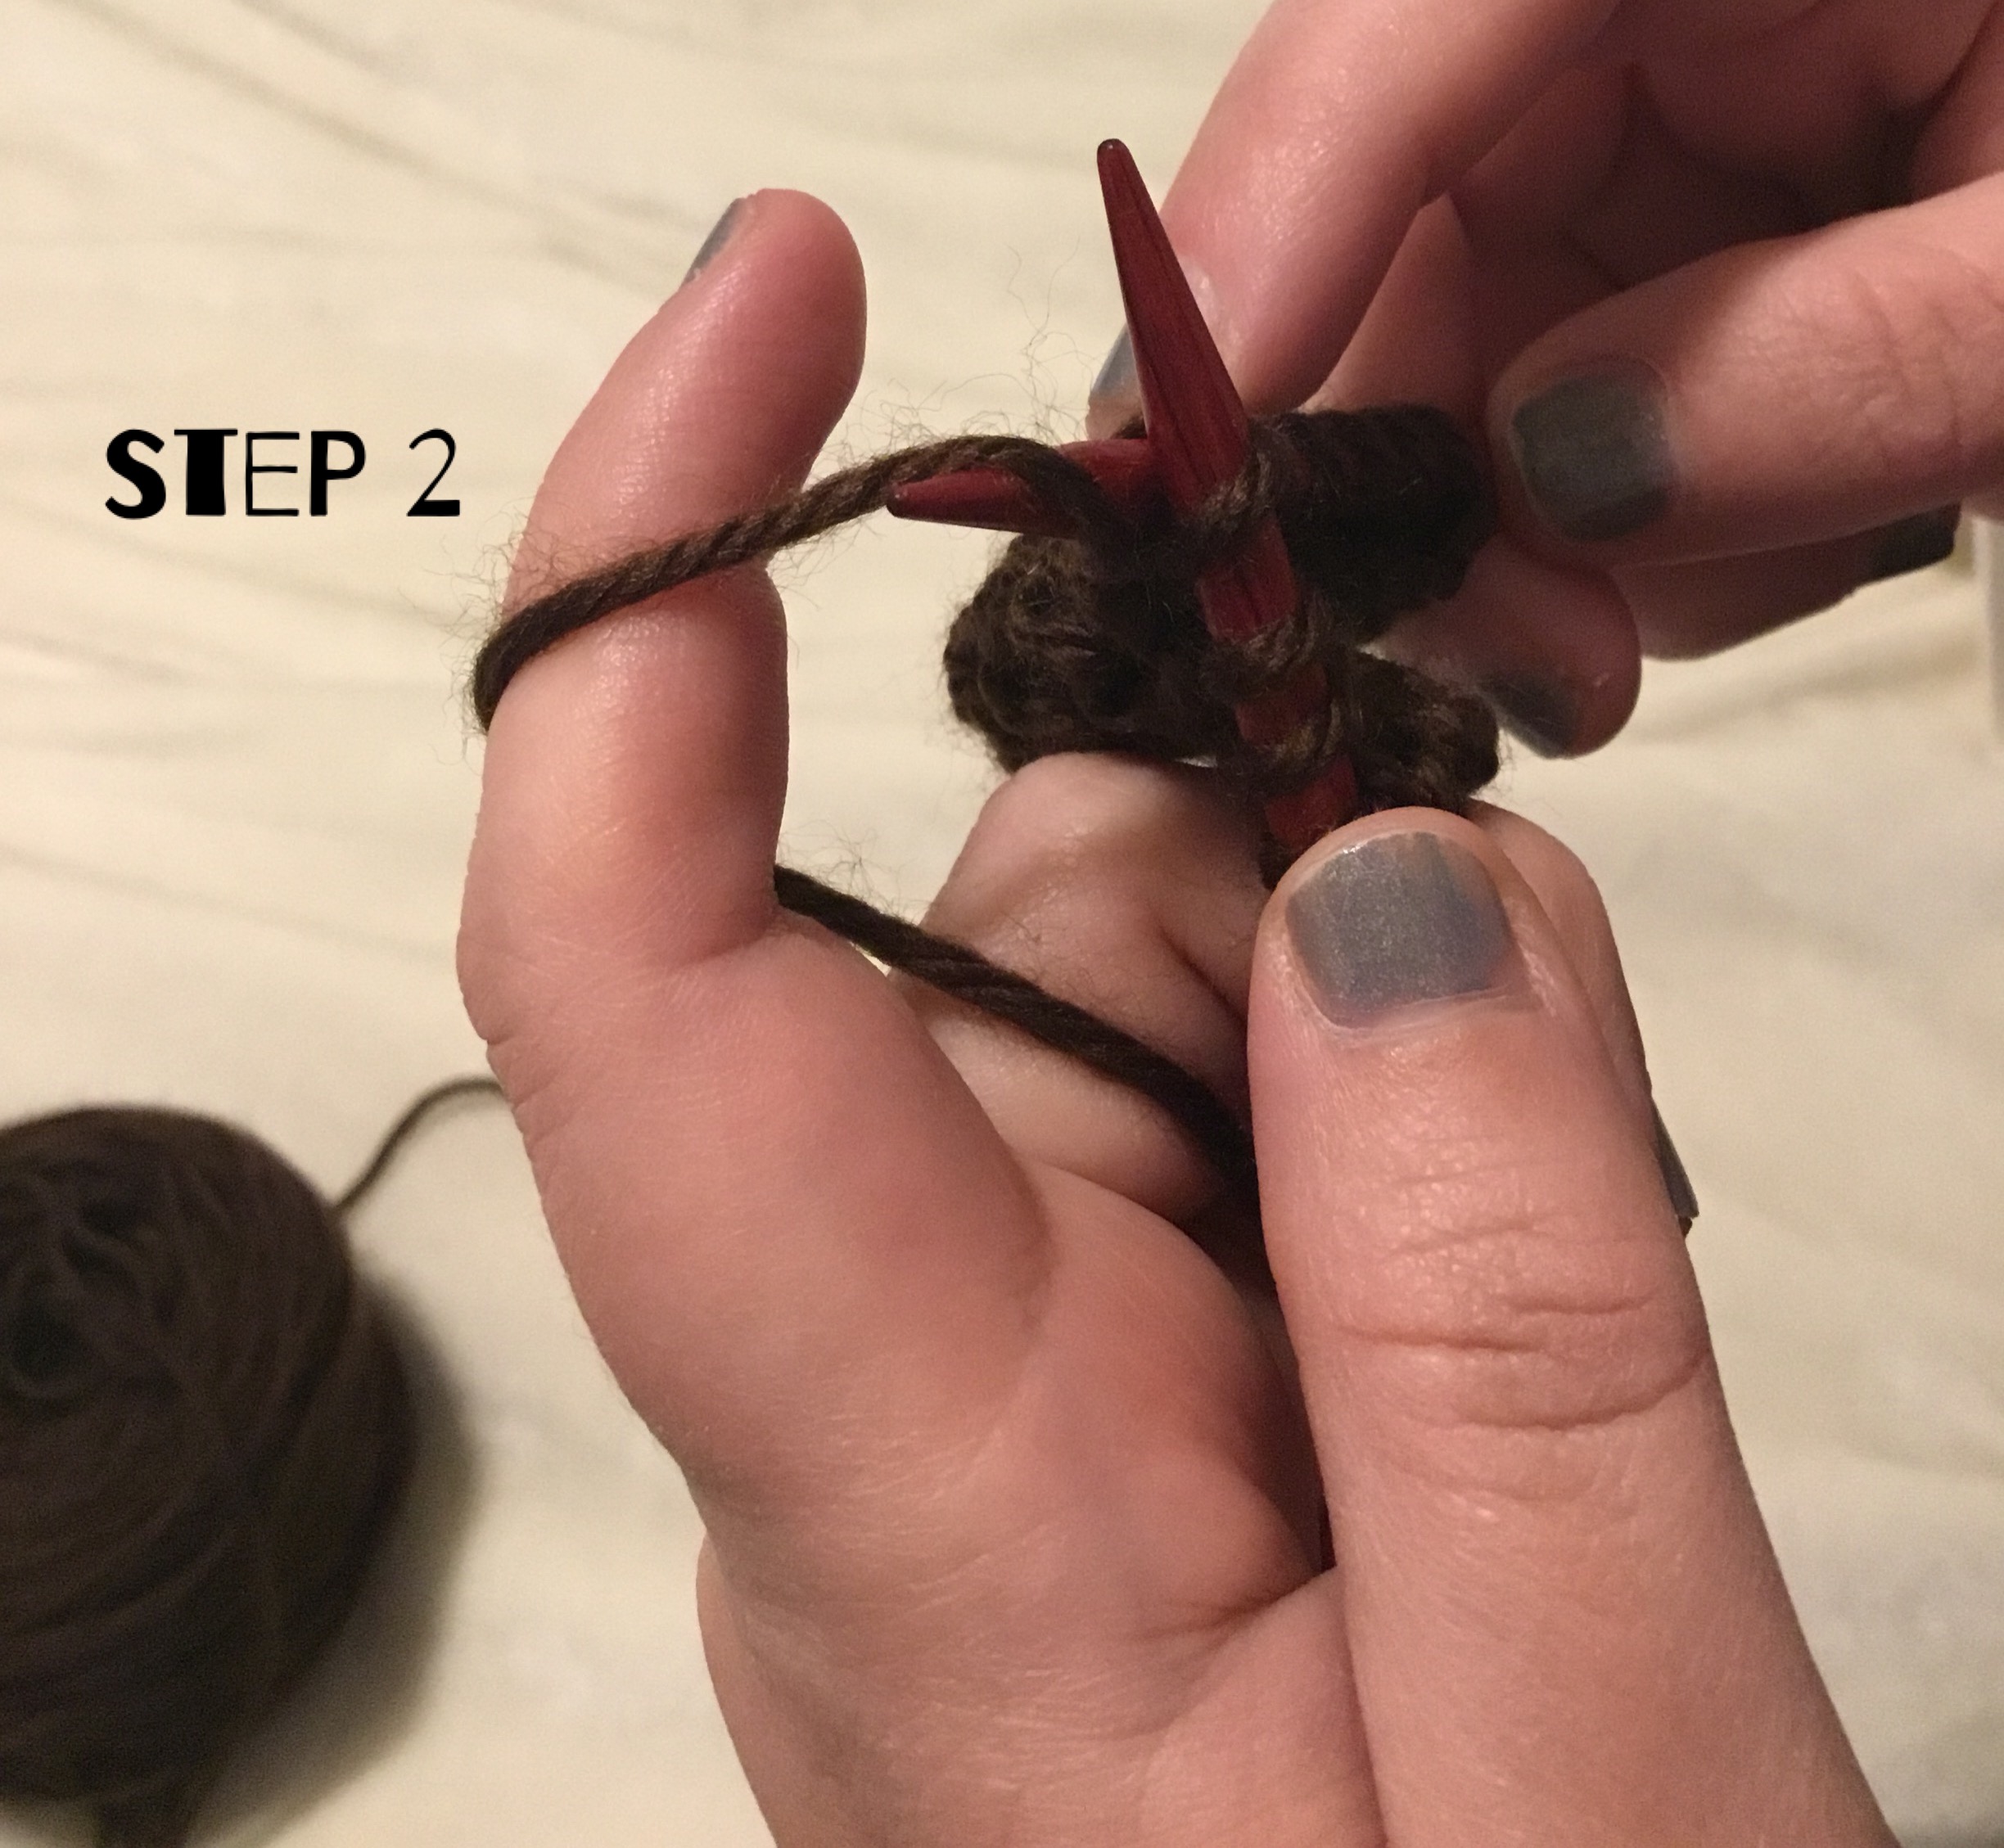
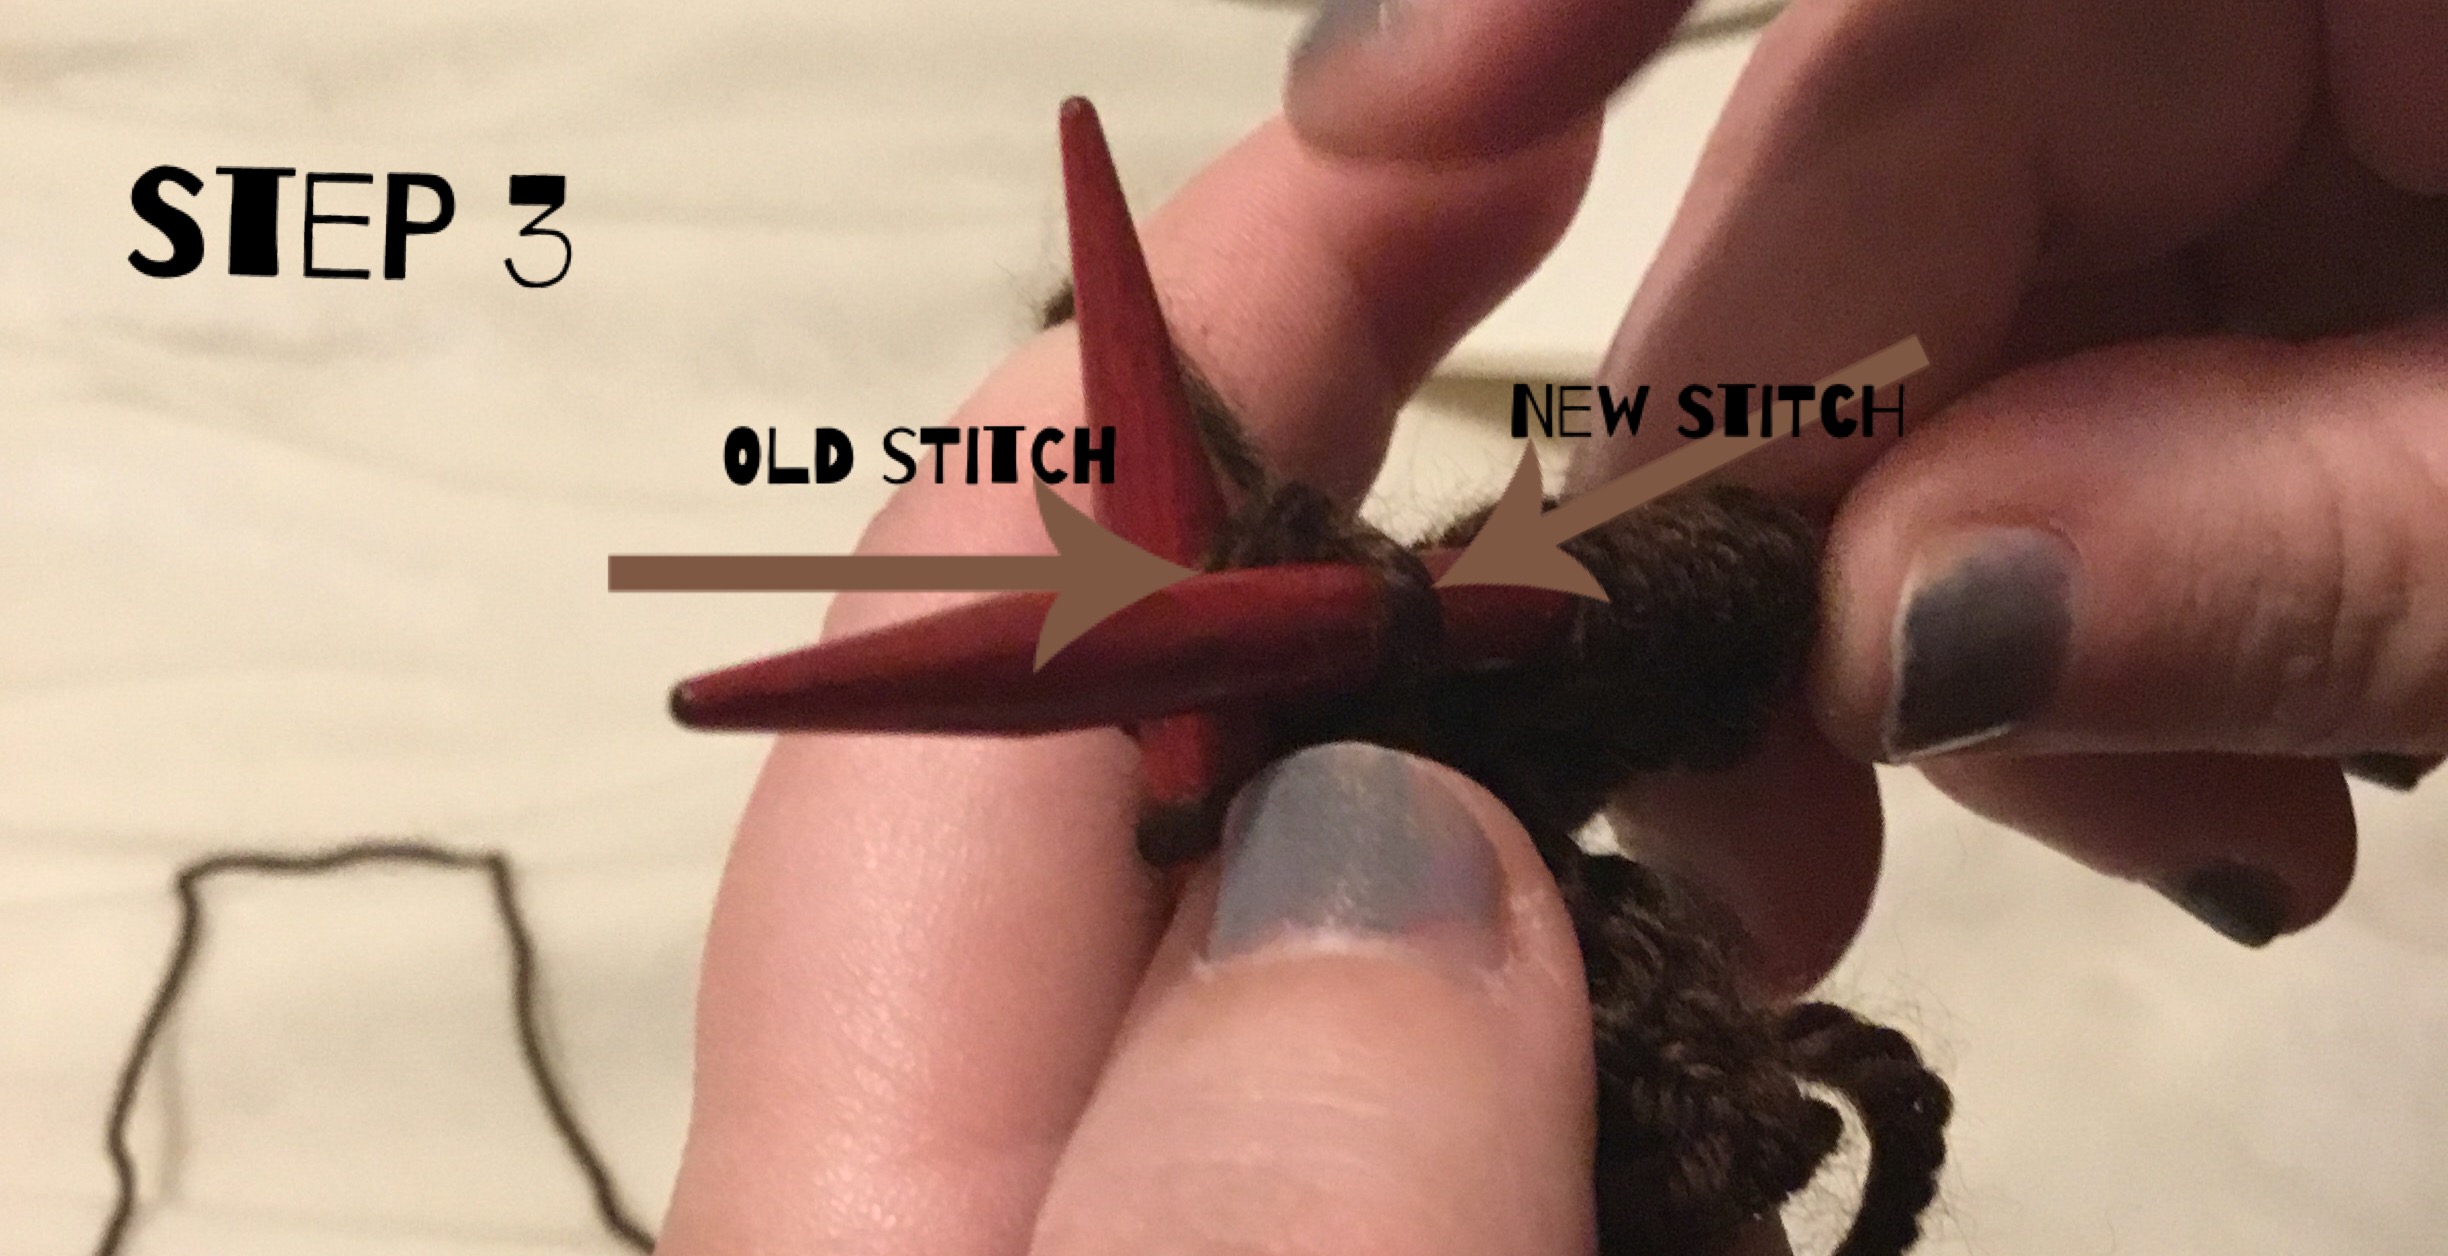
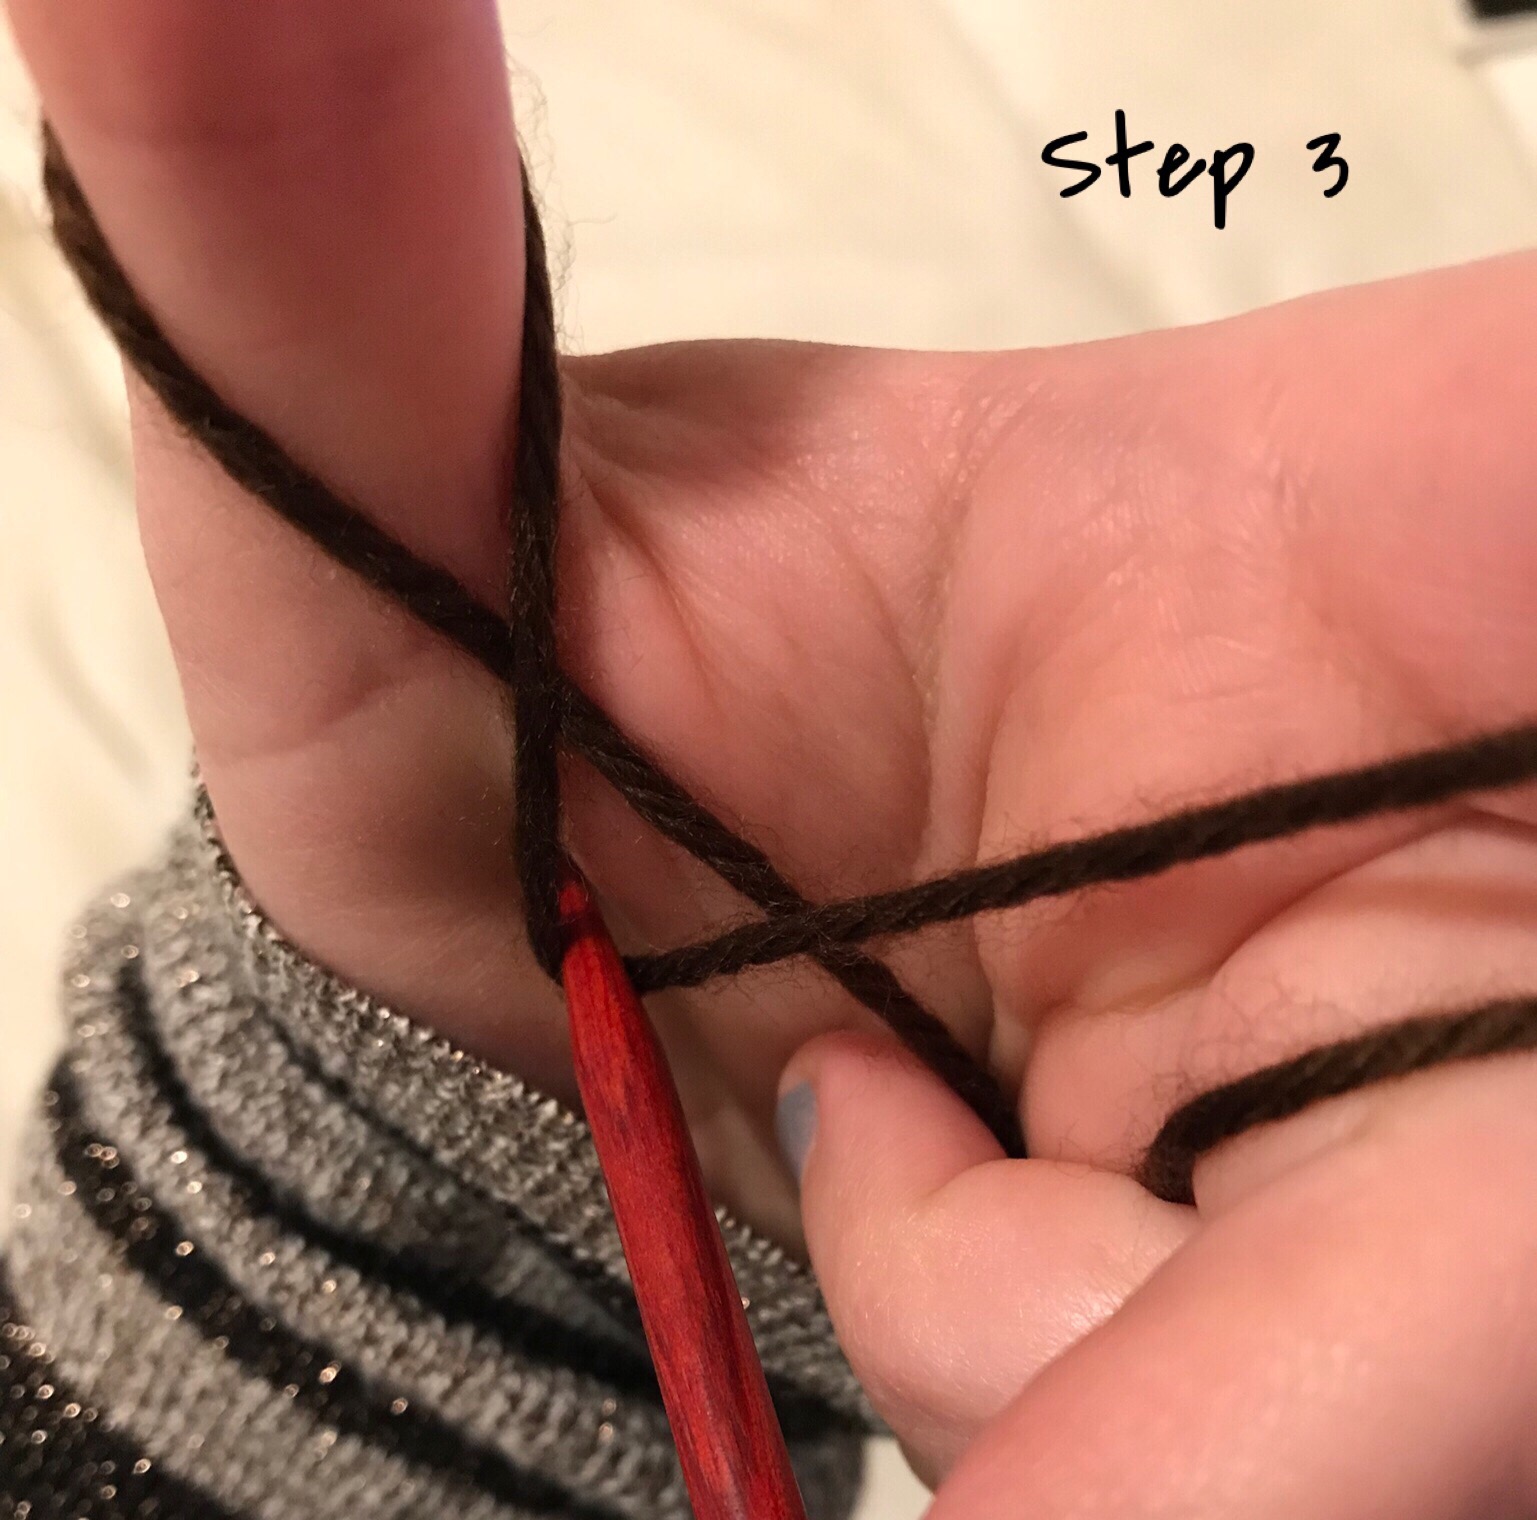
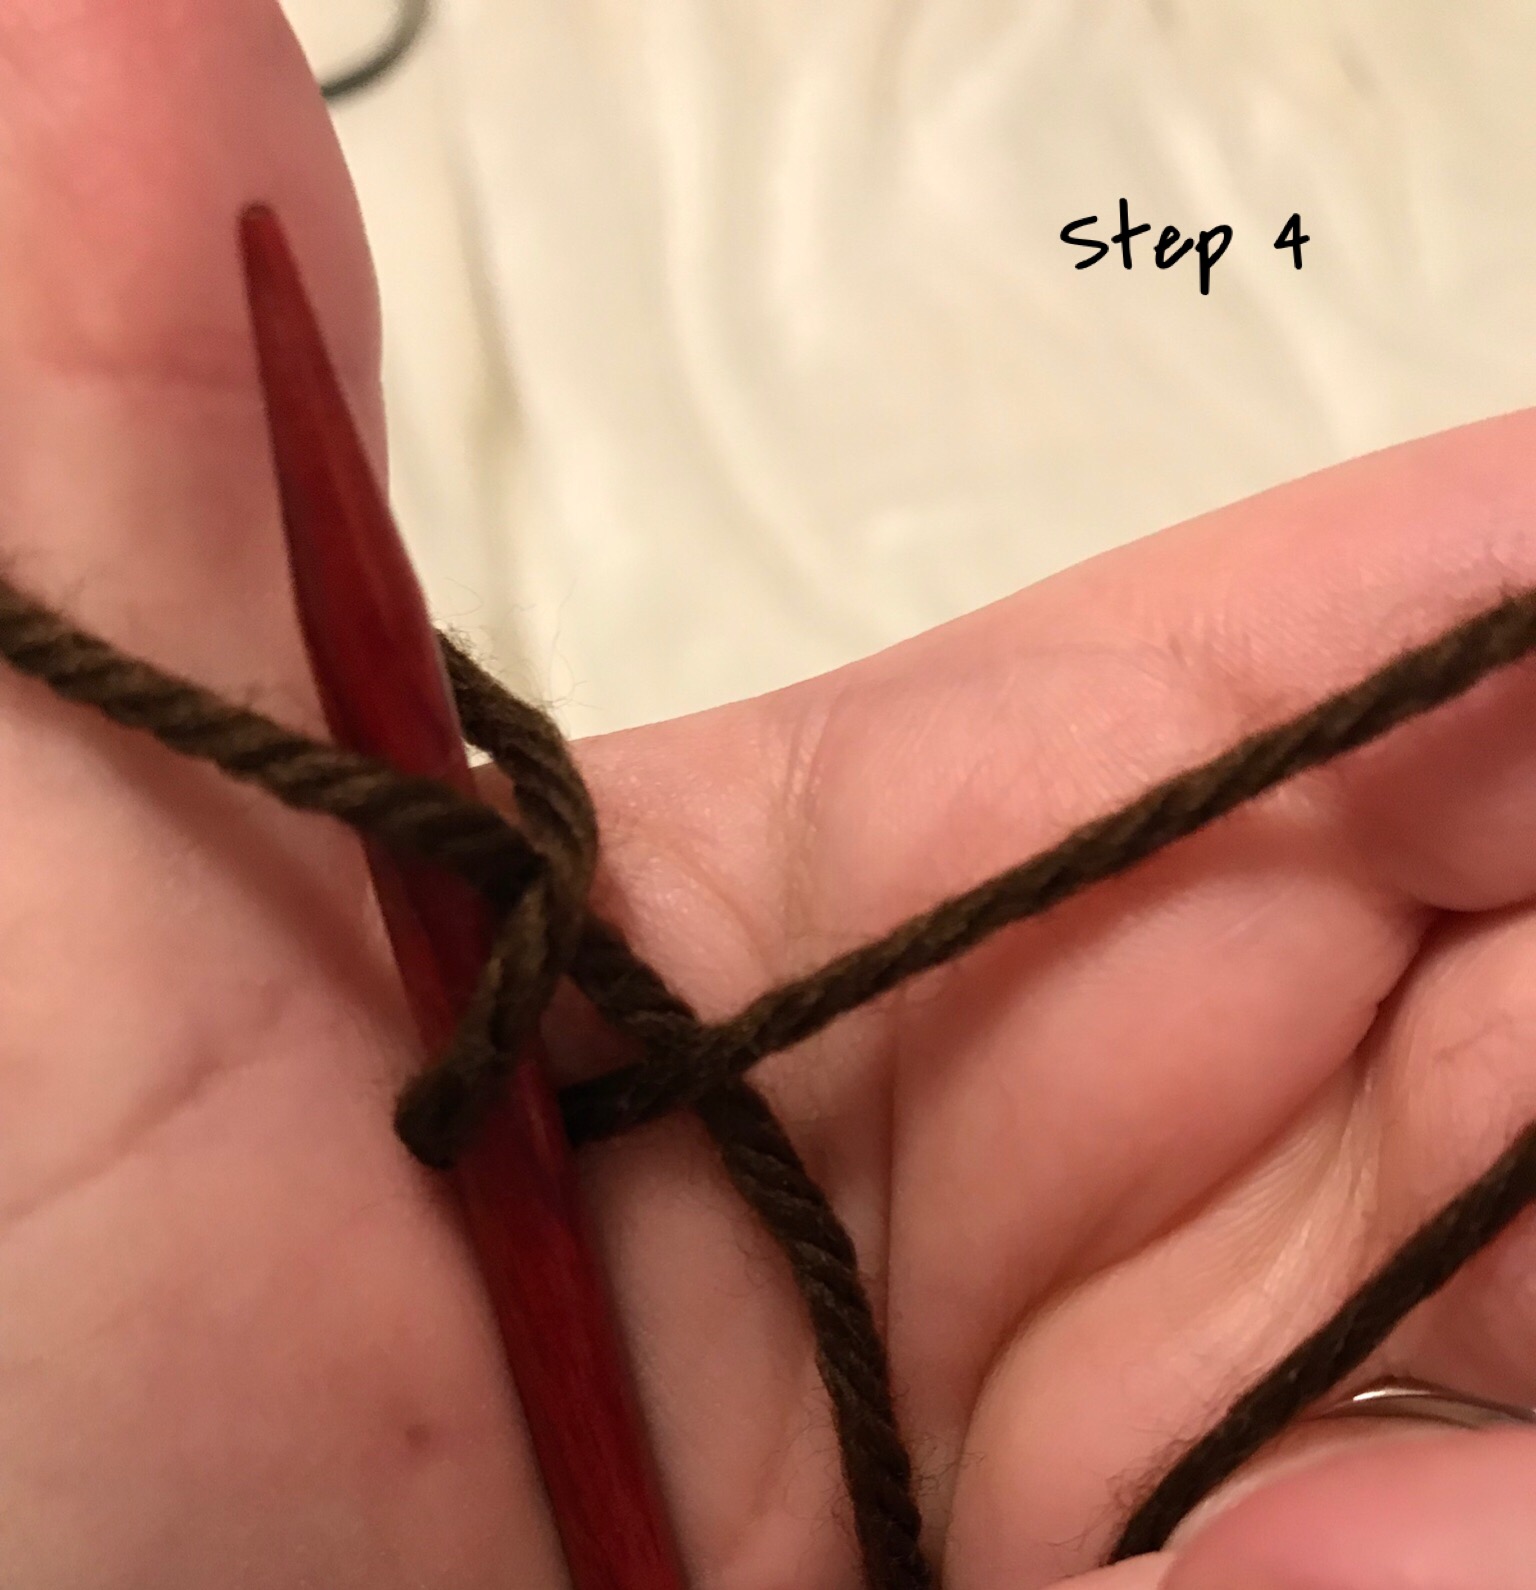
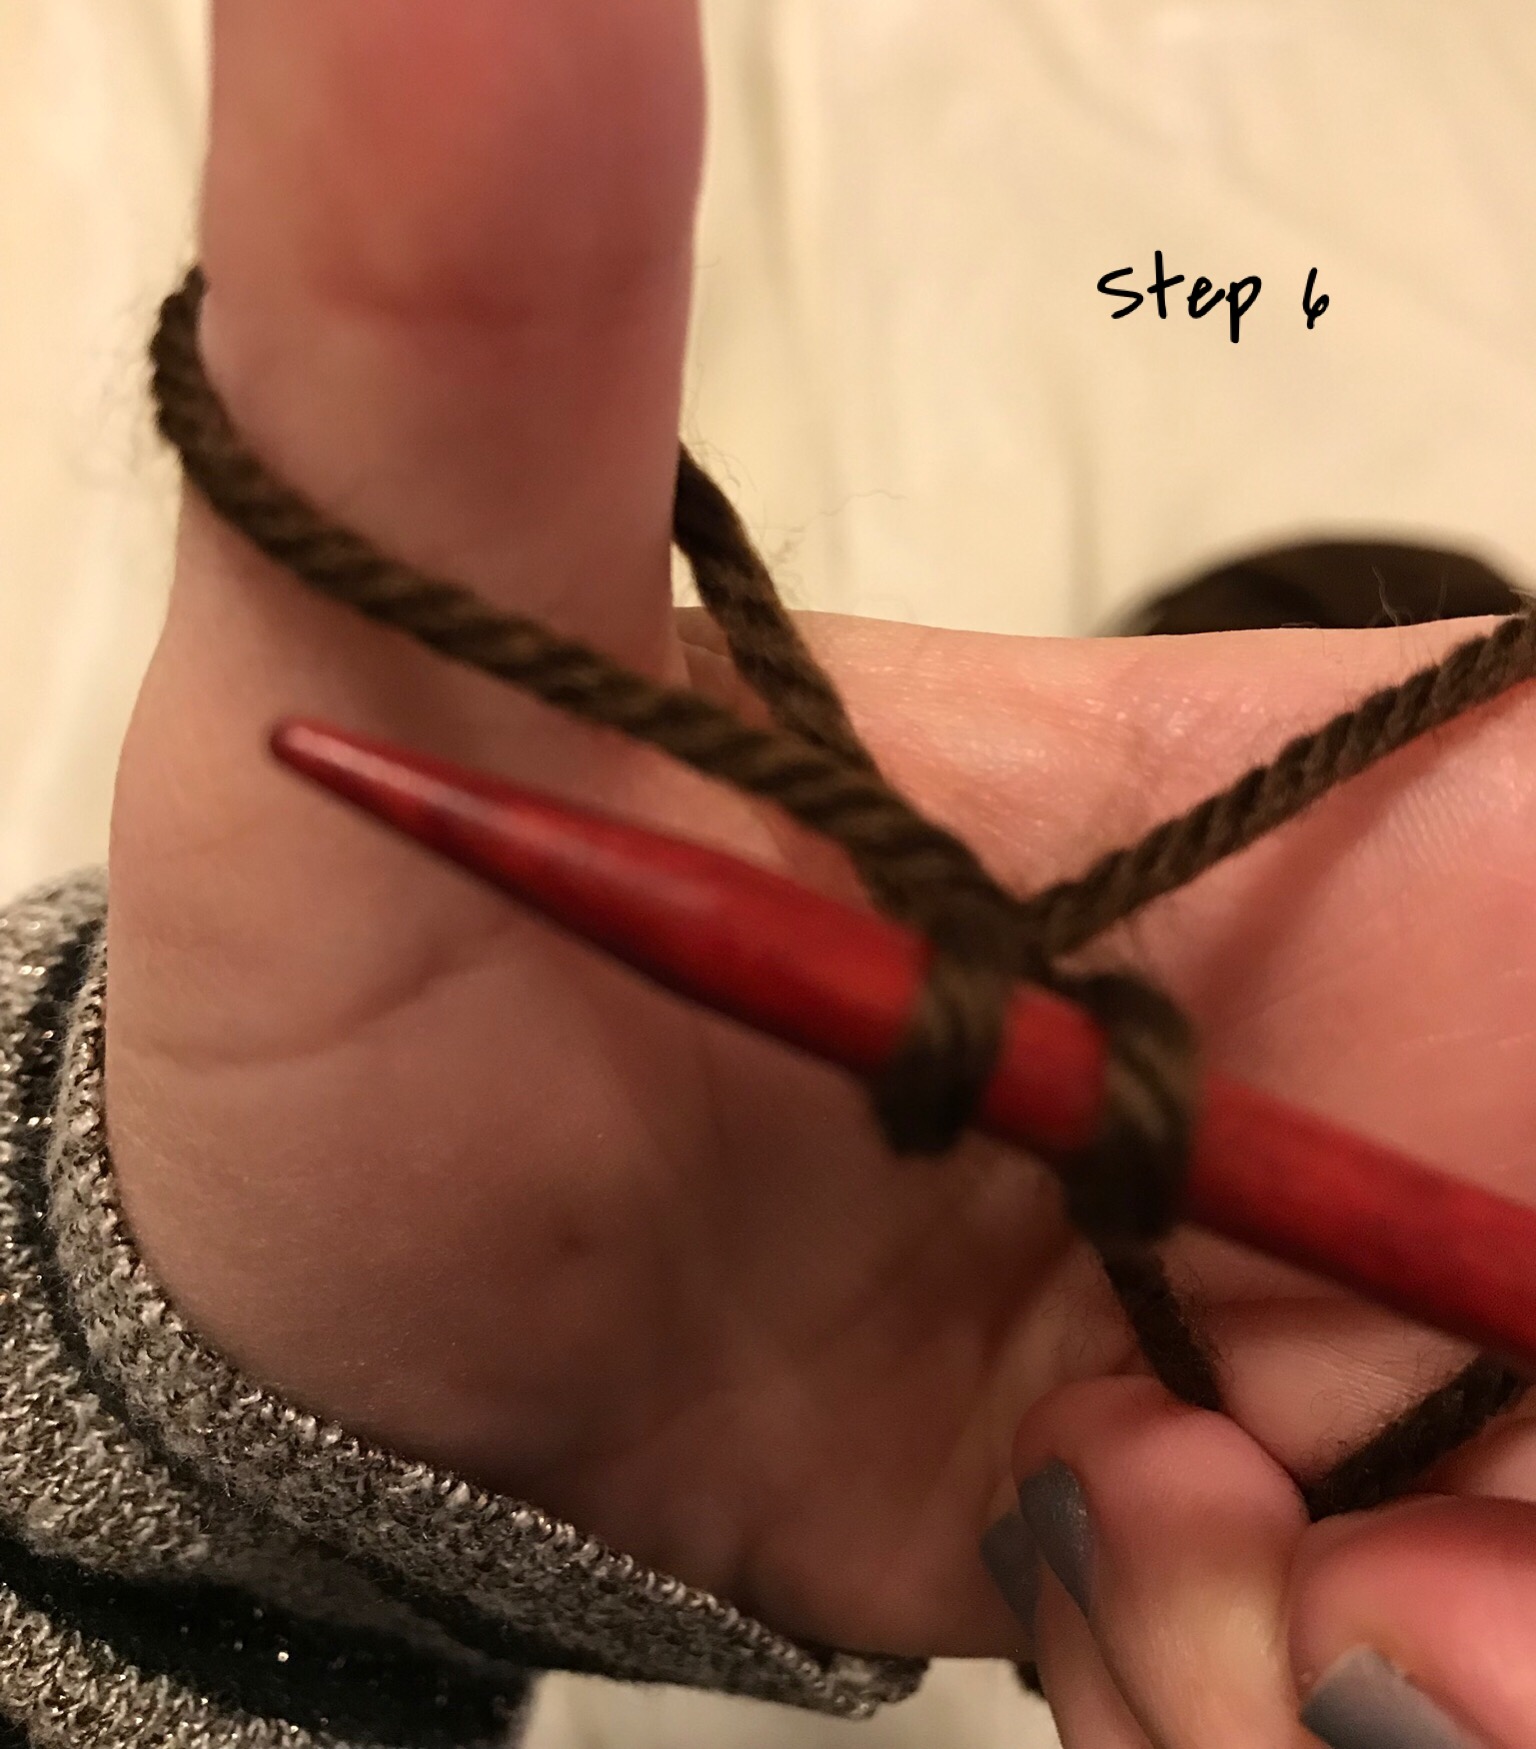
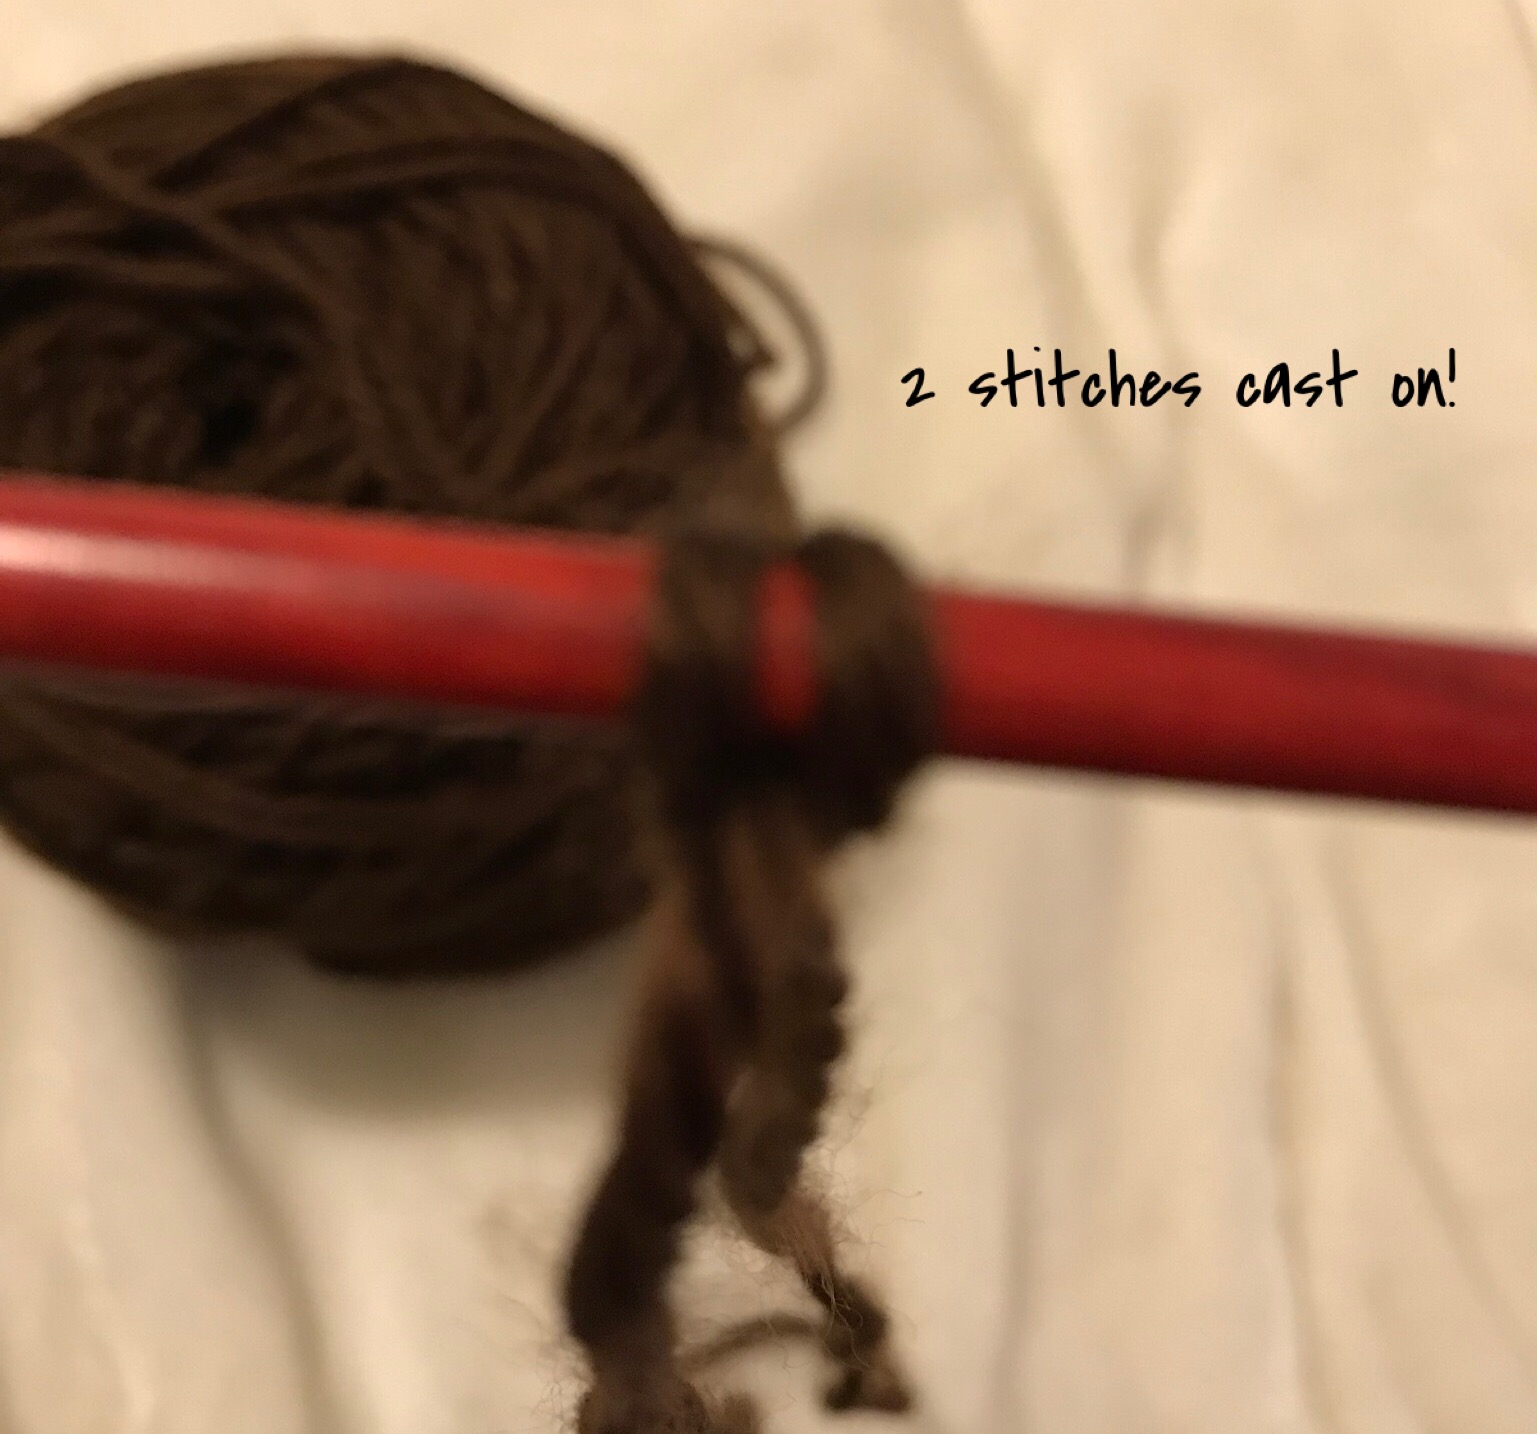
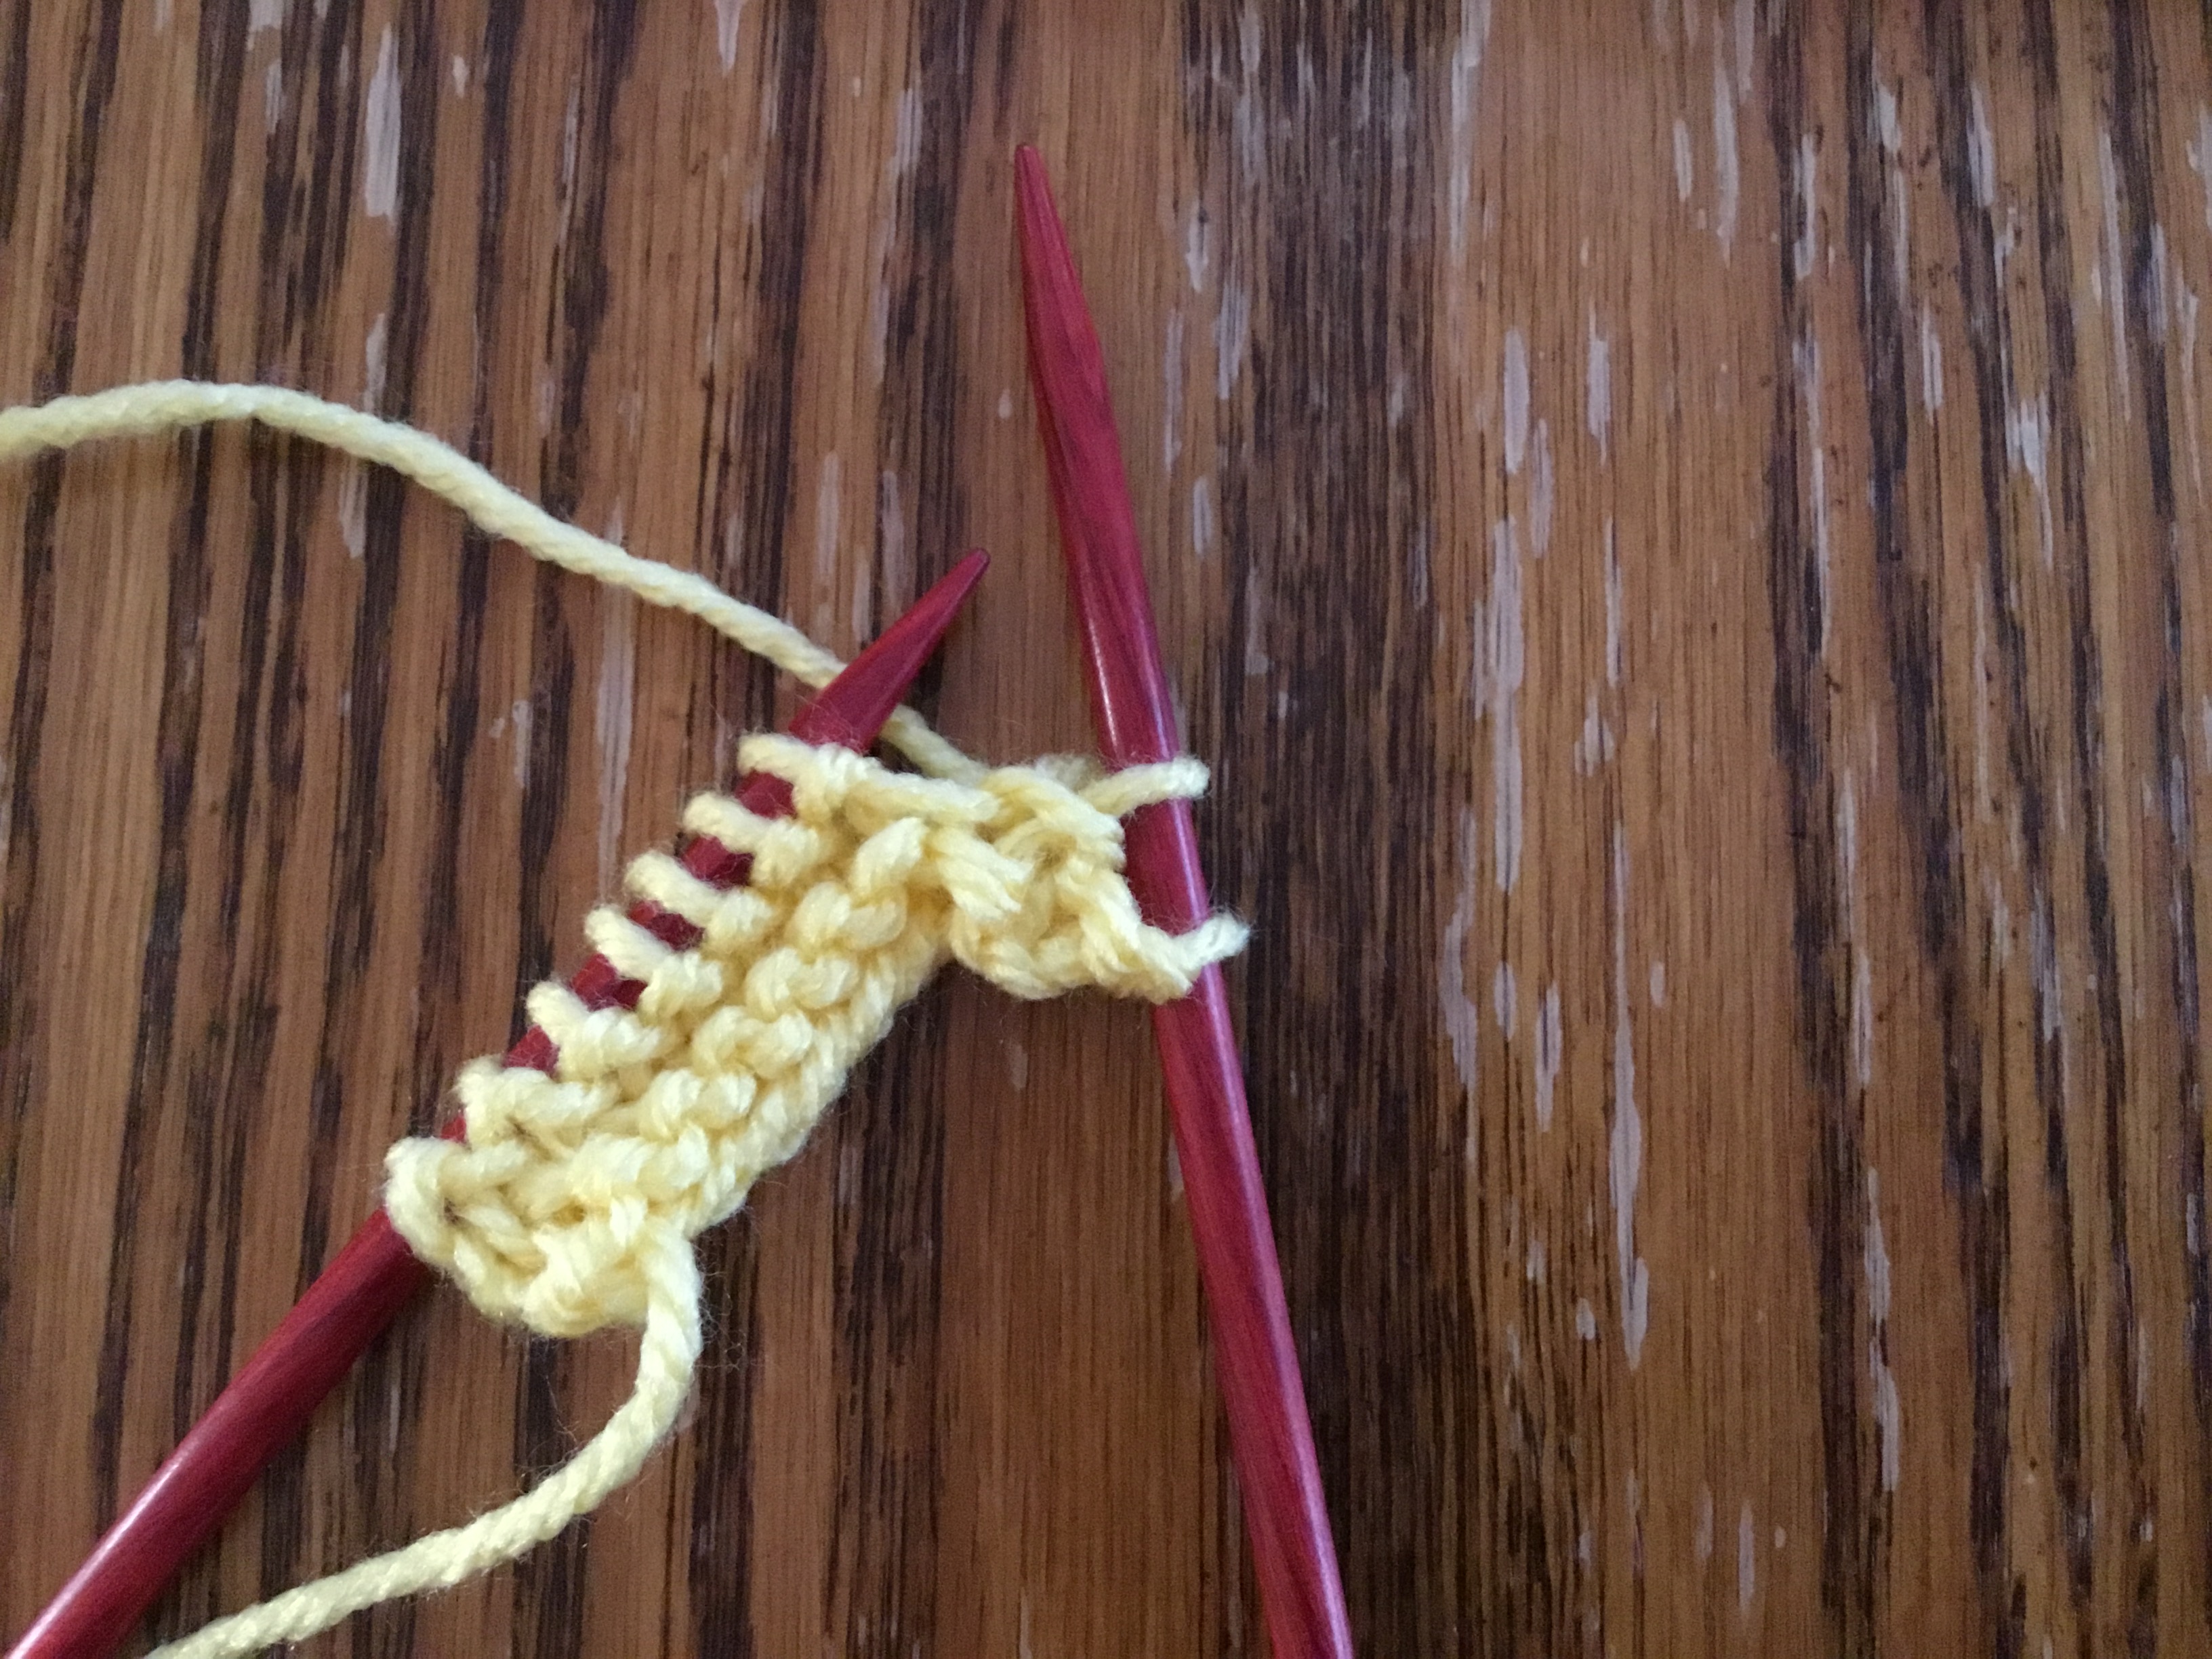
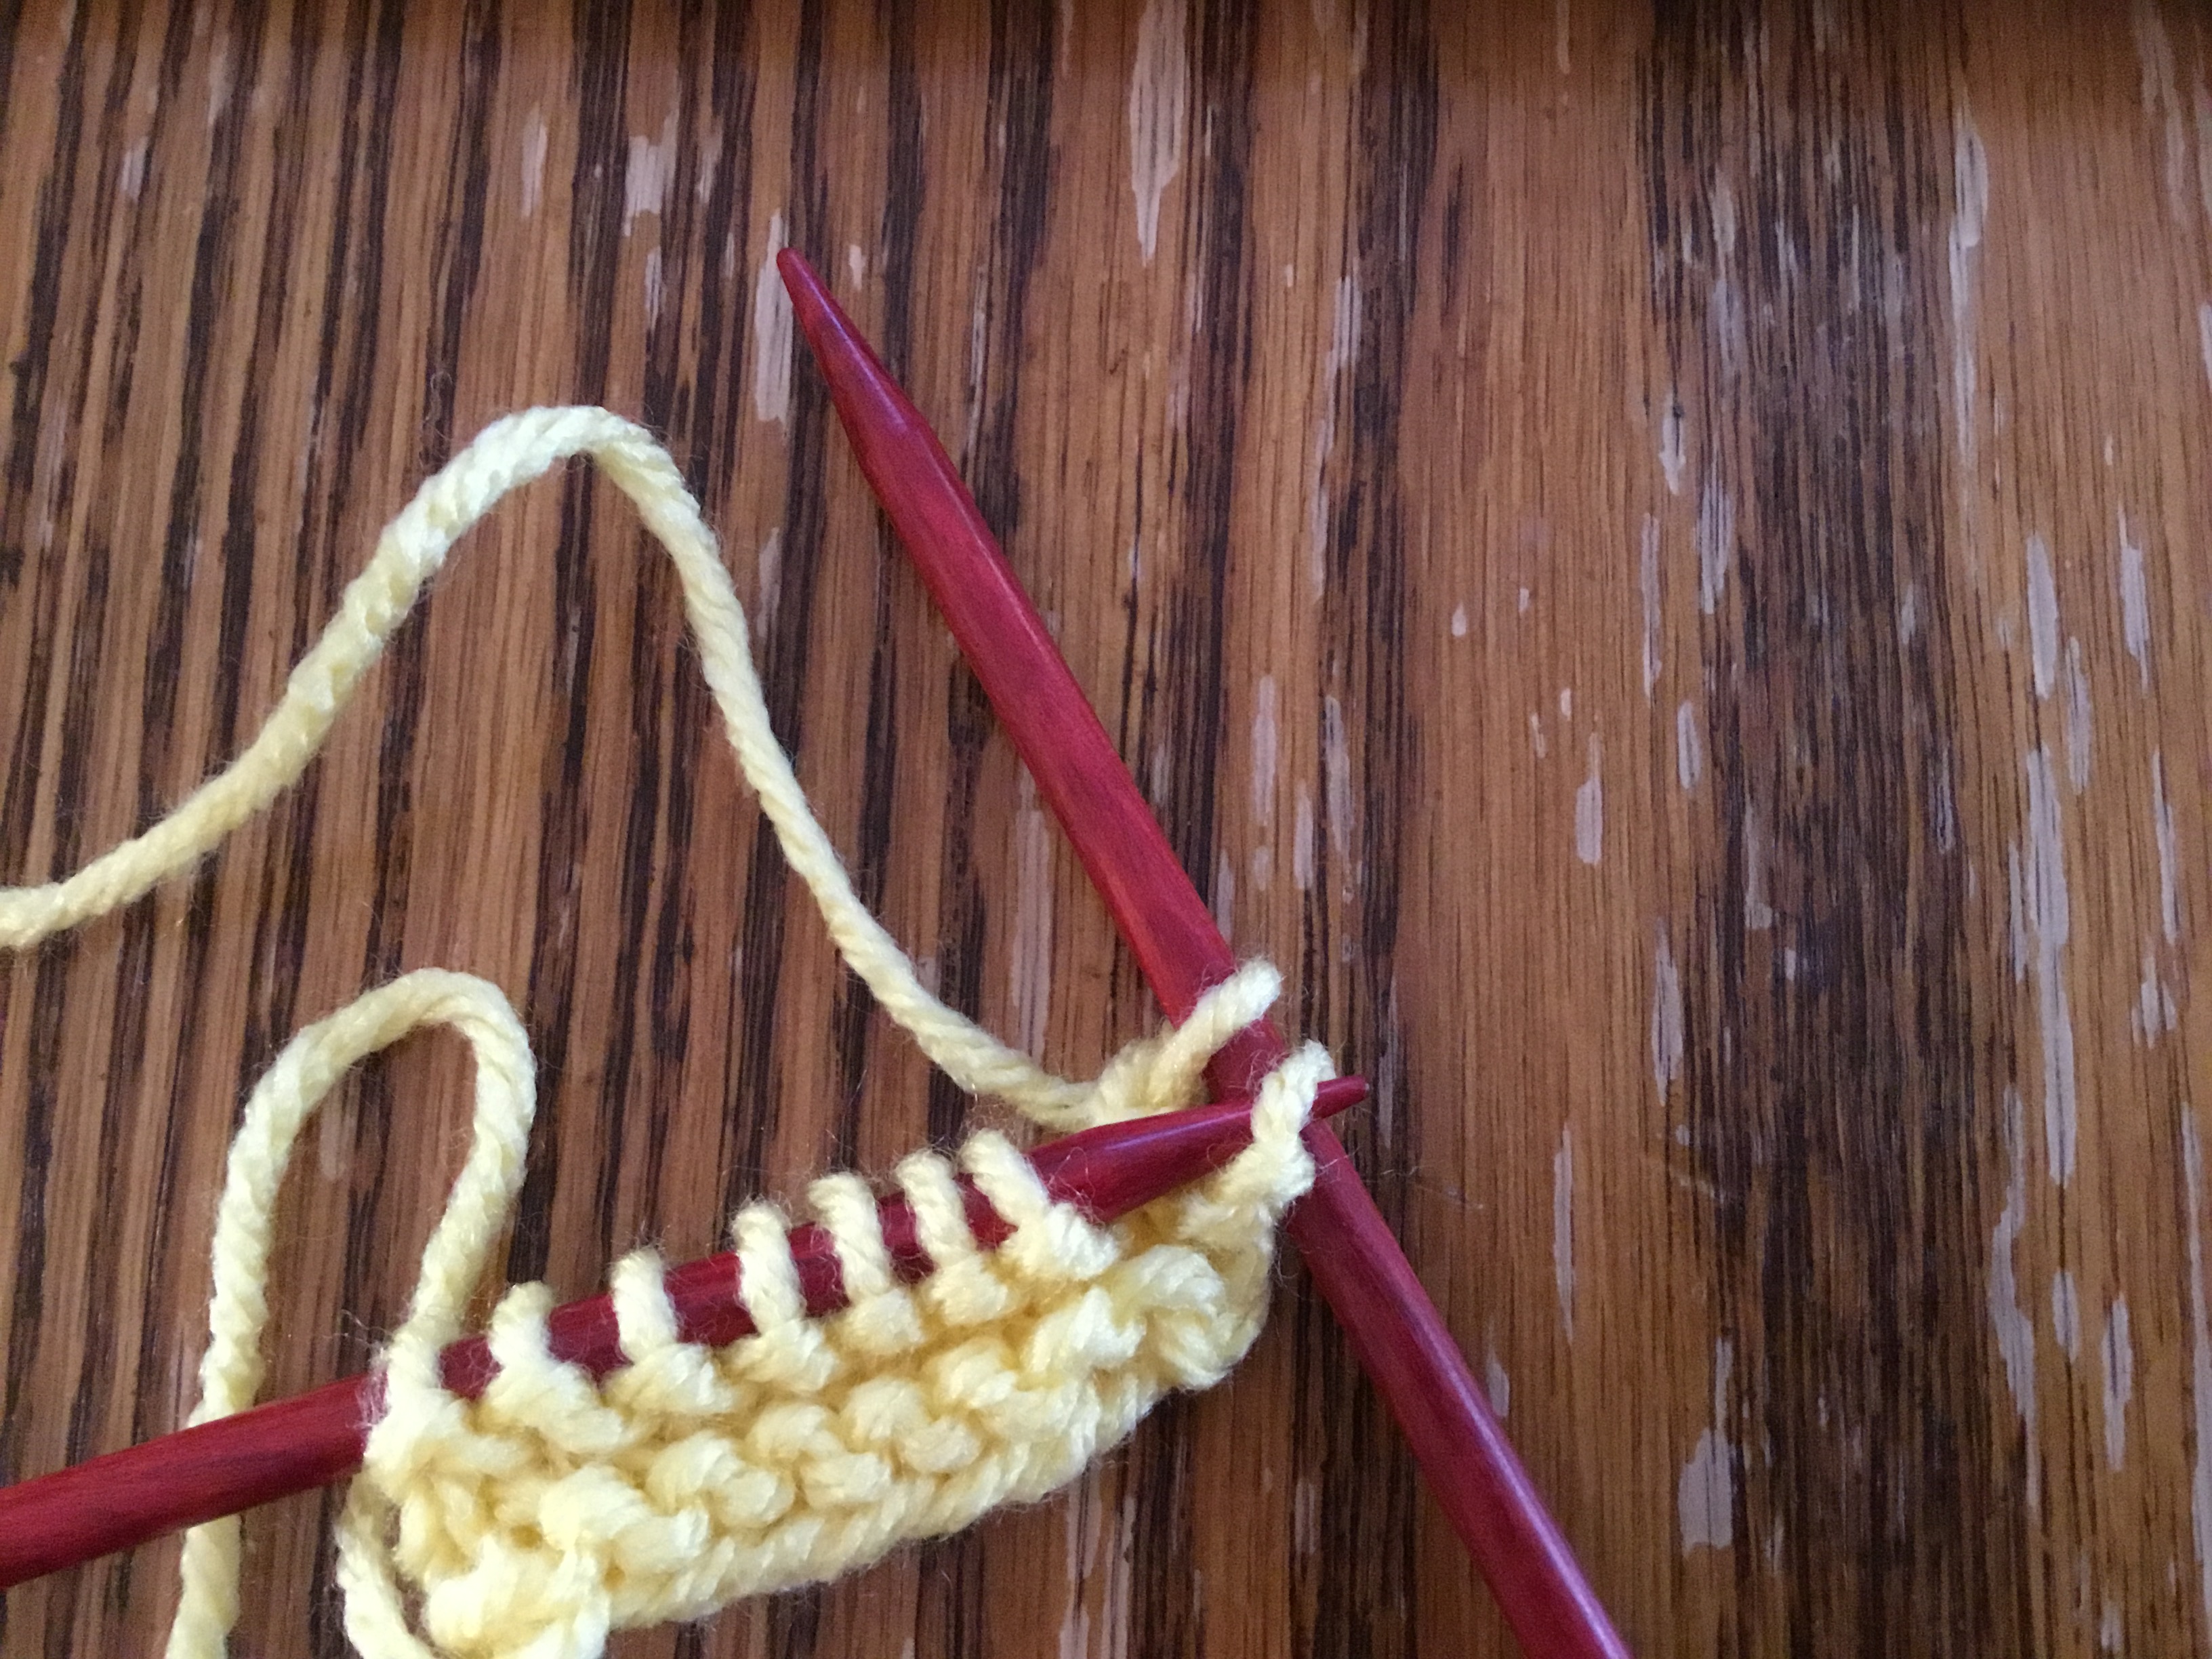
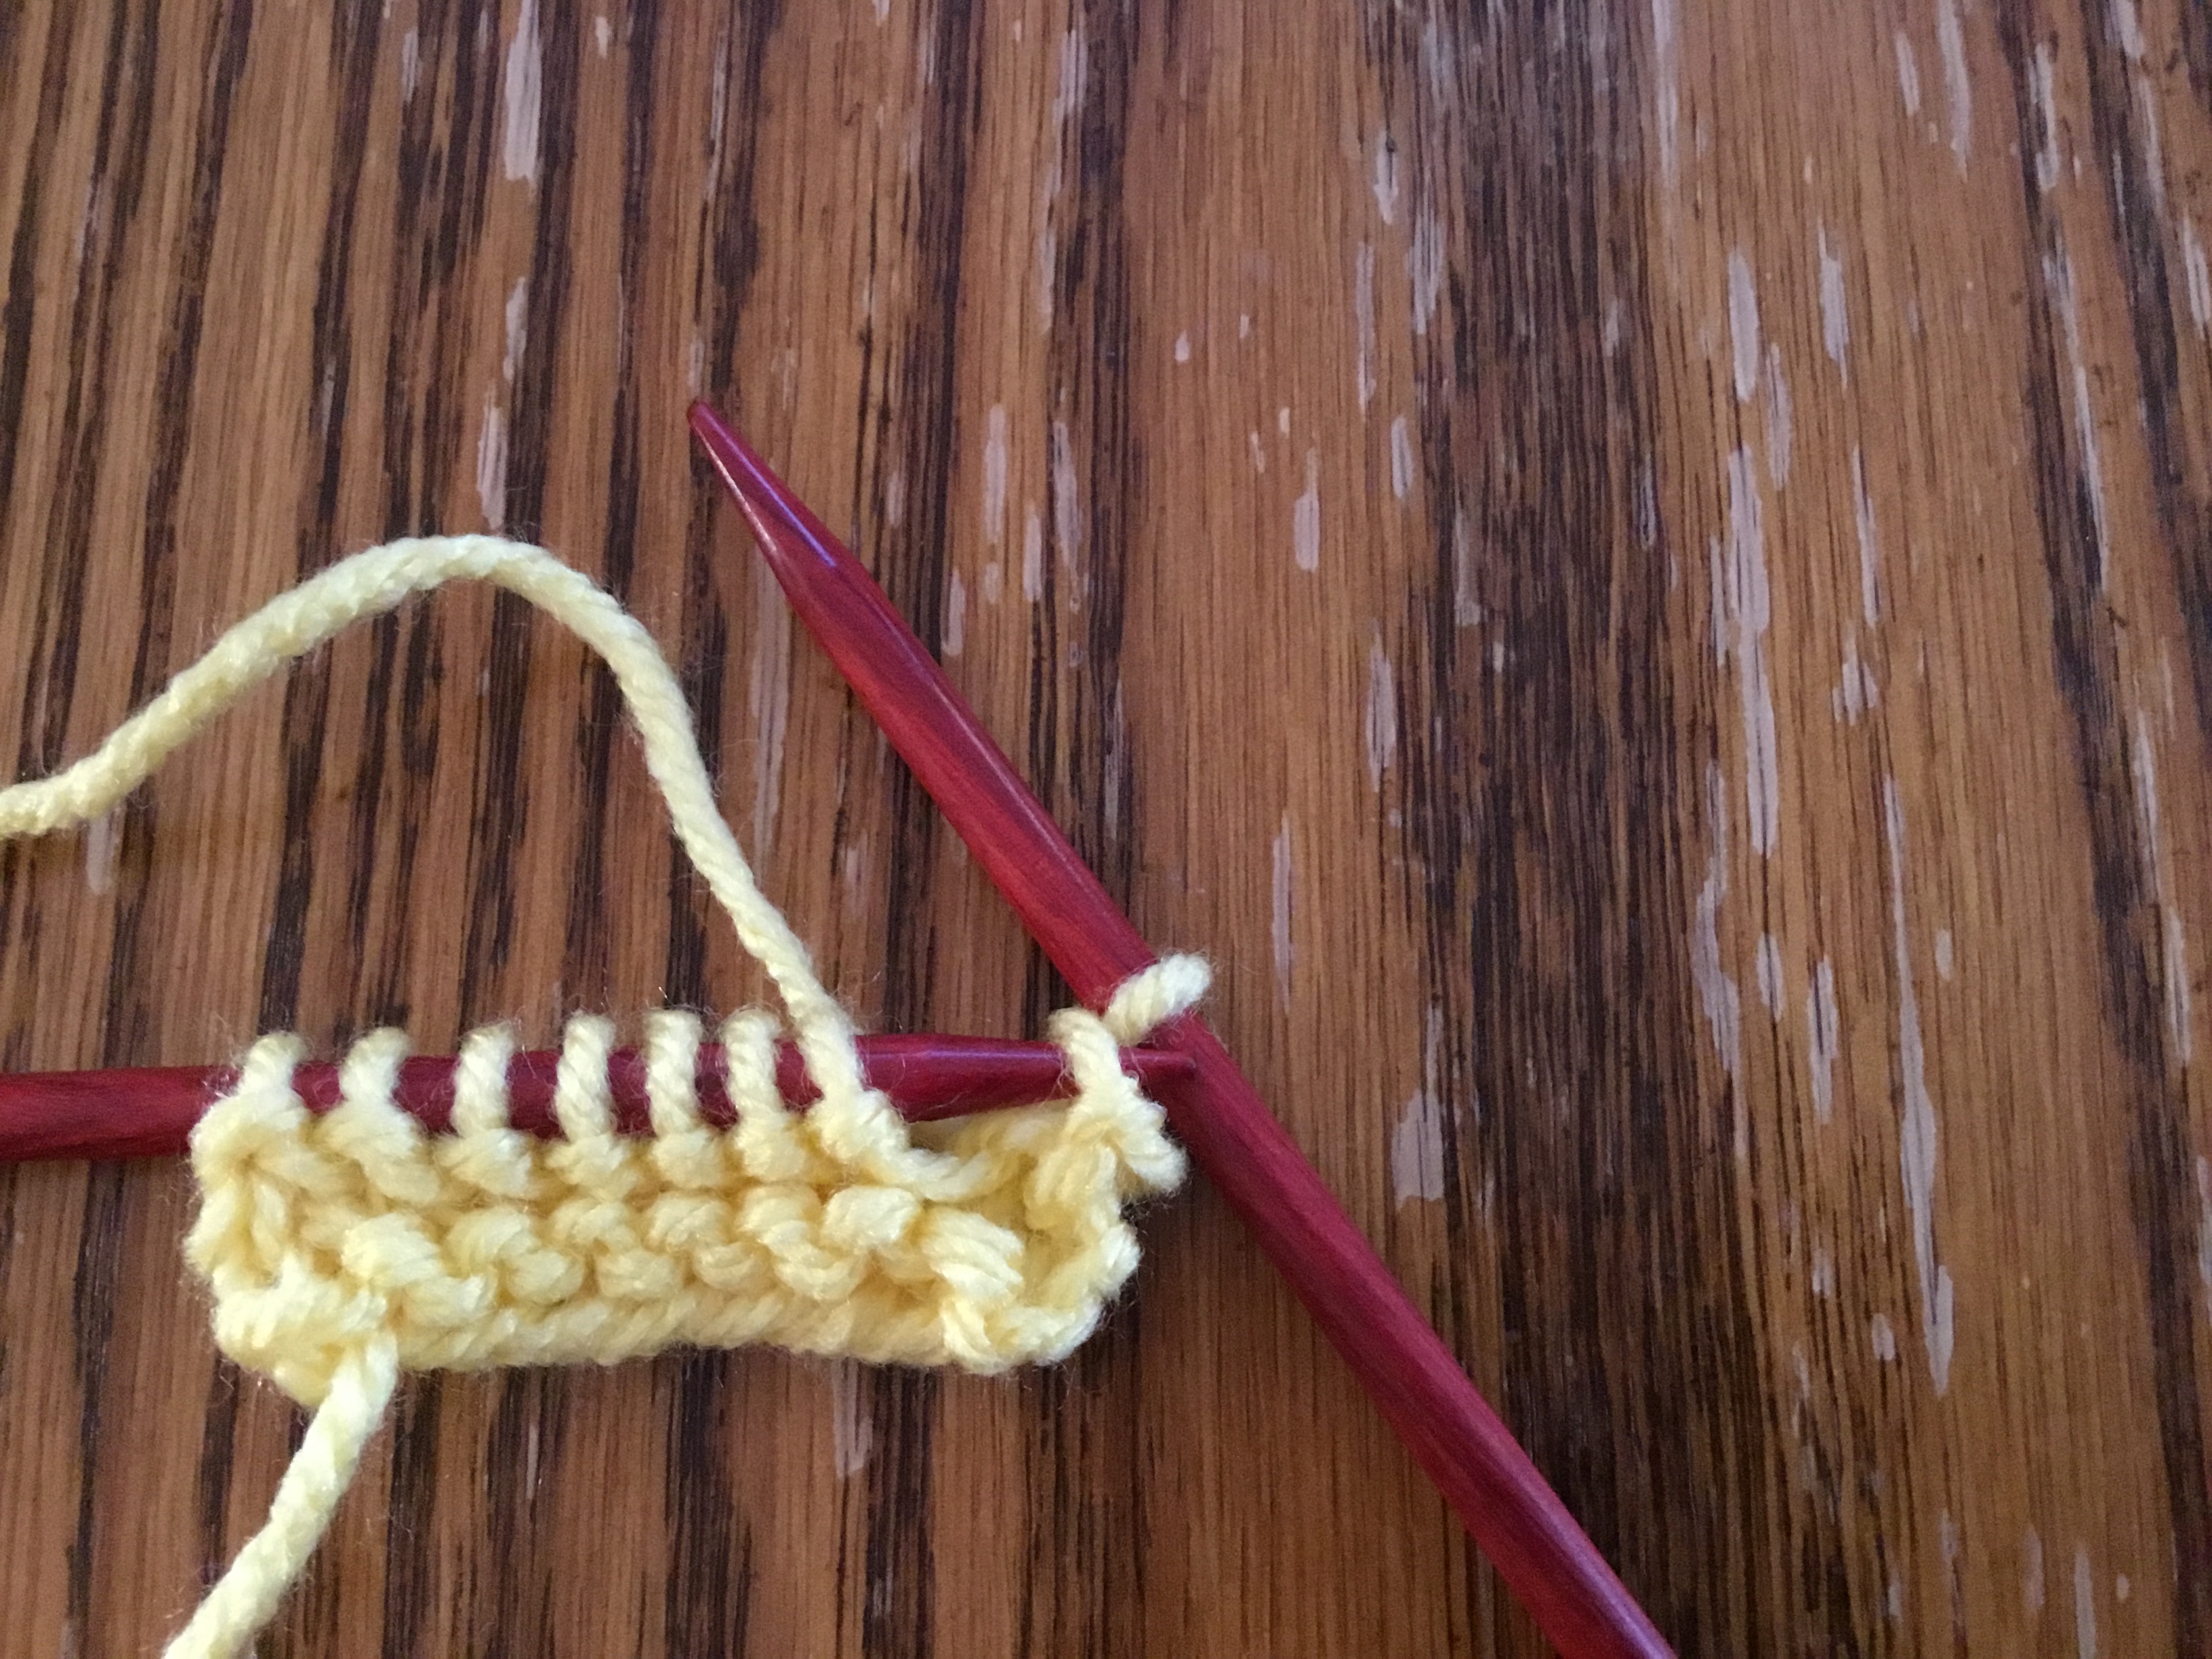
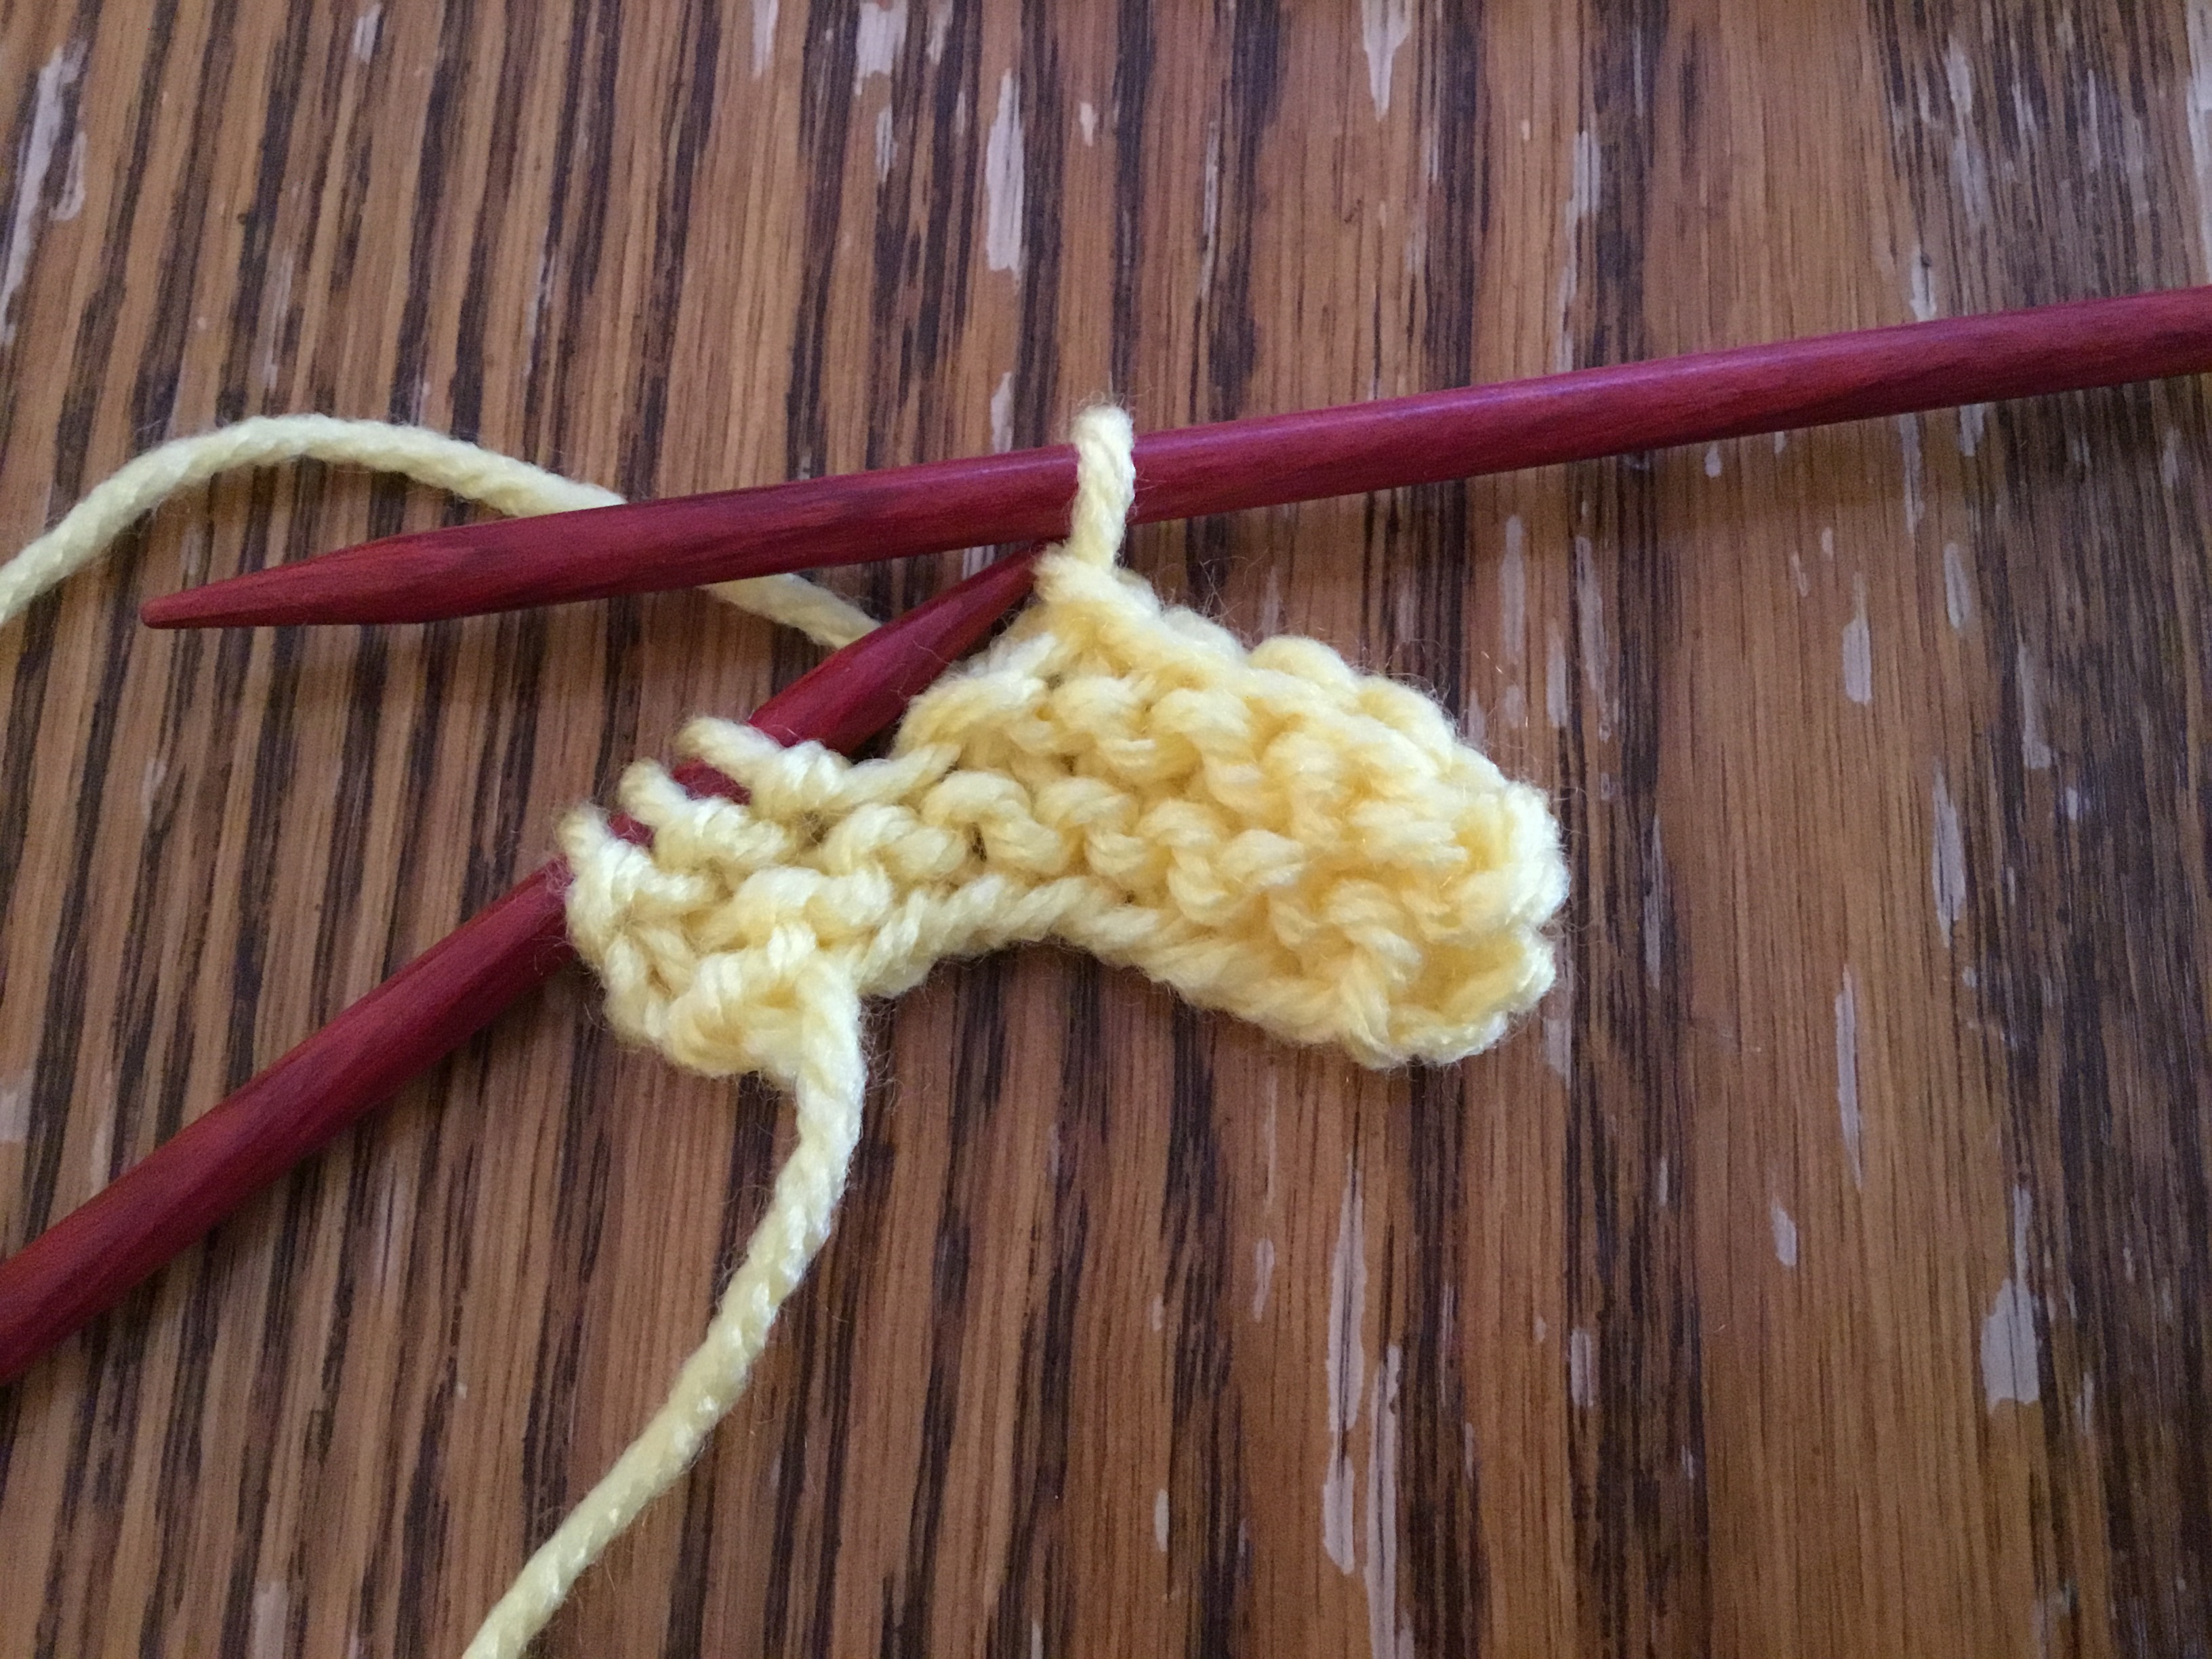
Start by casting on 3 stitches. Obviously three stitches isn’t enough to create an entire cloth, so you’re going to have to increase, or add more stitches, to the rows. So, once you’ve cast on your three stitches, knit one row straight (this means “without increasing”). Turn the work, and knit one stitch. Into the second stitch, you’re going to knit two stitches. The first one will be knit normally; the second (done before you pull the original stitch off of the needle) is knit through the back of the stitch. Once you’ve knit both of them (the front and the back), then you slide the old stitch off of the left needle. Then knit the final stitch normally. By doing this, you now have four stitches instead of three on your right needle. Turn the work (by switching needles/hands). Knit the first stitch normally, then KFB (knit front and back) into the second stitch, then knit normally to the end of the row. Continue in this manner until you have 45 stitches on your needle. Your washcloth will be triangle shaped at this point.

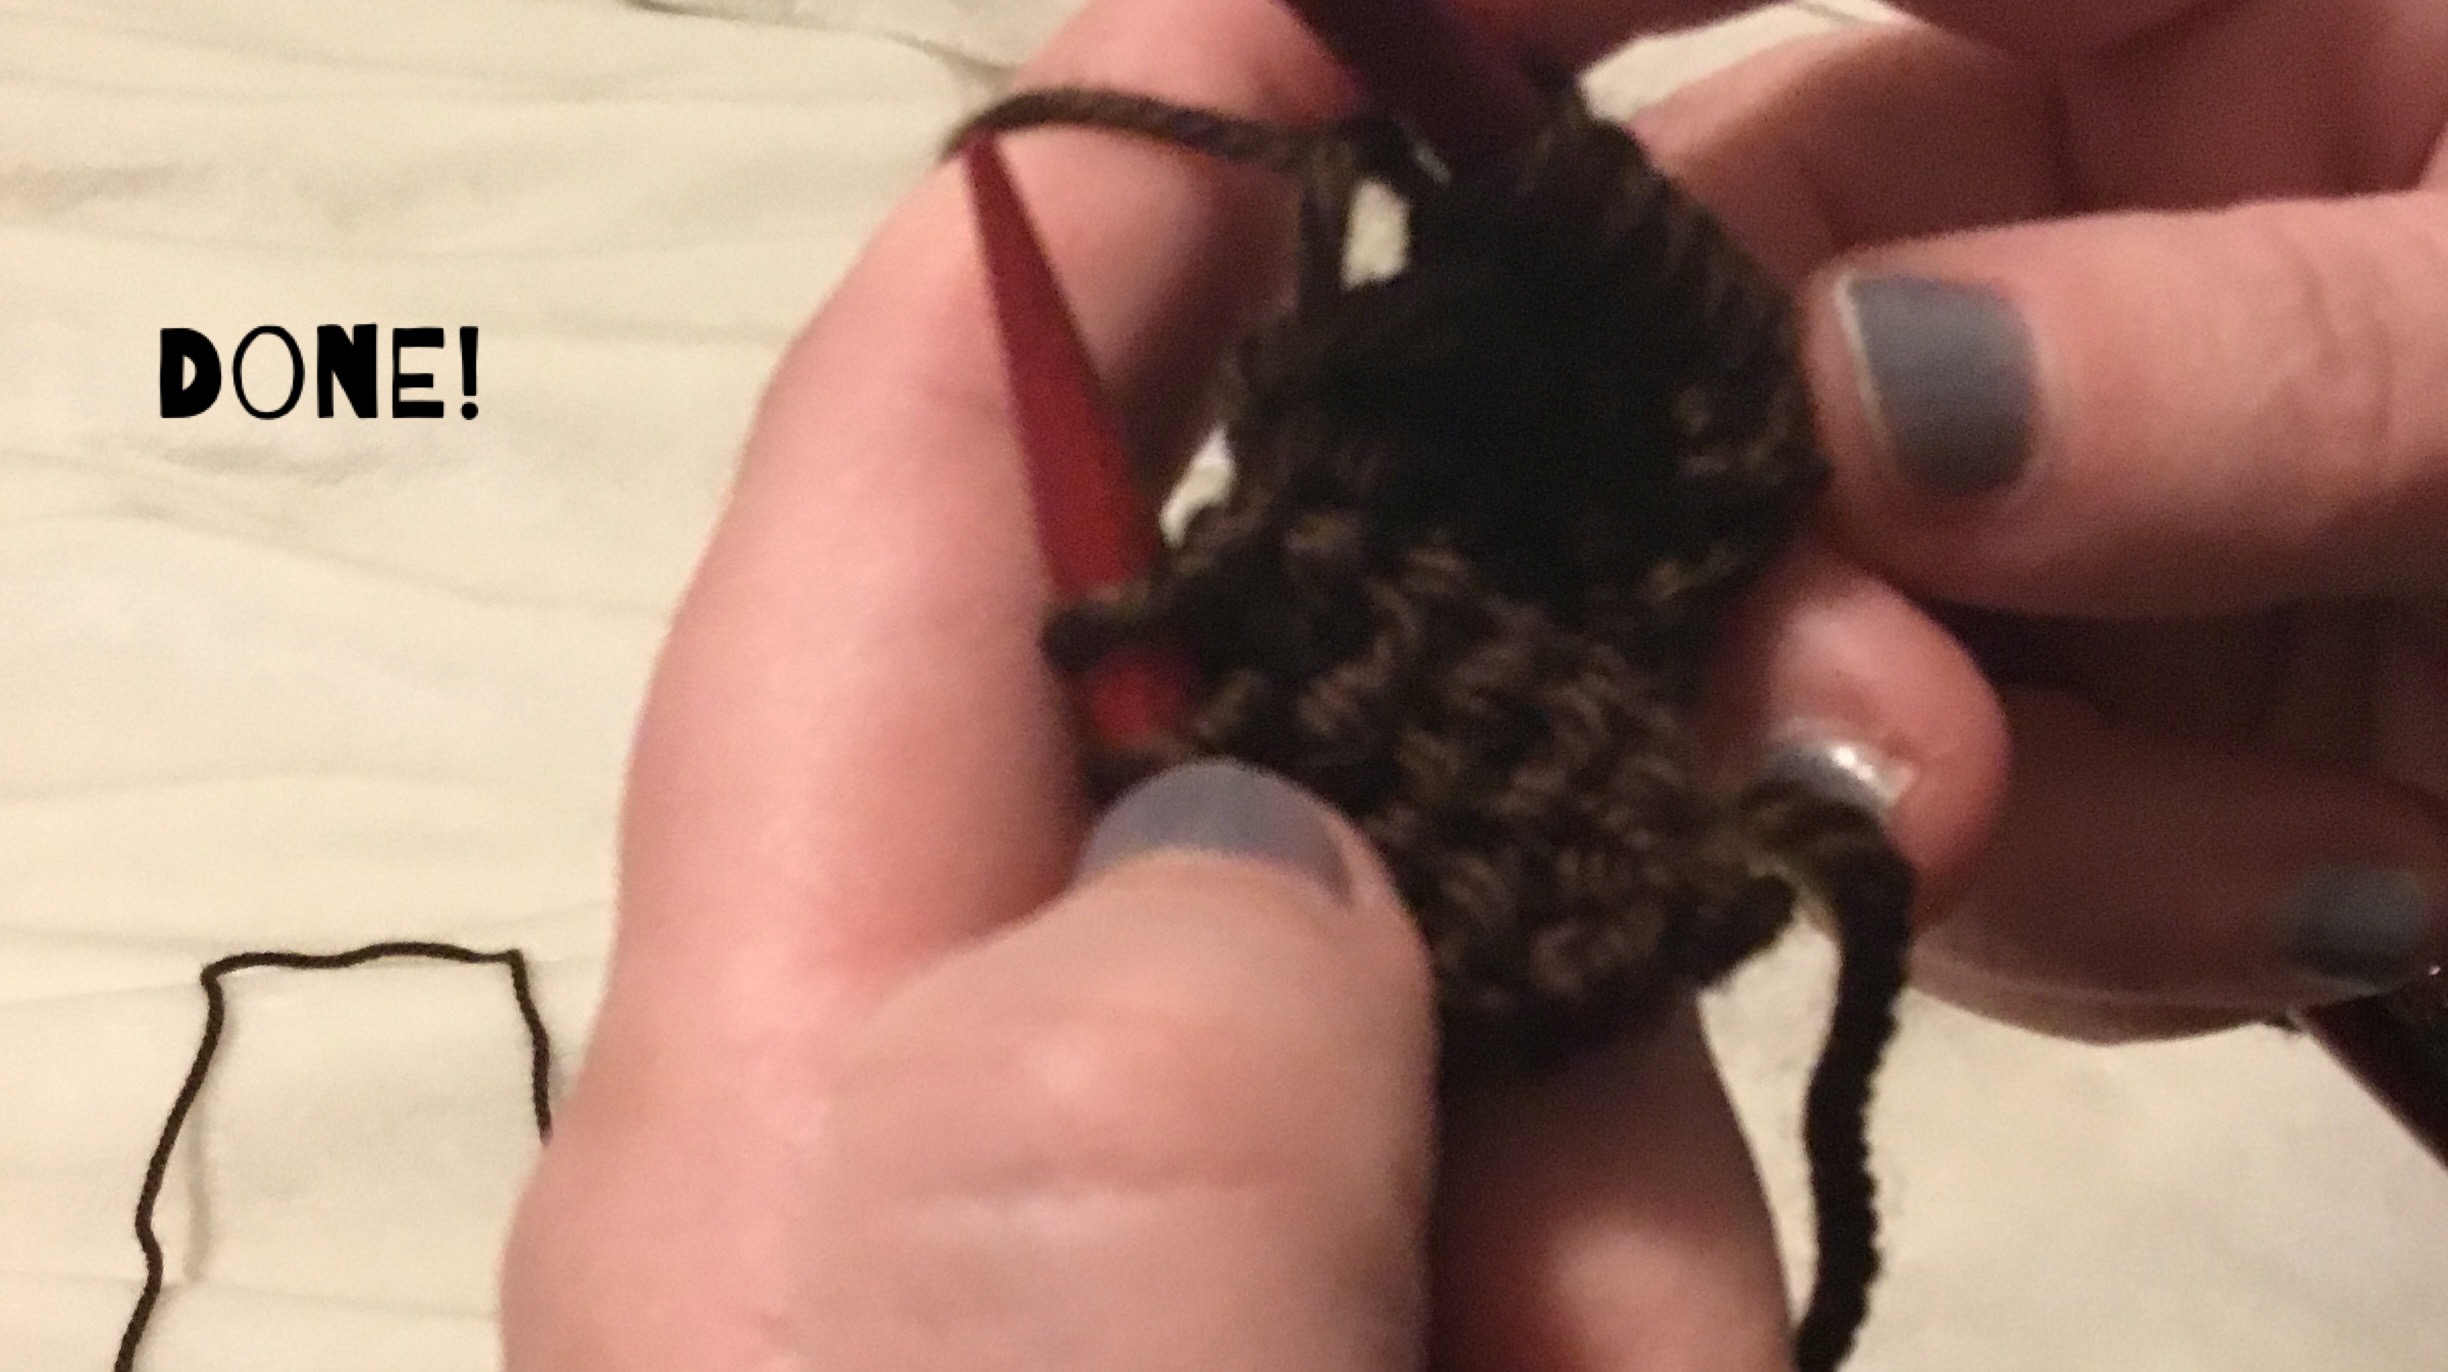
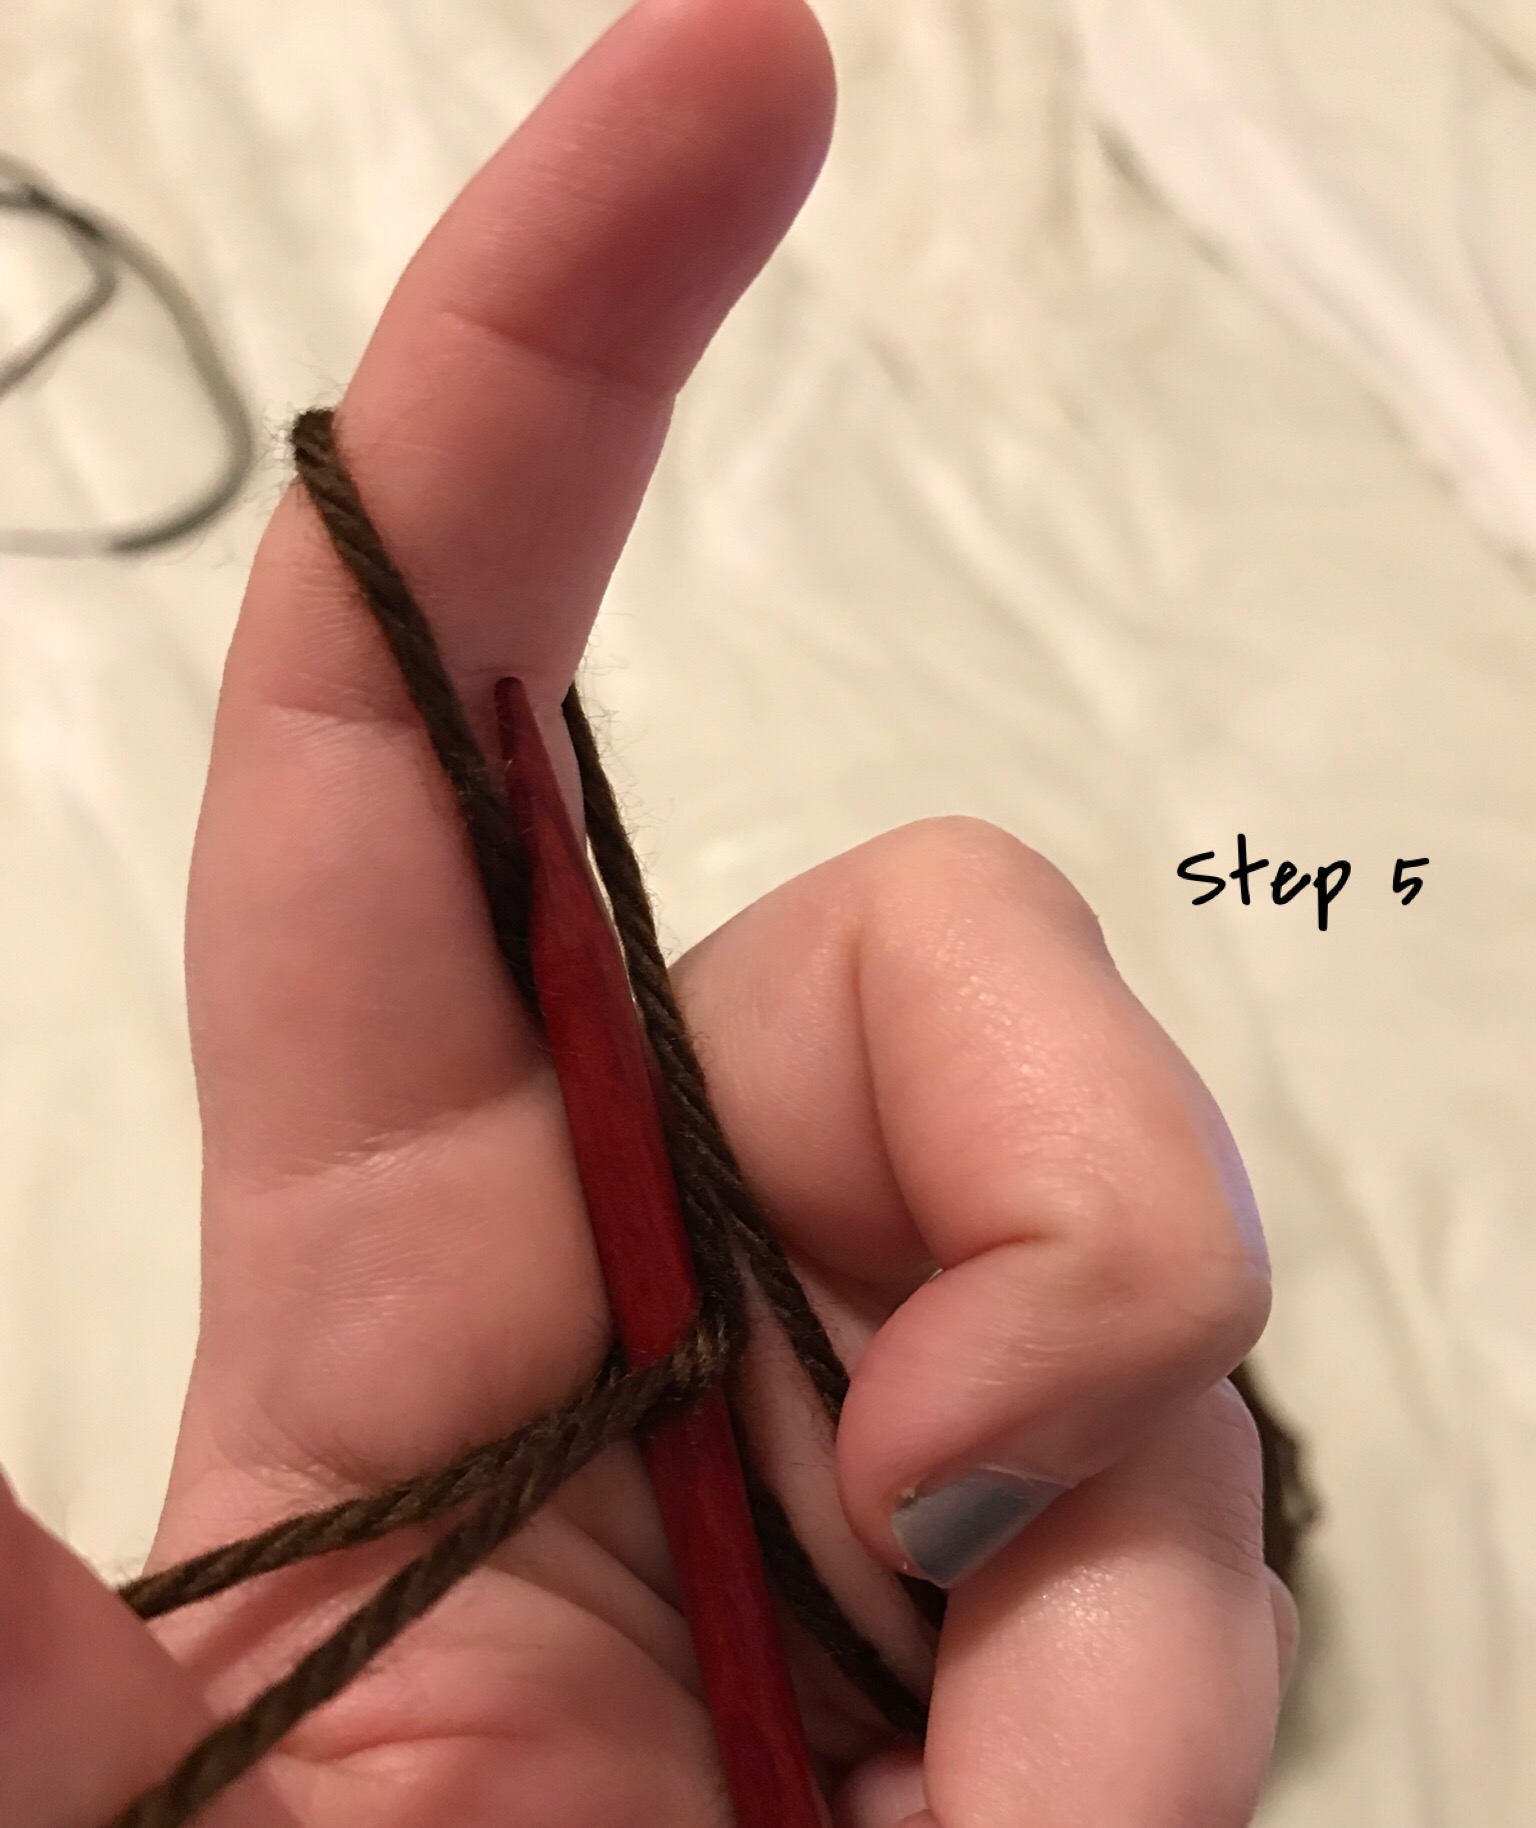
Once you get to those 45 stitches, you need to knit 3 rows straight. Then it’s time to decrease to create the other half of the triangle. With the full needle in your left hand and the empty one in your right, knit the first stitch normally. Then knit the next two stitches together (k2tog). This means to knit normally, except instead of knitting through just one stitch, you’ll go through the next two at the same time. After the decrease, knit all the rest of the stitches normally. You’ll repeat this row until you’ve got yourself back down to just three stitches. Knit those three straight, and then bind them off. Weave in your ends, and your washcloth is done!

Blessings,

ladybug-signature-3 copy

Knitting Flat vs In the Round

F24A5CE1-B6A7-460B-A4DE-0B4D2D2CBCFA

There are two basic ways of knitting, and different patterns will have you do it different ways. The first way is “Flat.” This means that you’re working in rows, going back and forth, making a piece that is… wait for it… flat. If you’re making a garment, knitting flat means that you’ll have seams to sew up at the end (unless you’re working on a cardigan). Not everything is a garment, though, and therefore requires knitting flat – such as a washcloth. It would be silly to have a tubular washcloth, so you knit them flat.

Knitting in the round, just like knitting flat, is exactly what it sounds like. You connect the first stitch to the last one and knit around and around in circles, creating a tube of fabric. For clothing, this is ideal because you don’t have to worry about sewing the flat pieces together at the end to create the tube you need. 

There are lots of tutorials around on how to join your stitches to start working in the round, so if you’re interested in that method (which I highly recommend; it’s much easier in the long run than knitting flat), it will be easy to find one of those. YouTube can be your best friend 🙂

Blessings,

ladybug-signature-3 copy

Knitting a Gauge Swatch

F24A5CE1-B6A7-460B-A4DE-0B4D2D2CBCFA

Most patterns will give you a gauge for the pattern in order to have your finished article turn out the same size as that of the designer. This is important because otherwise you’ll put in loads of work on a garment and it just might end up really huge or really tiny, depending on how your gauge compares to that of the designer. Here’s how to check your gauge.

Choose the yarn and needles you intend to use for the project. Cast on a few stitches. I like to do 30. Knit 3 rows. On the fourth row, knit 3 stitches, purl to the last 3, then knit those last three. On the fifth row, knit across. For the sixth row, repeat round 4. Continue in this manner until you have about 6 inches of knitting, then knit 3 rows at the end. Bind off. This is called a gauge swatch.

Once you’ve knit your gauge swatch, you need to measure it. For a long time, I just used a measuring tape to do this. I’d set the tape on top of the knitting and count the stitches over a span of either 2 or 4 inches. Now, I have this tool, which I can lay on top of my swatch and count the stitches in the cutout, which is a 2-inch L shape (for stitches across and rows up and down).

So… you’ve knit your gauge swatch and yours matches up with the pattern says you need. That’s great! You’re ready to start knitting with the assurance that your garment will fit as intended. But what if your stitches aren’t the same as what the pattern says?

That’s easily fixable. First you have to know whether your count is more or less than what the pattern calls for. If your pattern calls for “18 stitches over 4 inches,” simple division tells you that that’s 4.5 stitches per inch. It’s easy to think that if you get 4 or 5 stitches per inch, that’s “close enough.” This just isn’t the case. Think about it: an adult sized sweater is 30 inches or more around. If the gauge for the pattern is 4.5 stitches per inch, that means for a 38 inch sweater (random number), you need to cast on 171 stitches. If your gauge is 4 stitches per inch (and you don’t correct it, which I’ll explain how to do in a minute), then those same 171 stitches will give you a sweater circumference of 42.75 inches. That’s a lot bigger than the 38 you were going for! Looking the other way, if you’re getting 5 stitches per inch, those 171 stitches are going to give you a sweater that’s 34.2 inches. That’s also no good. So you can see, it’s really important to be dead on with your gauge if you want the garment to fit as expected.

Fixing your gauge for the project is as easy as swapping out your knitting needles. Using the example above, let’s say your gauge is 4 stitches per inch using the needle recommended in the pattern and on the yarn label. The pattern requires 4.5 stitches, so this means you’re not getting enough stitches per inch; yours are too big. Swap your needle out for one of a smaller size. This will make your stitches a bit smaller, and you’re likely to get the gauge pretty easily with just one size difference. The exact opposite is true if you’ve gotten 5 stitches per inch using the subscribed needles. You have too many stitches, which means yours are too small. Try a bigger needle. 

Of course, you can always adjust a pattern instead of adjusting your stitches if you want, but that’s a lot more complicated and requires a fair amount of math. I prefer to adjust my needles instead.

I hope this helps you understand gauge and why it’s important, but more important, how to make sure you get it right and how to fix it if you don’t.

Blessings,

ladybug-signature-3 copy

Reading a Knitting Pattern

F24A5CE1-B6A7-460B-A4DE-0B4D2D2CBCFA

Knitting patterns are very useful, especially if you’re not creative enough to write your own (which I am not). In order to make anything more complicated than a scarf or blanket, you’ll have to know how to read one. Today, using snippets from a free pattern I have on hand, I’ll walk you through the basics.

Before I begin, make sure to download your own copy of the pattern to follow along (since I won’t be showing the whole thing, only what I need to in order to explain things).

On the first page of many patterns, you’ll see the name of the pattern and photograph(s) of what the completed pattern will look like. Obviously yours will look a little different based on your knitting skill (evenness of stitches) and the yarn you choose (fiber and color).

pattern title bar

picture and sizing

Some patterns will also have a chart on this page, showing how much yarn is required for the different sizes available to knit. This is often listed in yards.

The final thing you’ll likely see on the cover page is the gauge for the pattern. I’ll be writing specifically about gauge in an upcoming post, but basically what it means is “stitches per inch.” You need to make sure your gauge is the same as what the pattern calls for, otherwise your finished garment will not be the size you intend it to be.

schematic and gauge

Then we get to the actual “here’s what to knit” portion of the pattern. Many patterns have a range of sizes all in one pattern. You need to decide what size to knit. In this sample, there are over a dozen different sizes; I didn’t show them all in this screenshot because… well, copyright. (You can see the chart for this pattern up above, in the same image as the photograph of the finished sweater). Finding the one you want is rather simple. Just refer back to the first page where it listed out all the sizes, and count how many that is from left to right. So, if you want to make the 6-12 month size, that’s the 1st one inside the parentheses. 

The first thing you’ll see on any pattern is how many stitches you need to cast on. Refer back to this post if you’ve forgotten how to do that. 

Then it will tell you what to do. In sweaters, you’ll usually begin with ribbing of some kind. This just means you go back and forth between knits and purls to create a zigzag fabric. This will prevent the hem and collar from rolling, as stockinette fabric tends to do if left unbordered. 

pattern

Depending on whether your sweater pattern is knit from the neck to the waist or the waist to the neck will determine what happens next. In this sample, it starts at the neck and goes down to the waist, so we have to start increasing (adding stitches). Your shoulders are much wider than your neck, after all! The pattern tells you exactly how many stitches to increase. In this particular pattern, it doesn’t give you specific instructions on how to space the added stitches in, so I use this knitting increase/decrease calculator to help me.

Because this pattern is knit in the round, you just knit every stitch to get that beautiful stockinette fabric. There is a garter stitch panel on the sleeves, but the pattern is very clear on where to knit vs purl to make that happen. To make the gradual increases for the shoulders, it tells you to “KFB.” This means “Knit into the Front and Back of the same stitch.” Here’s a great video explaining that in detail.

From here, you just keep going, reading the pattern carefully and keeping track of your rows to make sure everything ends up exactly right. There are several ways to keep track of your rows. I usually use an app on my phone. You can also use tally marks on a sheet of paper or a designated row counter, available at yarn stores. When you get to the specified rows for new instructions, just follow what it says for the next bit. The trickiest part of this particular pattern is separating the sleeves and body, but even that’s not too hard. Just watch this video for extra help.

So, following a knitting pattern is really just reading what it says and doing that. It might seem complicated and overwhelming at first, but it’s not. Just take it slow and steady, and you’ll be fine.

Blessings,

ladybug-signature-3 copy

Choosing a Knitting Pattern

F24A5CE1-B6A7-460B-A4DE-0B4D2D2CBCFA

Email subscribers: Please accept my apologies; you’ll be receiving loads of posts over the next few minutes as I finish up my knitting series and get it published. I know I’ve slopped over in November on my “31 Days of Writing” challenge, but I really do want to complete my series. Thanks for understanding!

This is such a personal thing, so there’s really no right or wrong way to do it. I’ll just go over a few short tips on how to find something you’ll love to knit!

Before you dive into admiring and choosing patterns, there are a few questions you have to answer.

What do you want to knit? A sweater? Wash cloth? Mittens? Scarf or hat? The possibilities are nearly endless, but you have to decide before you can find a pattern.

Who will you knit it for? There are some patterns out there that are good for a wide variety of sizes, but most are not. Most patterns will have options for babies, children, or adults. You’ll need to know who you’re knitting for before you can start narrowing down patterns to one of these categories.

What kind of yarn do you want to use? Will you find something from your stash or buy new yarn? If you’re using up your stash, you’ll need to know what weight of yarn you plan to use and find a pattern for that yarn. If you’re buying new, you’re a bit freer in this department.

Do you want to use a free pattern or are you okay paying for one? There are thousands of patterns out there. Some are free, others are not. I’ve used both types, and neither is better than the other. It’s all about your budget and desire to pay for a pattern.

Now that these questions are all answered, you can go to Google and type in the criteria you came up with (“free knit pattern baby sweater,” for example). But better than Google is Ravelry. Ravelry is a website for knitters and crocheters to come and share their projects, patterns, and more. Let me walk you through my preferred way of searching Ravelry for patterns.

The first thing you have to do is sign up for an account. It’s absolutely free, and there are only benefits as near as I can tell (unlike other social media outlets). If you already have one, just log in. Once you’re logged in, click on “patterns” in the upper left of the menu bar. If you know the exact name of the pattern you want, you can type it in to the search bar on this page. If not, let’s explore the pattern browser.

rav 1rav 2

When you click on “pattern browser & advanced search,” your screen will look something like this.

rav 3

All those boxes on the left are where you’ll narrow down your criteria using the questions you answered earlier. Simply apply the answers to the appropriate boxes (availability: free or paid; category: clothing, toys, etc; and so forth), and the patterns will continue to narrow down until you’re left with patterns that meet all of your specifications. At that point, it’s just a matter or browsing through them until something speaks to you.

Next time, I’ll walk you through reading that pattern you chose.

Blessings,

ladybug-signature-3 copy

Knitting 101: Attaching a New Ball of Yarn to a Project

F24A5CE1-B6A7-460B-A4DE-0B4D2D2CBCFA

There comes a time in every knitter’s life when a single ball or skein of yarn just isn’t enough to complete the project. I touched on this a tiny bit when I discussed dye lot numbers on the yarn label at the beginning of the month, but now I’m going to go over the way I add a new ball of yarn to a project, step by step.

The first thing to figure out is whether you’re knitting a flat piece or something in the round. If you’re knitting flat, then you’ll have edges, and that’s the best place to attach a new ball of yarn. If you’re working in the round (as I was when I took the pictures for this post), you don’t have the luxury of a edge, so you just have to do the best you can on your piece.

Here’s how to do it. Oh, and for reference, the steps are the same whether you’re adding a new ball of the same color or a new ball of a different color (for stripes, perhaps).

First, make sure to stop knitting far enough in advance that you have a tail to weave in later. This means don’t knit up to the very last centimeter of yarn. Leave a good 6 inches or more to work with.

IMG_0691[1]

Get your new yarn ready by pulling out (or off, depending on whether you knit from the inside of the ball or the outside) a reasonable amount of yarn.

IMG_0692[1]

Insert your needle into the next stitch, in whichever orientation you need to use for the stitch (knit or purl). Make a loop of the new yarn end by folding it over on itself, leaving a 6 inch (or more) tail. You’ll need this tail later to weave in the end neatly. Loop the folded part over your right hand needle and pull it through the old stitch, just as if you were knitting normally.

IMG_0693[1]

Separate the tail and the new working yarn. Knit a few stitches in the new yarn. Stop and take a look at the right side of your work. Do the new stitches look as even as the old ones? If so, great! Tie the old tail (from the expired ball of yarn) and the new tail (which you created when you made that loop to begin this tutorial) together. I like to use a square knot because they feel more secure to me.

IMG_0698[1]

All done! You’re ready to continue knitting to your heart’s content – or until you run out of yarn again.

Blessings,

ladybug-signature-3 copy

Knitting 101: Binding Off

F24A5CE1-B6A7-460B-A4DE-0B4D2D2CBCFA

Once you’ve cast on and knit for awhile, you’ll need a way to remove the live stitches from your knitting needles so that you have a project you can actually use. Binding off, or casting off, is how you accomplish that.

As with casting on, there are dozens of ways to bind off, but I’m just going to teach the most basic one.

Step 1: Knit two stitches.

0A25F4B9-2086-4B5C-9B16-C63B8A273740

Step 2: Insert the left needle tip into the first stitch.

C7DBA988-2410-4DDF-95D4-EBD7DDE8466D

Step 3: Pull the first stitch up and over the second one, pulling it off of the needle.

93869AB9-0B49-4FB2-AC74-BECE001AB224

Step 4: Knit one stitch.

Step 5: Repeat step 3.

3A4D5578-FD41-4E1C-948B-EB1BA6FCA90F

Repeat steps 3 and 4 until you’re all out of stitches. By pulling the stitches over one another, you secure them so they won’t unravel your work. When you get to where there’s just one stitch left on the right needle, cut your yarn and pull the tail through that last loop, creating a knot to secure it.

Blessings,

ladybug-signature-3 copy

Knitting 101: The Purl Stitch

Oi, I got really behind on this series. I do plan to catch up. I’ll do so by doing two posts a day until I’m current. That will allow me to add enough posts but not totally overwhelm email subscribers. Here’s the next one.

F24A5CE1-B6A7-460B-A4DE-0B4D2D2CBCFA

The purl stitch is the exact opposite of the knit stitch. If you remember from yesterday, to make a knit stitch, you have the yarn in back and the needle goes through the old stitch left to right. Purling is a bit more difficult than knitting, but not terribly so. Here’s how you do it. 

First, bring your working yarn between the two needles to the front of the work. The “between the needles” is vital here. If you go over either needle by mistake, you’ll end up with what’s called an “accidental yarn over,” which (when not done by mistake) is a design element that creates a hole in the work (primarily used in lace knitting).

So… bring the yarn to the front of the work. Between the needles.

IMG_0784[1]

Insert the right needle into the next stitch on the left needle from right to left. 

 IMG_0785[2]

Wrap the yarn around the needle counterclockwise (this part is the same) and pull it back through the old stitch. 

 IMG_0786[1]

IMG_0787[1]

Pull the old old stitch off, just like you did when you were doing the knit stitch. 

 IMG_0788[1]

Now, I mentioned that purls are harder than knits. So why would you want to use them instead? Well, it’s more that you use them also, not instead, because in order to get that “knit” look (the series of Vs, which is called stockinette) while working a flat piece of knitting, you knit the first row and then purl the next, going back and forth. So to get that signature look, you have to know how to both knit and purl.

Blessings,

ladybug-signature-3 copy

Knitting 101: The Knit Stitch

F24A5CE1-B6A7-460B-A4DE-0B4D2D2CBCFA

Knitting consists of four things: casting on, the knit stitch, the purl stitch, and bonding off. Yesterday I taught you to cast on, and today we’ll cover the knit stitch.

When you use the knit stitch for ever row in a flat project, you get what’s known as garter stitch. Garter stitch is defined by its horizontal dashes and squishy feel. For this sample, it’s what I used.

Special thanks to Seahawk for being my photographer.

978B7BCA-FE08-4BCD-80C6-BF126A651CEC

Once you’ve cast on, you’re ready to knit. Here are the steps.

Put the needle with the stitches into your left hand and the empty needle in your right hand. Make sure the working yarn (the part attached to the ball) is behind your work, and also that you’ve pulled it under your needle, not over. If you pull it over the needle, you’ll create an extra stitch, which is not what you want to do.

C048AC04-8437-479F-B1FC-75510B0930F1

Slide the right needle through the first stitch on the left needle. It should go in through the front and out the back.


Wrap the yarn counterclockwise around the right needle.

3E346305-26D3-4DFD-8FF0-66FE2A419805

Using the right needle, pull the wrapped yarn through the loop. This will move your needle back to the front of the other one.

3B5ECDAB-26B7-49D2-BF1A-E297DEDA97F4

Slide the old stitch off of the left needle. The new stitch you just created will be on the right needle. Continue in this manner until you get to the end of the row. When you’ve worked all the stitches on the left needle, you’ll be left with a full right needle and an empty left one. Switch the needles and start all over again.

AC2BB1FF-BCB7-4CD1-9F43-11268AE9E140

Thats it! If you’ve worked through this tutorial with me, you can officially call yourself a knitter. Tomorrow I’ll teach the purl stitch.

Blessings,

ladybug-signature-3 copy

Knitting 101: Casting On

F24A5CE1-B6A7-460B-A4DE-0B4D2D2CBCFA

Before you can start a knitting project, you have to cast on. This just means adding stitches to your needle so you have something to knit. Let’s take a look at how to do that.

There are dozens of ways to cast on, but I’m just going to show you one of them: the long tail cast on.

The first thing you have to do is pull out a fair amount of yarn from your ball. To do this cast on, you’ll use up yarn from both the tail you’ve pulled and the ball. That’s why it’s called the “long tail” cast on.

A2B00B16-234C-4DE6-8FB1-762504E2DD2E

Next, make a “gun” with your pointer finger and thumb. Drape the yarn over these two fingers with the end of the tail on the thumb side.

9D212E37-E717-4EBB-8B4A-5AA6DFAF419B


Step three is to place a knitting needle on top of the yarn and carefully guide it down so it looks kind of like an upside down A.

4C93D6B6-C5A3-4382-9E4F-E1D0906981A4


Now the magic starts. Draw the point of your needle through the loop on your thumb,

7984C93B-806C-46A5-A151-B5DBF5A3D951

over the loop on your finger,

0DDD5F77-865F-481C-A1CB-DE5E7DCDA2E5

and back through the thumb loop.

86C64CA1-BF46-4585-9B32-D556873607E0

Pull your thumb and finger out of the yarn and tighten it around the needle – not too tight or it will be hard to knit the first row. You have now cast on the first two stitches.

A9C4C47F-3169-4100-AB99-DC044AE6B191

Repeat these steps for each additional stitch you need to cast on. Only the first one creates two stitches; every other cast on repeat will add one stitch to your needle.

Keep practicing this today. Tomorrow I’ll be back with a tutorial on creating the knit stitch (and a review and giveaway that you won’t want to miss, especially if you have small people in your life!)

Blessings,

ladybug-signature-3 copy