The Best Chocolate Cookies Ever
We like cookies. A lot. One day when I was looking for a new recipe, I found one for chocolate chip cookies, but with a twist: the dough is chocolate and the chips white. I’ve adapted it a tiny bit, and now am sharing our new favorite cookie recipe.
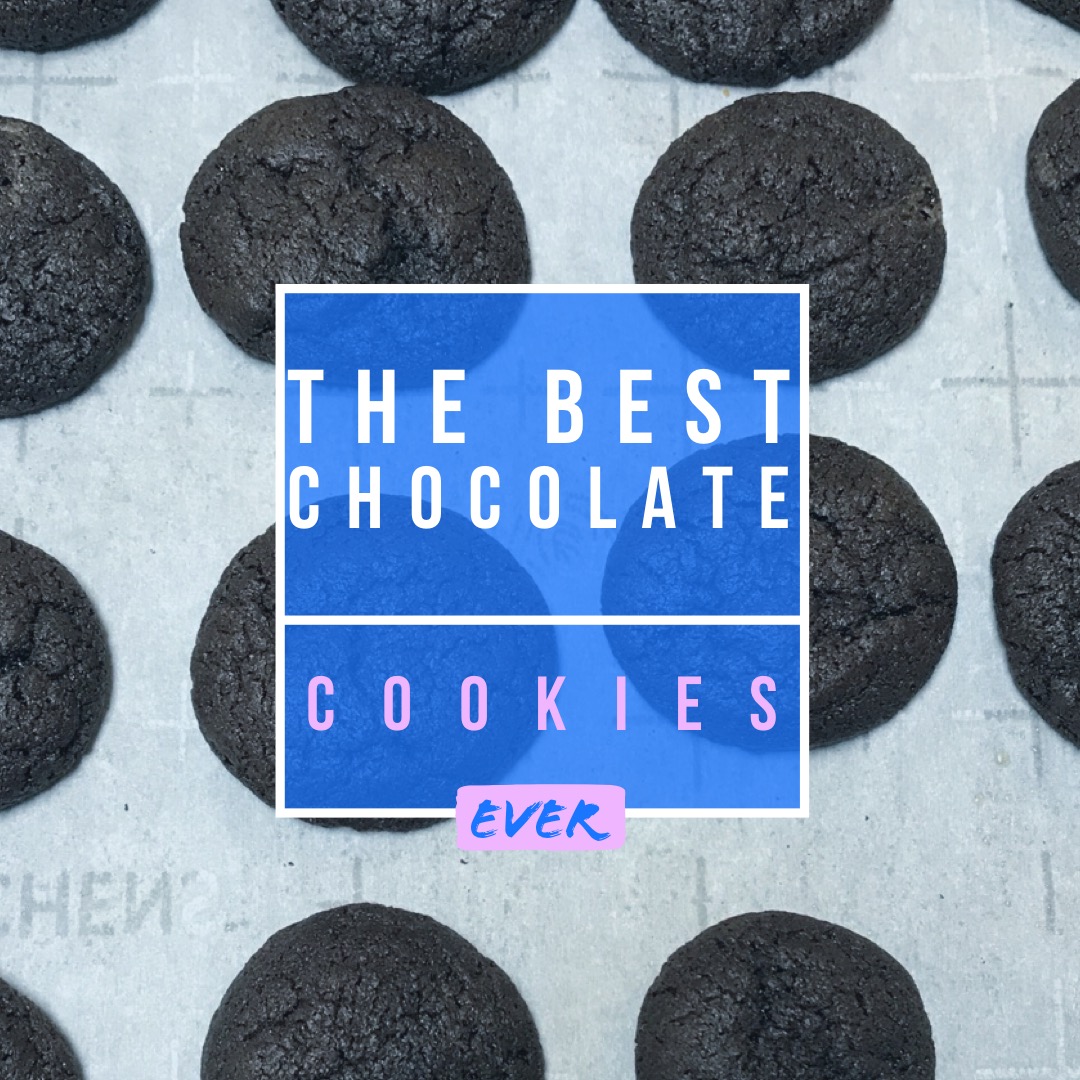
The Best Chocolate Cookies Ever
Makes 72 small cookies
1 cup (2 sticks) butter, softened
1 1/3 cup sugar (all white or half white, half brown)
2 eggs
2 tsp vanilla
2 cups all-purpose flour
3/4 cup unsweetened cocoa powder
1 tsp baking soda
1/2 tsp salt
~*~*~
1. Preheat oven to 350F.
2. In a large bowl, cream butter and sugar(s) together. Add eggs one at a time, mixing well after each addition. Mix in vanilla.
3. Turn the mixer off. Add flour, cocoa, soda, and salt. Turn the mixer back on and let it run until the dry ingredients are just combined. Do not overmix or your cookies will be tough.
4. Roll the dough into small balls about the size of a “shooter” marble. Place on a baking sheet 1-2” apart (they will flatten but not really spread).
5. Bake for 10 minutes. Let cool on the baking sheet for 5 minutes before moving to a serving plate.
~*~*~
Blessings,