
Will recently switched the paper out that he draws his comics on. Instead of buying a pad of 11×14 paper that he cuts in half to get the size he needs (5×14), he found a paper size that’s 5×17 and is quite a bit less expensive than the 11×14 stuff, even when you consider that he gets “two pads for the price of one.” But 17. That’s more than 14. So I’ve been cutting off the extra three inches for him (using my rotary cutter and mat – yes, I know it’s not good to use the same cutter for fabric and paper, but that’s okay; Will’s said he’d rather pay for replacement blades for me than get his paper cut professionally). This means that we have loads and loads of 3×5 strips for art projects. I typically give them to the kids to color on, or use in any other way they deem fit, but in the beginning, we made personalized bookmarks, so I thought I’d share my method here.
First, unless you have a pro-grade laminator, make sure you use stiff paper (even index cards are probably too floppy). As I mentioned before, we use Will’s comic paper scraps, which is 300 series Bristol board. You can find this in pretty much any art store worth its weight. The other things you’ll need are: coloring supplies (pencils, markers, paints, crayons… whatever you like), box tape or a laminator, a hole punch, and embroidery thread.
Instructions:
1. Cut the paper down to 2×5 (or whatever length you like – I just had the 5″ side predetermined for me).
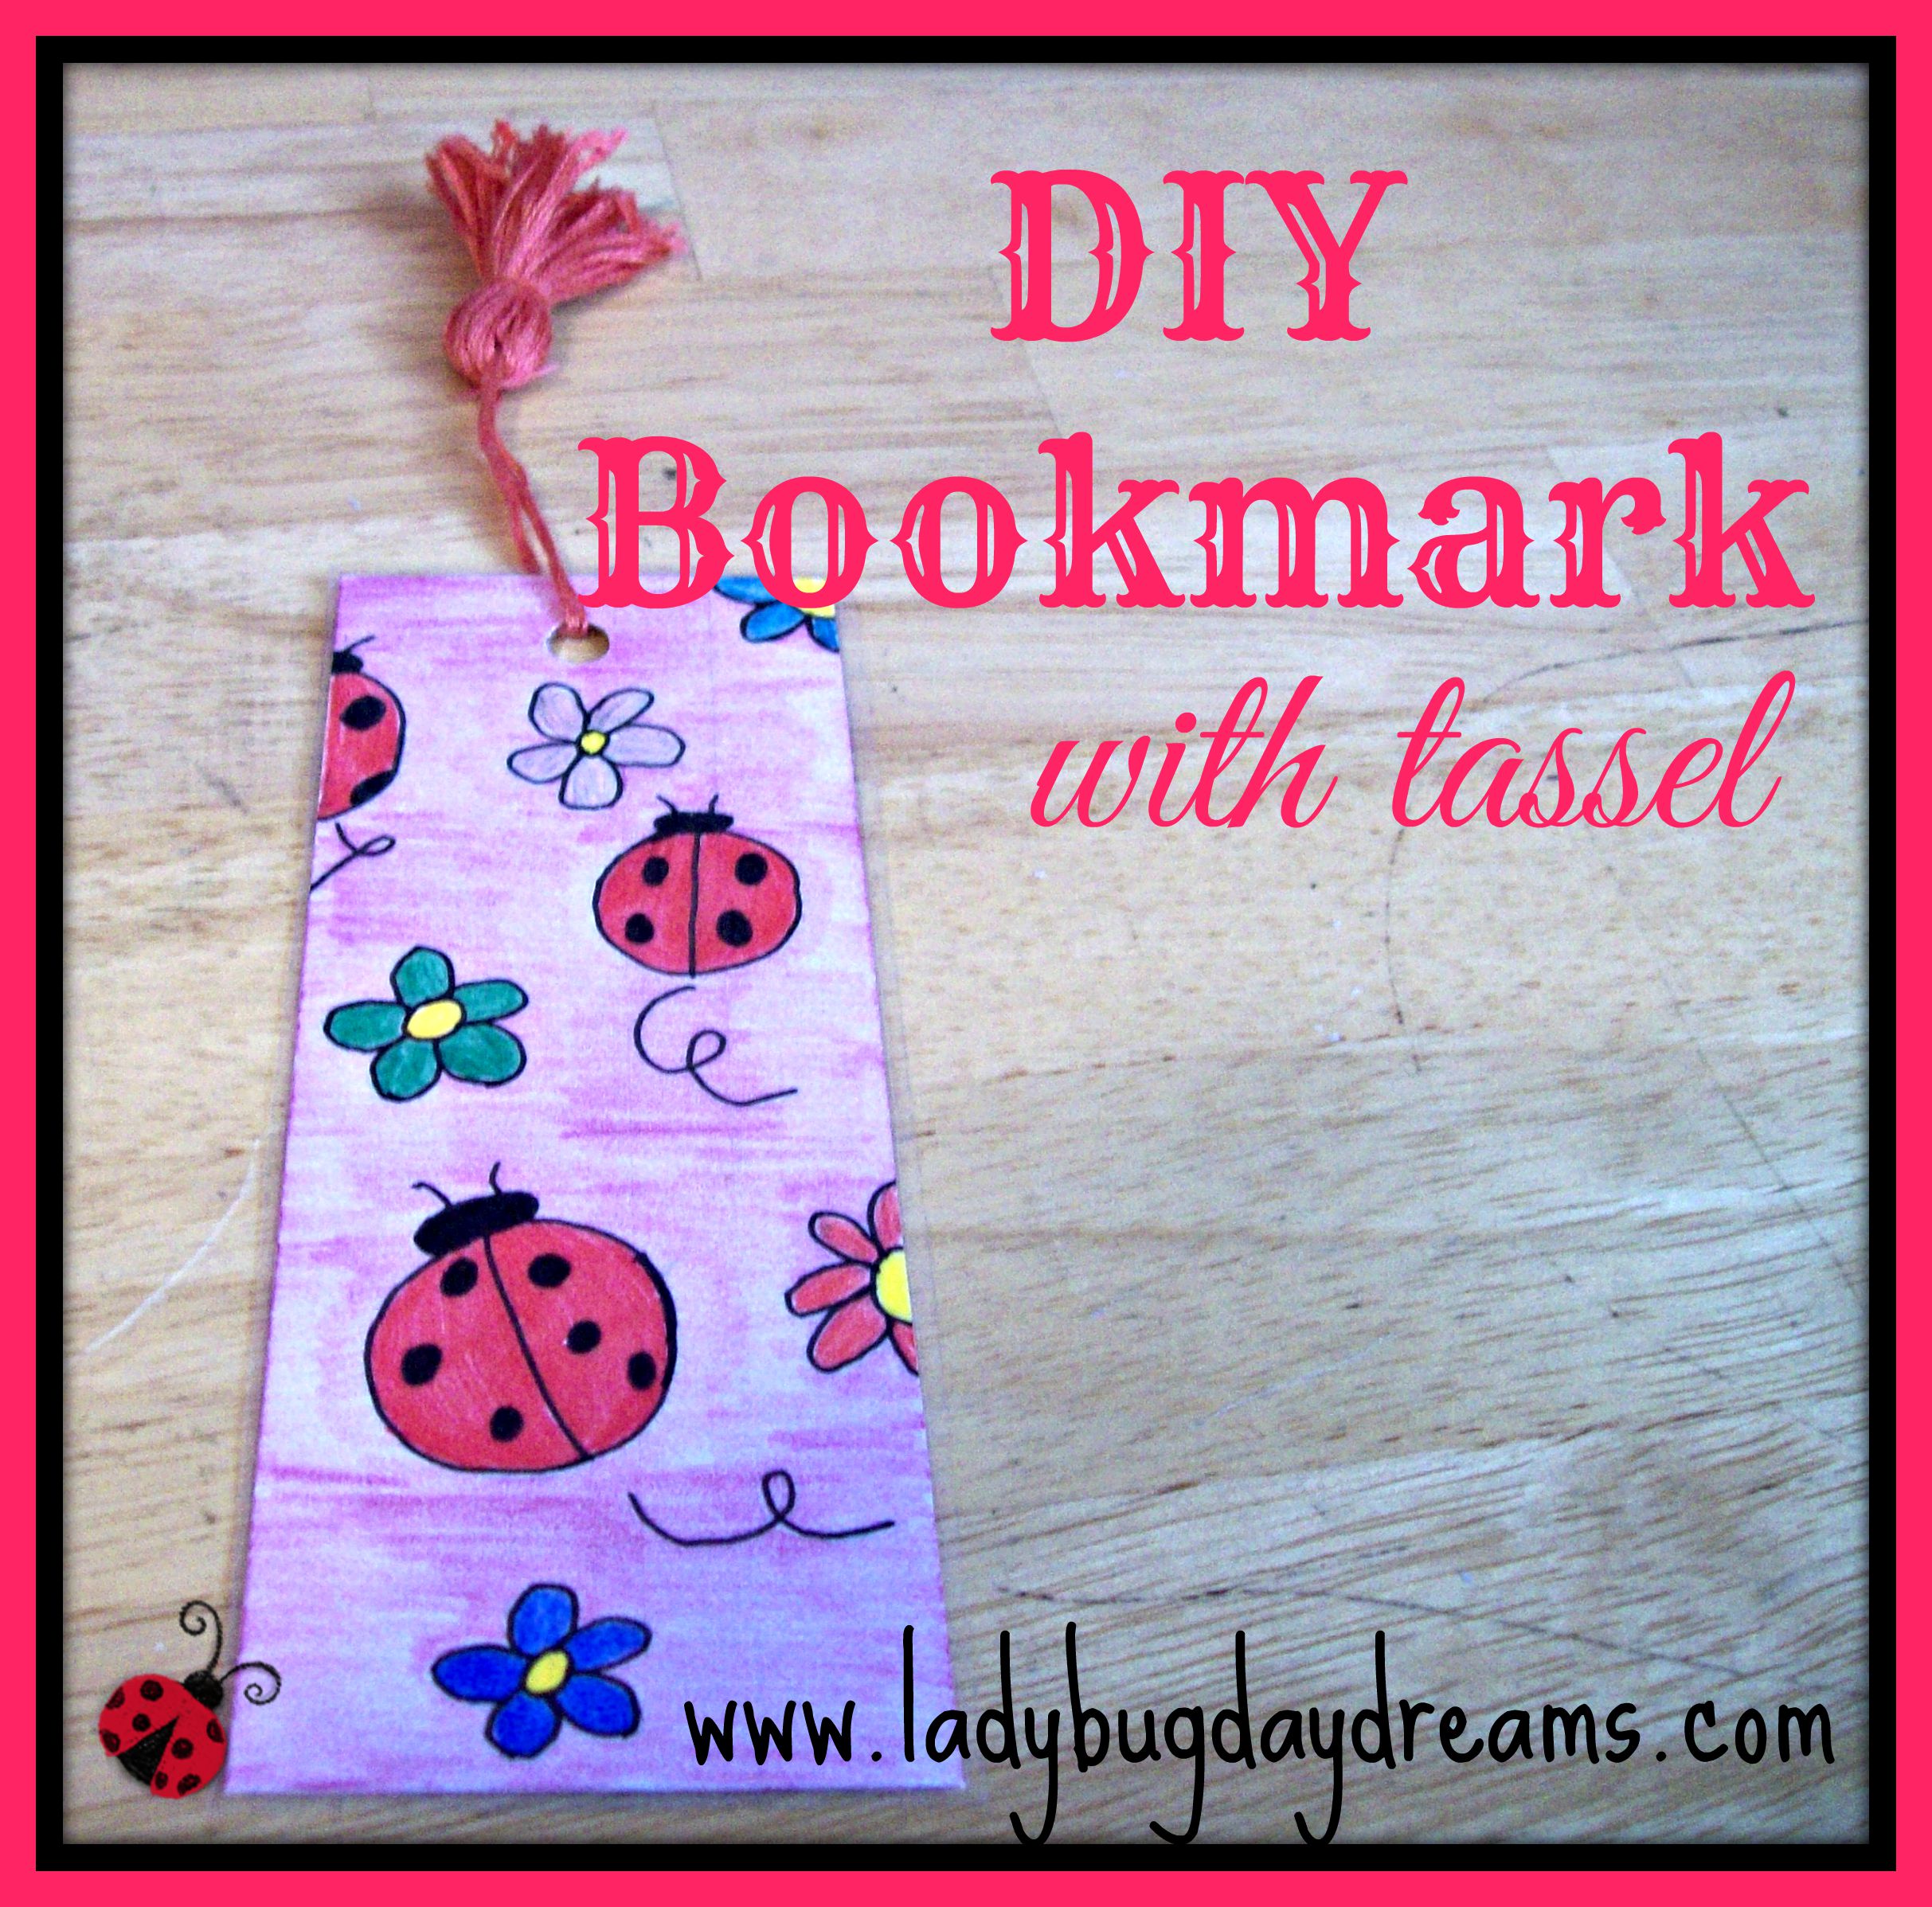
2. Decorate however you’d like. As you can see from my photograph, I did – what else? – ladybugs. I used my fountain pen with black India ink for the outlines and colored pencils for the color. You can decorate both sides or just one. Really, anything goes here.
3. Laminate your bookmark. If you have a laminator, use that. If not, you can carefully (to avoid air bubbles or wrinkles) cover the bookmark on both sides using box tape. This is what I do. Technically, the lamination is optional, but it does make the bookmark a bit sturdier as well as protects your book from any color flaking off and onto the pages.
4. Trim the edges of the lamination. You don’t want it right up to the edge of the bookmark, but you don’t want loads of excess plastic around the edges either.
5. Punch a hole near the top center. You can measure it if you want, but you don’t have to. Eyeballing it is fine.
6. If you used a laminator, run the bookmark through it again (but without new plastic). This will reseal the places you cut to insure you get a nice, watertight seal, thus protecting your bookmark better.
7. Make the tassel:
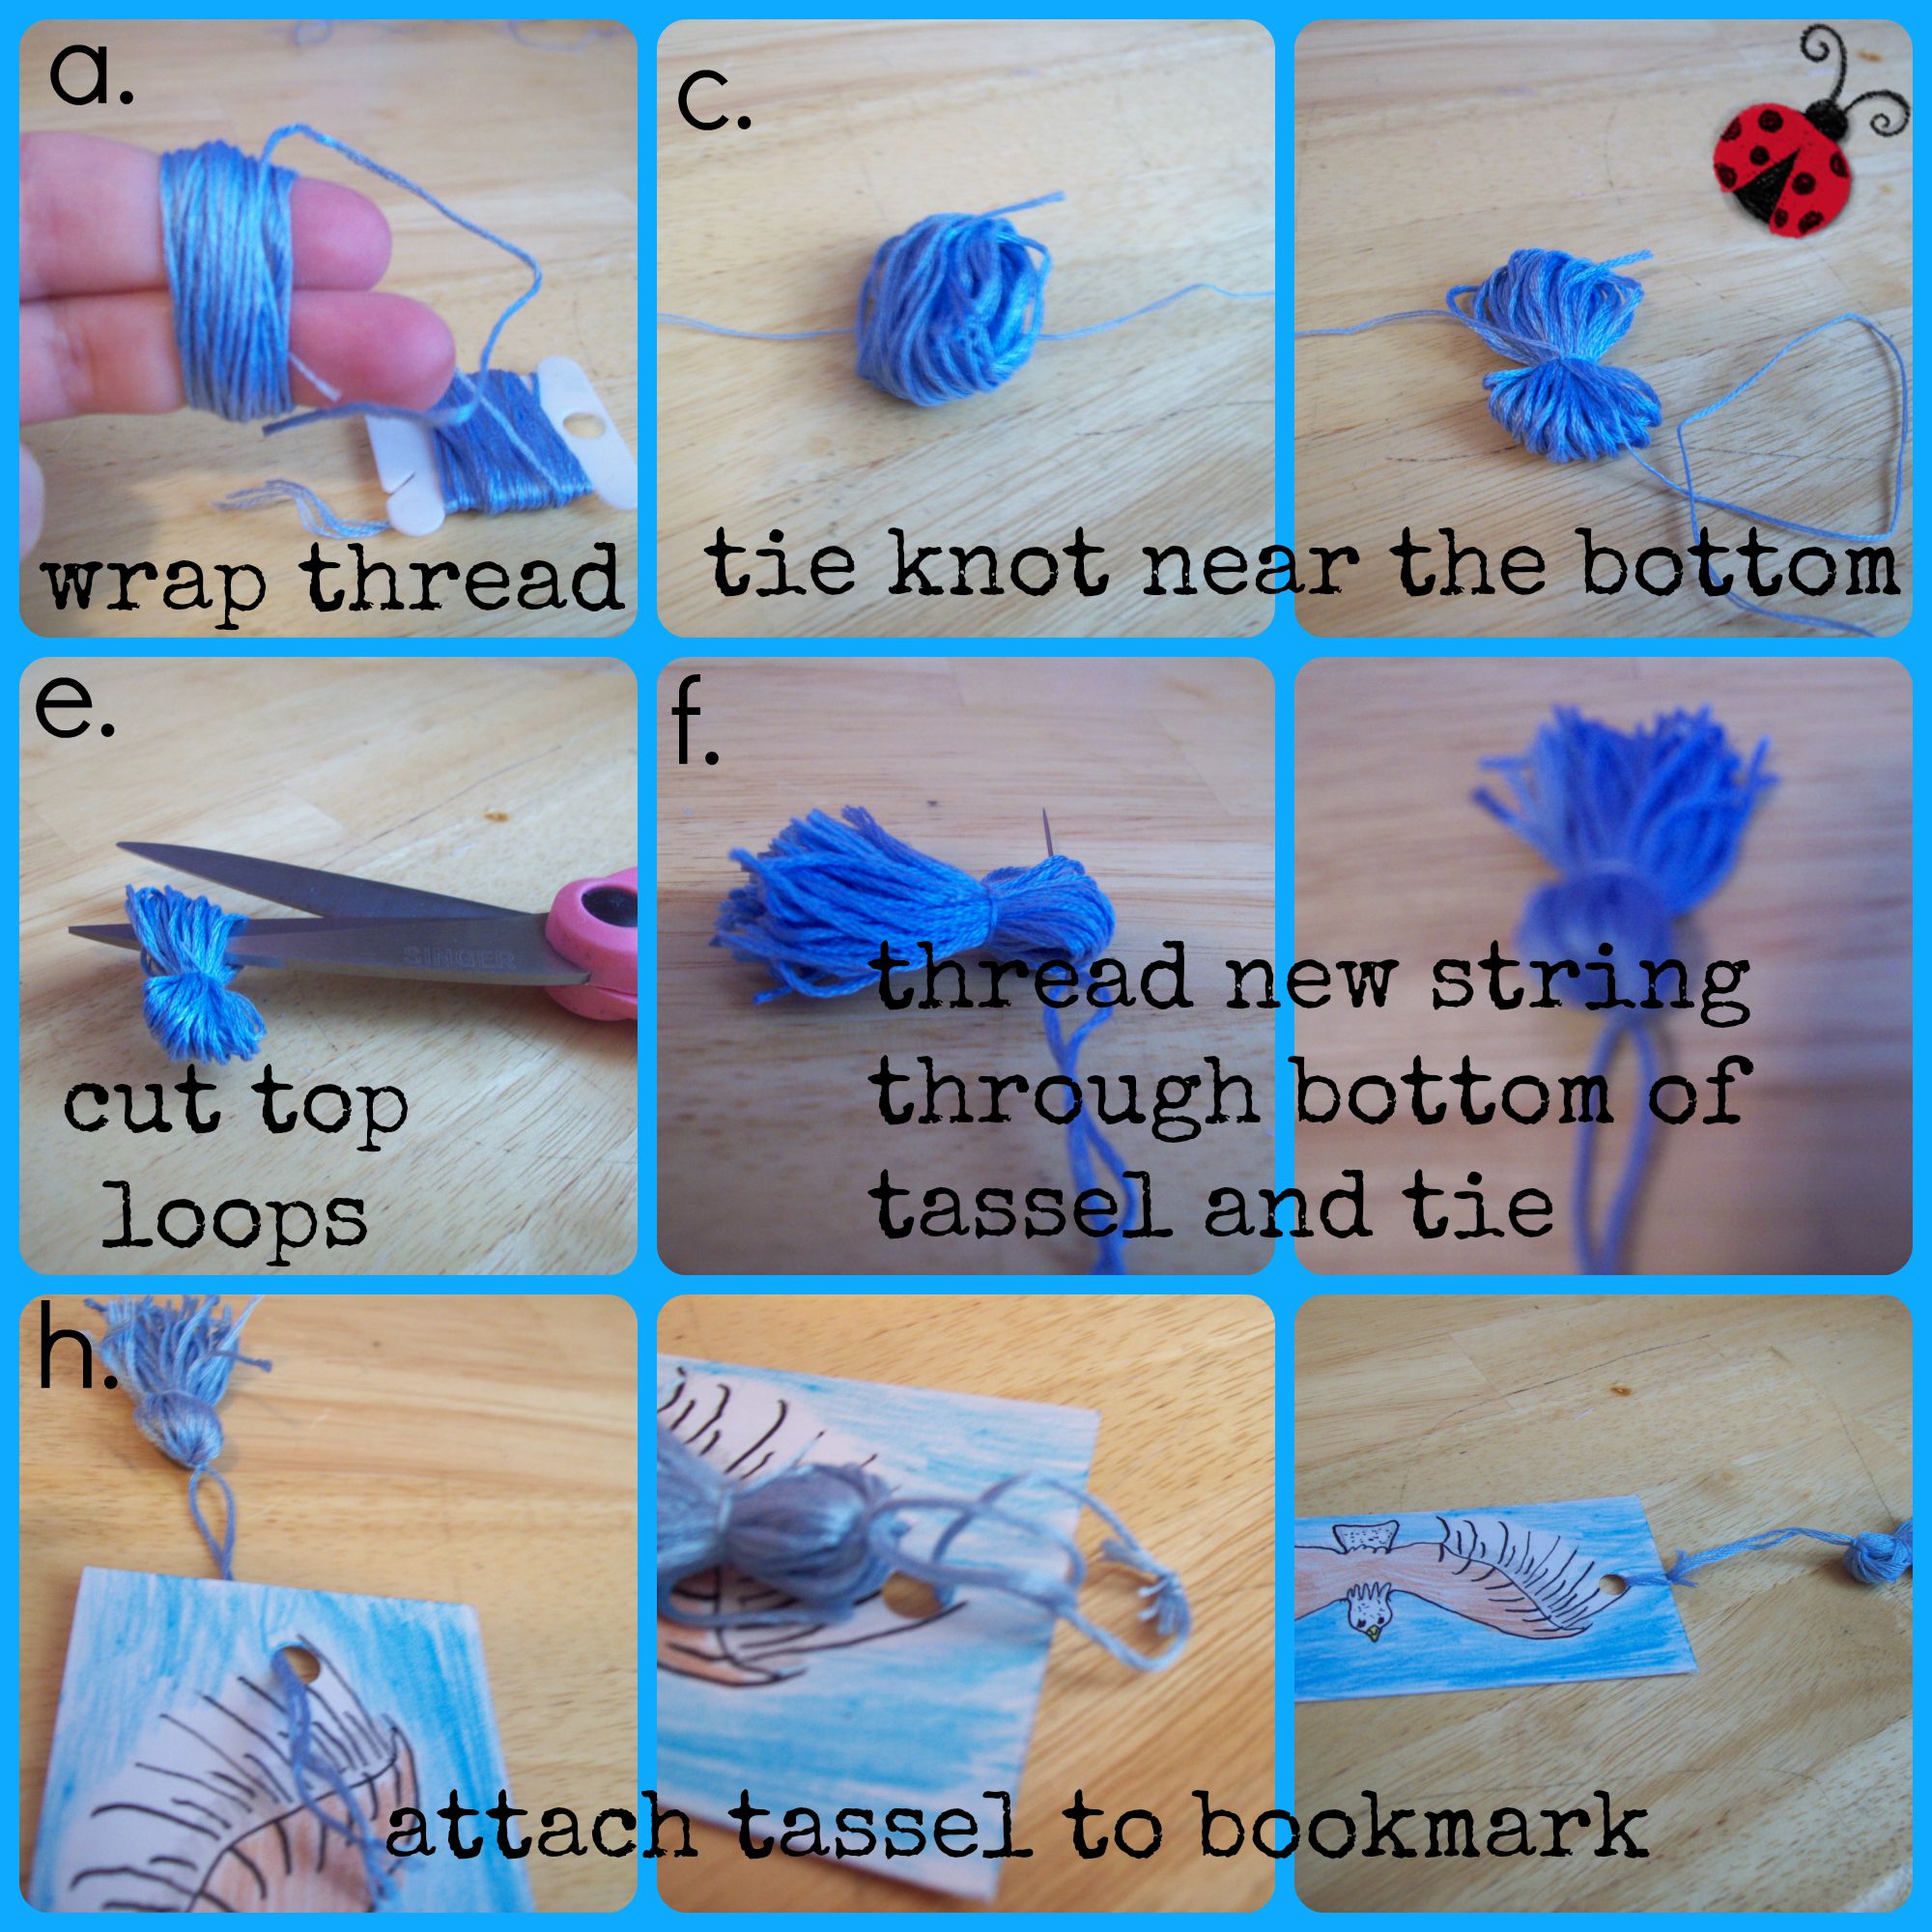
a. This is done by taking the embroidery thread (whatever color you like – it can be complimentary, contrasting, or anything in between) and wrapping it around your first two fingers several times. It really takes a lot to make a nice, full tassel, so err on the side of too many times around than not enough.
b. Carefully remove the loops from your fingers and cut the thread free from the skein.
c. Cut another piece of thread – same color – about 8-12 inches long. Tie it around the base of your loops as tightly as you can. I like to use a square knot for this step. The knotted piece should be about 3/4 of the way down on your looped piece.
d. Trim any long threads.
e. On the opposite side from where the tie is, cut the loops. This will give you a tassel top as opposed to a weird, looped thing.
f. Cut a piece of embroidery thread about 6-8 inches and thread a needle with it. Carefully run this thread through the part of your tassel below the tie that is still looped. Tie it tightly.
g. Tie the other end of the thread (it should be two pieces, similar to a shoelace) into a knot. Again, a square knot is useful here. You can make this any length you like; just cut off any long tails you’re left with.
h. Run the string of your tassel through the hole you made in your bookmark. Pull it halfway (or more) through the hole, open the loop you made, and thread the tassel head through that loop. Pull it tightly, but gently.
That’s it! It’s a lot of instructions, but isn’t too hard. I hope you try it; if you do, share a link with me in the comments. I’d love to see your creation!
Blessings,
