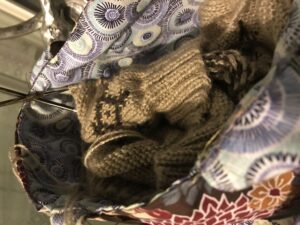
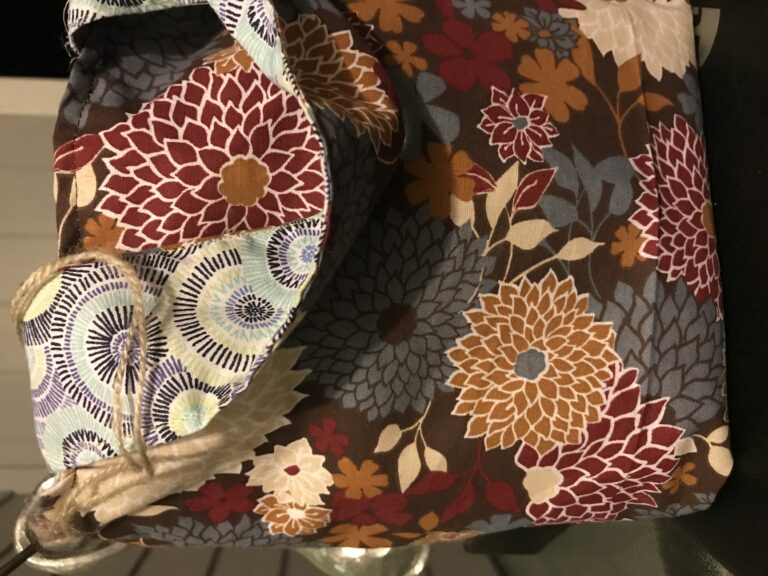
I’ve been knitting a lot lately (as I’m sure you’ve noticed!), and in order to bring my projects along wherever I go to always be able to work on them when time permits, I’ve just been stowing everything in either a paper bag or a little basket I have. The basket actually works really great for working on stuff at home, but it’s a bit too big to comfortably fit at my feet when riding in the car, for instance. When my paper bag tore last week, and we didn’t have any others that were at least a little bit cute, I decided to make one out of fabric. I’ve developed quite a fabric stash over the past few months, but lost my interest in sewing when I had two or three projects in a row not work very well for me. (I’m still glad I have the sewing machine, but I don’t really see it becoming my main crafting outlet any time soon based on the difficulties I had.) So I poked around into that stash and found two fabrics that I really liked and that each had quite a large piece that I hadn’t really cut into yet, and made this bag.
I used this tutorial from The Spruce Crafts, but modified it slightly. Here’s what I did. Unfortunately I don’t have “in progress” pictures, so hopefully my words combined with the pictures of the finished product will be sufficient.
 First, I made two straps instead of one. And I made the straps double sided. So instead of cutting one piece from the lining fabric only, I cut two pieces of each fabric, each 2.5″ x 12.5″. Then I sewed them together on three sides (both long sides and one short side), right sides together. I turned them right side out and pressed them flat. Then I top-stitched around the edges to get a nice flat pair of straps. (Also, I didn’t use any interfacing because I didn’t have any on hand. The bag would be more stable with it, but I find that it stands up just fine with the fabric alone.)
I opted to use just one fabric for the outside of my bag instead of a printed top and plain bottom. To accommodate, I cut the pieces for the outer in the same dimensions as those of the lining (12.5″ x 13″). So I had four pieces of fabric the same size. I cut out two of the corners from each piece just like the tutorial says. I’d never made boxed corners this way before, but I rather liked it. There was a lot less guesswork as to how high up to sew this way.
When the lining and the outer were both completed, I sewed the straps to the right side of the lining. I didn’t measure or anything, just eyeballed the first one. Then I lined the second one up with the first so that they would be at the same position on either side of my bag. With the lining right side out and the outer wrong side out. I tucked the lining into the outer, making sure that the straps were tucked down in between the two pieces. With everything in position, I sewed around the top, making sure to leave a 3-4 inch hole for turning the bag. At this stage, it’s really important to pay attention to the stitch lines for where you sewed the straps on and sew the top of your bag below that level in order to keep your straps looking nice when you flip your bag. I thought I’d done okay at this, but I noticed the next day after making my bag that it’s not perfect. I might go back and rip some stitches out and correct it, but I haven’t decided yet.
 Turn the bag right side out through the hole you left. Press the top, then top stitch all around.
That’s it! (Obviously this isn’t a comprehensive tutorial – make sure to visit The Spruce Crafts for that. This is just my modification of their design.)
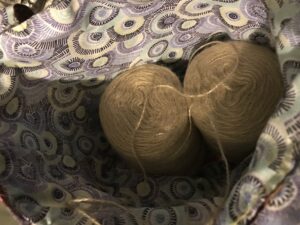
I couldn’t be happier with my new yarn project bag (except for the imperfect straps sticking out). I really like the fabrics I chose, and the size is exactly right for holding two cakes of yarn – exactly what I need for my current project!
Blessings,


