
I posted about the Ruby dress I designed and made last week, but I hadn’t yet written out the pattern. Well, now I have, so I wanted to post it here so other people can have the opportunity to make this cute little dress!
Full disclosure: I tried to find people to test knit for me and didn’t get any takers, so this pattern hasn’t seen anyone’s eyes but mine until now. If there are any mistakes (which I don’t think there are, but you never know), please feel free to let me know so I can adjust them.
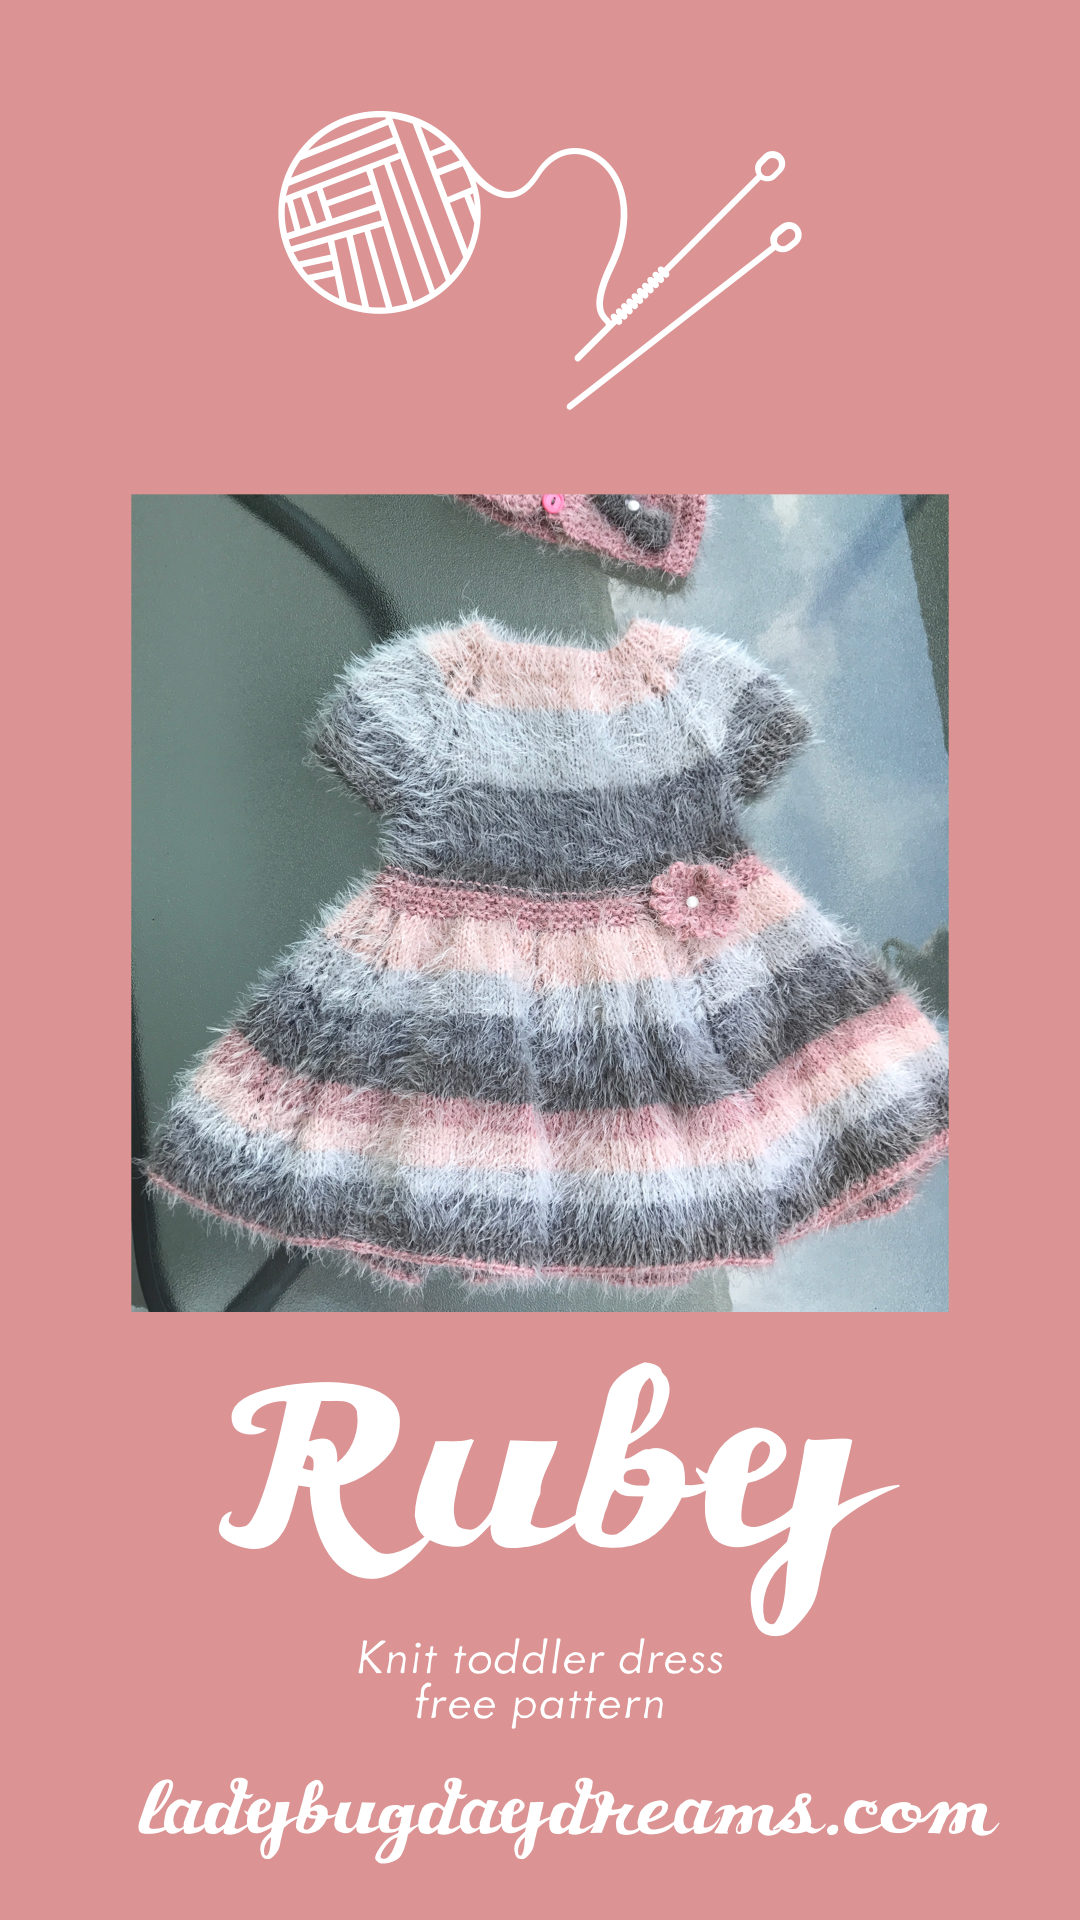
I did not include a pattern for the flower because I didn’t write one. Any crochet or knit flower (or even a decorative button or felt/silk flower) will do. You could even leave the dress plain, but I think the flower adds a little “something special.”
Here is the pattern.
Ruby
Knit Toddler Dress
Size 12-24 months
Gauge: 18 stitches and 26 rows using larger needles in stockinette = 4 inches
Yarn: Worsted or chunky, whatever you like to get gauge. I used Caron Latte Cakes in the color Strawberry Flambe, which is labeled as a “chunky 5,” but felt reasonably thin (worsted) to me.
Needles: Any to get gauge, plus one set a couple sizes smaller. I used size 8 for the ribbing and size 10 for the rest. Interchangeable circular needles are preferred because of the rapidly increasing skirt. It starts small (a 16” or 20” cord will do) but increases to double its size, so you’ll need up to a 40” cord before you’re done. You’ll also need a cable needle as well as a set of DPNs in the smaller size.
Construction: Dress is knit top down starting with the collar, which is worked in rows. A button is added at the end to close the opening. Then it uses raglan increases for the shoulders. Once the sleeves and body are separated, you’ll knit a couple of inches. Then a garter stitch band is knit, followed by the skirt, which increases rapidly for the open, flowy feel. Cables are knit in the skirt between the wedges of increase.
Using smaller needles, cast on 68. Turn work.
Work 1×1 rib (k1, p1) for 1 inch. Work in rows, not in the round.
Increase round: Place marker and join for working in the round. Increase 4 stitches evenly as you knit one round.
Marker setup: Knit 12 (back left), place marker, knit 12 (left sleeve), place marker, knit 24 (front), place marker, knit 12 (right sleeve), place marker, knit 12 (back right).
Setup round 1: *knit to one stitch before marker, yarn over, knit two, yarn over* Repeat from * to * until one stitch before last marker (8 stitch increase). Be careful not to increase at the beginning of round marker.
Setup round 2: knit around
Repeat these two rounds a total of 8 times. You should have 144 stitches on your needles.
You will now work even (no more increasing) until your yoke measures approximately 5.5 inches from the cast on.
Separate body and sleeves: Knit to first marker. Place all stitches between first and second marker (the sleeve) on hold using waste yarn or a stitch holder. Using backward loop method, cast on 4 stitches. Knit to next marker, then repeat the process of placing sleeve stitches on hold. Knit to beginning of round.
Bodice: Knit every round until work measure approximately 2 inches from the underarm.
Waistband: Work in garter stitch (knit 1 round, purl one round) for 8 rounds, or until your belt measures 1 inch.
Increase for skirt: KFB (knit front and back) into every stitch
Marker setup: Knit 10, place marker, *purl 2, knit 8, purl 2, place marker, knit 20, place marker* Repeat from * to * around. Knit last 10 stitches. This establishes where your cables will go, as well as the increase points of the skirt.
Round 1: Knit to first marker, *purl 2, C6B, purl 2, yarn over, knit to one stitch before next marker, yarn over, knit 1* until last increase marker. Knit the last 10 stitches (being mindful not to increase at the BOR).
C6B: Move three stitches to cable needle, hold in back of work, knit 3 stitches, knit 3 stitches from cable needle.
Rounds 2-3: Work as established, knitting the knits (and YOs) and purling the purls all the way around.
Repeat Rounds 1-3 until your piece measures about 17 inches from the shoulder to the bottom (or 1 inch shorter than what you want the total length to be). You may need to switch to a longer cable as you go.
Switch to smaller needles and work 1×1 rib for 1 inch. Bind off.
Sleeves: Pick up sleeve stitches from waste yarn using DPNs (or magic loop if you prefer) in the smaller size. Knit one round.
Work 1×1 rib for 6 rounds. Bind off. Repeat on other sleeve.
Weave in ends and block your dress. Then find a pretty little girl to put it on and share your pictures with me on Instagram @ladybugdaydreams!
I am working on developing this dress in larger sizes, so stay tuned for that – though it will likely be quite a while. If you’re a knitter who’s interested in helping me out by making this dress in other sizes, contact me and we’ll work something out!
Blessings,

Hello, How do you add a button hole? Did you crochet it on after the dress was finished?
Hello! I didn’t put an official buttonhole at all. I used a small enough button that it could fit in through the stitches without a buttonhole.
Hello,
Also after KFB for initial increase for the skirt, there are 184 stitches. That doesn’t divide into what you posted under “market setup”. What am I doing wrong? This is such a cute dress! I’m somewhat new and need some help. Thank you.
This answer may be rather unsatisfying, so I’m warning you in advance 😉
I’m more of a “make it fit” than a “rip it out and redo” knitter. I didn’t actually count my stitches at the end of that increase round, which is why I didn’t put a number there. I think I was expecting 184, like you have, but actually got 180. That’s why I set up the markers the way I did. Since you have 184, I would put 12 stitches in the first and last sections, and work the pattern as written after that. I honestly don’t think it will be a problem. I mean, obviously the skirt will be a tinier bit wider as you go, but it’ll be less than an inch difference from mine. An alternative solution would be to tink back a few stitches until you get to where finishing the round would give you 180 and work the final few stitches without increasing anymore. You wouldn’t notice that either.
I hope that helps!
I ended up just doing 12 and 12 like you said. I don’t mind changing things around a little as I go. Thank you so much for your help and for making this beautiful dress pattern available. 🙂
Beauty and Easy Crochet Baby Clothes for new 2019 - Daily Crochet!
[…] Download Pattern […]