Crochet Sampler Square Blanket: Square 2, Diamond Blocks

Welcome back to my Crochet Sampler Square blanket project! Did you make Square 1 with me? If not, you can find it here.

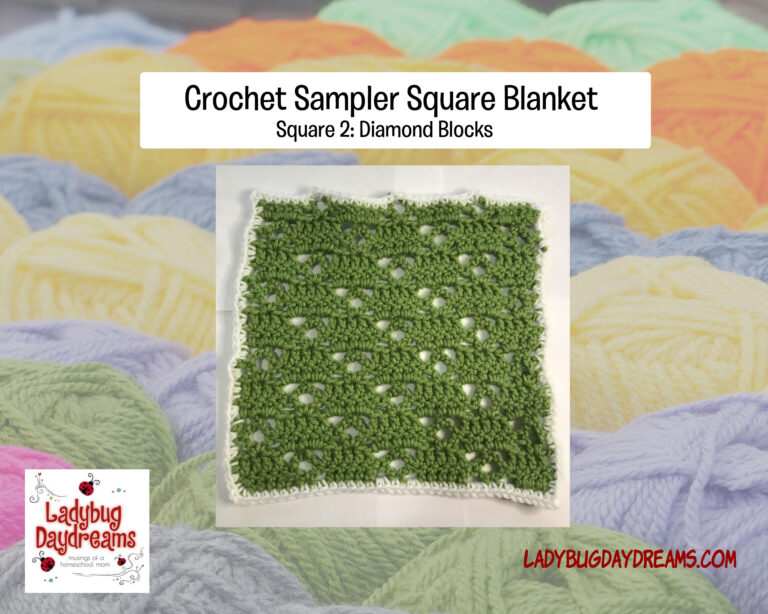
Today I have the pattern for the second square for you. It’s called Diamond Blocks, and is quite pretty. You might begin to notice a pattern with today’s square – all of the blocks will begin with a chain of 37 and have a single crochet border of 36 stitches on every side. This will make it easier to sew them all together at the end.

But without further ado, here is the pattern for Diamond Blocks.

sampler blanket square 2

Diamond Blocks

SC=single crochet

DC=double crochet

ch=chain

sk=skip

st=stitch

Shell=(DC, ch 5, DC) in specified st or ch. Shell made.

~*~*~

With a size J hook, ch 37. Switch to a size I hook for the remainder of the square.

Row 1: DC in 4th ch from the hook and in next 3 chs. *sk 2 chs, shell in next ch, sk 2 chs, dc in next 5 chs* repeat across. Ch 3, turn. (ch 3 counts as first DC of following row)

Row 2: DC in next 4 DCs (remember to skip the first one because the ch 3 accounted for it). *ch 2, SC in 3rd ch of shell, ch 2, DC in next 5 sts* Repeat across, ch 3 (counts as DC), turn.

Row 3: Sk next DC. *Shell in next st (the middle one of the 5), sk 2, 2 DC in ch-2 sp, DC in SC, 2 DC in ch-2 sp, sk next 2.* Repeat until you have 5 sts left (including the turning ch). In the final 5, sk 2, shell in next, sk 1, DC in top of turning ch. Ch 4 (counts as DC+ch 1), turn.

Row 4: *SC in 3rd ch of shell, ch 2, DC in next 5, ch 2* Repeat until the last shell. In the last shell, SC in 3rd ch, ch 1, DC in top of turning ch. Ch 3 (counts as DC), turn.

Row 5: DC in next ch 1-sp and in next next SC, 2 DC in ch-2 sp. *sk 2 DC, shell in next DC (the middle one), sk 2, 2 DC in ch-2 sp, DC in SC, 2 DC in ch-2 sp* Repeat until you get to the last ch-2 sp. At that point, 2 DC into the space, DC in SC, DC into each of the top 2 turning chains.

Repeat Rows 2-5 3 more times, then end on Row 2 (18 total rows).

Border: Join your border color into one corner with a slip stitch. Ch 1, then SC, ch 2, SC into that same corner space. Single crochet around the square making sure you end up with 36 total stitches between the ch-2’s of the corners. On the raw edges (sides), this will be 2 SCs for every DC on the edge.

See you next week for Square 3!

Blessings,

ladybug-signature-3 copy

Crochet Sampler Square Blanket: Square 1, Lattice

Over the next few weeks, I am going to be making a crochet blanket using a series of different stitch patterns, each stitched up into a square. When all of the squares are done (I’m not sure how many yet; probably 24 or 30), I’ll sew them together to make a blanket. I will be sharing my squares, along with their patterns, here. My goal is to release either 1 or 2 patterns per week. I would be delighted to have you stitch along with me! I will be using a variety of 4-weight acrylic yarns (using up what I have on hand, mostly) and a size I crochet hook, but you can use whatever you like. Keep in mind that yarn weight and hook size can change up the size of your squares considerably, so you might want more or fewer depending on how big they turn out. Mine are about 10 inches.

Keep in mind a few things if you decide to crochet with me. First, whatever yarn weight you decide to use at the beginning, keep with that same yarn weight throughout the project. This will help keep your squares fairly uniform. Additionally, use the same hook sizes throughout for the same reason. And finally, use the same yarn fiber throughout. You could probably get away with mixing fibers with similar washing instructions, but it’s best to keep things cohesive just in case. You wouldn’t want to mix acrylic and wool, for example, and forget that you’ve used wool, machine wash the blanket, and end up with severe puckering because the wool has felted while the acrylic did not.

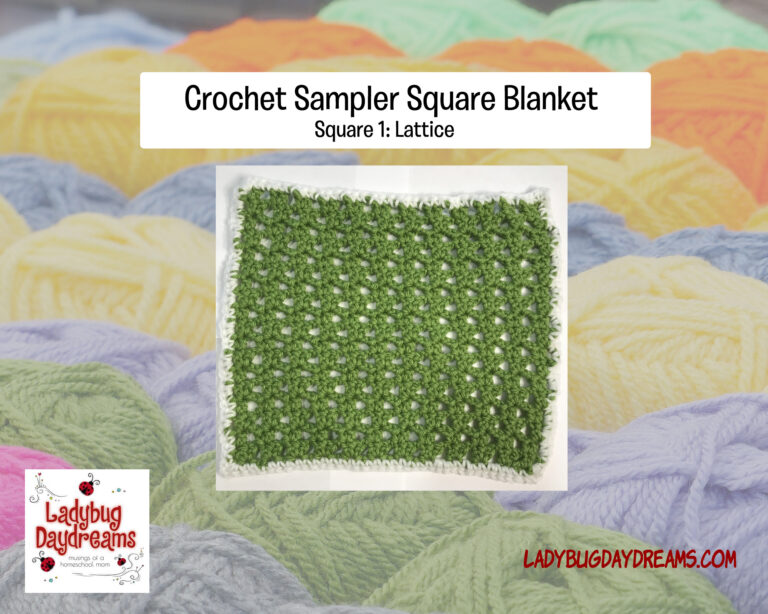
Here is the first square of the series, Lattice.

sampler blanket square 1

Lattice Square Pattern (American crochet terms)

DC=double crochet

SC=single crochet

ch=chain

sk=skip

Using a size J hook, chain 37. Switch to size I hook for the remainder of the square.

Row 1: DC in 4th ch from hook, SC in same ch. *ch 2, sk next 2 chs, work (DC, SC) in next ch* Repeat all the way across the row. Ch 3, turn.

Row 2: In only the DCs, work (DC, SC, ch 2) all the way across. Skip all SCs and ch 2 spaces.

Repeat Row 2 16 more times (total of 18 rows).

BORDER: Join new color yarn in any corner. Ch 1, SC, ch 2, SC in same corner space. SC to get 36 total stitches (including the corner stitches) on each side. In every corner, work SC, ch 2, SC. When you get to the last side, remember that you’ve already worked the final SC; it was the first SC of the border at the beginning. Join to this stitch with a slip stitch.

That’s it for the Lattice Square! I hope you’ll join me next time for Square 2!

Blessings,

ladybug-signature-3 copy

Mickey Mouse C2C Blanket

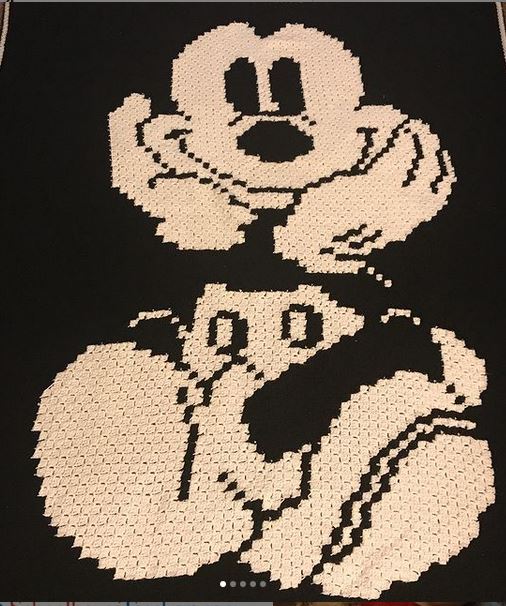
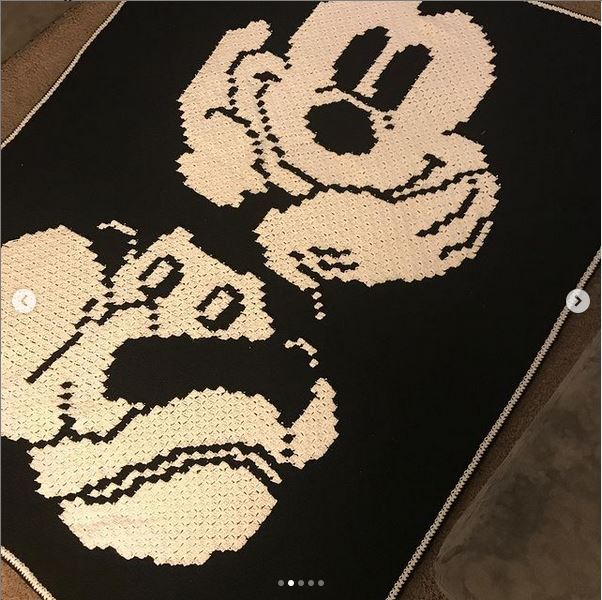
I recently finished my biggest (yarn) project ever! I made this Mickey Mouse blanket for my mom for Christmas using the crochet corner-to-corner (C2C) stitch. There are a variety of ways to do this stitch, and I went with the double-crochet, chain 3 method. This made for an enormous blanket! It ended up being nearly 6×7 FEET! (The pattern is 80×100 pixels.) I used Big Twist yarn from JoAnn. I don’t remember the exact skein counts, but I think I ended up using 7 of the black and 3 of the white. Could’ve been more, though (I know it wasn’t less). I used my Clover Amour size I-9 crochet hook. The pattern is from Pixel Hooker, and it took me about 8 weeks to complete (though it wasn’t my only project the whole time).

mm blanket 1

mm blanket 2

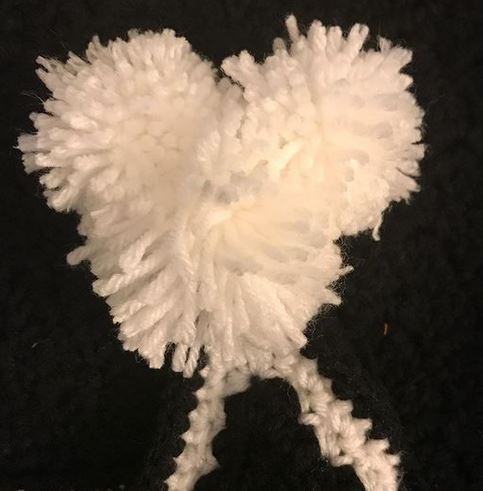
I even used my pompom makers to make some Mickey pompoms for the corners! To do this, I made one big pom and 2 small ones for each corner, then hot glued them together in the shape I wanted.

mm blanket 3

What’s the biggest knit or crochet project you’ve ever made?

Blessings,

ladybug-signature-3 copy

Tools of the Trade: My Favorite Crochet Hooks

When you’re creating, it’s important to be happy with your tools. If you’re not, you’re not likely to want to continue creating. When I learned to knit in 2015, I took a long break from crochet. When I picked it up again about a year and a half ago, I wasn’t entirely sure I was going to want to do much crocheting; I just had gotten a hankering for a specific project. So I bought the cheapest set of hooks I could find, which were (I think) $2.79 for 4 hooks. They were plain white plastic, and they worked pretty well. I made an entire blanket using one of those hooks (actually 2 or 3 blankets, I think).

When I realized that I was going to want to continue crocheting regularly (as well as knitting), I decided to buy a slightly more expensive hook. I’d heard good things about the Clover Amour crochet hooks, and I really wanted to try them. Problem is, the set is about $75, and I didn’t really want to invest that kind of money. So when I needed a new hook (in a size I didn’t have) for a project, I opened up my JoAnn app and looked at the coupons. I don’t remember the exact deal I got, but suffice it to say that I got a pretty good deal on ONE Amour hook. It was less than $4. For that price, I could afford to experiment.

hooks

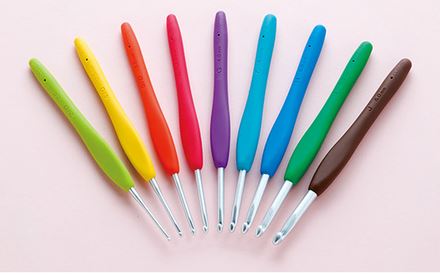
So… after all that backstory (that probably didn’t matter!), let’s talk briefly about the Amour hook itself. It is a pretty standard length for a crochet hook, and has an ergonomic handle. Each size has a different colored handle, so it’s easy to spot the different hooks at a glance. The shaft and hook are metal (at least in the smaller sizes that I mostly use – E through J), but it’s a very smooth, brushed metal. (Upon further research, I see that they’re made from “polished aluminum.”) The yarn glides over the hook effortlessly. I find myself able to crochet very quickly using these hooks. Those two criteria mean that I LOVE THESE HOOKS! Ever since I crocheted my first stitch with one (no joke), I knew I never wanted to use another hook again. And I haven’t.

I mostly crochet blankets and toys, so I don’t have (or need) the whole $75 set. I currently have 4 Amour hooks (sizes E, G, I, and J – actually I have two of the I hooks because one got lost and I won’t crochet with any other anymore, so I bought a new one and then found the other). I can’t recommend these hooks enough. For a budget-friendly hook (they run about $8 each at JoAnn, and you can almost always find a 40, 50, or 60% off coupon on their app), they really can’t be beat.

Blessings,

ladybug-signature-3 copy

Crochet Pig (free amigurumi pattern!)

86A24D9C-8760-4542-BAB6-3C6EEFF4EA16

It’s no secret that I’ve spent much of April and May making crochet toys (also known as “amigurumi”). After making so many, I got the idea stuck in my head that I wanted to make a pig. I loved the patterns from Jess Huff so much that I decided to base my pig off of her design. Hers all follow the same basic pattern, and they really are some of the cutest I’ve ever come across. The parts of the design that are my own I will give a pattern for here. Those that are hers, I will link to (it wouldn’t be right to republish her pattern).

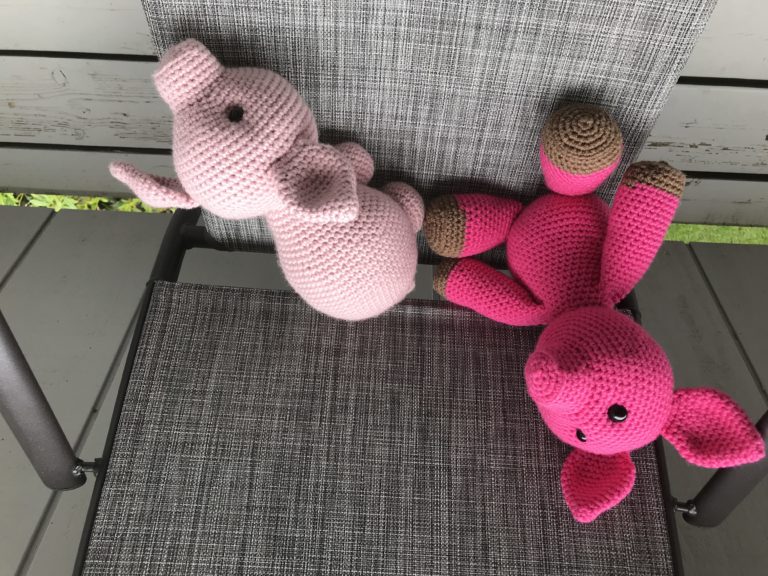
The pig can be made two ways: like a “farm” pig, or more like a “teddy bear pig.” Everything but the legs (and arms, in the case of the teddy bear style) are the same for both. The main difference is the direction in which you sew on the head. Whichever way you choose, it’s sure to be a cherished gift!

Crochet Pig pattern

Supplies:
Worsted weight pink yarn (I used JoAnn brand Big Twist in the colors bubblegum and light rose)
Worsted weight brown yarn if you’re making the teddy bear style pig (I used Red Heart Super Saver in the color cafe latte)
Size E (3.5 mm) crochet hook
Yarn needle
Fiber Fill (I used Poly-fil)
12-15mm safety eyes

Key:
sc = single crochet
dc = double crochet
inc = increase (2 sc into one stitch)
blo = back loop only (single crochet using only the back loop of the stitch, not both loops like normal)
flo = front loop only (single crochet using only the front loop of the stitch, not both loops like normal)
dec = decrease (one sc over two stitches – I use the invisible decrease)
R[number] = round

Note:
This pig, in either style, is made in continuous rounds (a spiral). In order to know where the beginning of each round is, you can count very carefully, or you can use a stitch marker to help you keep your place. I don’t recommend trying to find your spot based on seeing the increase pattern, because you can’t really see it due to the increases being shifted slightly from one round to the next. I used to just count really carefully, but now I use a stitch marker when I’m making amigurumi. It’s much less stressful to use the marker!
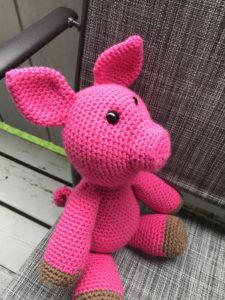
90289AE1-80D1-4AC0-9955-4EC836CAE3CDSnout and Head

R1: 6 sc in magic ring
R2: inc around (12)
R3: *sc, inc* (18)
R4: sc, inc, *sc 2, inc* 5 times, sc (24)
R5: in blo, sc around (24)
R6-9: sc (24)
R10: in flo, *sc 3, inc* (30)
R11: sc 2, inc, *sc 4, inc* 5 times, sc 2 (36)
R12: *sc 5, inc* (42)
R13: sc 3, inc, *sc 6, inc* 5 times, sc 3 (48)
R14: *sc 7, inc* (54)
R15: sc 4, inc, *sc 8, inc* 5 times, sc 4 (60)
R16-24: sc around (60)
R25: sc 4, dec, *sc8, dec* 5 times, sc 4 (54)
R26: *sc 7, dec* (48)
R27: sc 3, dec, *sc 6, dec* 5 times, sc 3 (42)
R28: *sc 5, dec* (36)
R29: sc 2, dec, *sc 4, dec* 5 times, sc 2 (30)

At this point, stuff head ¾ full and shape eye sockets (this post shows you how; just scroll down to the right spot on the page). Insert safety eyes (or embroider eyes). 

R30: *sc 3, dec* (24)
R31: sc, dec, *sc 2, dec* 5 times, sc (18)
R32: *sc, dec* (12)

Finish stuffing

R33: decrease around (6) 

Finish with ultimate finish.
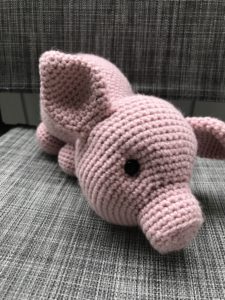
C85C37C1-C9D7-442D-A8F3-07F576C14765Ears (make 2)

R1: 6 sc in magic ring
R2: sc, inc (9)
R3: sc (9)
R4: sc, inc, *sc 2, inc* twice, sc (12)
R5: *sc 3, inc* (15)
R6: sc 2, inc, *sc 4, inc* twice, sc 2 (18)
R7: *sc 5, inc* (21)
R8: sc 3, inc *sc 6, inc* twice, sc 3 (24)
R9-11: sc (24)
R12: inc, sc 23 (25)
R13: sc, dec over 3 stitches, *sc 2, dec over 3* 4 times, sc (15)
R14-15: sc (15)
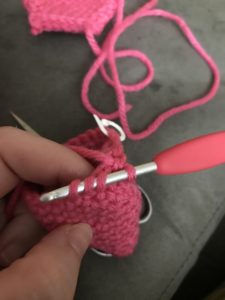
7A435114-A520-434C-B2D7-69B76D60B0B5

To make an invisible decrease over three stitches instead of two, simply insert your hook into the front loops only of three stitches, yarn over, pull through, yarn over, and finish the stitch.

Fasten off. Flatten and slip stitch closed (do not stuff). Sew to head.

Body

Any of the bodies from Jess Huff (except the giraffe) will do. Although, I do recommend making the neck (the later rows of the pattern) shorter than written if you’re making the farm style pig. I didn’t do this, and I wish I had. If I make this again, I’ll likely stop after round 27.
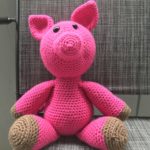
41EB5B02-3B75-41C0-93FF-339AECC296E4Arms and Legs (teddy bear style)

Again, any of the patterns from Jess Huff will do; they’re all the same.
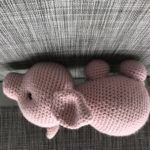


D5FDCD0E-B254-4A02-8872-A0BF77BD1EFELegs (farm style) (make 4)

R1: 6sc in magic ring
R2: inc around (12)
R3: *sc, inc* (18)
R4: sc, inc, *sc 2, inc* 5 times, sc (24)
R5-9: sc around (24)
R10: sc, dec, *sc 2, dec* 5 times, sc (18)

Fasten off, leaving a long tail for sewing onto body.

Tail

Ch 29
dc into third ch from hook
dc twice into each chain all the way down. Fasten off, leaving long tail to sew onto body.

The tail can be made longer or shorter according to your preference (just chain more or fewer chains).

When all the pieces are made, stuff them and sew them all together.
8B01E6C3-5407-40A8-A7D0-9EDCAA5CF11F

I loved designing and making these pigs, and I hope someone out there will make one and love it too. If you do, would you let me know?

Blessings,

ladybug-signature-3 copy

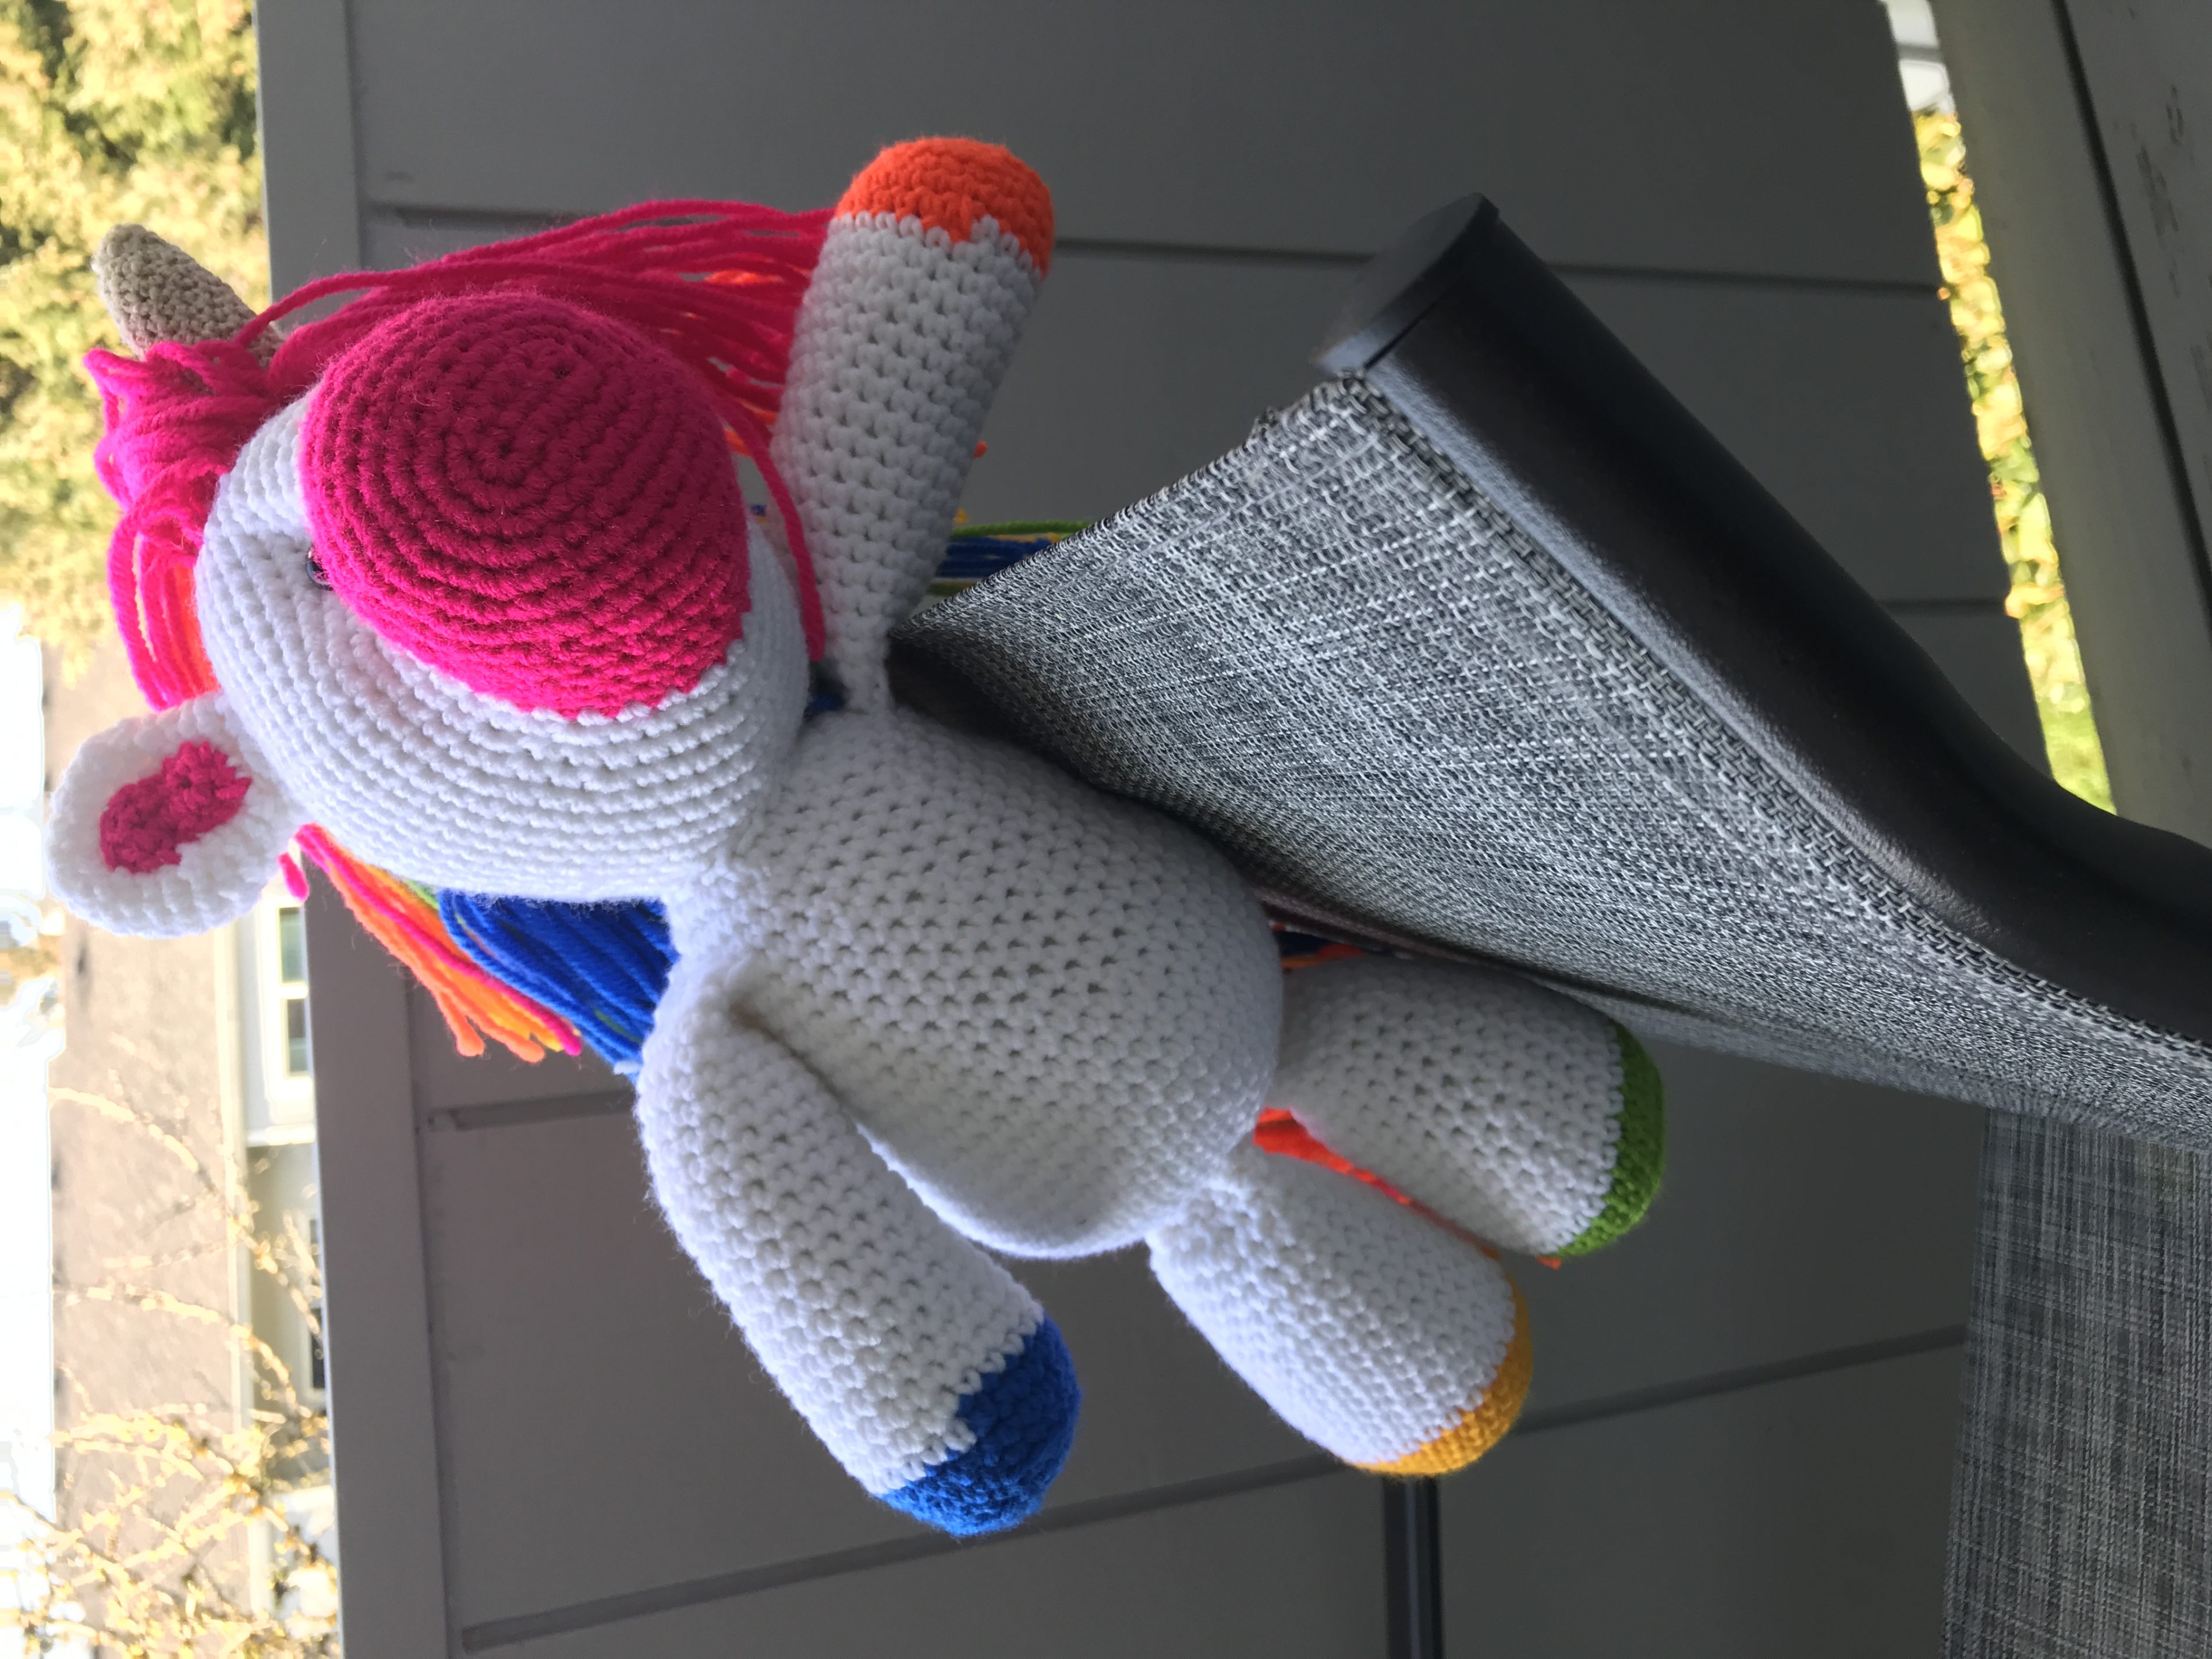
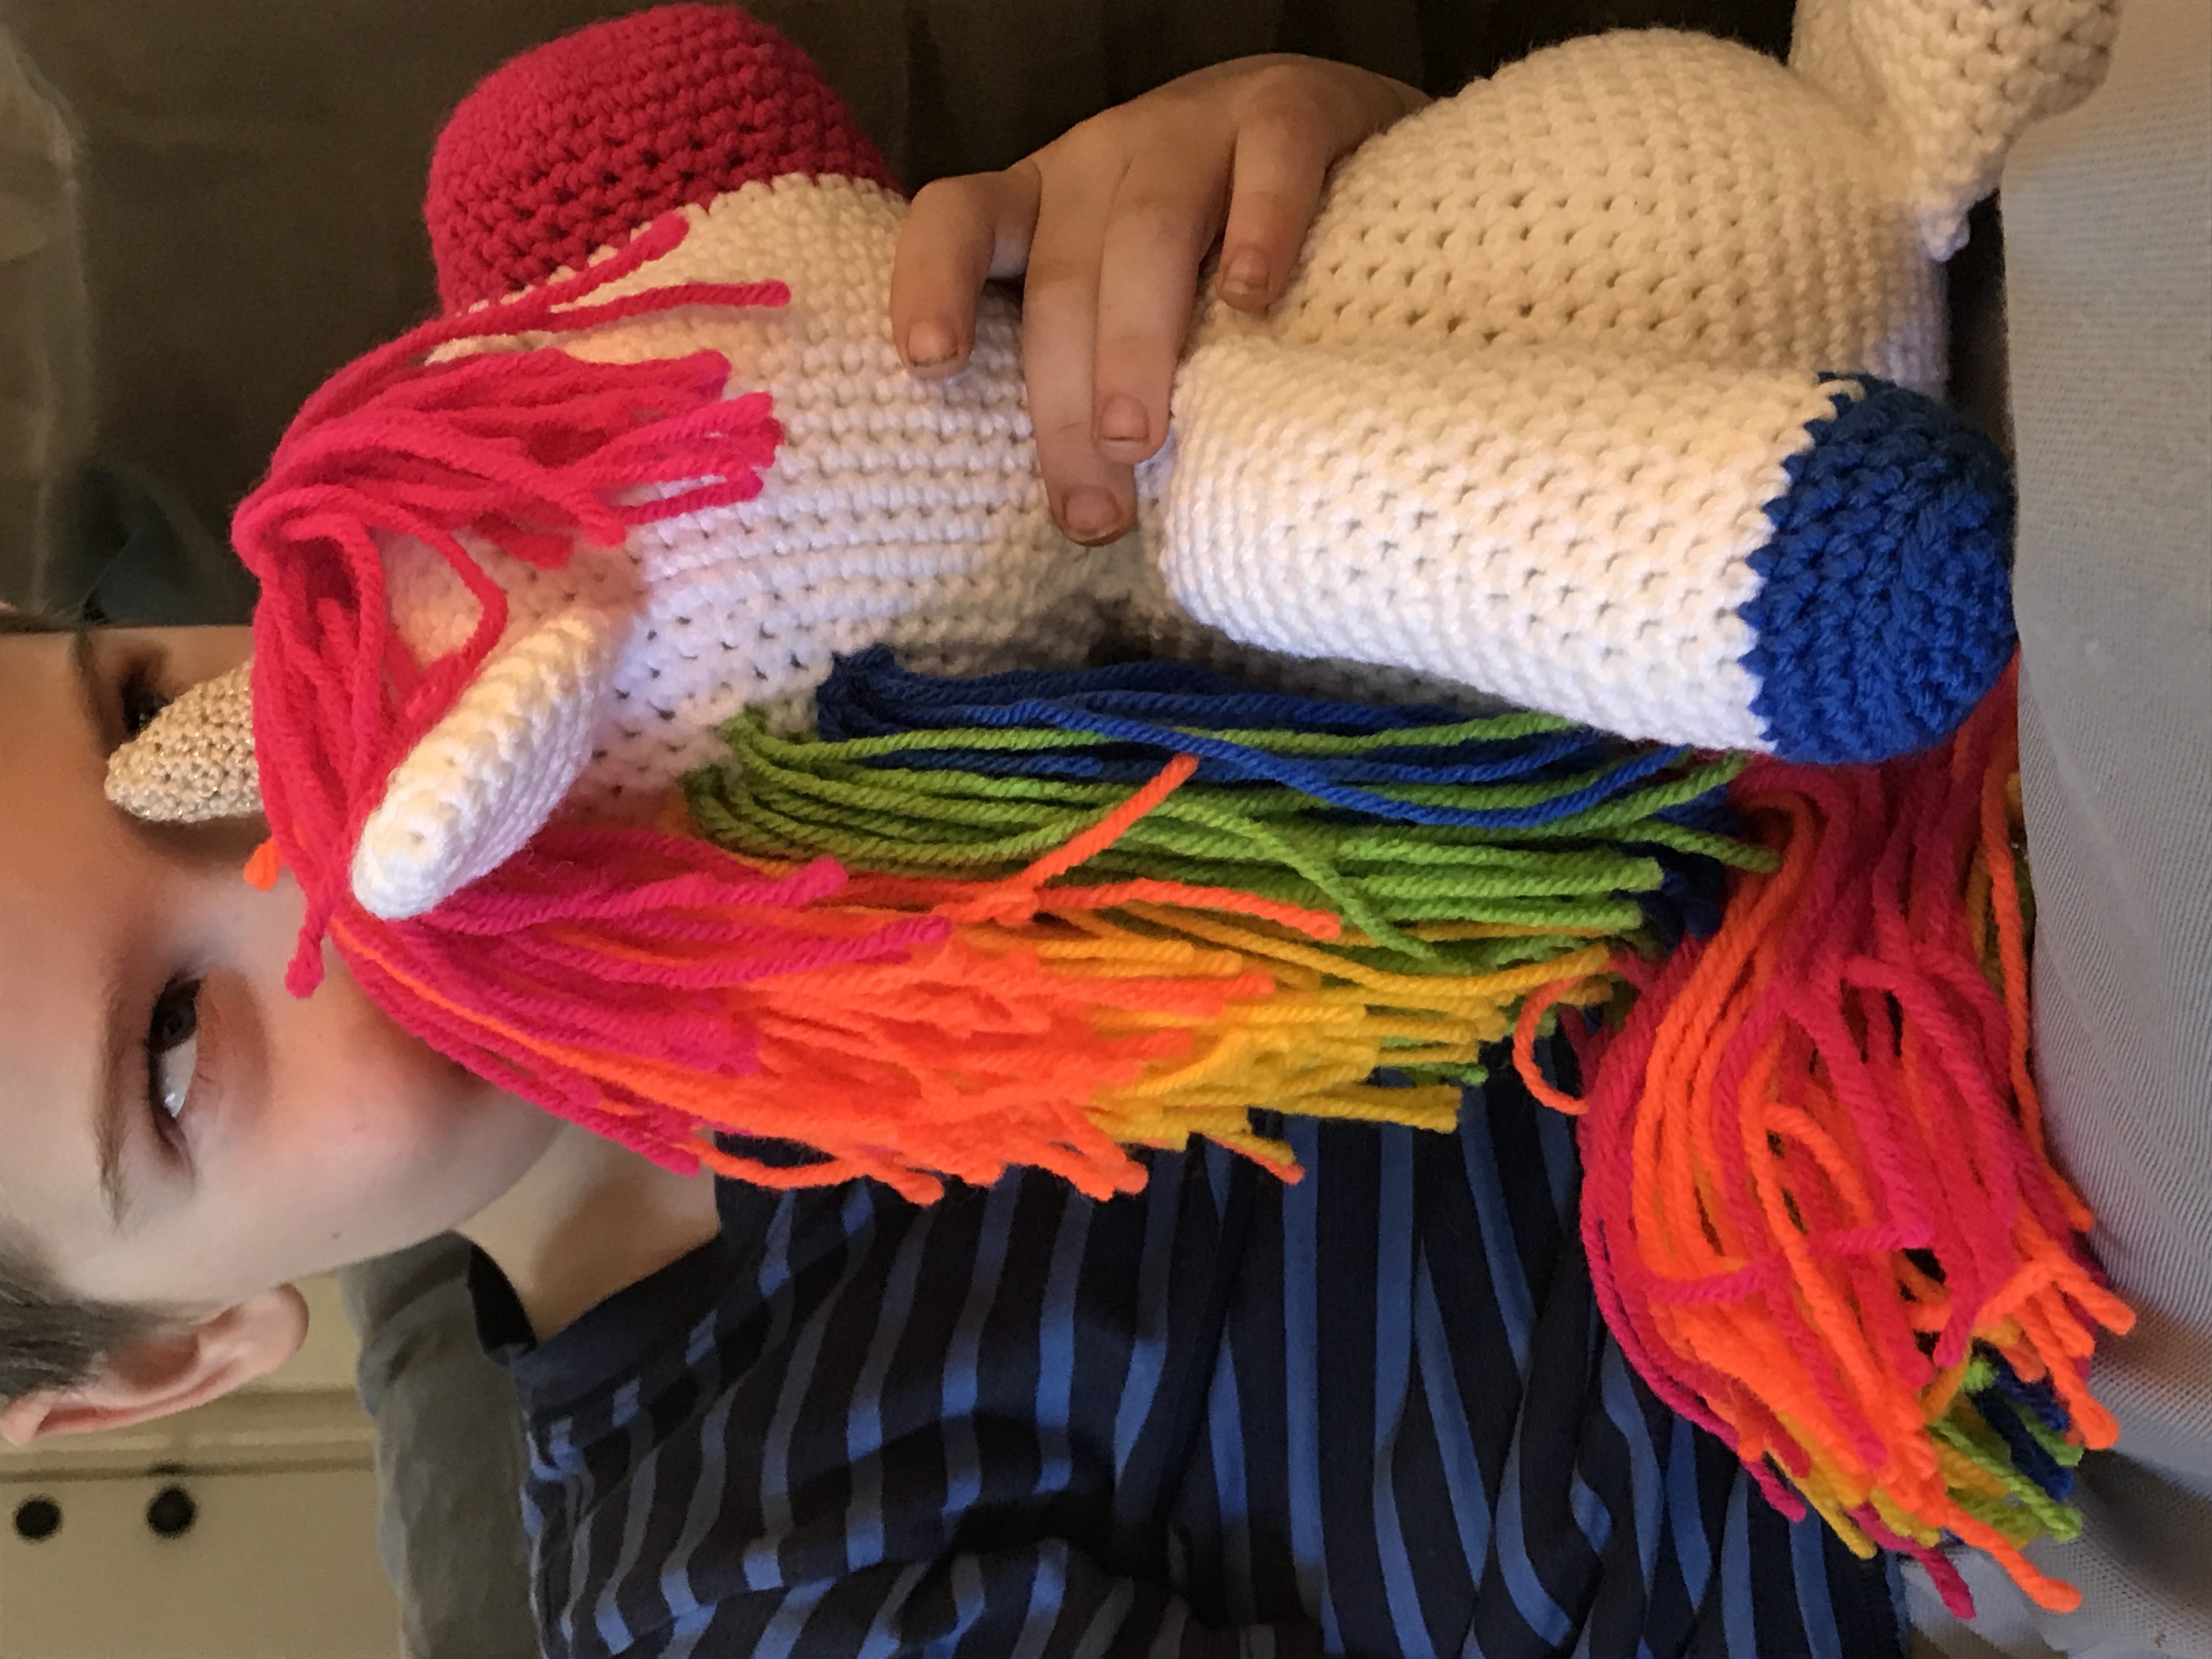
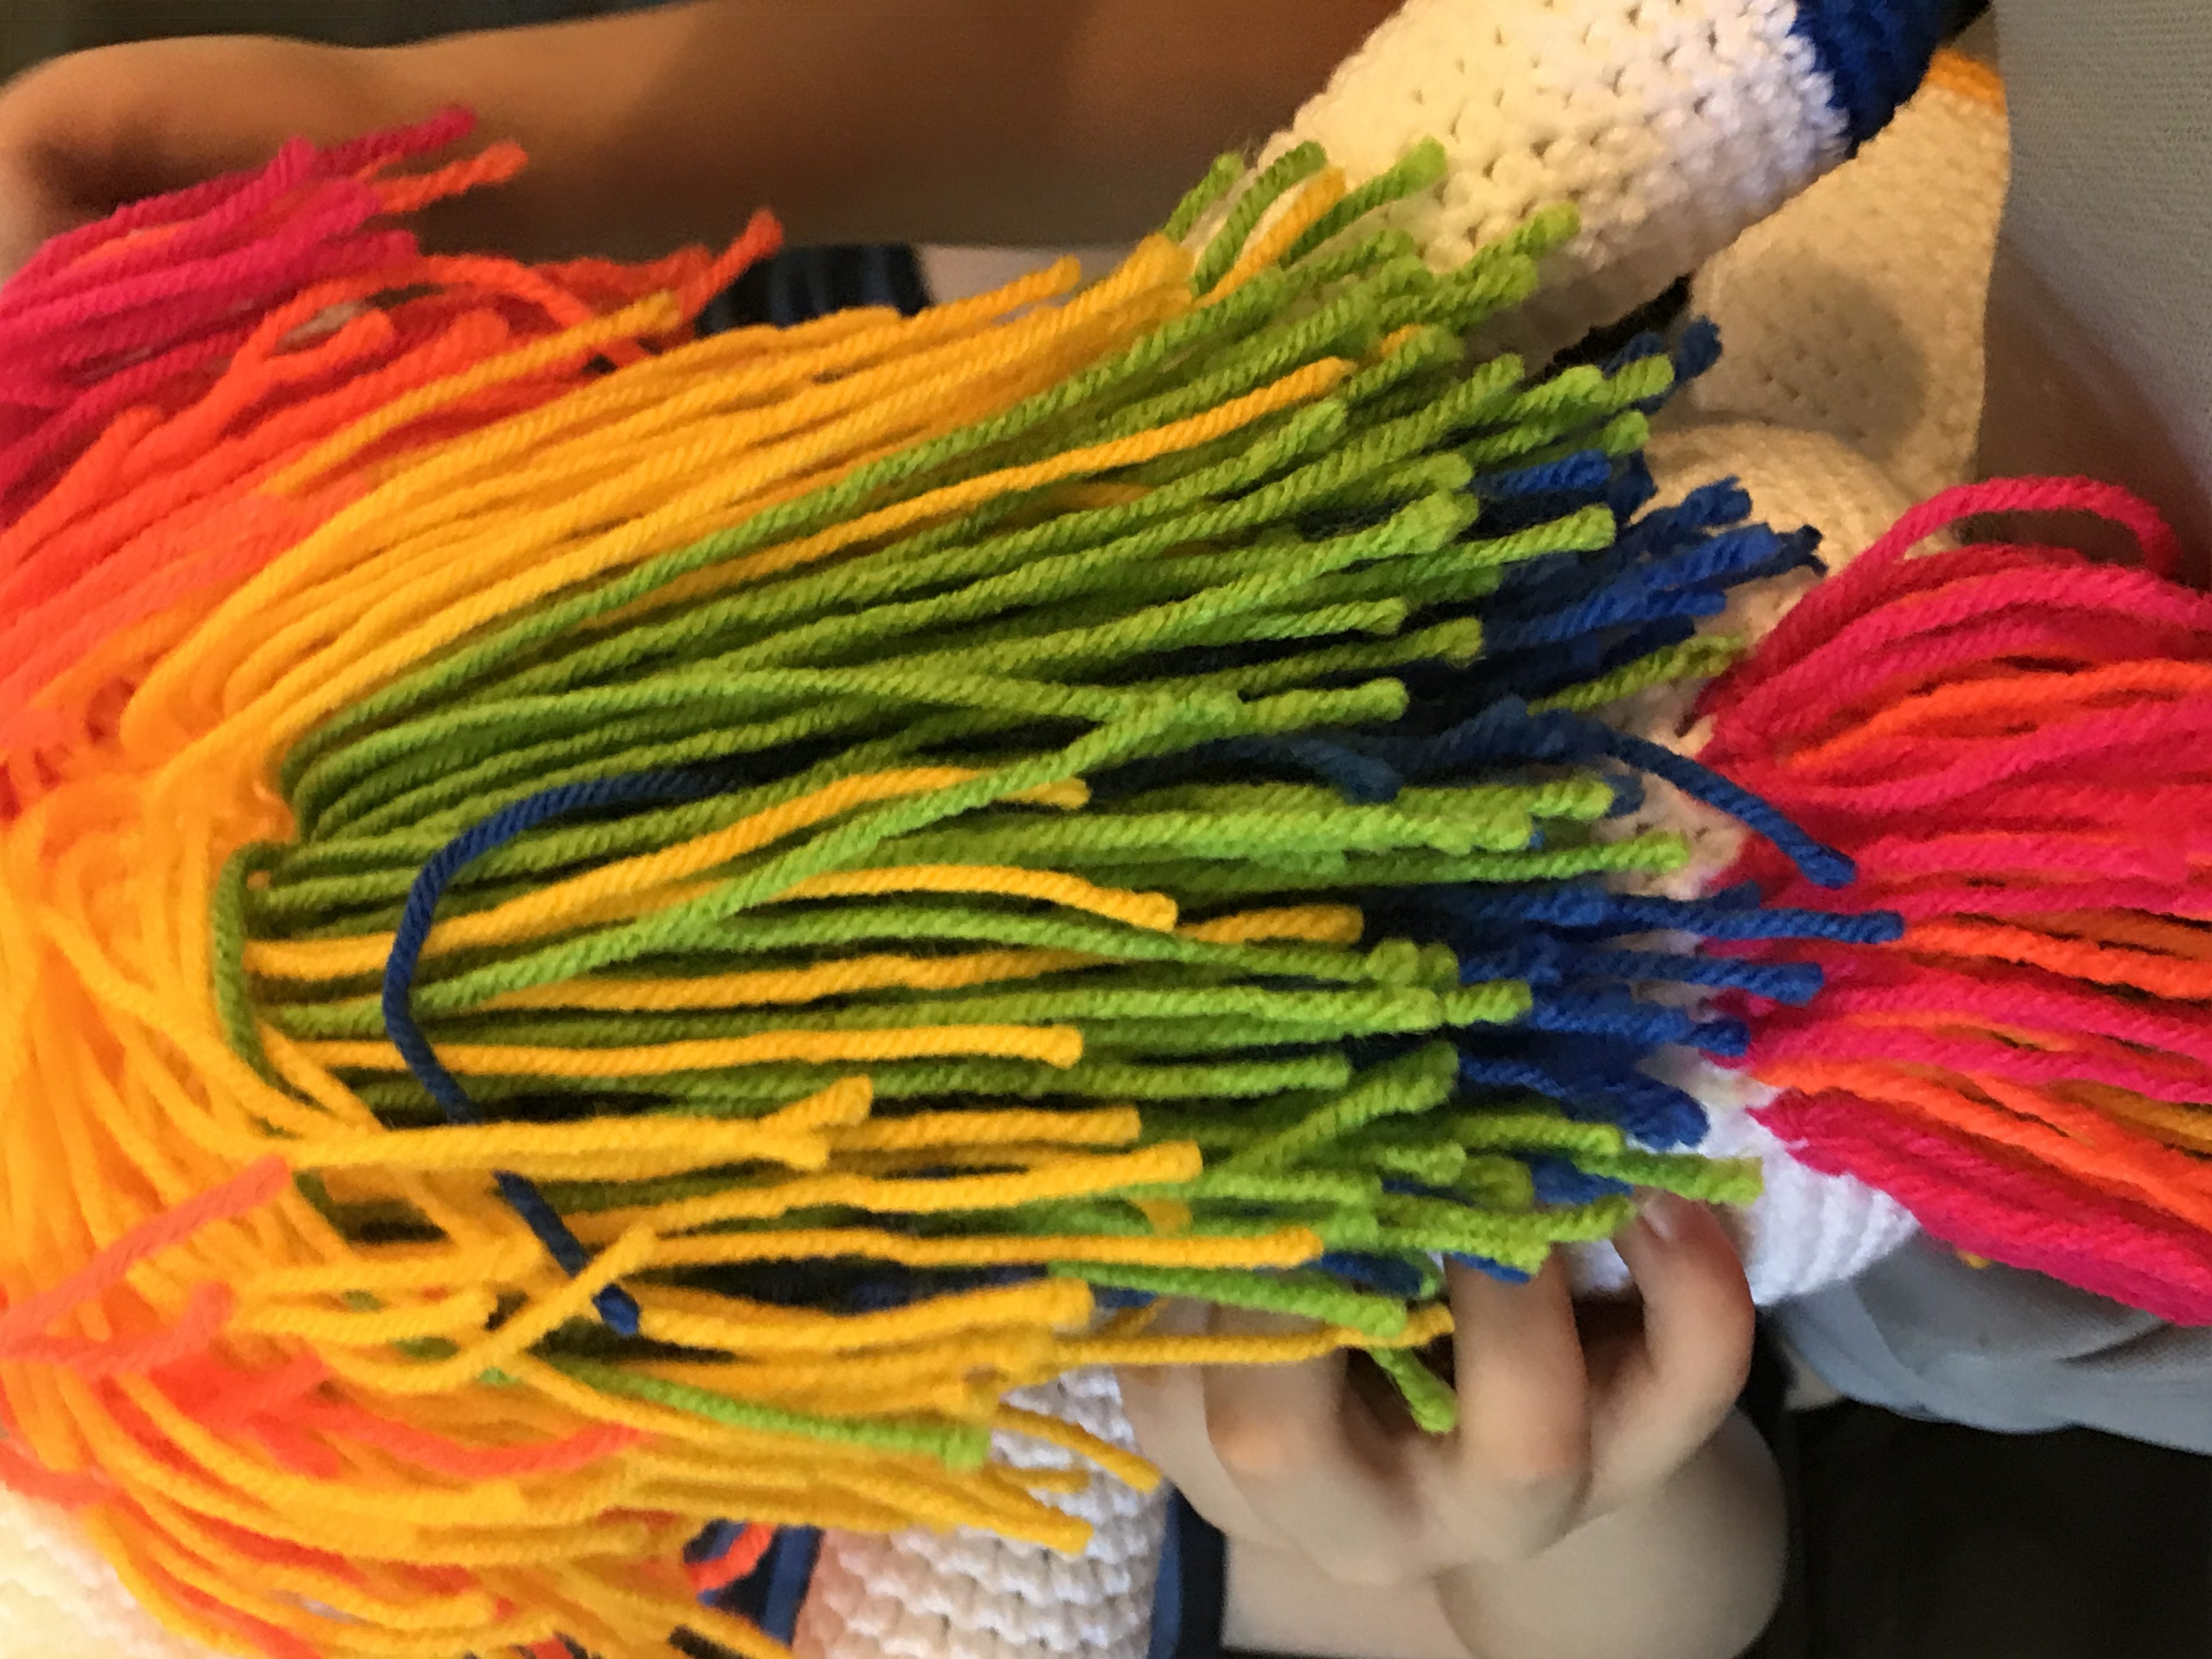
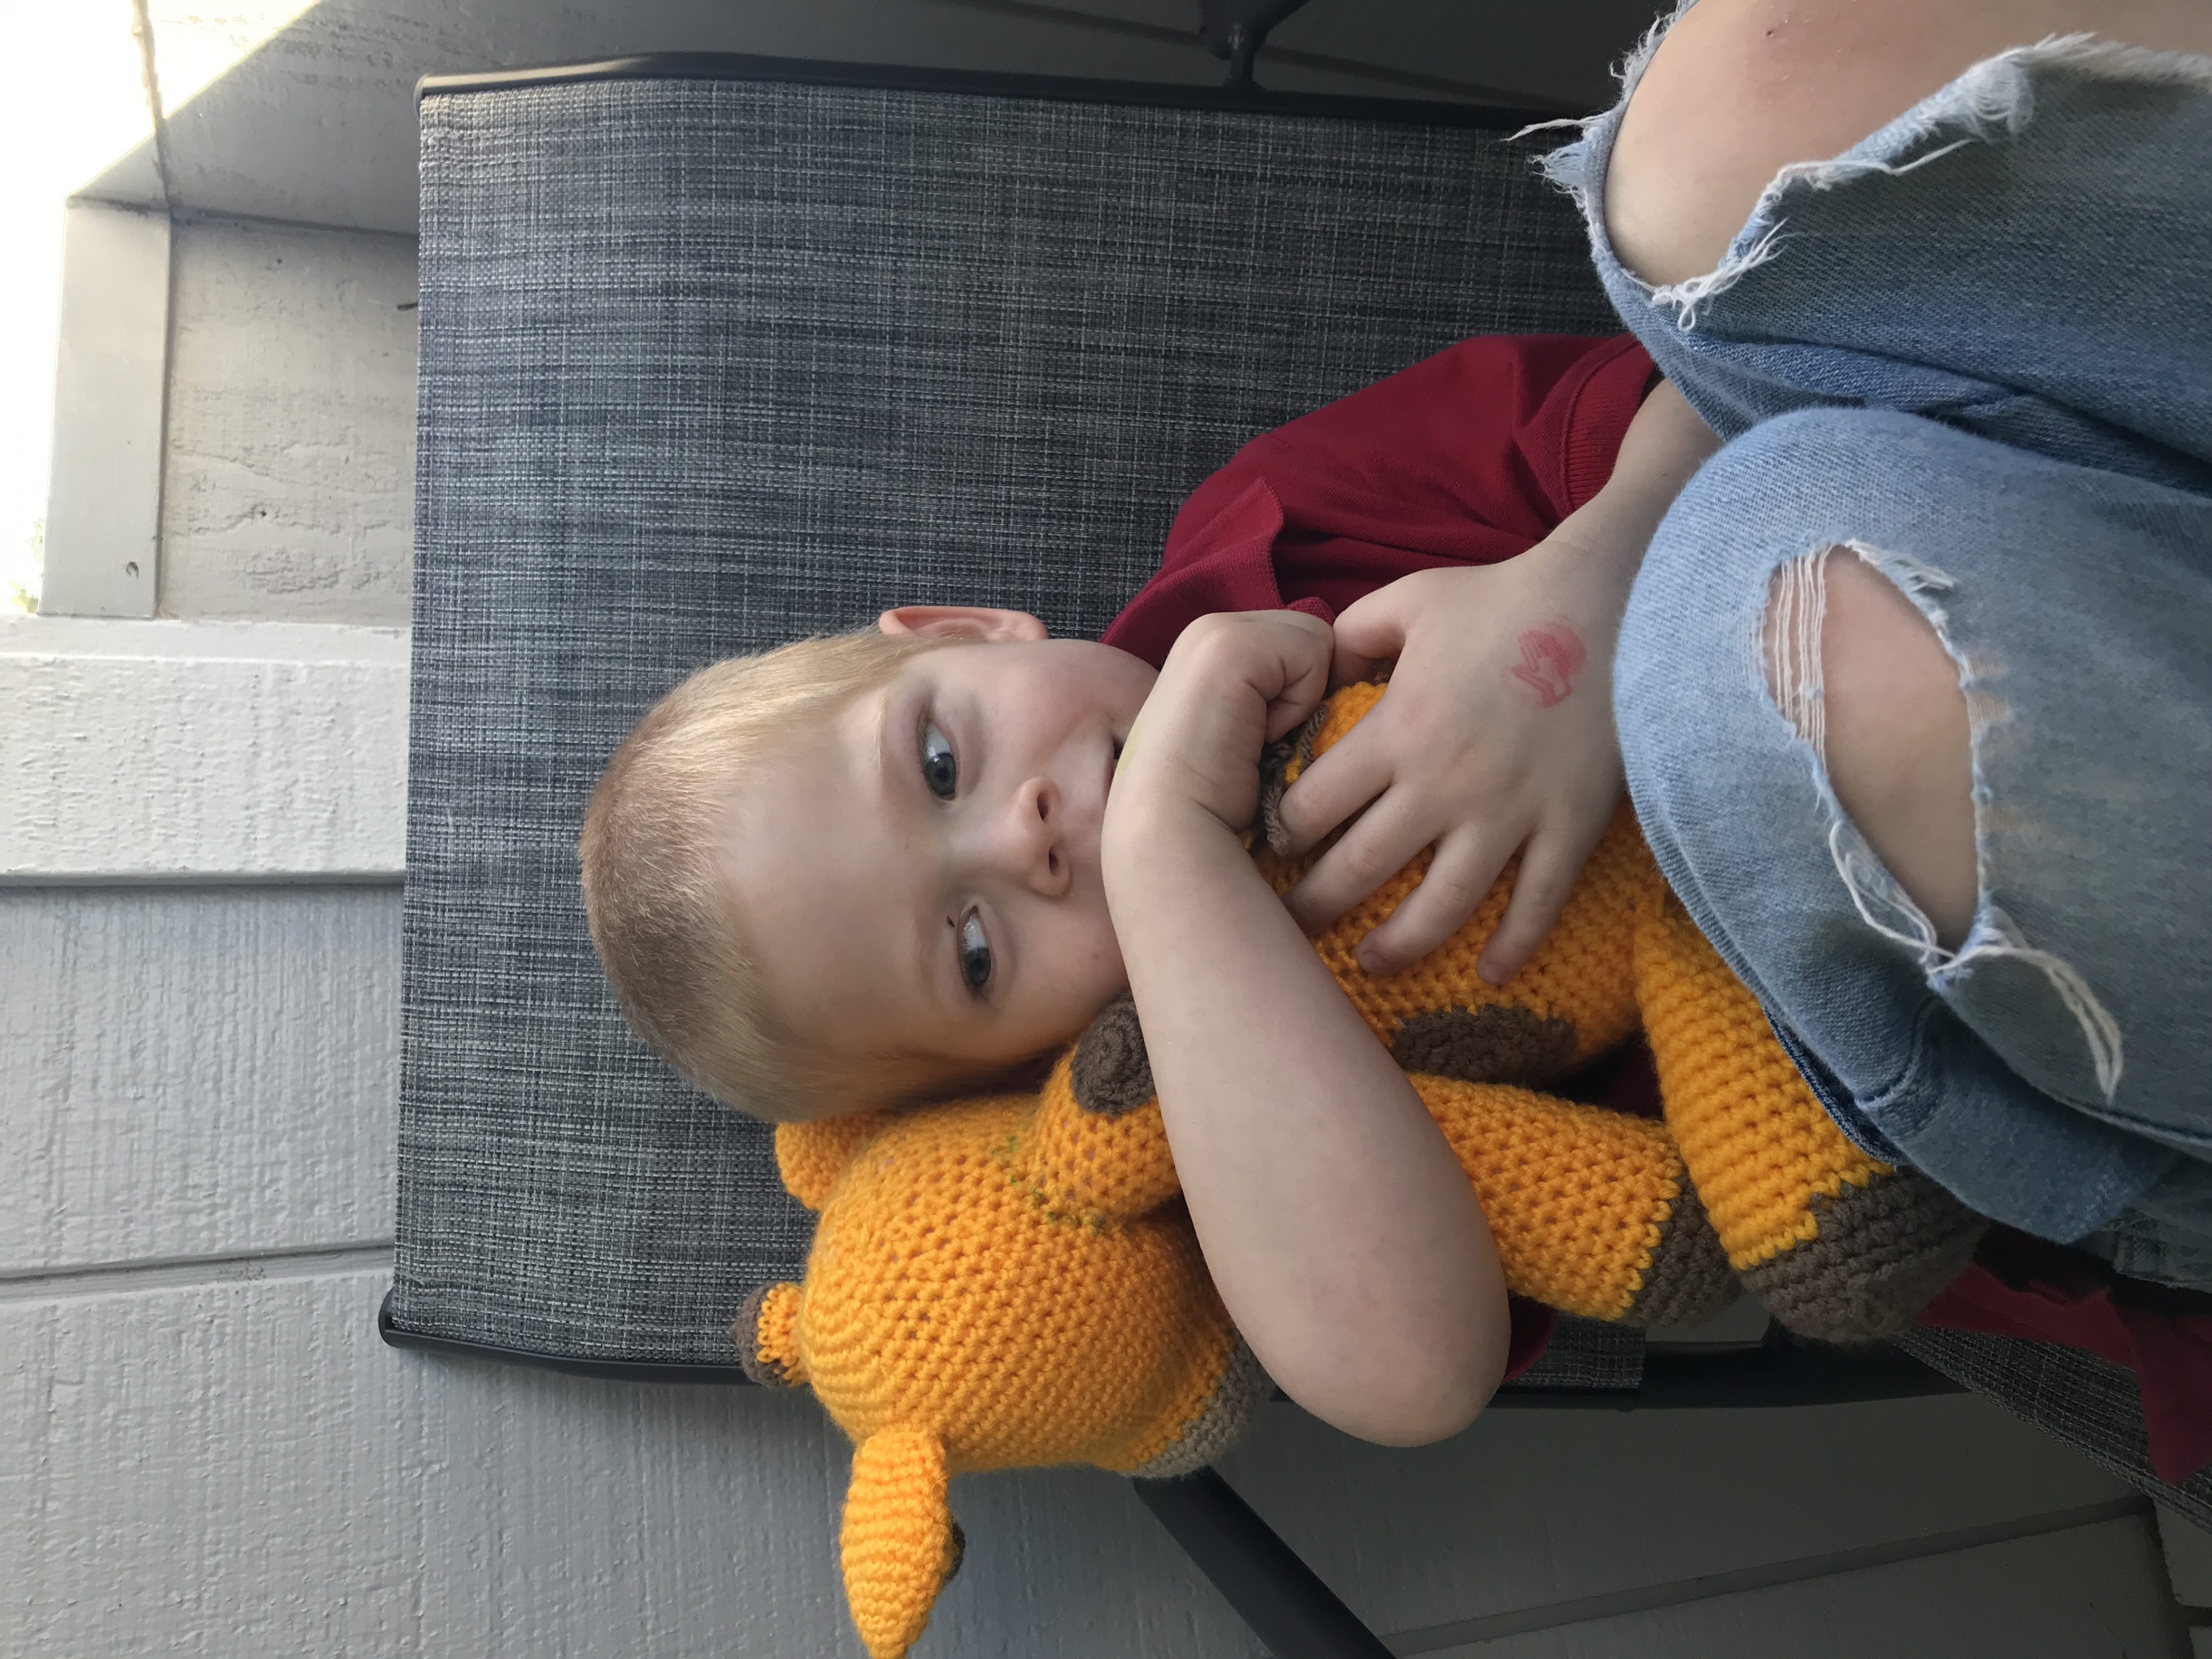
2 Unicorns and a Giraffe

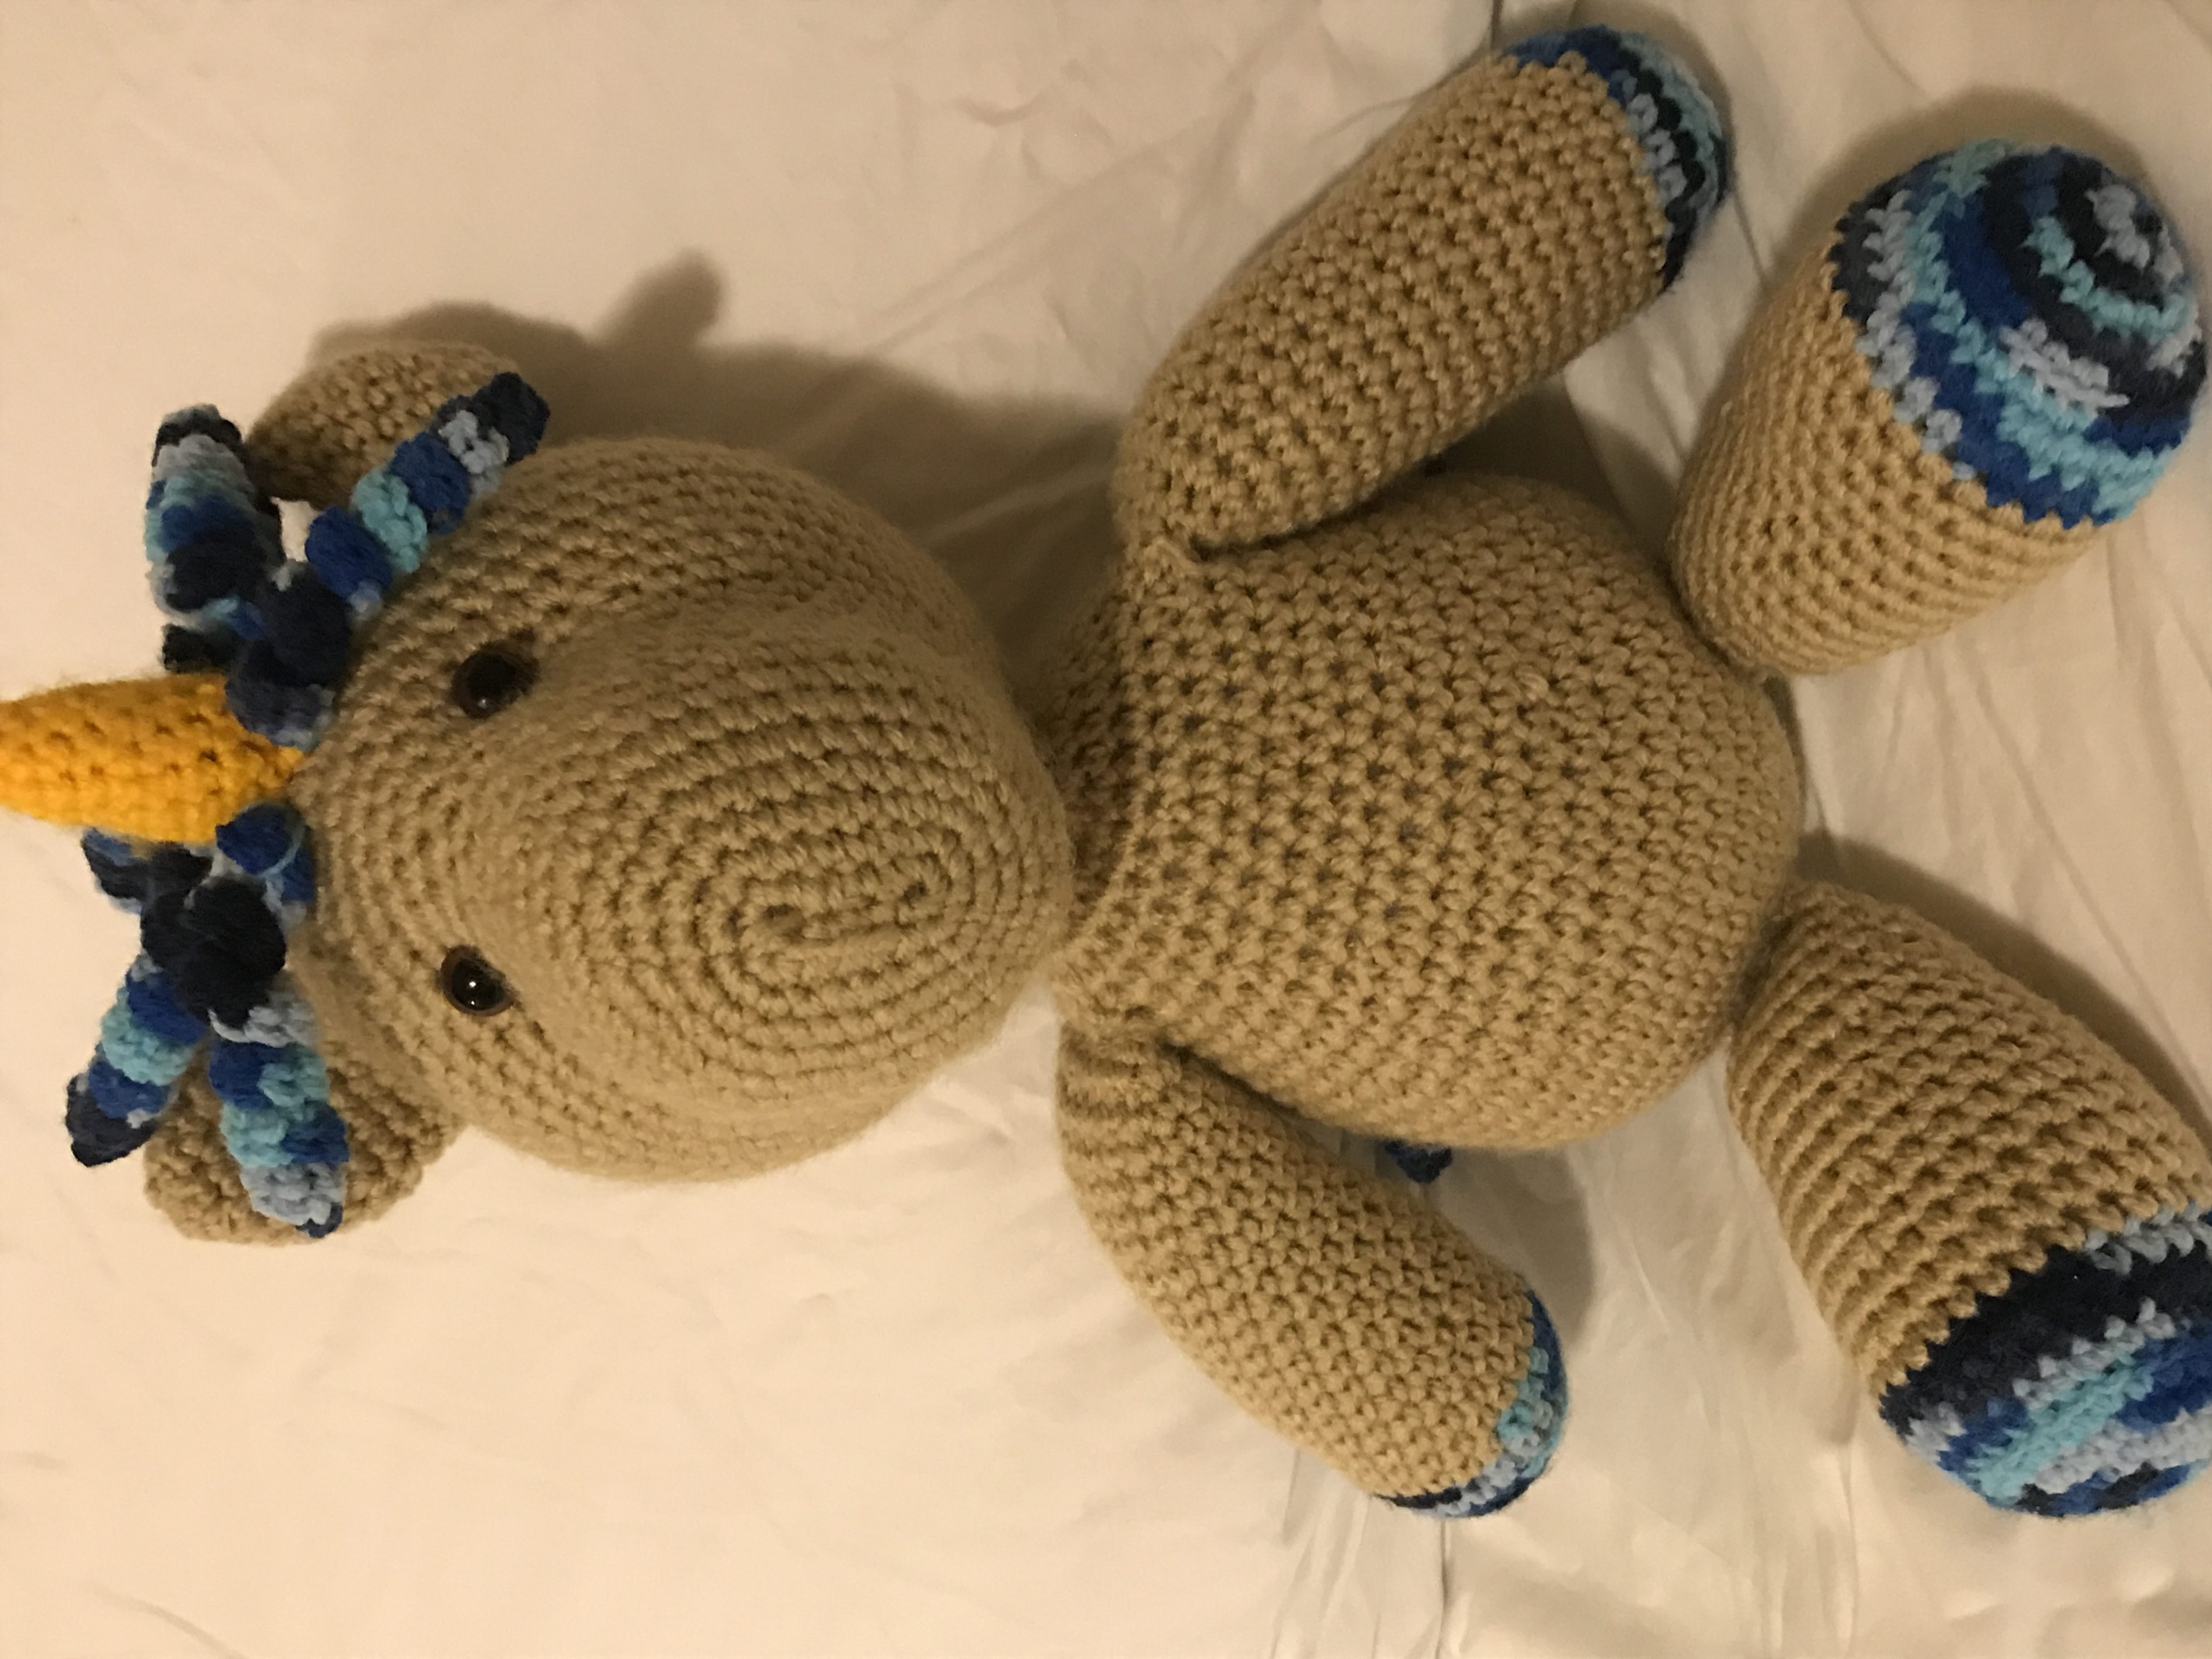
I’ve been all about making crocheted toys this month. They’re so fun, and always loved by kids. I started with this guy, who I’ve named Edward. (There’s a brief explanation of the name in the April 10 “5 Random Things” post). He now belongs to my toddler, Bumblebee (19 months old).

F175A425-FF5C-490F-9D94-6A45E4D2FE5D

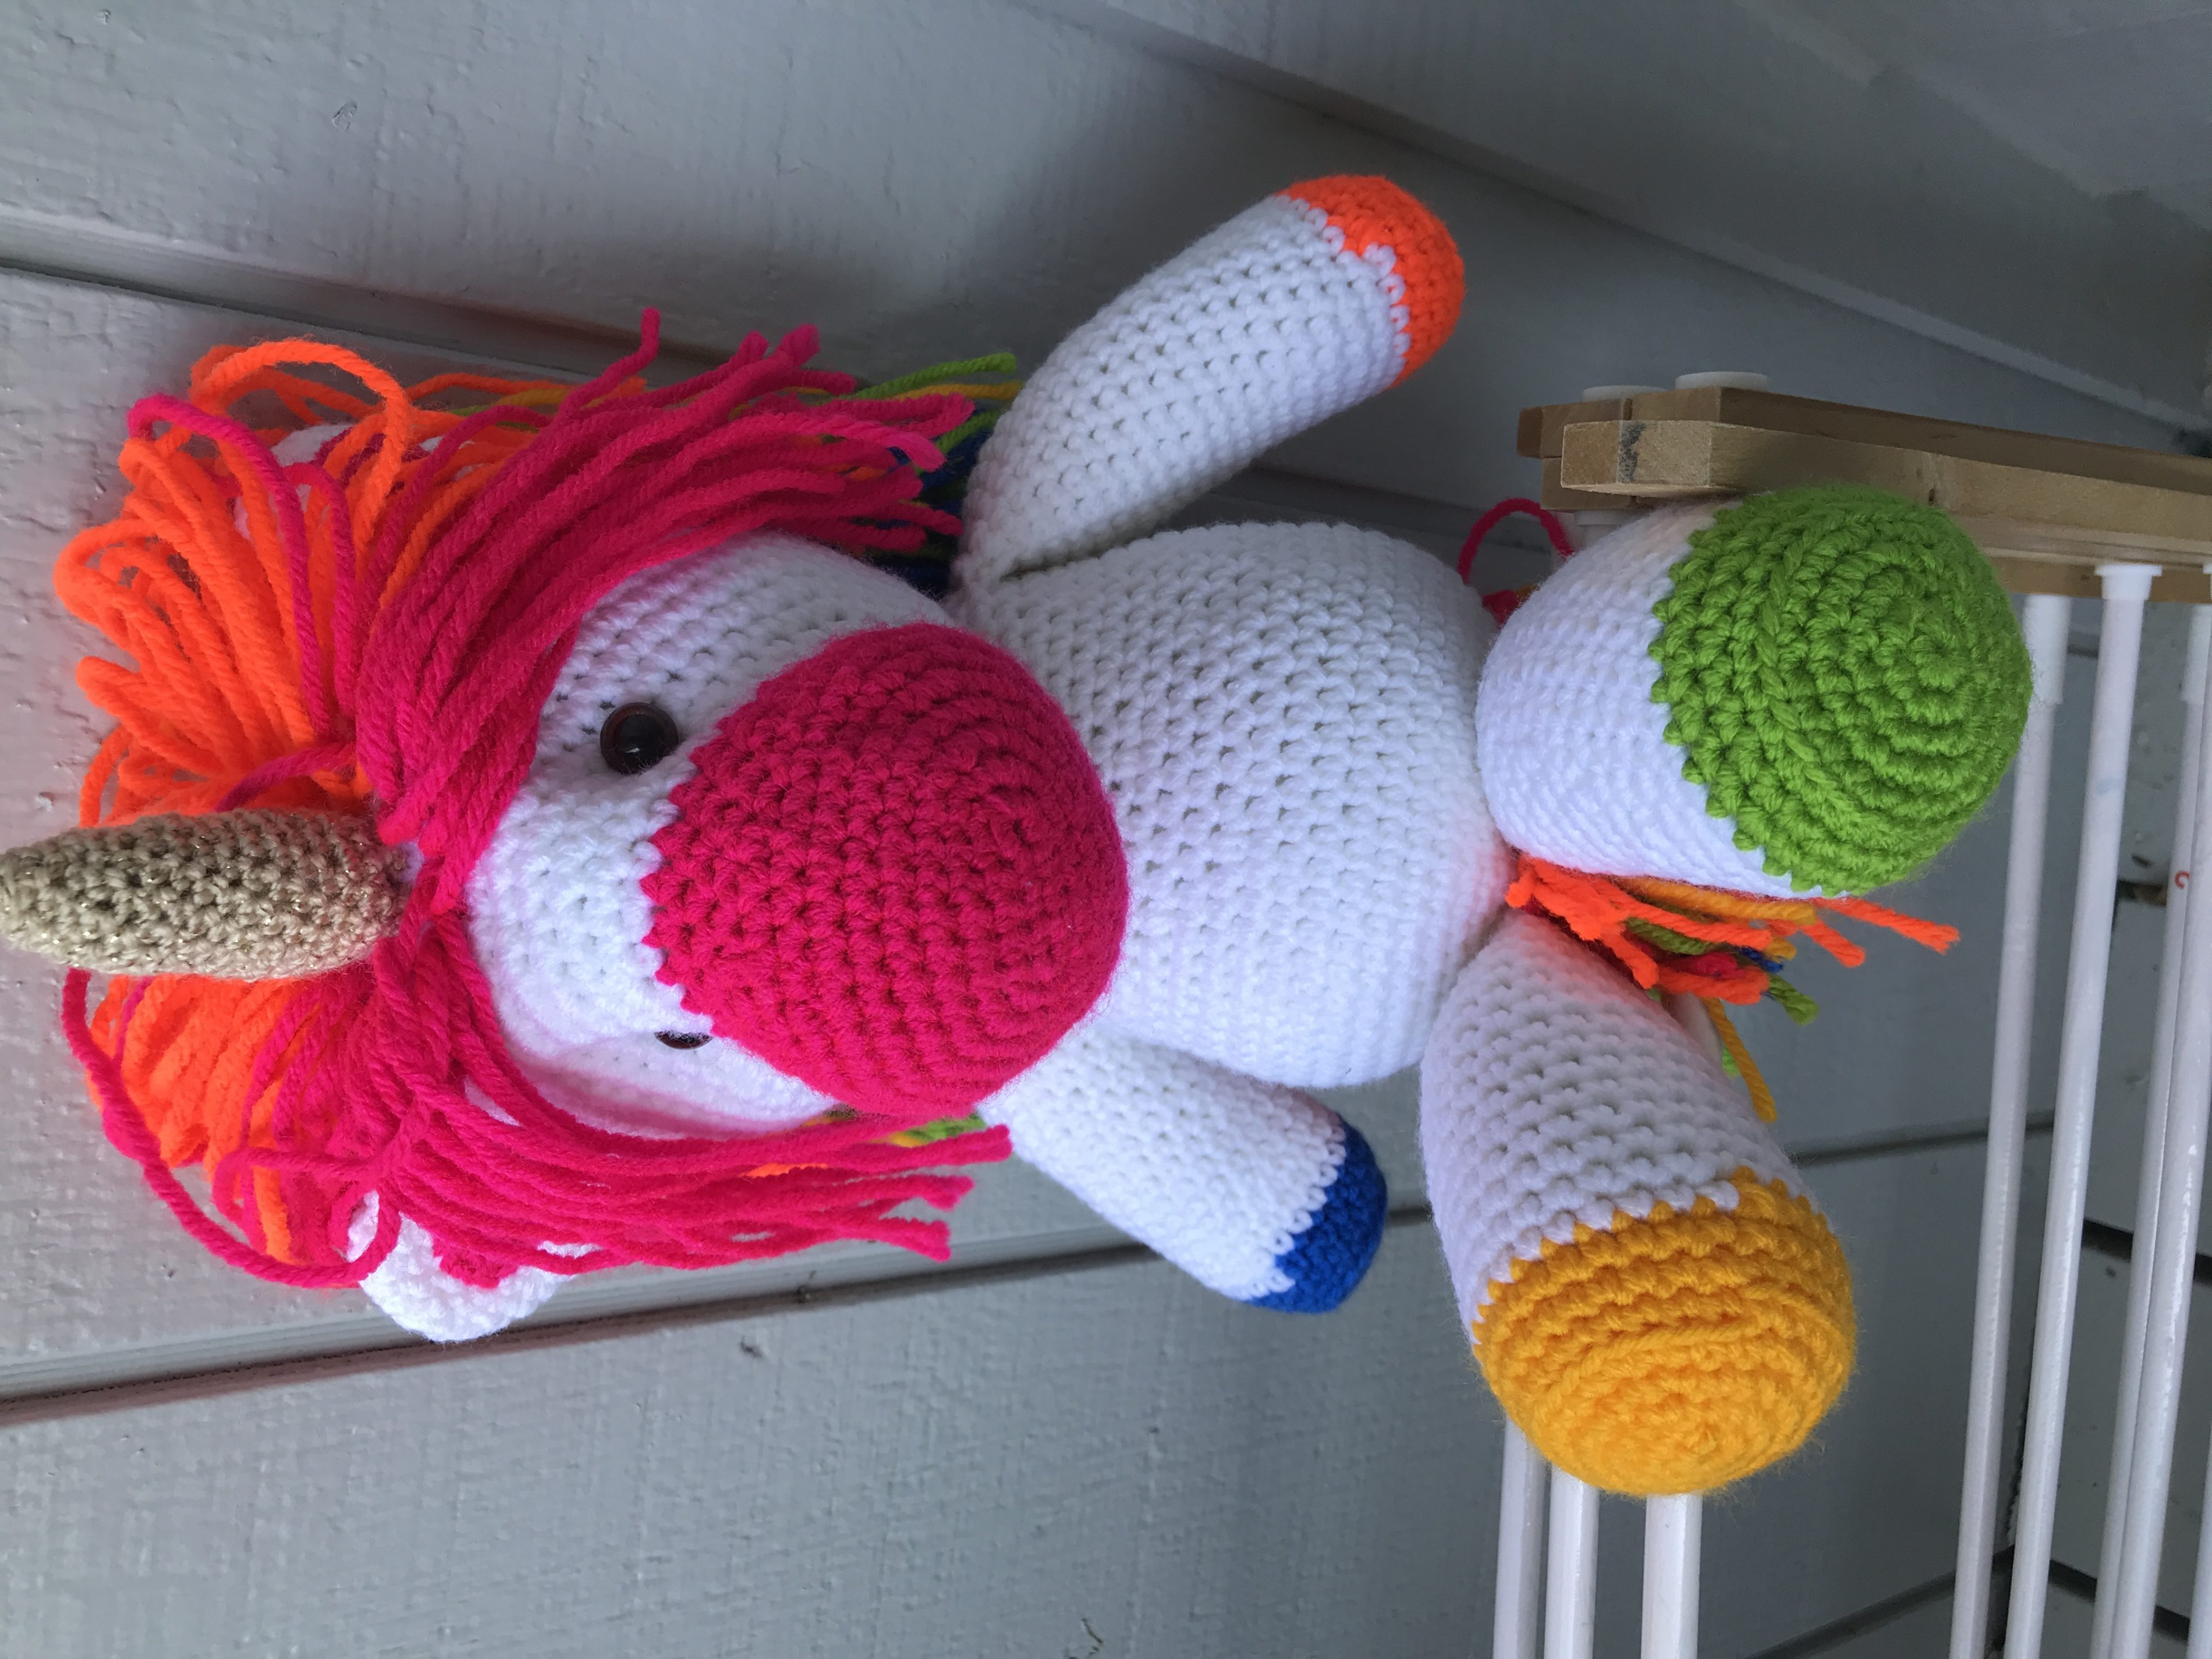
And this is Jewel. After I made Edward, Grasshopper asked me to make another unicorn for his friend, whom he hasn’t gotten to see in a few weeks since dance classes are canceled due to quarantine. 

114BEAEC-7D5B-4CF4-B842-143E537A5ADC

09129CFE-5B12-4965-907B-F8D2B526CC77

D22C38AA-6D13-4FAA-BFB9-85CBD46BF9B7

07753BFC-2B0E-4D27-83BD-1F7B0D9CACF0

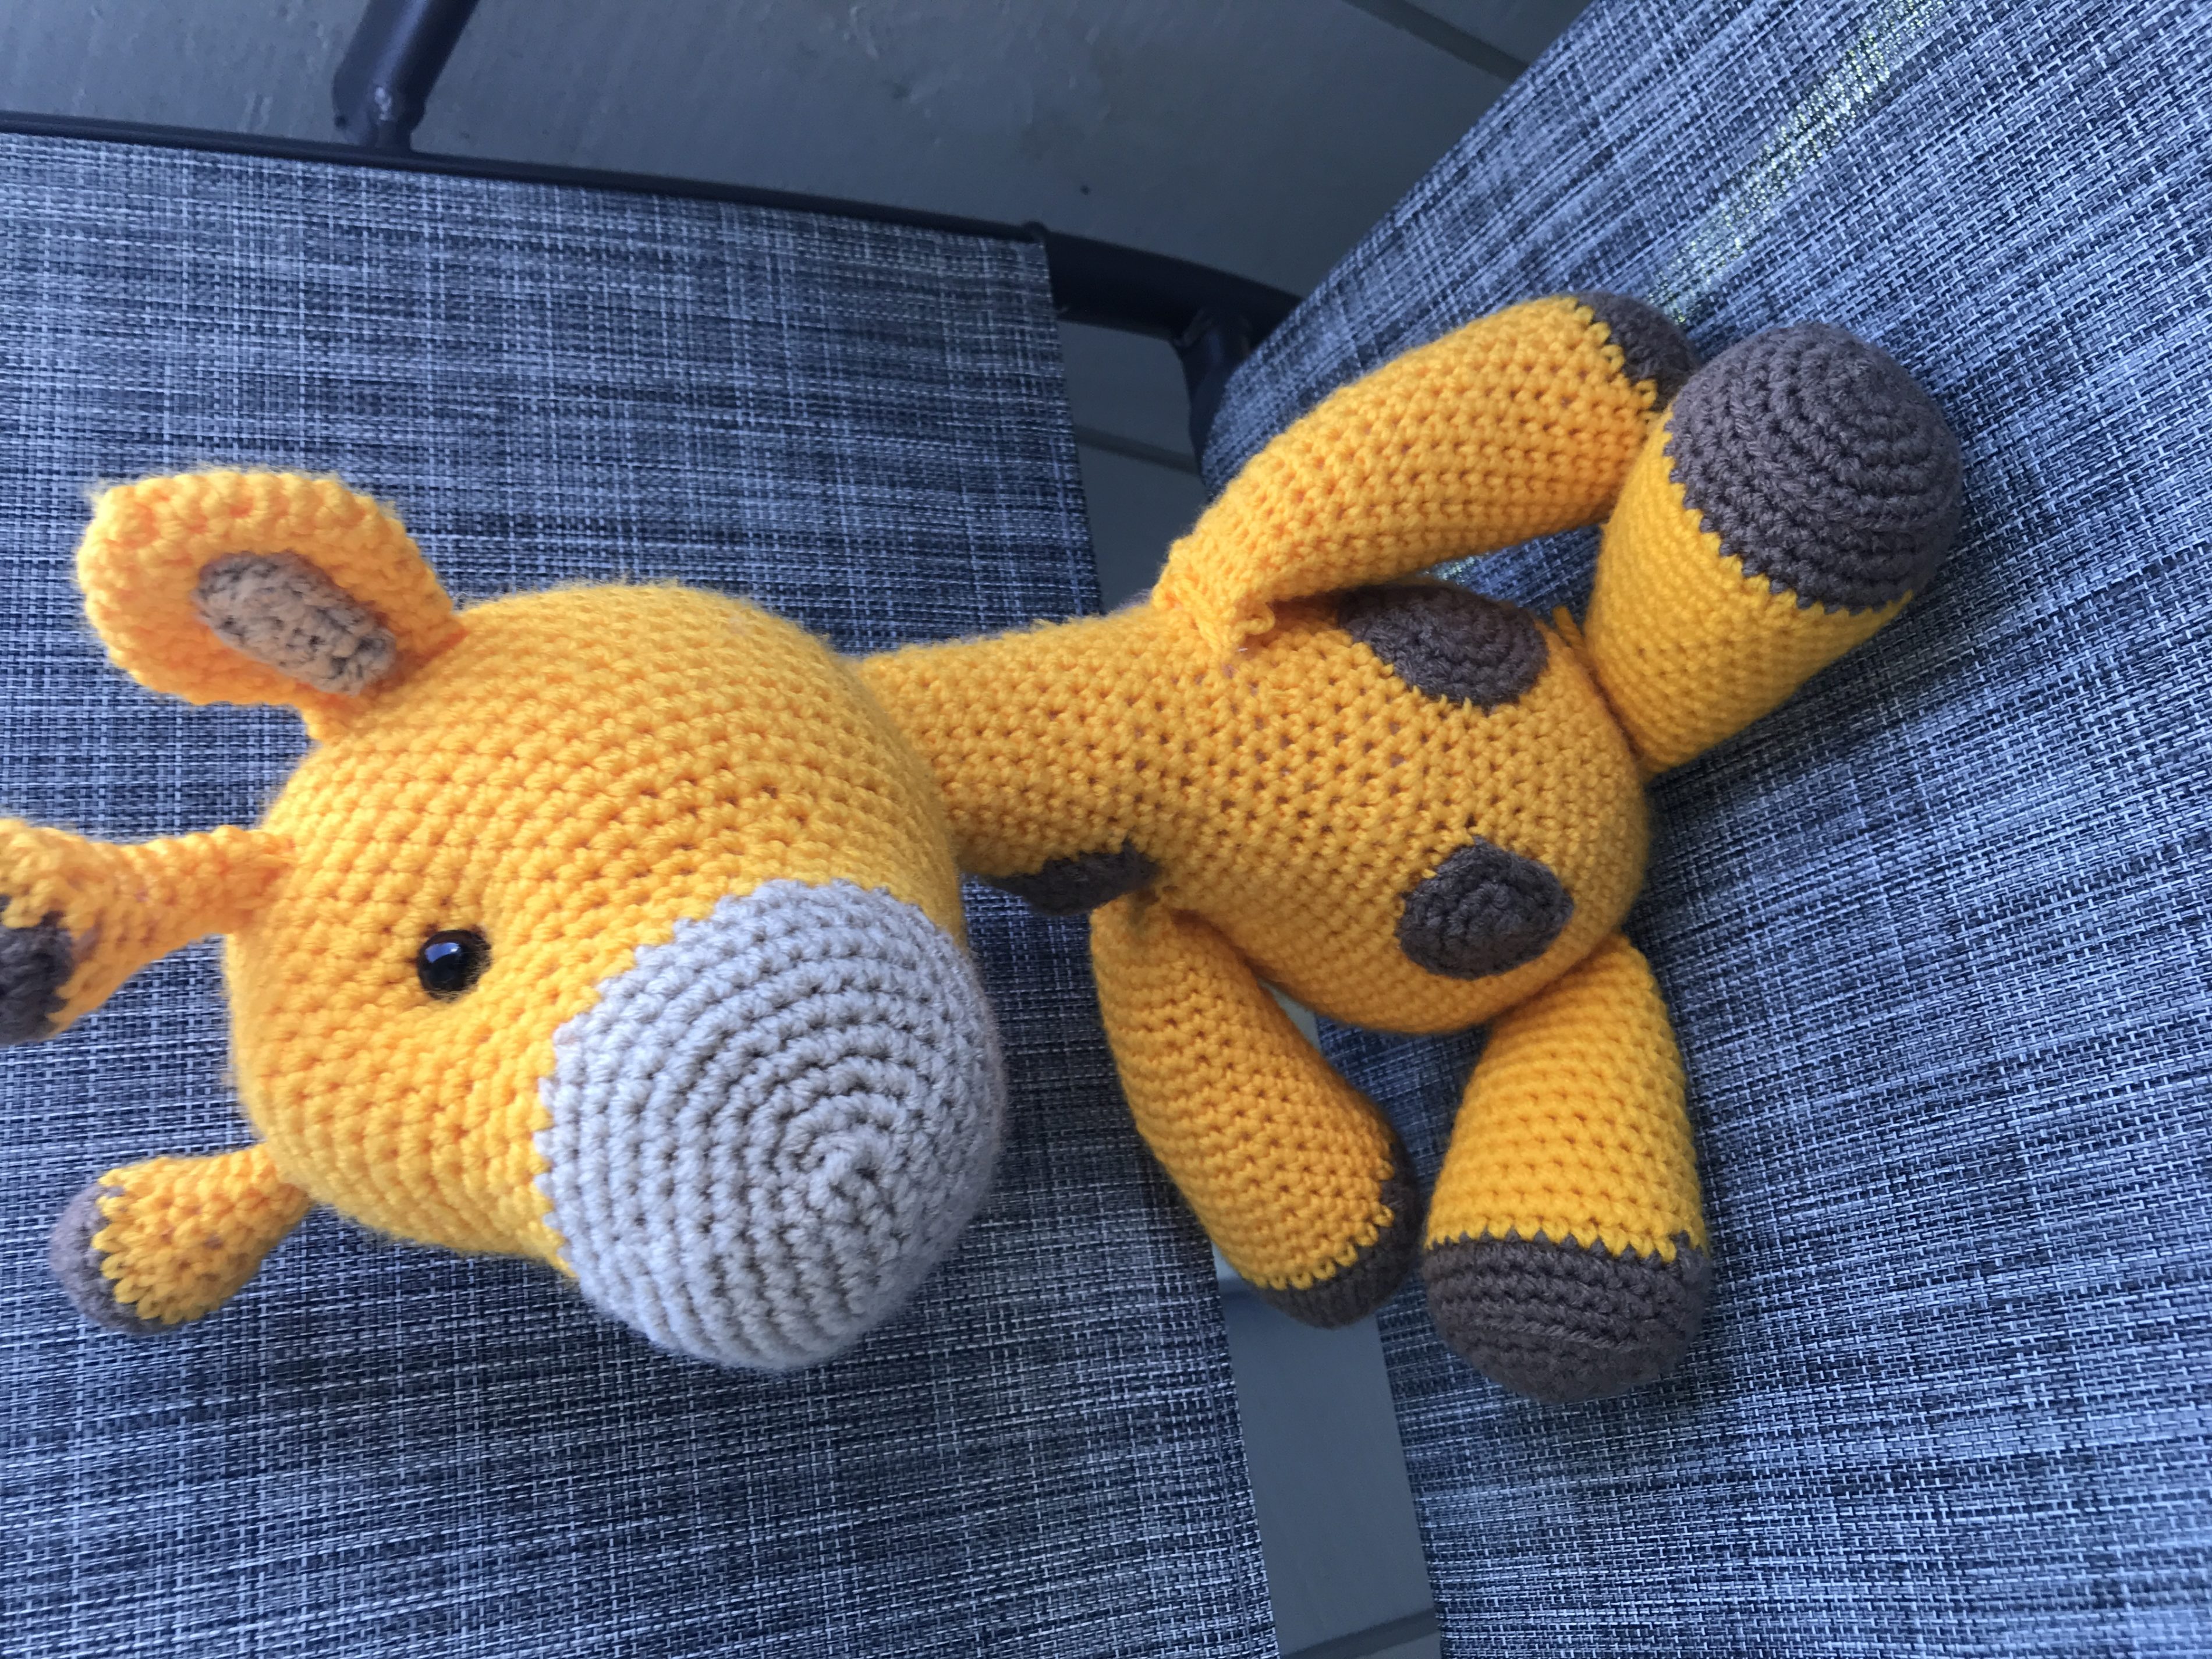
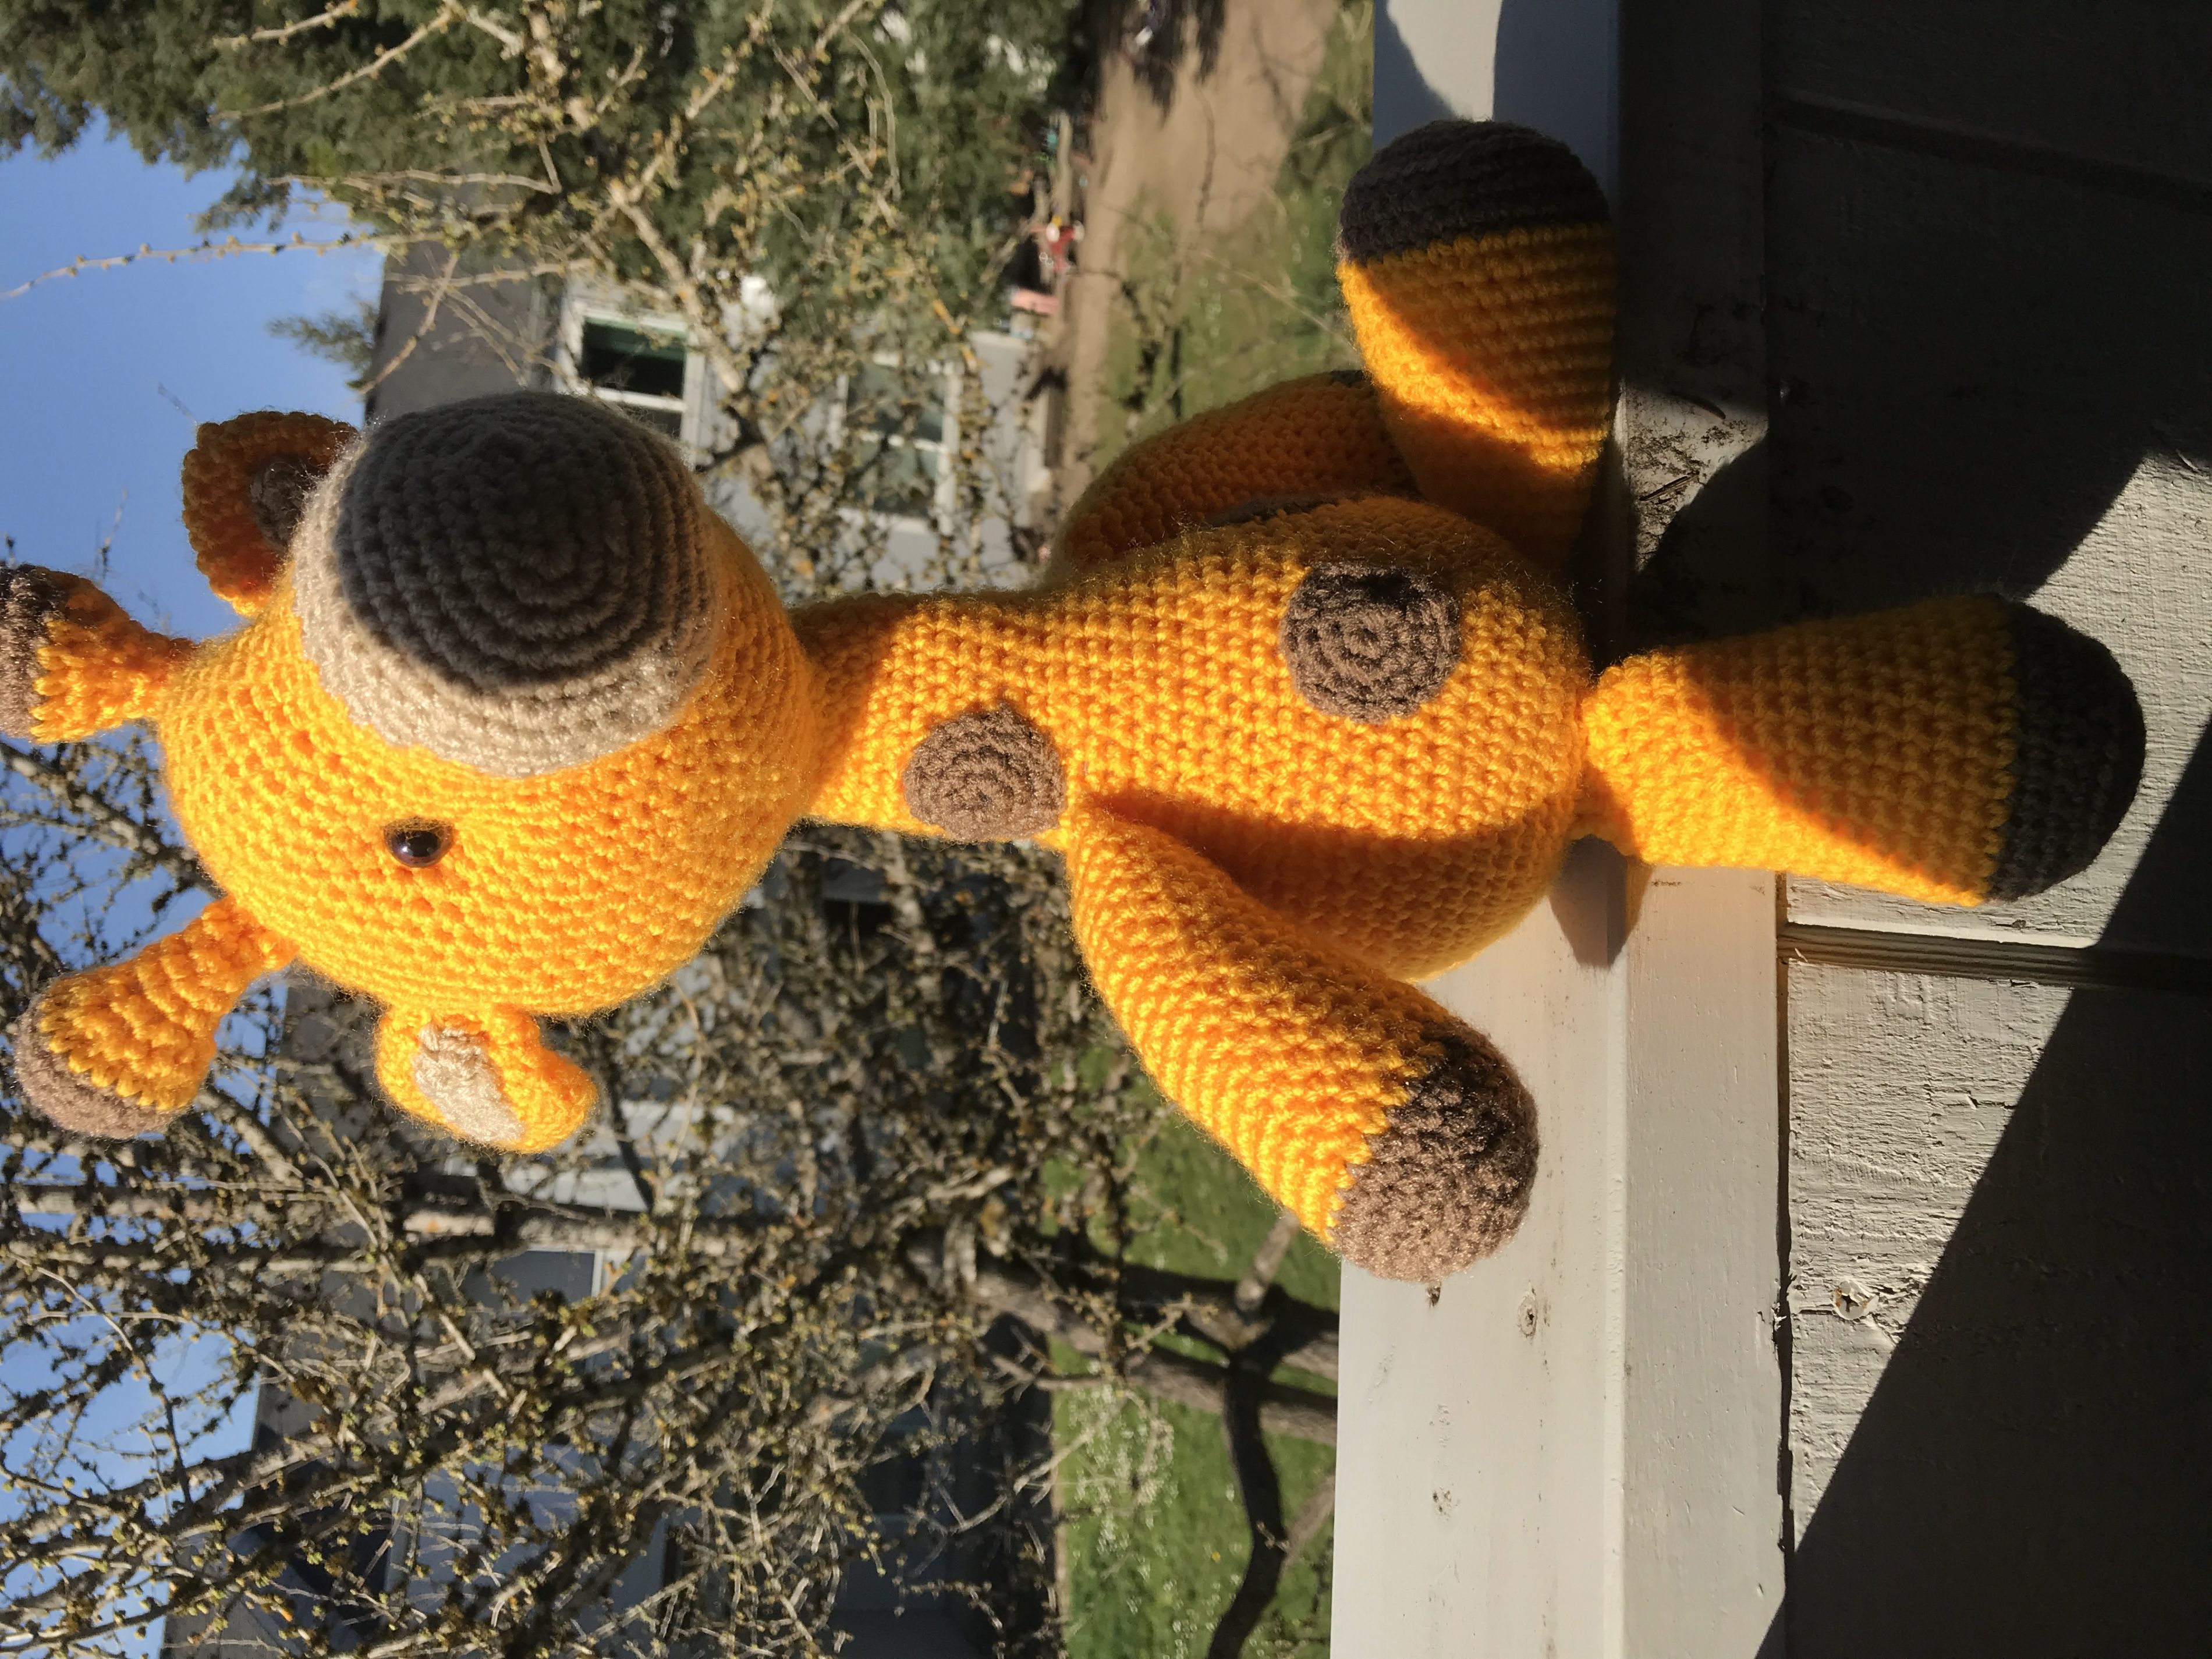
And this is George the giraffe. I mentioned him briefly before, too, but here’s a few bigger pictures of him.

30969B20-09FB-462E-BF7D-FEEAED1454E6 BA87BF6A-23A8-466B-8493-9D86EB787F84 FDAC7E19-8257-4743-8DC4-BACE7EFCA755
I just got a new book full of 26 more amigurumi patterns delivered late last week, as well as two huge bags of stuffing, so I’ll be busy making toys for the foreseeable future! I know what all the kids in my life are getting for birthdays and/or Christmas this year ?

  1. How have you been keeping busy during quarantine?

Blessings,

ladybug-signature-3 copy

Crochet Dreidel (free pattern)

This year is our family’s first time celebrating Hanukkah, and I am trying to embrace that by making some decorations for our home. (Christmas decorations are easy to find; Hanukkah ones not so much.) Even finding patterns to make your own is difficult, so I created this dreidel and am excited to share it here today. 

AF4F0323-5F74-45DD-B79F-2482F47631FC

Crochet Dreidel

Gauge is not important to this project. Use any yarn you like and an appropriate hook for the yarn. The hook and yarn you choose will affect the size, but not in a positive or negative way. It’s all about preference. I used worsted weight yarn and a size H hook to get a dreidel about 3x3x5 (including the stem).

Side Panel: make 4

CDC163A4-98D4-4C2F-812E-4CE867587EA6

chain 11. SC in second chain from hook and each chain across. Ch 1. Turn. (10)

Rows 2-10. SC across (10). Ch 1. Turn.

Row 11: SC2tog, sc 6, SC2tog (8)

Row 12: SC2tog, sc 4, SC2tog (6)

Row 13: SC2tog, sc 2, SC2tog (4)

Row 14: SC2tog twice (2)

Row 15: SC2tog (1)

Fasten off, leaving a long tail for sewing.

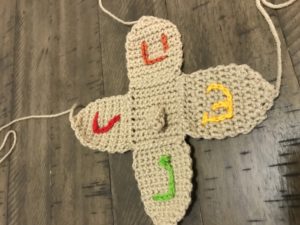
On each panel, surface slip stitch a (stylized) Hebrew letter.

Top:

Chain 11.

Row 1: SC in second stitch from hook and all the way across. Ch 1 and turn. (10)

Rows 2-5: SC across. Ch 1 and turn. (10)

Row 6: SC in first 4 stitches. Chain 2. Skip next 2 stitches. SC in remaining 4 stitches. Ch 1 and turn. (8 SC + 2 chains)

Row 7: SC in all stitches, including the two chains. Ch 1 and turn. (10)

Rows 8-11: SC across. Ch 1 and turn. (10)

Fasten off, leaving a long tail for sewing.

Into the buttonhole made in row 6, attach yarn with a slip stitch. Ch 1. SC into same stitch. SC in each of the other 5 stitches around the buttonhole (the two chains on each side, plus one side stitch on opposite sides.) Join with slip stitch to first stitch of round and chain 1 but do not turn. (6)

F2D04D4B-FB0C-424A-9A19-0926110273CB

Rounds 2-4: SC around. Join and turn. (6)

10C0C19E-A4B8-40FA-8755-5AD7087DCD33

Round 5: SC2tog three times. (3)

Fasten off and use the short tail to close the top of the “stem.”

Construction:

1908ABAD-C175-403B-A905-FEE48114BA6A

Sew the top of the side pieces to the sides of the top piece, one at a time. (See pictures for clarity.) Starting at the bottom of each side piece, sew them together until you get to the upper corner of each one. Stuff lightly before sewing the final side closed.

I hope this blesses someone out there!

ladybug-signature-3 copy

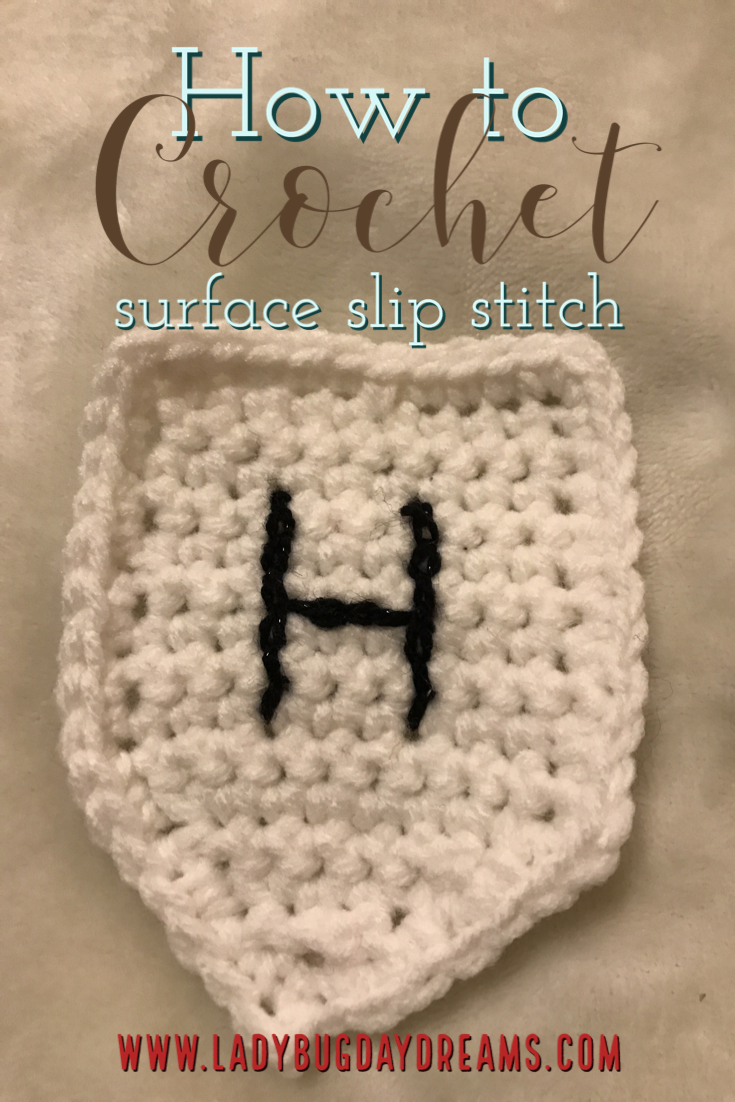
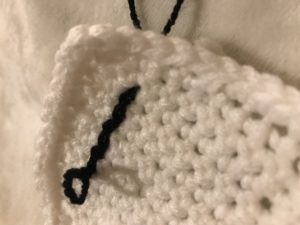
How to Crochet Surface Slip Stitch

How to crochet surface slip stitch | ladybugdaydreams.com

I have a free crochet pattern that I’ll be posting in a couple of days, but I wanted to post this tutorial on the surface slip stitch first, because my pattern requires use of the technique. You may be asking yourself, What is surface slip stitch? It’s simply a way to stitch designs onto your work that’s easier than using a crochet chain as an appliqué. The method is easy once you get the hang of it, so if you’ve never used it before, I hope this inspires you to try.

How to crochet surface slip stitch | ladybugdaydreams.com

The main thing to remember about this technique is that your working yarn should be behind your main piece all the time. With that in mind, here’s a step by step tutorial. (These steps assume that you know how to crochet and have an idea of the design you want to make.)

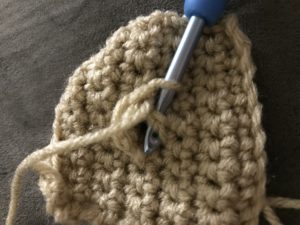
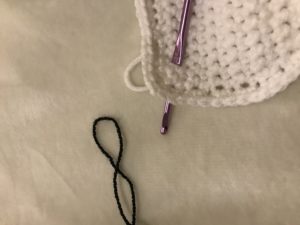
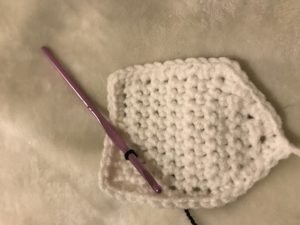
1. Insert your hook from front to back of your work, right where you want your design to begin. Attach your “drawing” yarn to your hook with a slip knot, then pull the loop through to the front.

how to crochet surface slip stitch | ladybugdaydreams.com


423AC7B7-7967-44D6-869A-D2E0A46CA94E

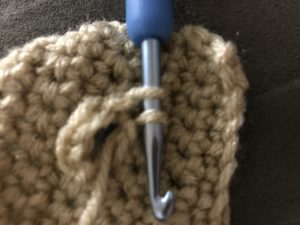
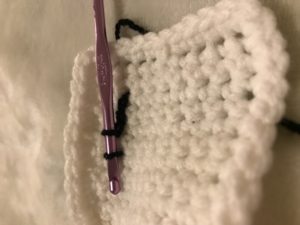
2. Keeping your design in mind, push your hook down through the fabric about one stitch away from where it is now. With your hook on the back of the fabric, yarn over and pull up a loop. With that loop now on the front of your fabric, complete the slip stitch.

71BB5792-851D-4F94-91CF-33AA80C05DEA

3. Continue in this fashion until you’re done with your design.

4. When you’ve completed your last stitch, remove the hook from your work and gently pull out the final stitch. Push your hook back through the fabric in the same spot you just undid that stitch from, this time from back to front. Grab the loop from the second to last stitch and carefully (without pulling too tightly and distorting your stitches) pull it to the back. 

A43C2F17-B4E8-4BA8-AA0E-9F1A6DAC1B7C

5. Break the yarn and fasten off as normal. Tie the beginning tail and ending tail together in a knot at this point, just for extra security. This also assures that your work will stay in place without you having to weave in the ends (since your yarn is probably a contrasting color to your main work, weaving the ends in is less than ideal). Once the tails are knotted together, you can cut the ends short. 

I hope this helps you!

Blessings,

ladybug-signature-3 copy

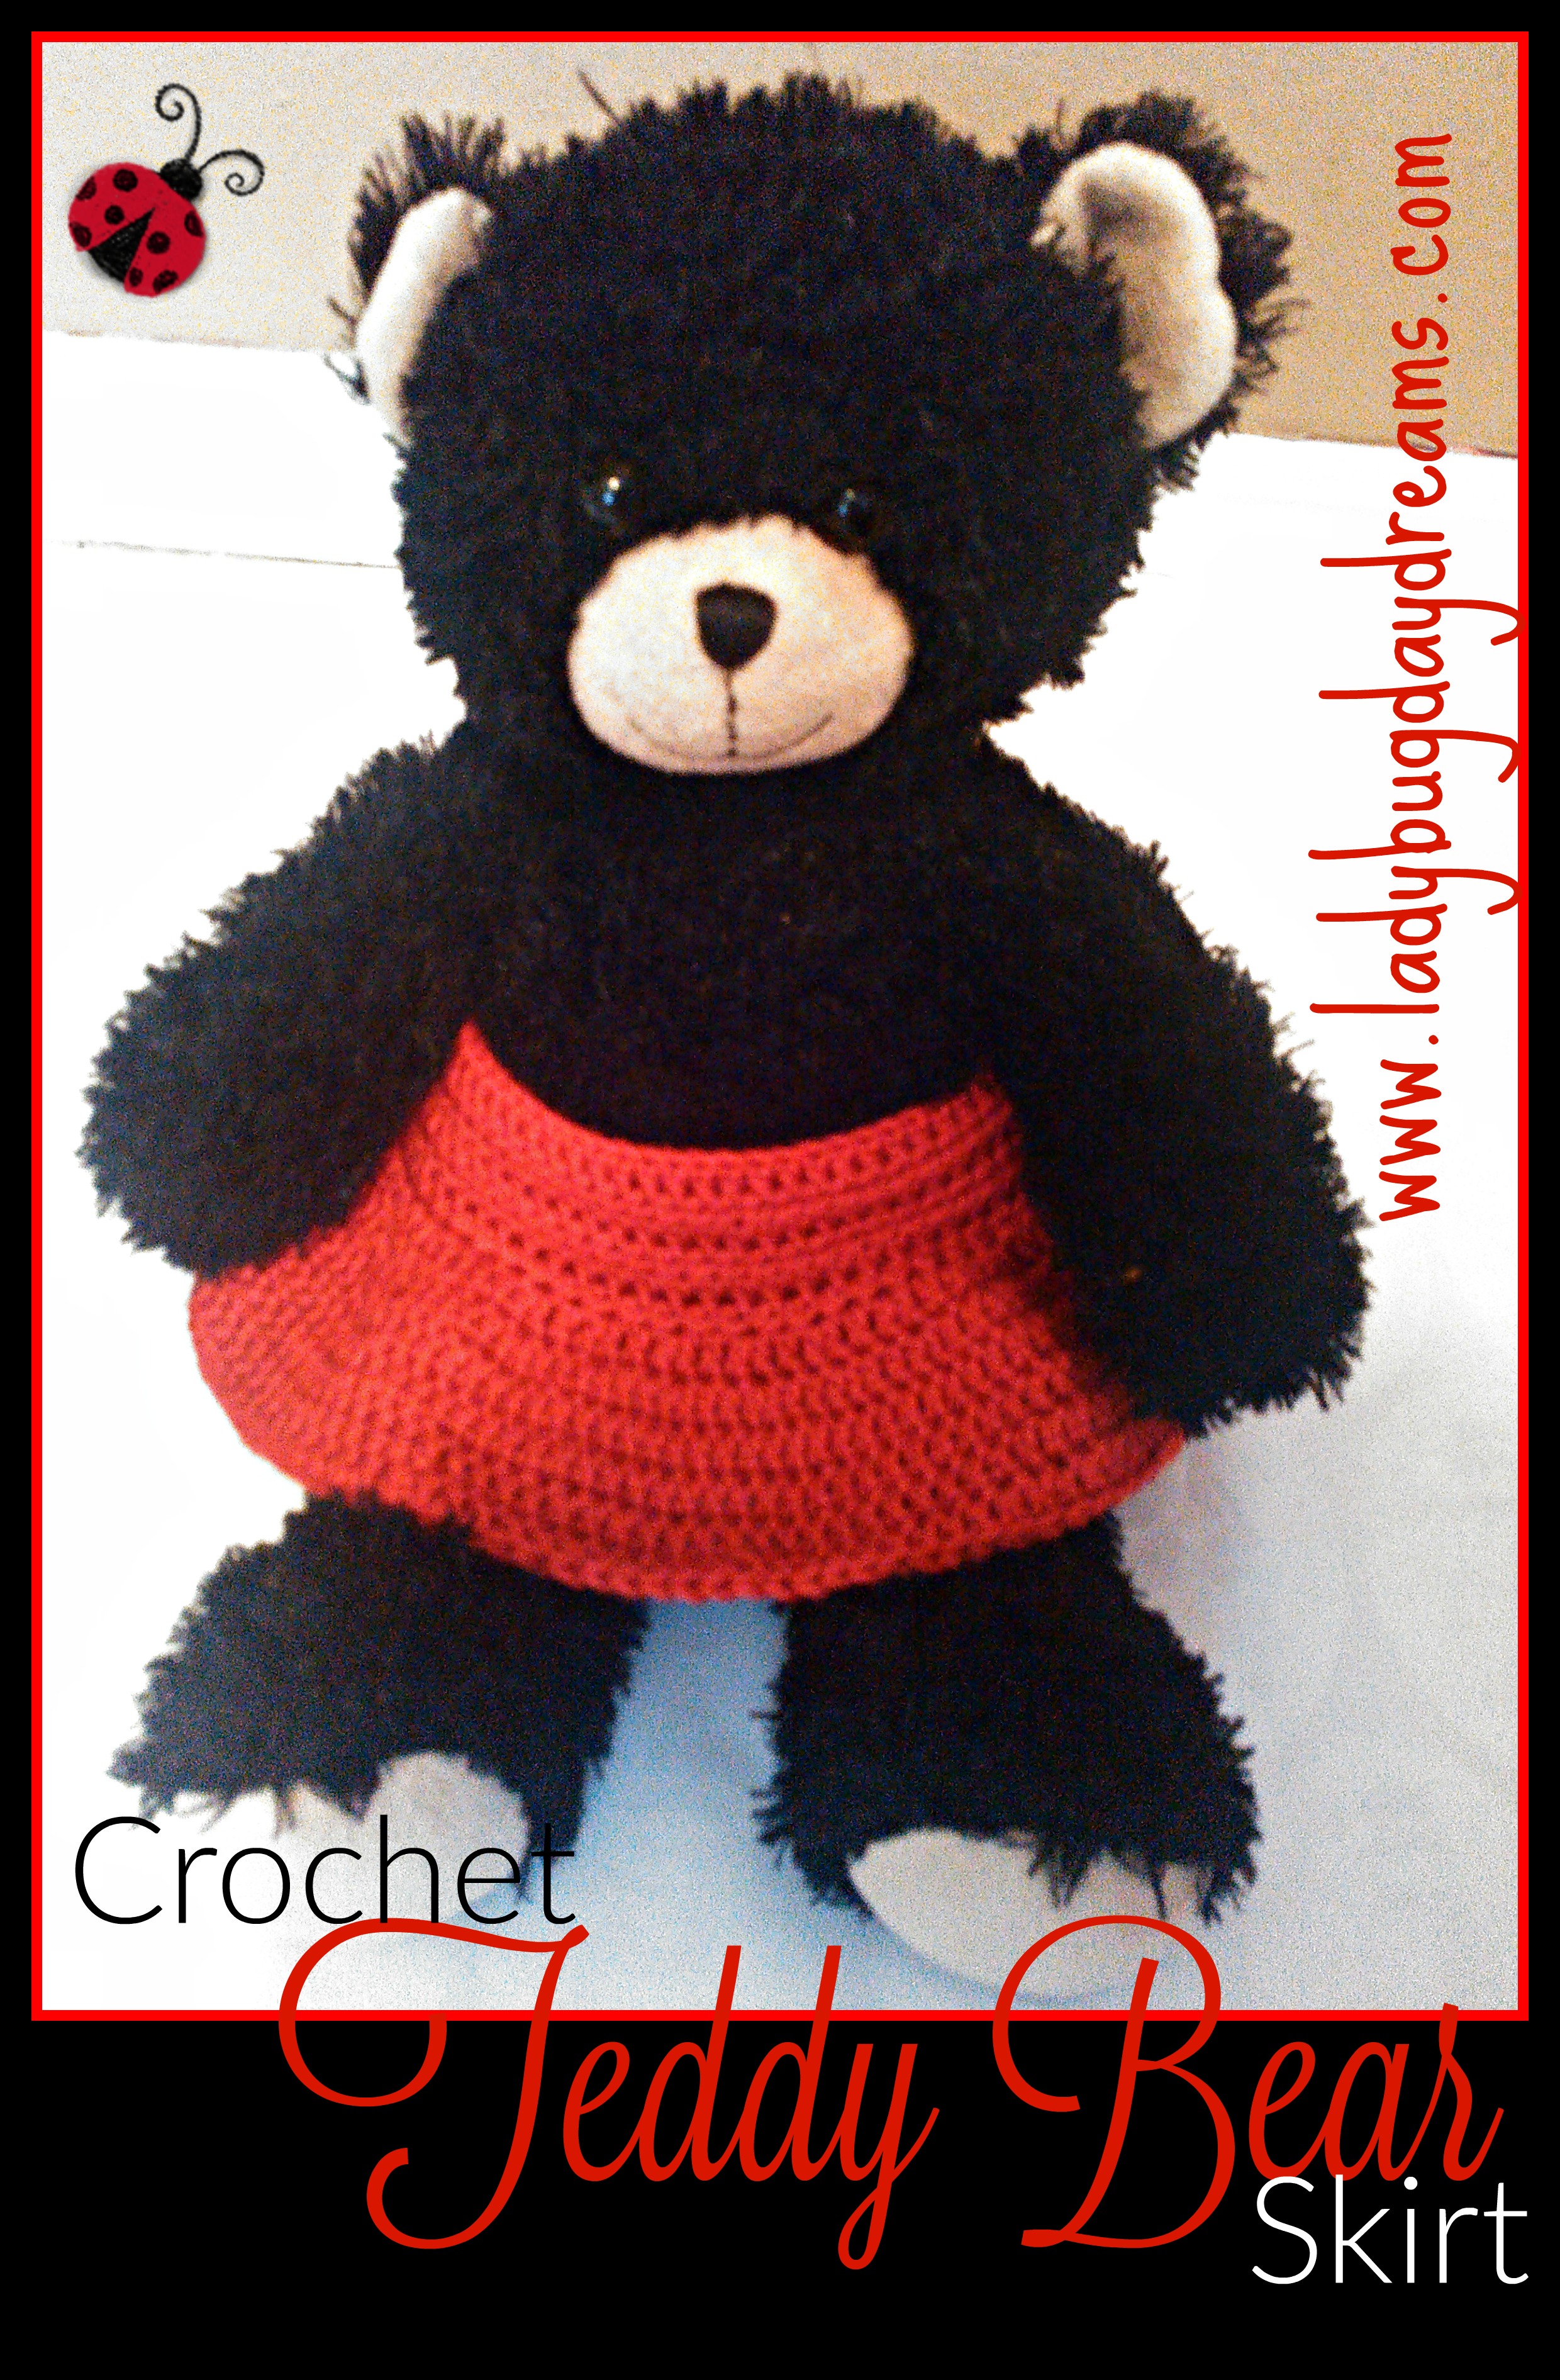
Crochet Teddy Bear Skirt (free pattern)

Crochet Teddy Bear Skirt

I had a bit of a decision making process that I went through a couple of weeks ago regarding my crafting desires. I was in the middle of making a quilt when my sewing machine jammed up and really made me frustrated. I decided then and there (without even finishing that particular quilt) that I was ready to give up sewing. It wasn’t the first time the machine had caused that kind of problem, and I was done.

Combine machine problems with the fact that I’ve never felt that I was that great at sewing (adequate at best; definitely not talented), and I was ready to call it a day, so to speak, with that particular hobby. I decided to focus my creativity on yarn crafts instead.

I knew how to crochet already, and am actually pretty good at that. And after telling Will about my decision, he thought it would beneficial for me to learn to knit so we explored local classes on that hobby (more on what we found in a different post).

I was so at peace with my decision – excited even – that I couldn’t sleep that night. Of course, a 3-month-old baby didn’t help that aspect ;). But even while I was holding Dragonfly while he slept on the couch and I tried to (lying there with my eyes closed), my mind was whirring with excitement and ideas over all the different things I could create now that my focus would be less divided. The one that kept playing out over and over in my head was this one: a teddy bear skirt. I’m not entirely sure why this was the first project I invented considering I have all boys (their teddy bears are also boys – not a girl among them!), but it was. Now that the skirt is completed, it will probably find a home with one of the boys’ girl friends for her bear.

Special thanks to Small Fry for letting his bear, Toby, be the model.

Crochet Teddy Bear Skirt 2Crochet Teddy Bear Skirt Pattern

Designed for a standard “Build a Bear Workshop” bear

Materials:

  • Worsted Weight (regular) Yarn (I used Caron Super Soft)
  • Size H and Size I crochet hook

Abbreviations:

  • HDC = Half-double crochet
  • DC = Double crochet
  • Ch = chain
  • Sk = skip the specified number of stitches

Directions:

  1. Chain 75 using the Size I hook.
  2. Switch to the H hook. Use this one for the remainder of the pattern. (I find that making my base chain with a larger hook eliminates the arch that is caused when the chain is tighter than the stitches.)
  3. Row 1: Starting in the second chain from the hook, HDC across.
  4. Row 2: Ch 2. Turn. HDC across.
  5. Row 3: Ch 2. Turn. HDC in first two HDC. Ch 2, sk 2. HDC the rest of the way across.
  6. Row 4: Ch 2. Turn. HDC across.
  7. Row 5: Repeat Row 3.
  8. Row 6: Repeat Row 4.
  9. Row 7: Ch 2. Turn. *2 DC in first stitch, DC in next stitch.* Repeat from * around.

Here’s where it gets a little interesting. After you crochet row 7, you’re going to join the last stitch to the first one using a slip stitch. Be careful not to twist the work when you do this; you want a flat skirt. Continue the pattern as follows.

  1. Round 1: Ch 2. *2 DC in first stitch, DC in next two stitches.* Repeat from * around.
  2. Rounds 2-7: DC around.
  3. Tie off. Weave in ends.

When you’re done with the crochet portion, sew buttons onto the yoke of the skirt (the portion created with HDCs) to line up with the buttonholes that were created in Rows 3 and 5. Sew them far enough in that when buttoned, the skirt fits yours (or your child’s) teddy bear.

Please feel free to make this pattern. If you write about it online, please link back to my blog – and leave me a comment so I can see how it turned out for you. Thanks!

Blessings,

 ladybug-signature-3 copy


This post is part of the Schoolhouse Review Crew’s roundup on Crafts. That post will go live on Friday, March 4th, 2016.

Crafts / Handiwork Ideas and Tutorials