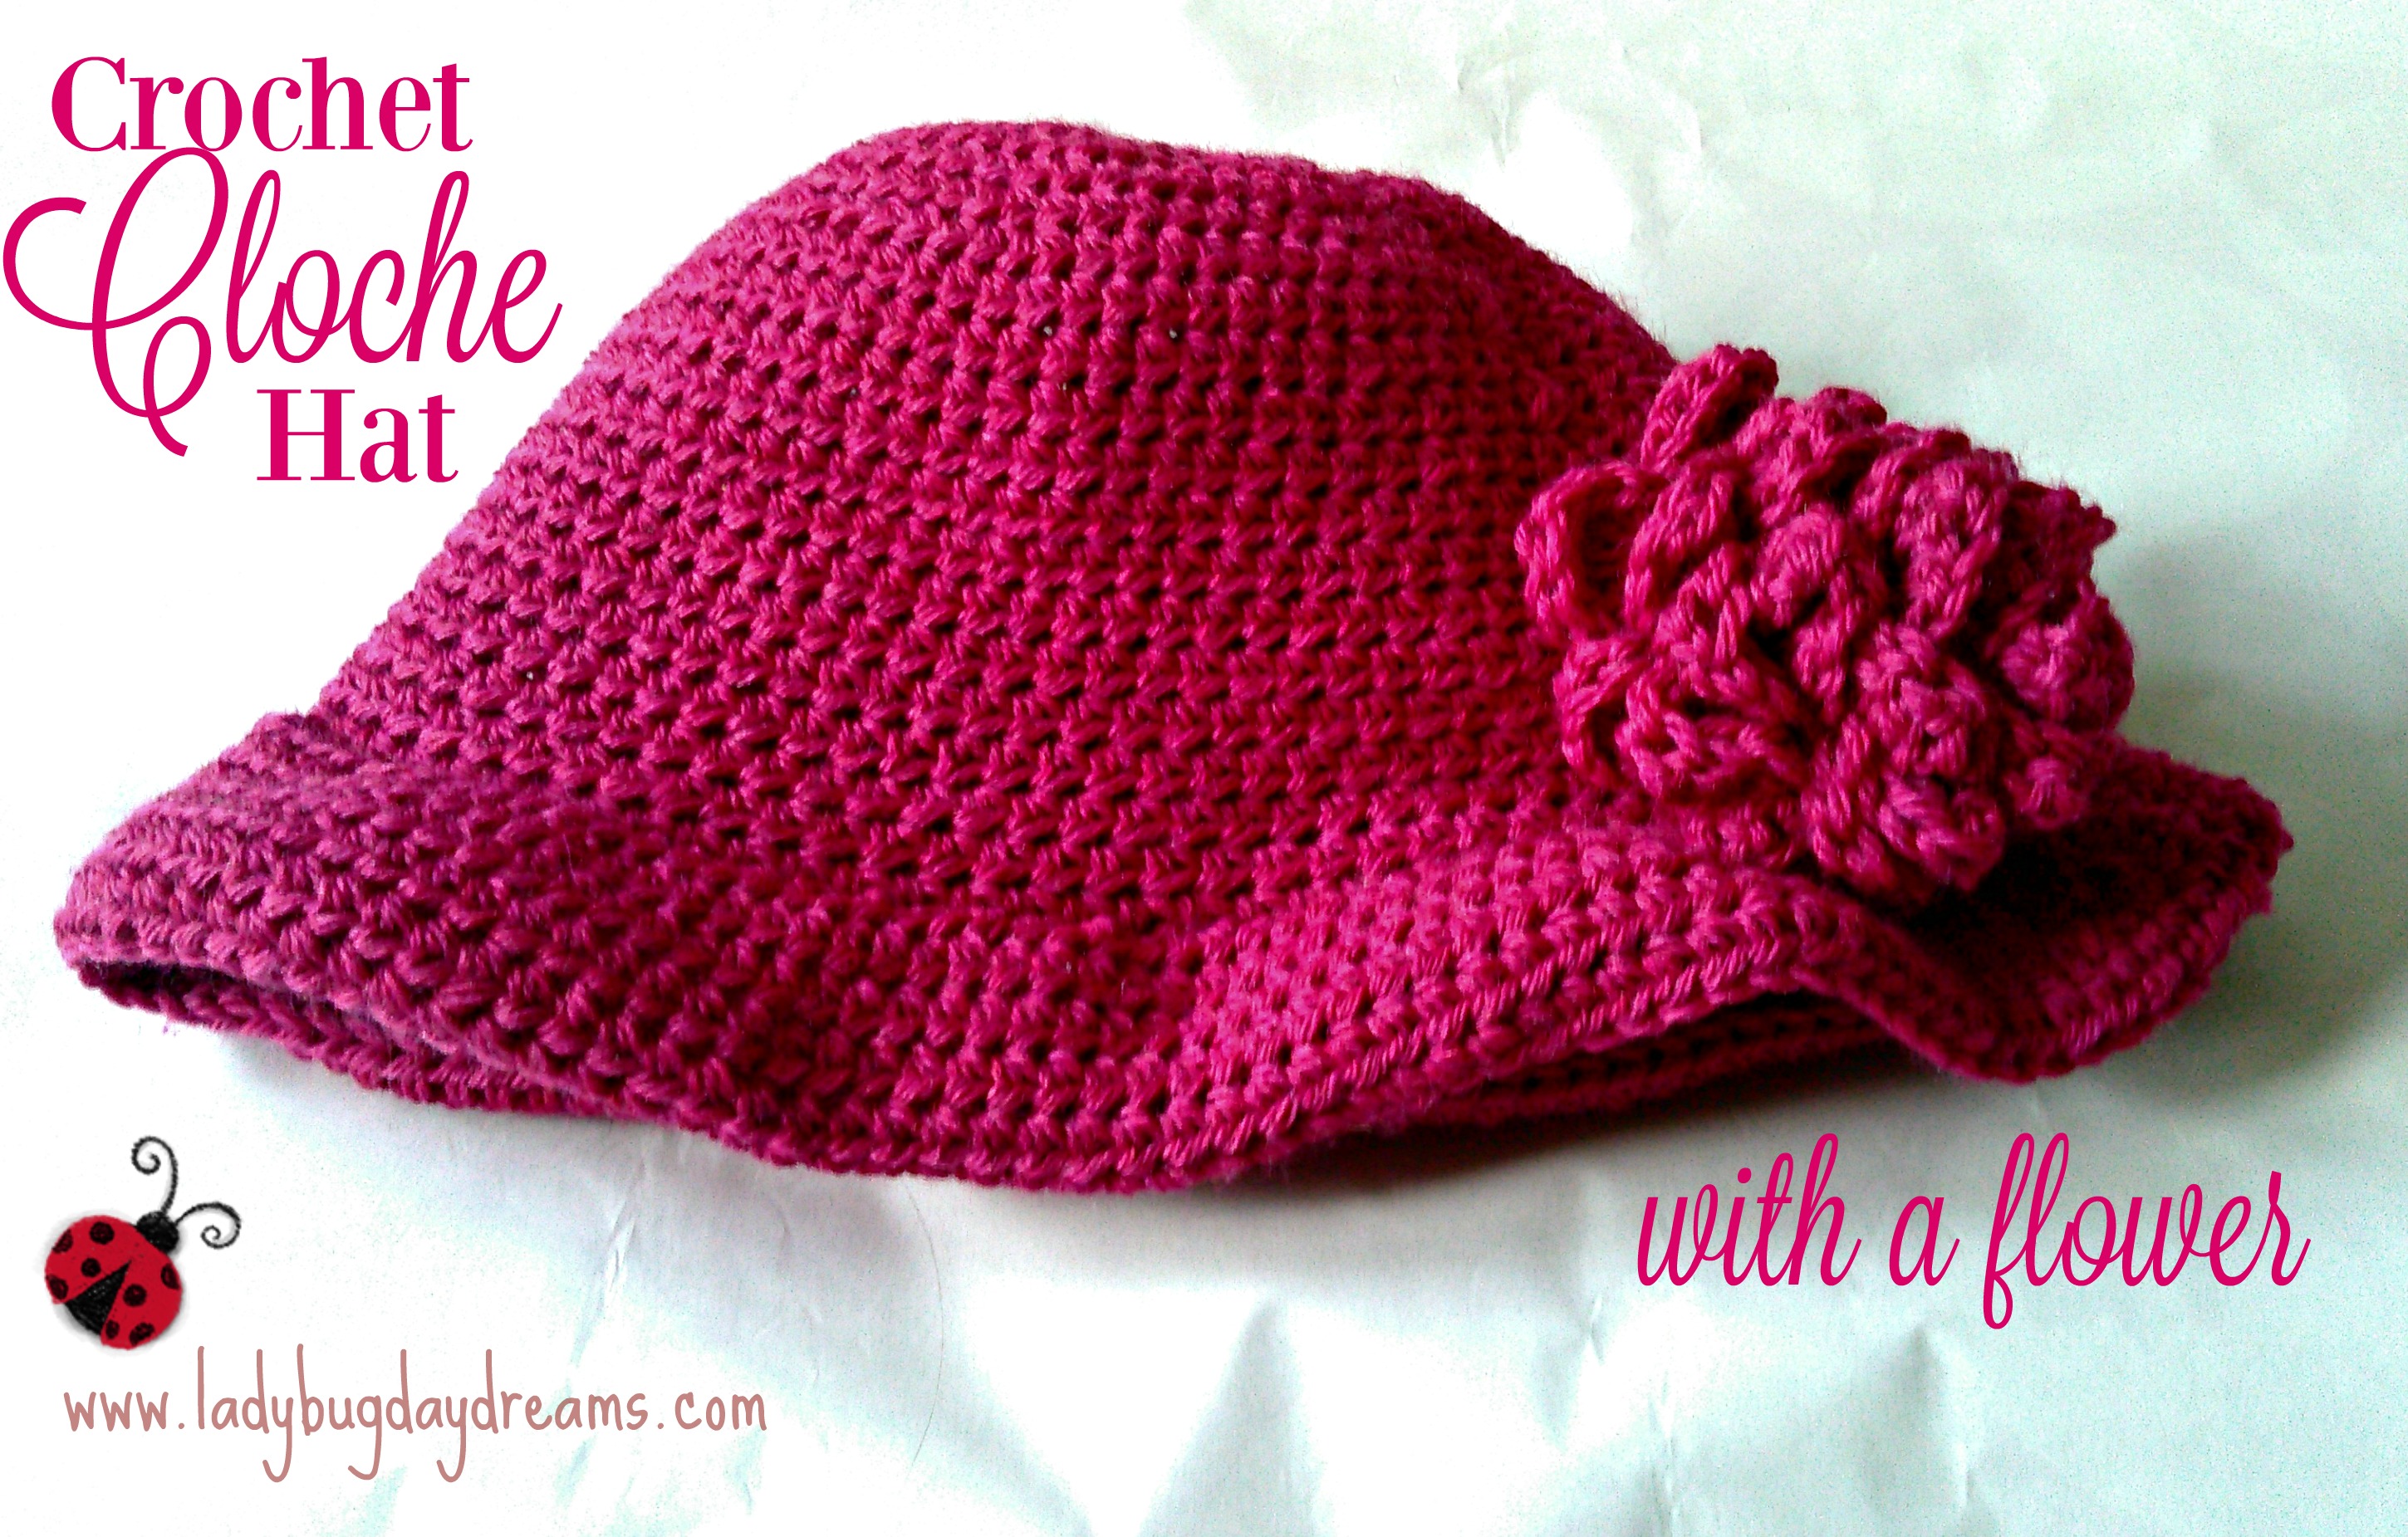
Crochet Cloche Hat with Flower

crochet cloche hat with flower

At Christmastime, I got a couple of new sweaters to go with my skirts to get me through the cold weather (tank tops aren’t really appropriate when it’s below freezing outside, even with a coat on…). They matched my two skirts perfectly – one blue and one pink – and I love them. While we were moving from the sweater section to the dressing room to make sure the sweaters fit, we passed through the hat department and found the absolute perfect hat. It’s a 1920s style bucket hat with a brim and a thin band around the base. It’s pretty much an exact match to my blue outfit.

I knew pretty much right away that I wanted to get another one to match my pink outfit, too, but that’s proven more difficult to find. So what does a crafty girl do? She makes her own! And that’s exactly what I did.

crochet cloche hat with flower 2
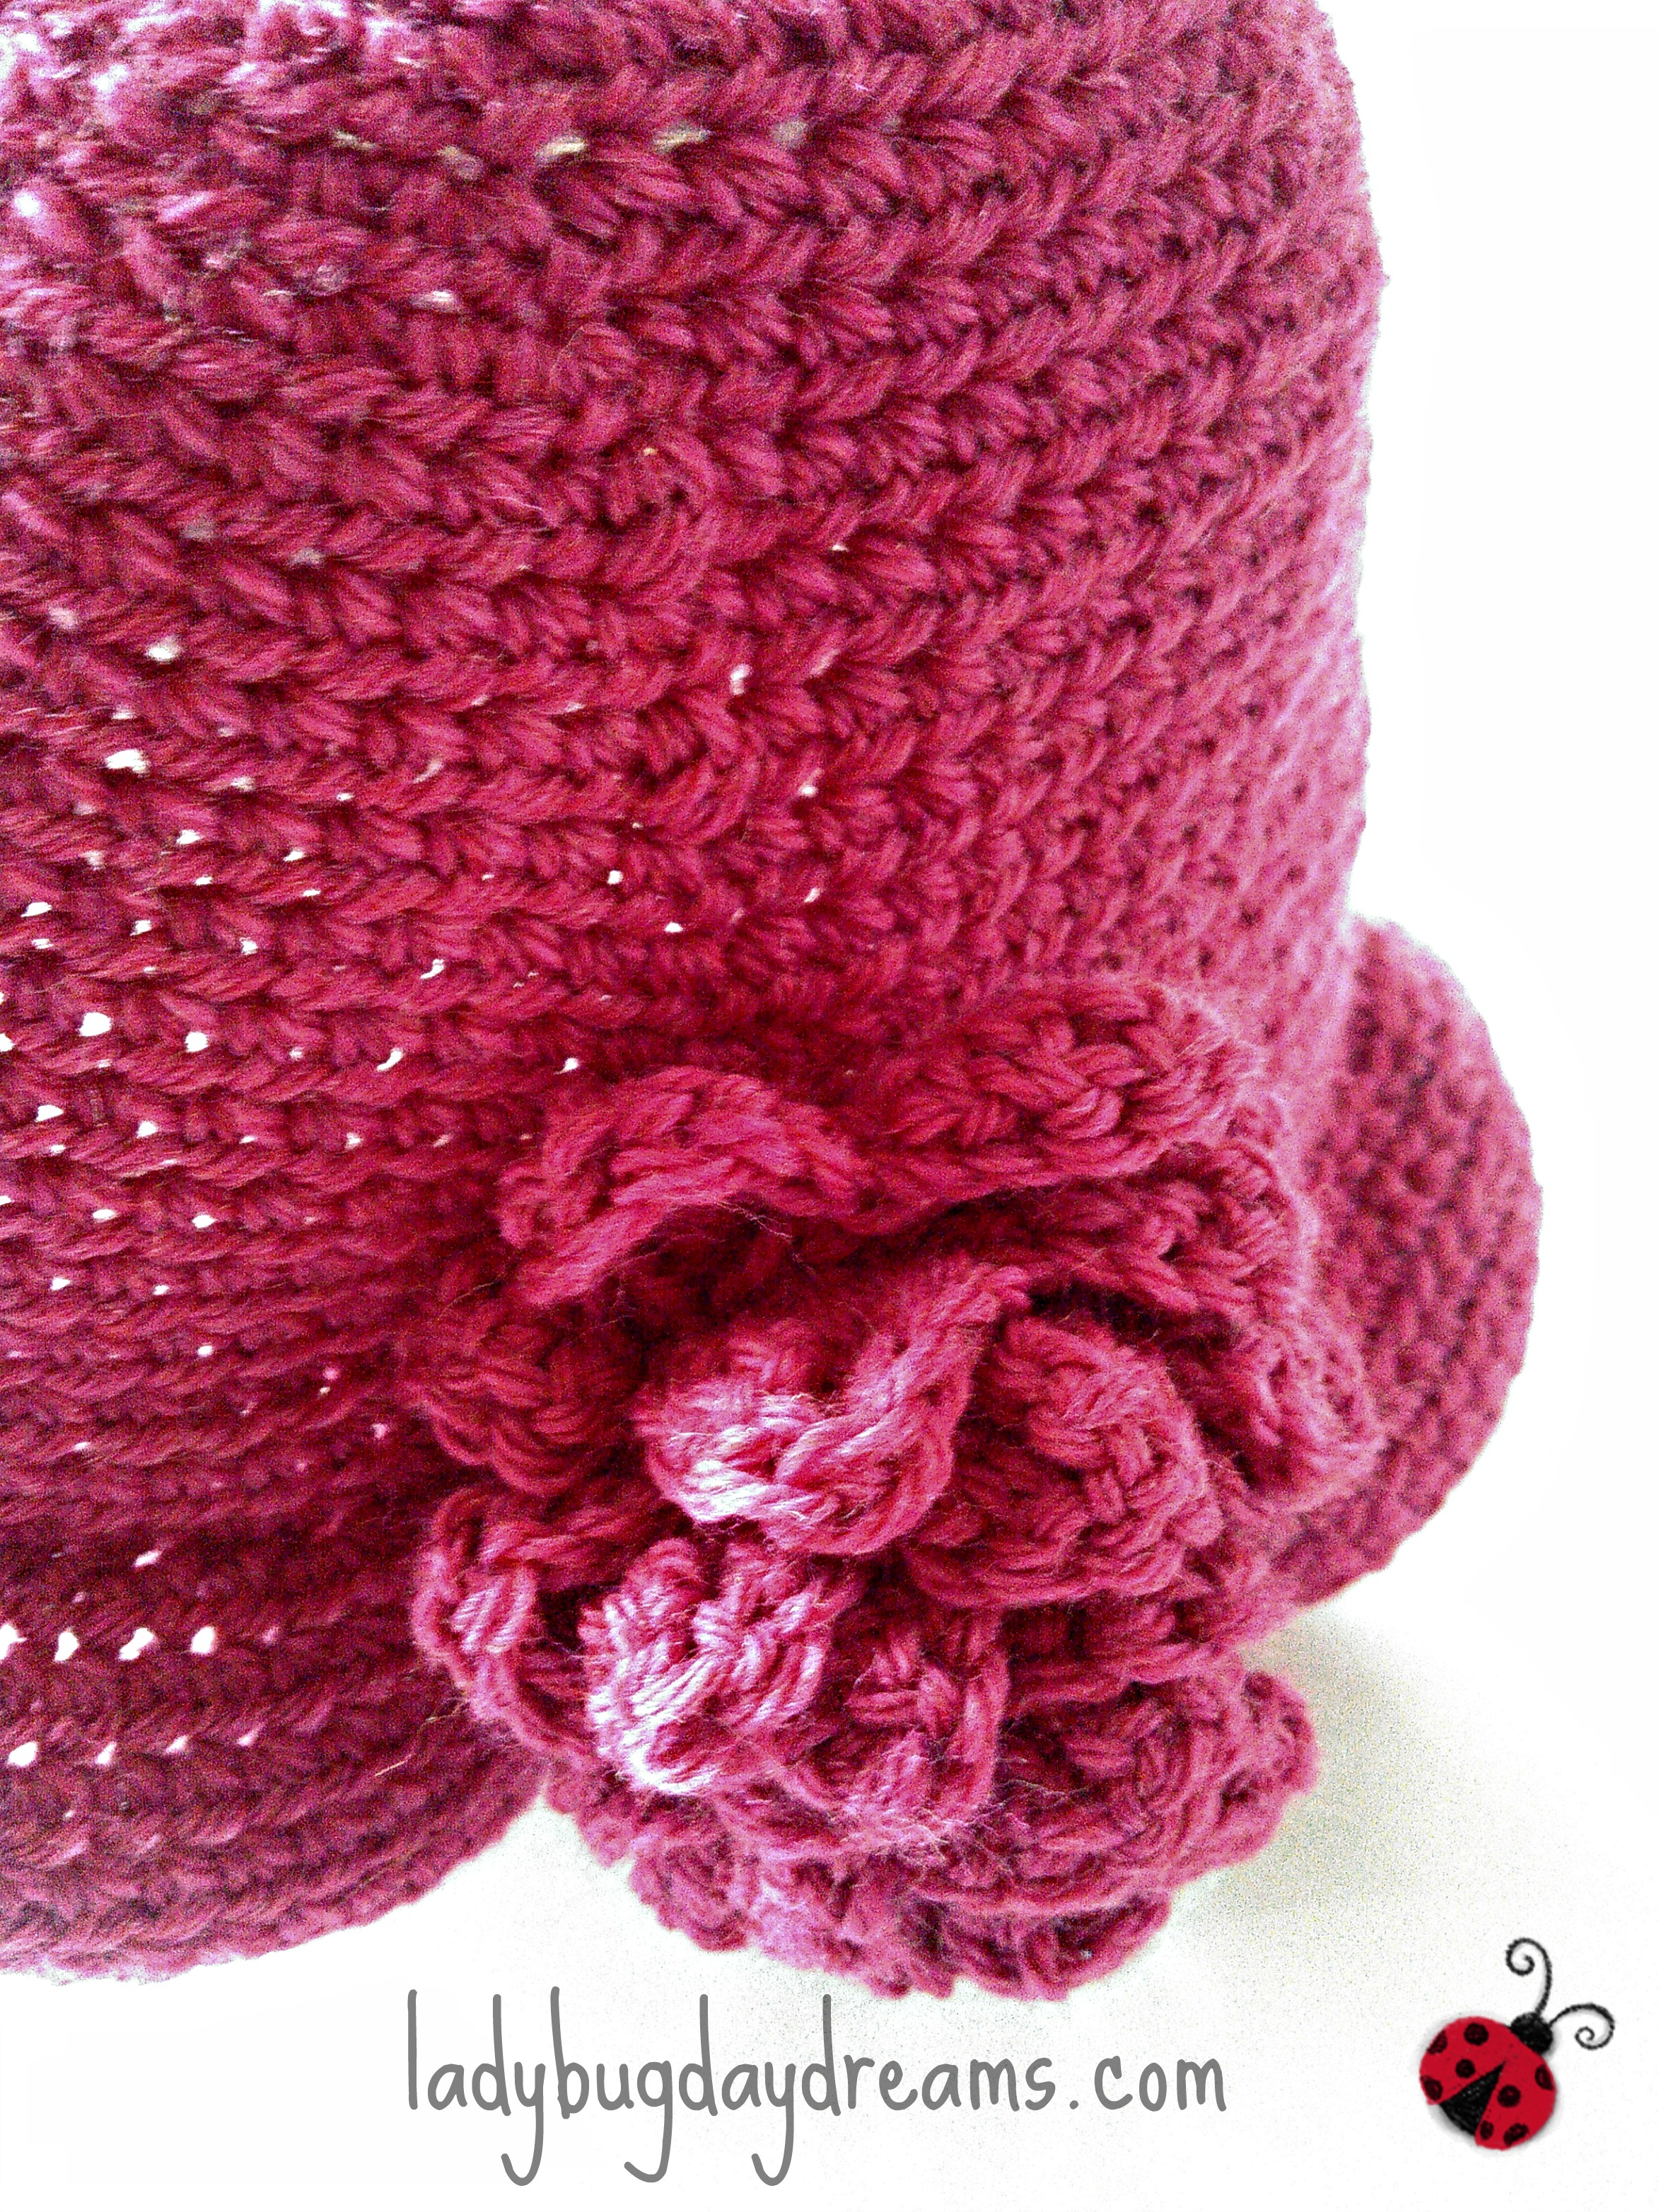
I spent a bit of time trying to find the perfect pattern, and I found a couple that were quite nice. But the problem was that I could tell about halfway through the crocheting process that they were going to end up way too small. So I ripped out all the stitches (I didn’t really want to waste my $9 yarn) and tried again. Same thing happened with the second pattern. So I decided to research what made a “1920s flapper hat.” Turns out, it’s called a Cloche Hat, and it’s basically just a beanie with a brim. That’s easy enough to do, so I gave up on the specific patterns (except for this one, which I used for the beanie portion of my hat, sans embellishments) and just added a brim to the beanie. Then I found a pattern for a lovely flower (I think they’re calling it a dahlia; I’m not that huge into flowers, so I’m not sure how much this actually looks like a dahlia…) and added it to the side of my hat.purple cloche hat

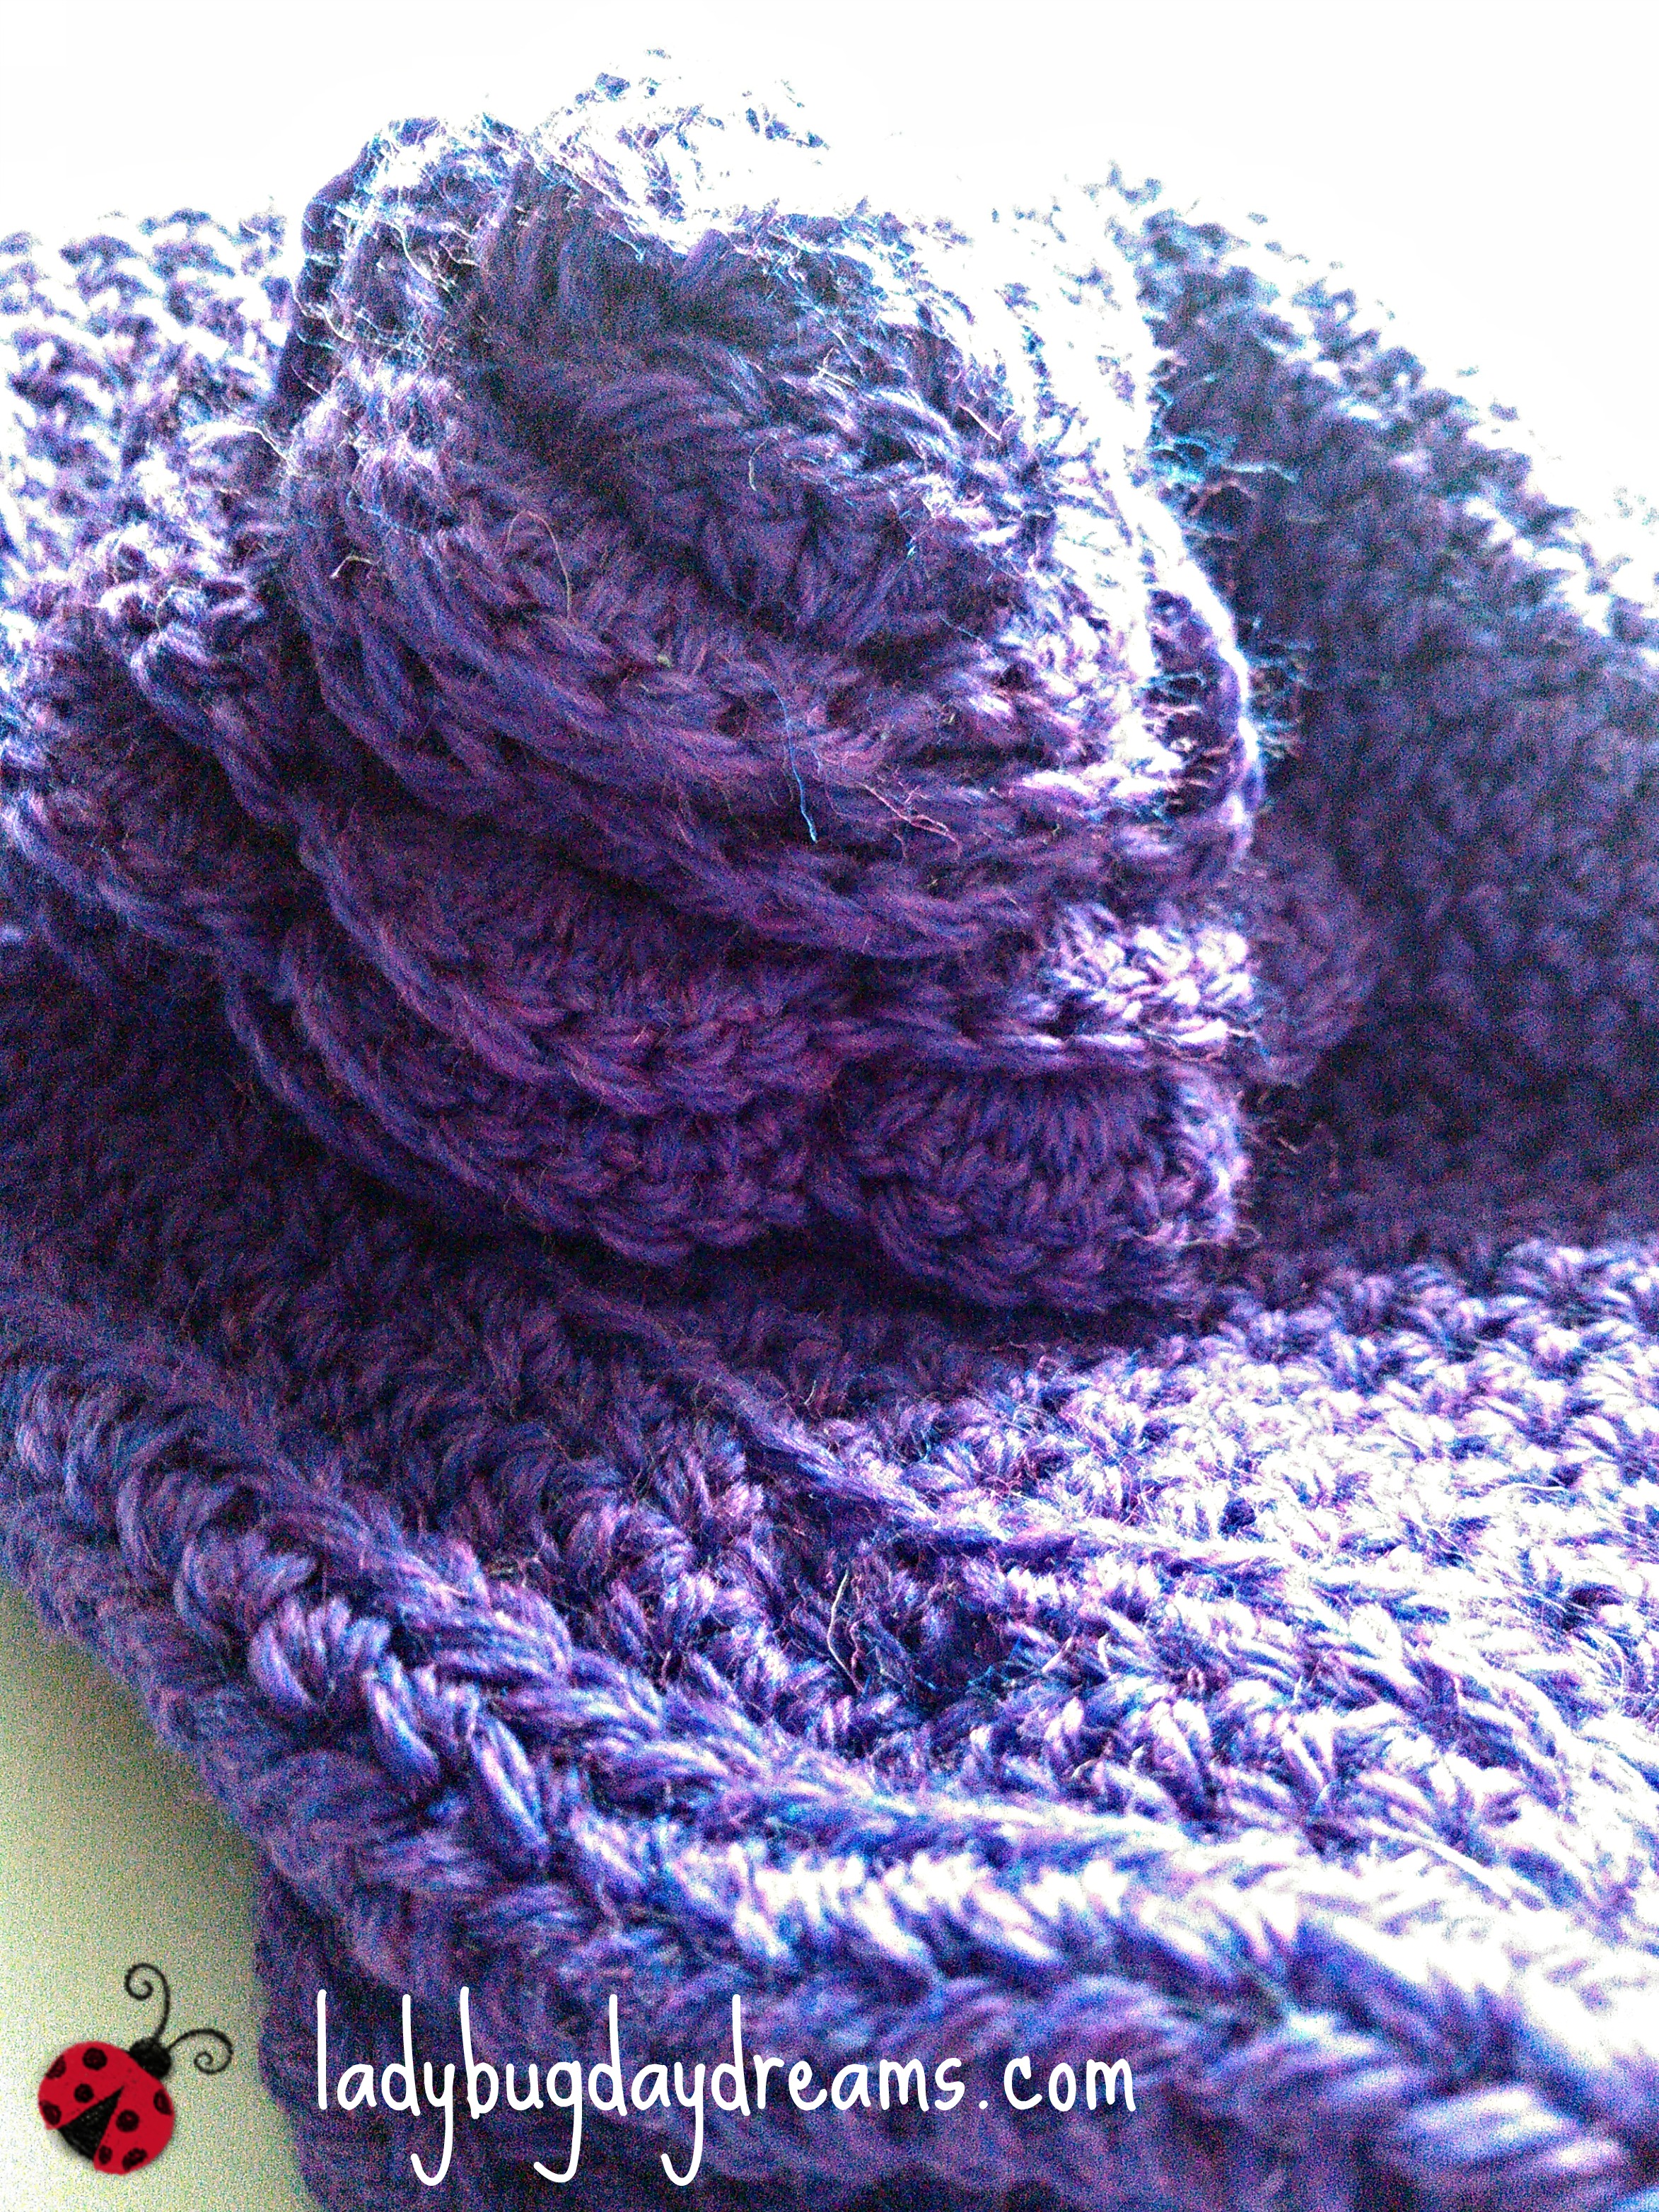
I liked the way it turned out so well that I headed straight back to the yarn store and purchased two more skeins of the same yarn (100% Peruvian wool) in different colors and have since made a second hat, this time with a rose on it. I think I’m going to gift it to my mother-in-law (step-mother-in-law, if we’re being technical). I really love this pattern that I hodge-podged together from others. It turned out exactly the way I’d hoped. I definitely plan to make these for gifts for people as we need them.

Blessings,

 ladybug-signature-3 copy


This post is part of the Schoolhouse Review Crew’s roundup on crafts. That post will go live on Friday, March 4th, 2016.

Crafts / Handiwork Ideas and Tutorials

Crochet Round Basket (free pattern)

KIMG0216

KIMG0213I was recently in the “market” for a free crochet pattern for a basket. I was unable to find quite what I was looking for, so I used my hat making skills to design my own. To be fair, even though I didn’t find an exact pattern for something I liked, I was able to glean tips from some of them that made my basket better than it would have been had I embarked on this mission without looking for patterns. So there’s that.

This basket is made using two strands of yarn held together and crocheted as one. By doing this, you get both an interesting look to your basket (especially if you choose different colors) and a bit more strength. And crocheting with two strands together is much easier than using thicker yarn in the first place – I’m not sure why, but I found it a nicer way to work.

I like how versatile this pattern is. Though I’ve included instructions for one the height of what I made, you can easily make it bigger or smaller by including more or fewer increase rounds. You can make it taller by adding more rounds after you’re done increasing but before you get to the handles; similarly, you can make it shorter by crocheting fewer rounds. Super simple.

Since I created this myself, I’m comfortable sharing the pattern. I hope you enjoy it.

Using 2 strands of worsted weight (normal) yarn held together:

KIMG0214Magic Ring; chain 2

Round 1: 11 DC inside magic ring. Join with slip stitch. Chain 2.

Round 2: 2 DC in each DC (22 DC). Join. Chain 2.

Round 3: 2 DC in first DC, one DC in next DC, repeat around (33 DC). Join. Chain 2.

Round 4: 2 DC in first DC, one DC in next two DC, repeat around (44 DC). Join. Chain 2.KIMG0215

Round 5: 2 DC in first DC, one DC in next three DC, repeat around (55 DC). Join. Chain 2.

Round 6: 2 DC in first DC, one DC in next four DC, repeat around (66 DC). Join. Chain 2.

Rounds 7-12: DC in each stitch around (66 DC). Join. Chain 2.

Round 13: (To make handle): DC in first 9 DC, ch 17, DC in next 17 DC (connect it to the 18th stitch), ch 17, DC to end.

Round 14: DC in each stitch around.

Tie off. Weave in ends.

I hope I’ve made this clear enough. If you try making this basket and run into problems, please leave a comment, and I’ll try to help.

Blessings,

ladybug-signature-3 copy


This post is part of the Schoolhouse Review Crew’s roundup on crafts. That post will go live on Friday, March 4th, 2016.

Crafts / Handiwork Ideas and Tutorials

Ladybug Themed Baby Gifts

A friend of mine recently (well, in late April) had a baby. As soon as she told me that she was expecting, back in November, I knew I wanted to make her some gifts. I just wasn’t sure what. Then I moved my blog here, to Ladybug Daydreams, and it hit me: a ladybug theme! When she told me she was having a girl, it was solidified in my mind that ladybugs would be a lovely theme for the gifts.

100_2012

Newborn Ladybug hat


I love both crocheting and quilting, so I focused my energy into those two mediums for the gift. It was fairly easy to come up with ideas once I had a theme: a baby quilt, a newborn hat, and a stuffed toy. All I had to do then was find patterns. The hat and quilt were easy enough; I’ve made countless hats and quilts over the years, so I got those done first. The stuffed toy took a little more energy to find a pattern for. There are loads of patterns on the internet, but very few for free.


100_2004

Dotty the Ladybug

100_2009

Dotty’s Belly

After hours of searching, I finally found one that was both free and adorable, so that’s the one I went with. (I don’t have the link handy, but if you’re looking for something like this, it’s called Dotty the Ladybug and I found it on Ravelry.) I decided to make the colors so that they’d catch a newborn’s eyes. This means that I chose red, black, and white, with different colored dots on each color (red has black, black has white, and white has red). The pupils in the eyes are just black buttons that I hot glued on. (The black with white spots is underneath the wings.)

Everything is pretty straightforward, but there’s one special thing about the quilt that I want to share. I didn’t use a traditional batting and backing for it. I left the fabric store with my ladybug and flower fabrics and headed next door to Goodwill (where Will and the big boys like to hang out while I’m looking for fabric). They weren’t done browsing yet, so I headed back to the linen section. It’s not unheard of to find great prices on fabrics at Goodwill, after all, and I was definitely not disappointed this time around. While I didn’t find a backing fabric for the quilt, I did find something much better: a two-layer baby blanket that was fleece on one side and that soft velvety stuff on the other side (how’s that for a quilter not knowing fabrics?!). And the best part was that it was tagged with the weekly half price color, so I snagged that for around $1.50 and it served as both the batting and the backing of the quilt.

100_2003When I finished the quilt top, I quilted it right to the fleece side of the blanket (because it was used, the fleece wasn’t all that soft anymore anyway), leaving the velvety side as the backing. Then I stitched the binding on as usual. I think it turned out great!

What’s your favorite baby gift to give expectant mothers?

Blessings,

ladybug-signature-3 copy

Crochet Spring Wreath

Crocheted Spring Wreath | Ladybug Daydreams

I was recently inspired and challenged by the lovely people over at Patience Brewster to create a “non-Christmas wreath.” (For any who don’t know, Patience is a designer and creator of handmade Christmas ornaments.) Because I’d recently seen something like this on one of the other blogs I read, it was already in my mind a bit, so I accepted the challenge.

Other than the idea, this post is not sponsored in any way. I purchased all of the materials with my own money and created my wreath in my spare time. I was not compensated for my time or costs at all.

The first thing I did (after I had my materials, of course) was to crochet the piece to cover the wreath base (which I got for about $5 from JoAnn’s). I chose purple because it seemed like a nice springtime color that would make a lovely base for my wreath. To do this, I crocheted a “scarf” using all single crochet stitches that was 20 stitches wide and 150 rows long. This process alone took me a few days because it wasn’t the only thing I had going on. When I’d finished crocheting this piece, I sewed it onto the wreath base. See this post from Repeat Crafter Me for a picture tutorial on how that works. [Read more…]