Crochet Vertical Rib Infinity Scarf

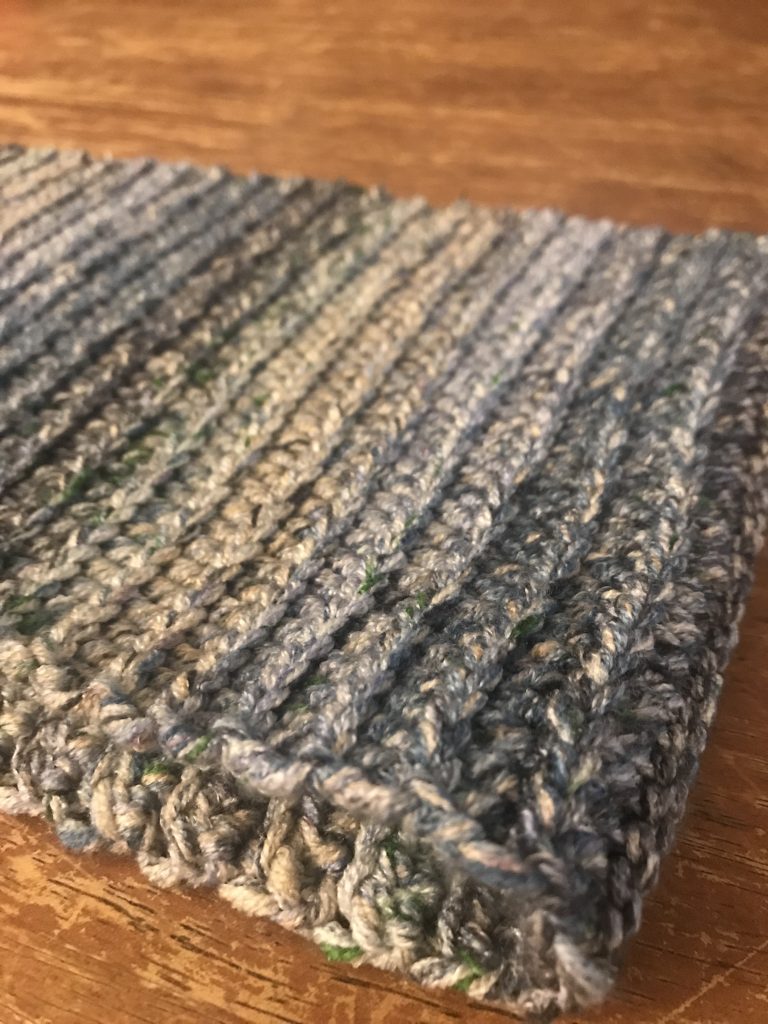
I have a fun crochet pattern to share with you today. A couple of weeks ago, Ballet Boy asked me to make him a long cowl, but I’ve been so busy with other projects that it took me a while to get done. I finally found the perfect yarn for the project and was able to get started. It only took a few days for me to make (it was one of two projects I had going at the time), and we are both so happy with how it turned out. He gets compliments on it everywhere he goes (so he tells me).

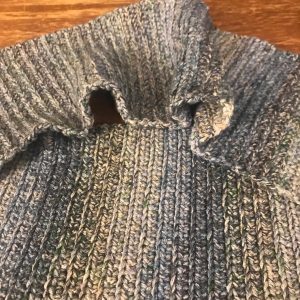
I used Big Twist Party yarn in the color Beach, but you could use any worsted weight yarn you’d like and it would turn out beautifully. The ribbing on the scarf is so well defined all the way through, and I think it’s a really nice texture for a scarf. It gives a lot of visual interest without being difficult to crochet. And because of the infinity scarf style, there are a thousand and one different ways you can wear it! Ballet Boy’s favorite way (which turned out to be a surprise to us both as it wasn’t something he’d been considering before I finished the creation) is to put it around his waist, cross it over his chest, and loop it over his neck. This gives him extra warmth around his body as well as up around his neck for those really cold days.

Crochet Vertical Rib Infinity Scarf

Chain 35.

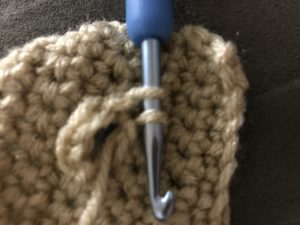
Row 1: HDC in second chain from hook and each chain across. Chain 1; turn. (34)

Row 2: Slip stitch into the back loops only (BLO) of each stitch across. Chain 1; turn. (34)

Row 3: HDC into the BLO of each stitch across. Chain 1; turn. (34)

Repeat rows 2 and 3 until scarf is desired length. I made Ballet Boy’s 55 inches, using a size I crochet hook. You use whatever hook and yarn you like, though, so long as they play nicely together.

End the repeat with a row 3. Loop the two ends together, right sides out, and slip stitch through the front loop of one side and the back loop of the other side to join.

Blessings,

Crochet Cocomelon Blanket

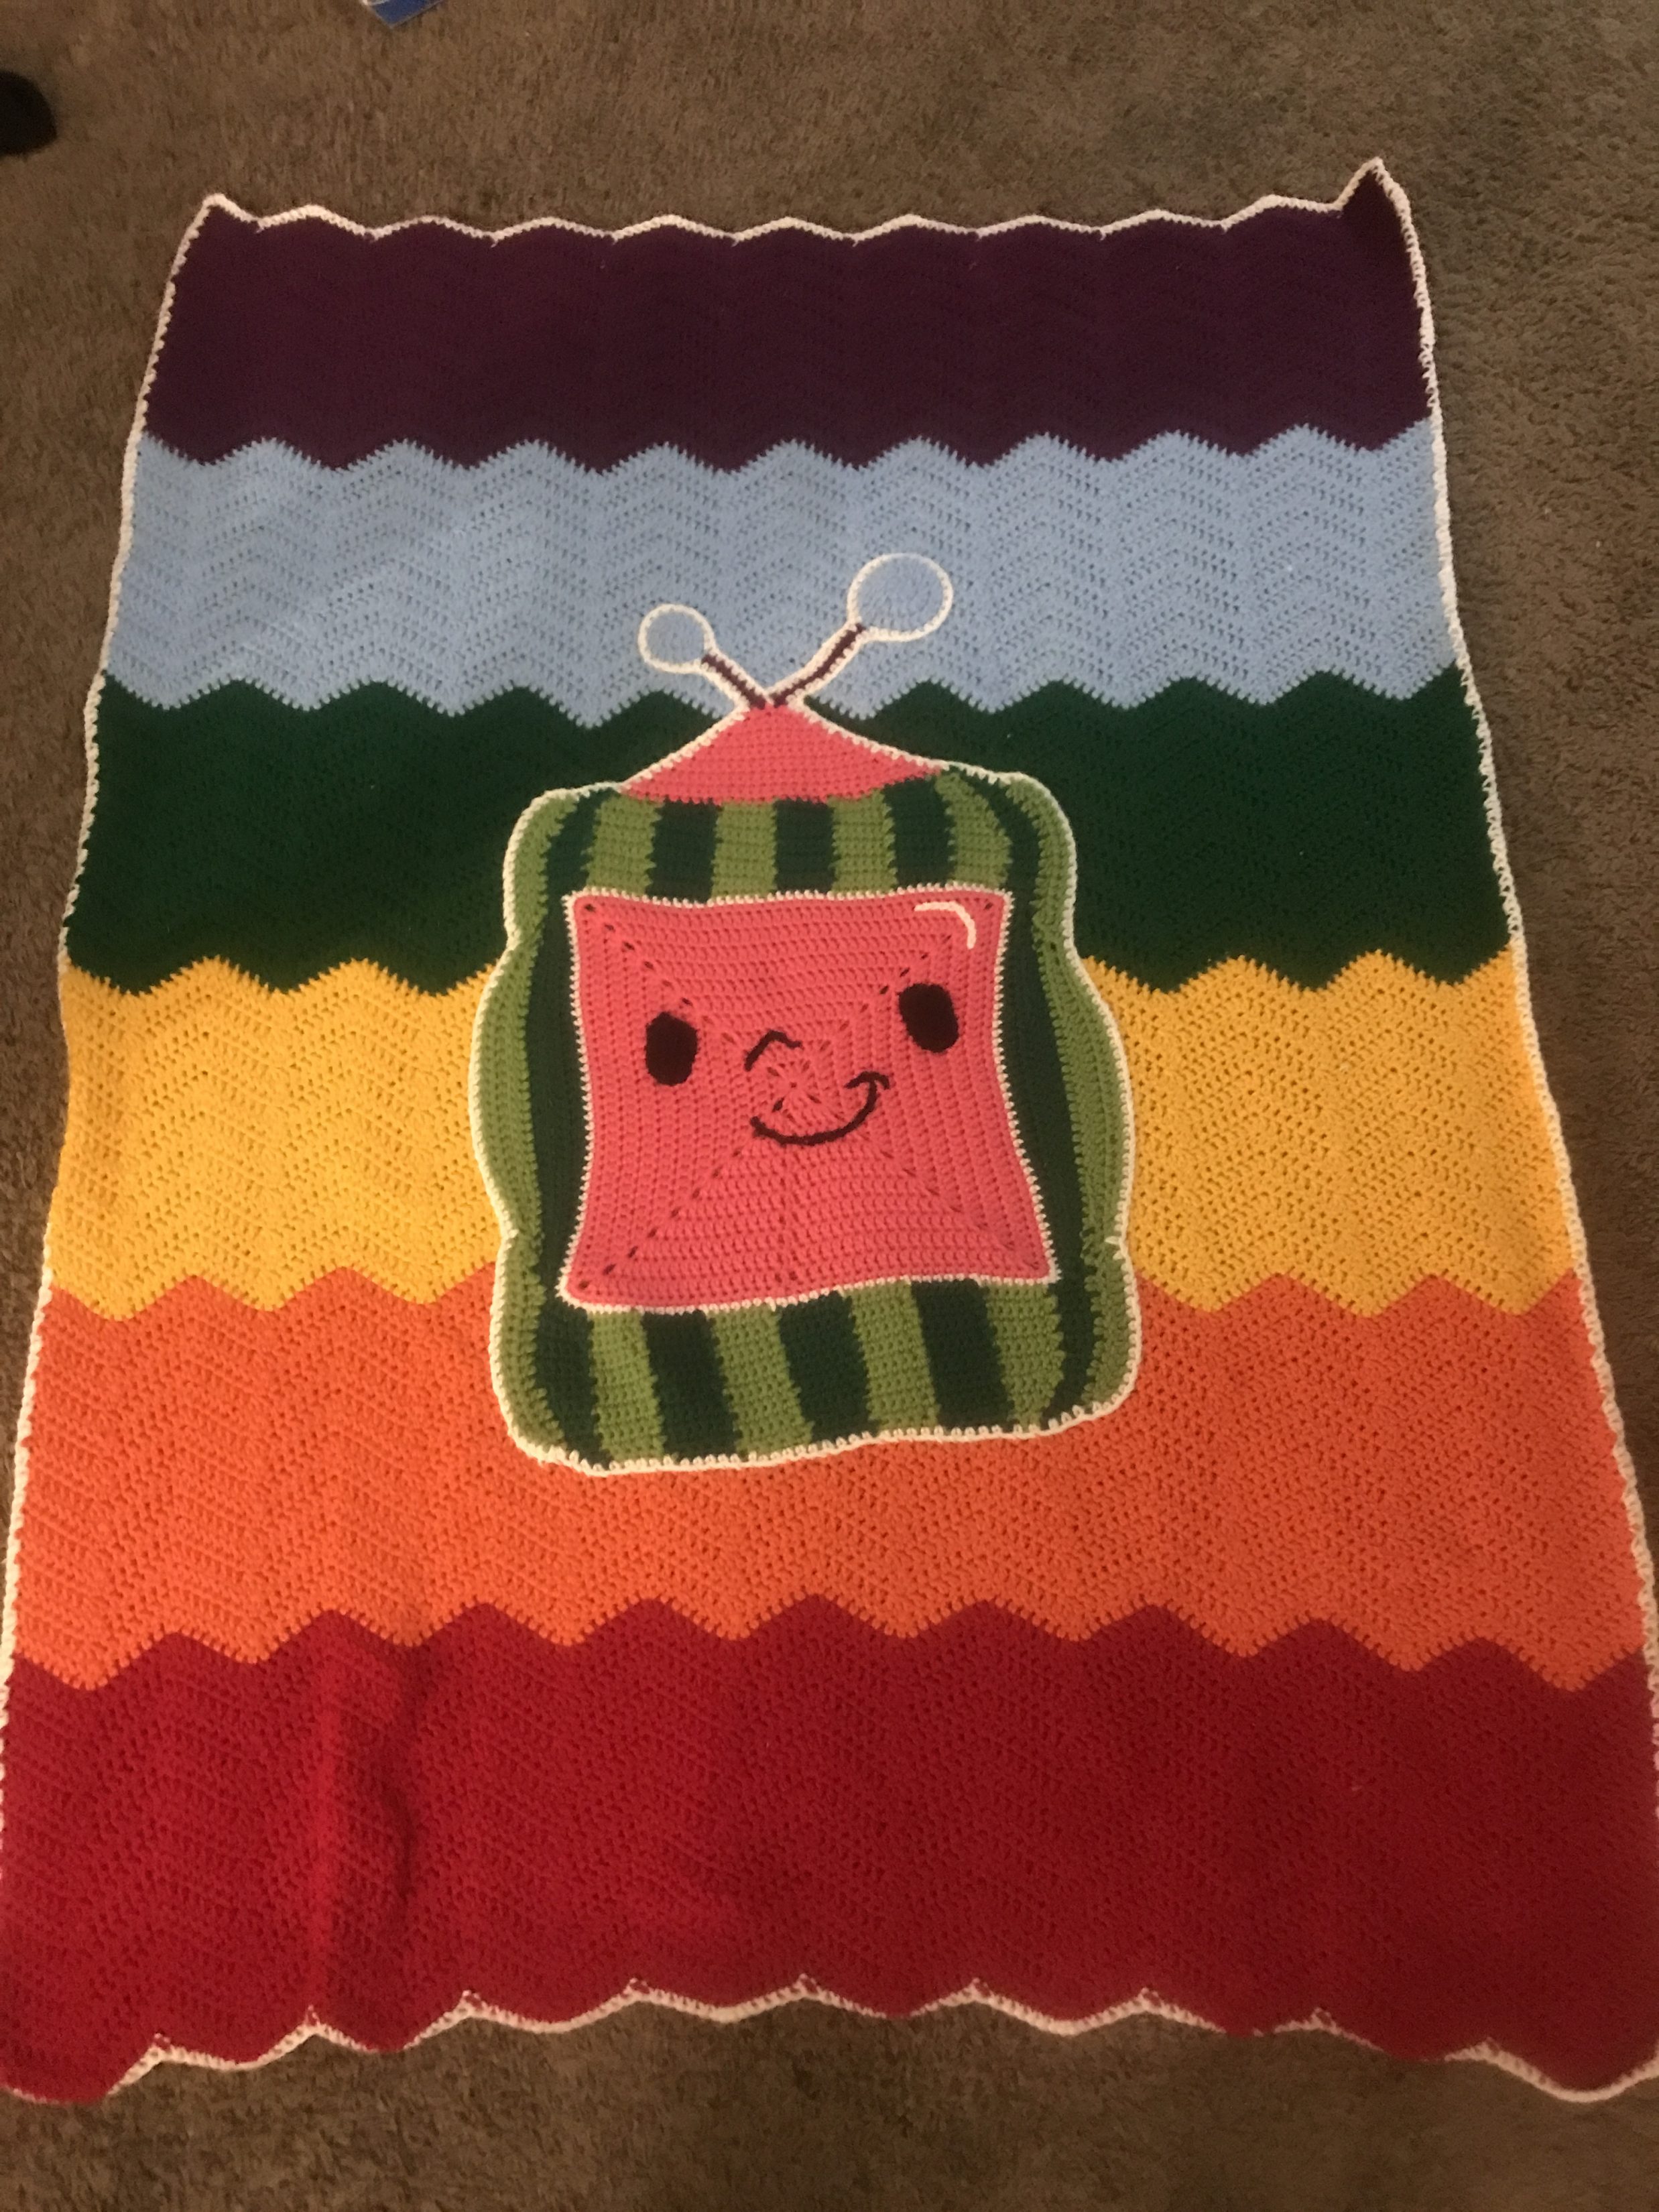
When we were planning Bumblebee’s Cocomelon birthday party, one of the options for large banners really caught my eye. We chose a different banner for the party, but I couldn’t get the other one out of my head. I knew it would be pretty easy to create a crocheted blanket inspired by that banner, so I set out to do just that.

I started by making a rainbow chevron blanket. The chevron, or zigzag, blanket is a pattern nearly as old as crochet itself (the way I understand it), and almost every designer has their own take on it. The one I’ve always had the most success with is the version by Jayda in Stitches on YouTube. I followed her pattern exactly, except that I changed the colors and added 2 repeats to what she does on her tutorial. I wanted a decent size, so I chose to do 16 rows of each color. Because it’s a double-crochet blanket, that gave me about 8 inches per color, and my blanket ended up being about 40×48 – perfect for a toddler! My favorite border for a chevron blanket is a simple, one-row single crochet border. I love the design of the chevrons so much that I don’t want my border to detract from the blanket itself, so every time I make one of these blankets that’s the border I use. For this blanket, I chose white.

When it came time to make the Cocomelon logo, I referred to Google images for the inspiration. Rather than giving a specific pattern, I’m going to describe my method instead; if you want to make this, I hope it’s easy enough to follow. If not, feel free to leave questions in the comments and I’ll try to answer them.

I went back to Jayda to get started, making a solid granny square (10 rows around) for the main portion of my watermelon logo. When I finished making that, it was time for the green stripes. I finished the square off by making an eleventh round, but this time using single crochet stitches. I also did 3 single crochets in each corner instead of the standard sharp corner to get the rounded look I wanted. Then I lined the square with a row of white single crochets. I made 2 single crochets into each of the corner stitches from the row before.

When my square was done, it was time to figure out the watermelon stripes. I started with dark green. My square was 44 stitches on each side, so to get that “round” shape to the melon, I did 7 sc, 7 hdc, 16 dc, 7 hdc, 7 sc. I repeated this pattern for 3 rows of dark green and then 3 more rows of light green.

The top ended up having 46 stitches once I incorporated the corner stitches, so I divided that up into the 9 sections of the logo. The two on either end were technically continuations of the dark green side, so I did 4 stitches for each of those. That left me with exactly 6 stitches available for each of the other stripes. I used the method of joining as you go for these stripes (as seen in this video – again, thanks to Jayda in Stitches). I didn’t count my rows, but each one is about 3 inches tall. The edge stripes start decreasing about halfway up – decrease on the outside edge (3), crochet 3 rows, decrease on outside edge (2), crochet 1 row, decrease (1), crochet 1 row. The rows in the middle of the melon are only decreased at the top, either on the last row or second-to-last row of each stripe (again, I wasn’t super careful here, hence the variation). The main thing is to end each stripe with 4 stitches at the top instead of 6. This pulls it in a bit at the top and bottom to round it out a little.

After finishing all of that, I realized that I needed a bit more of the light green at the top and bottom on each side, so I took a moment to add those in – 1 sc, enough dcs to “feel” right, and another sc.

For the pink nubby thing at the top of the cocomelon, I started my yarn a few stitches in and single crocheted across the top, stopping the same number of stitches from the other side. I did a single crochet decrease on both sides in every row, and worked until I had just 4 stitches left.

To make the antennae, I attached my dark purple yarn and chained up (16 for one of them and 11 for the other). Then I slip-stitched back down and fastened off.

The blue circles at the top of the antennae were made separately. If you’ve every made a crochet hat, you’ll know how to do this. Work 8 DC into a magic circle. For the second round, work 2DC into each stitch. Round 3: *2DC, 1DC* all the way around. One of the circles was 2 rounds and the other one is 3 rounds. Set these aside.

For Cocomelon’s eyes, here’s the pattern (make 2 of these using black yarn):

Chain 5.

R1: 2 SC in first stitch. SC in next 2. 5 SC in last chain. SC in next 2 (bottom of chain). 3 SC in last chain. Total of 14 stitches.

R2: 2 SC in first stitch. SC in next 4. 2 SC in each of the next 3. SC in next 4. 2 SC in each of the next 2. Total of 20 stitches.

Fasten off, leaving a long tail for sewing.

Sew the eyes onto the face, referring to a picture for placement. For the nose and mouth, use surface slip stitches to add them using black yarn. Use the same method but with white yarn for making the “shine” in the upper right corner.

Now you get to put the whole thing together! Starting anywhere you like, single crochet around the entire Cocomelon in white. When you get to the top of the antennae, place your blue circles there and continue single crocheting around them, joining them to the antennae. Put the bigger circle at the top of the longer antenna. I recommend increasing your circles during this phase (*2SC in first st, 1 SC in next 2* around for the bigger one; follow round 3 above except using SC stitches for the smaller one). I didn’t do this, and my circles were a bit tricky to flatten out when I sewed them onto the blanket. When you’ve finished your final border, sew your (giant!) applique onto the blanket in whatever position you’d like. There are about a million ends on this project, but the good news is that you don’t have to weave in any of them! Just make sure they’re tucked underneath your applique as you sew and you’ll be good to go.

My Cocomelon didn’t turn out perfectly. It’s a bit wobbly and more square than rectangular, but it’s close enough to get the job done. And most importantly, Bumblebee loves it!

If you make this, please tag me on Instagram (@ladybugdaydreams) so I can see!

Blessings,

Recipe: Angel Chicken

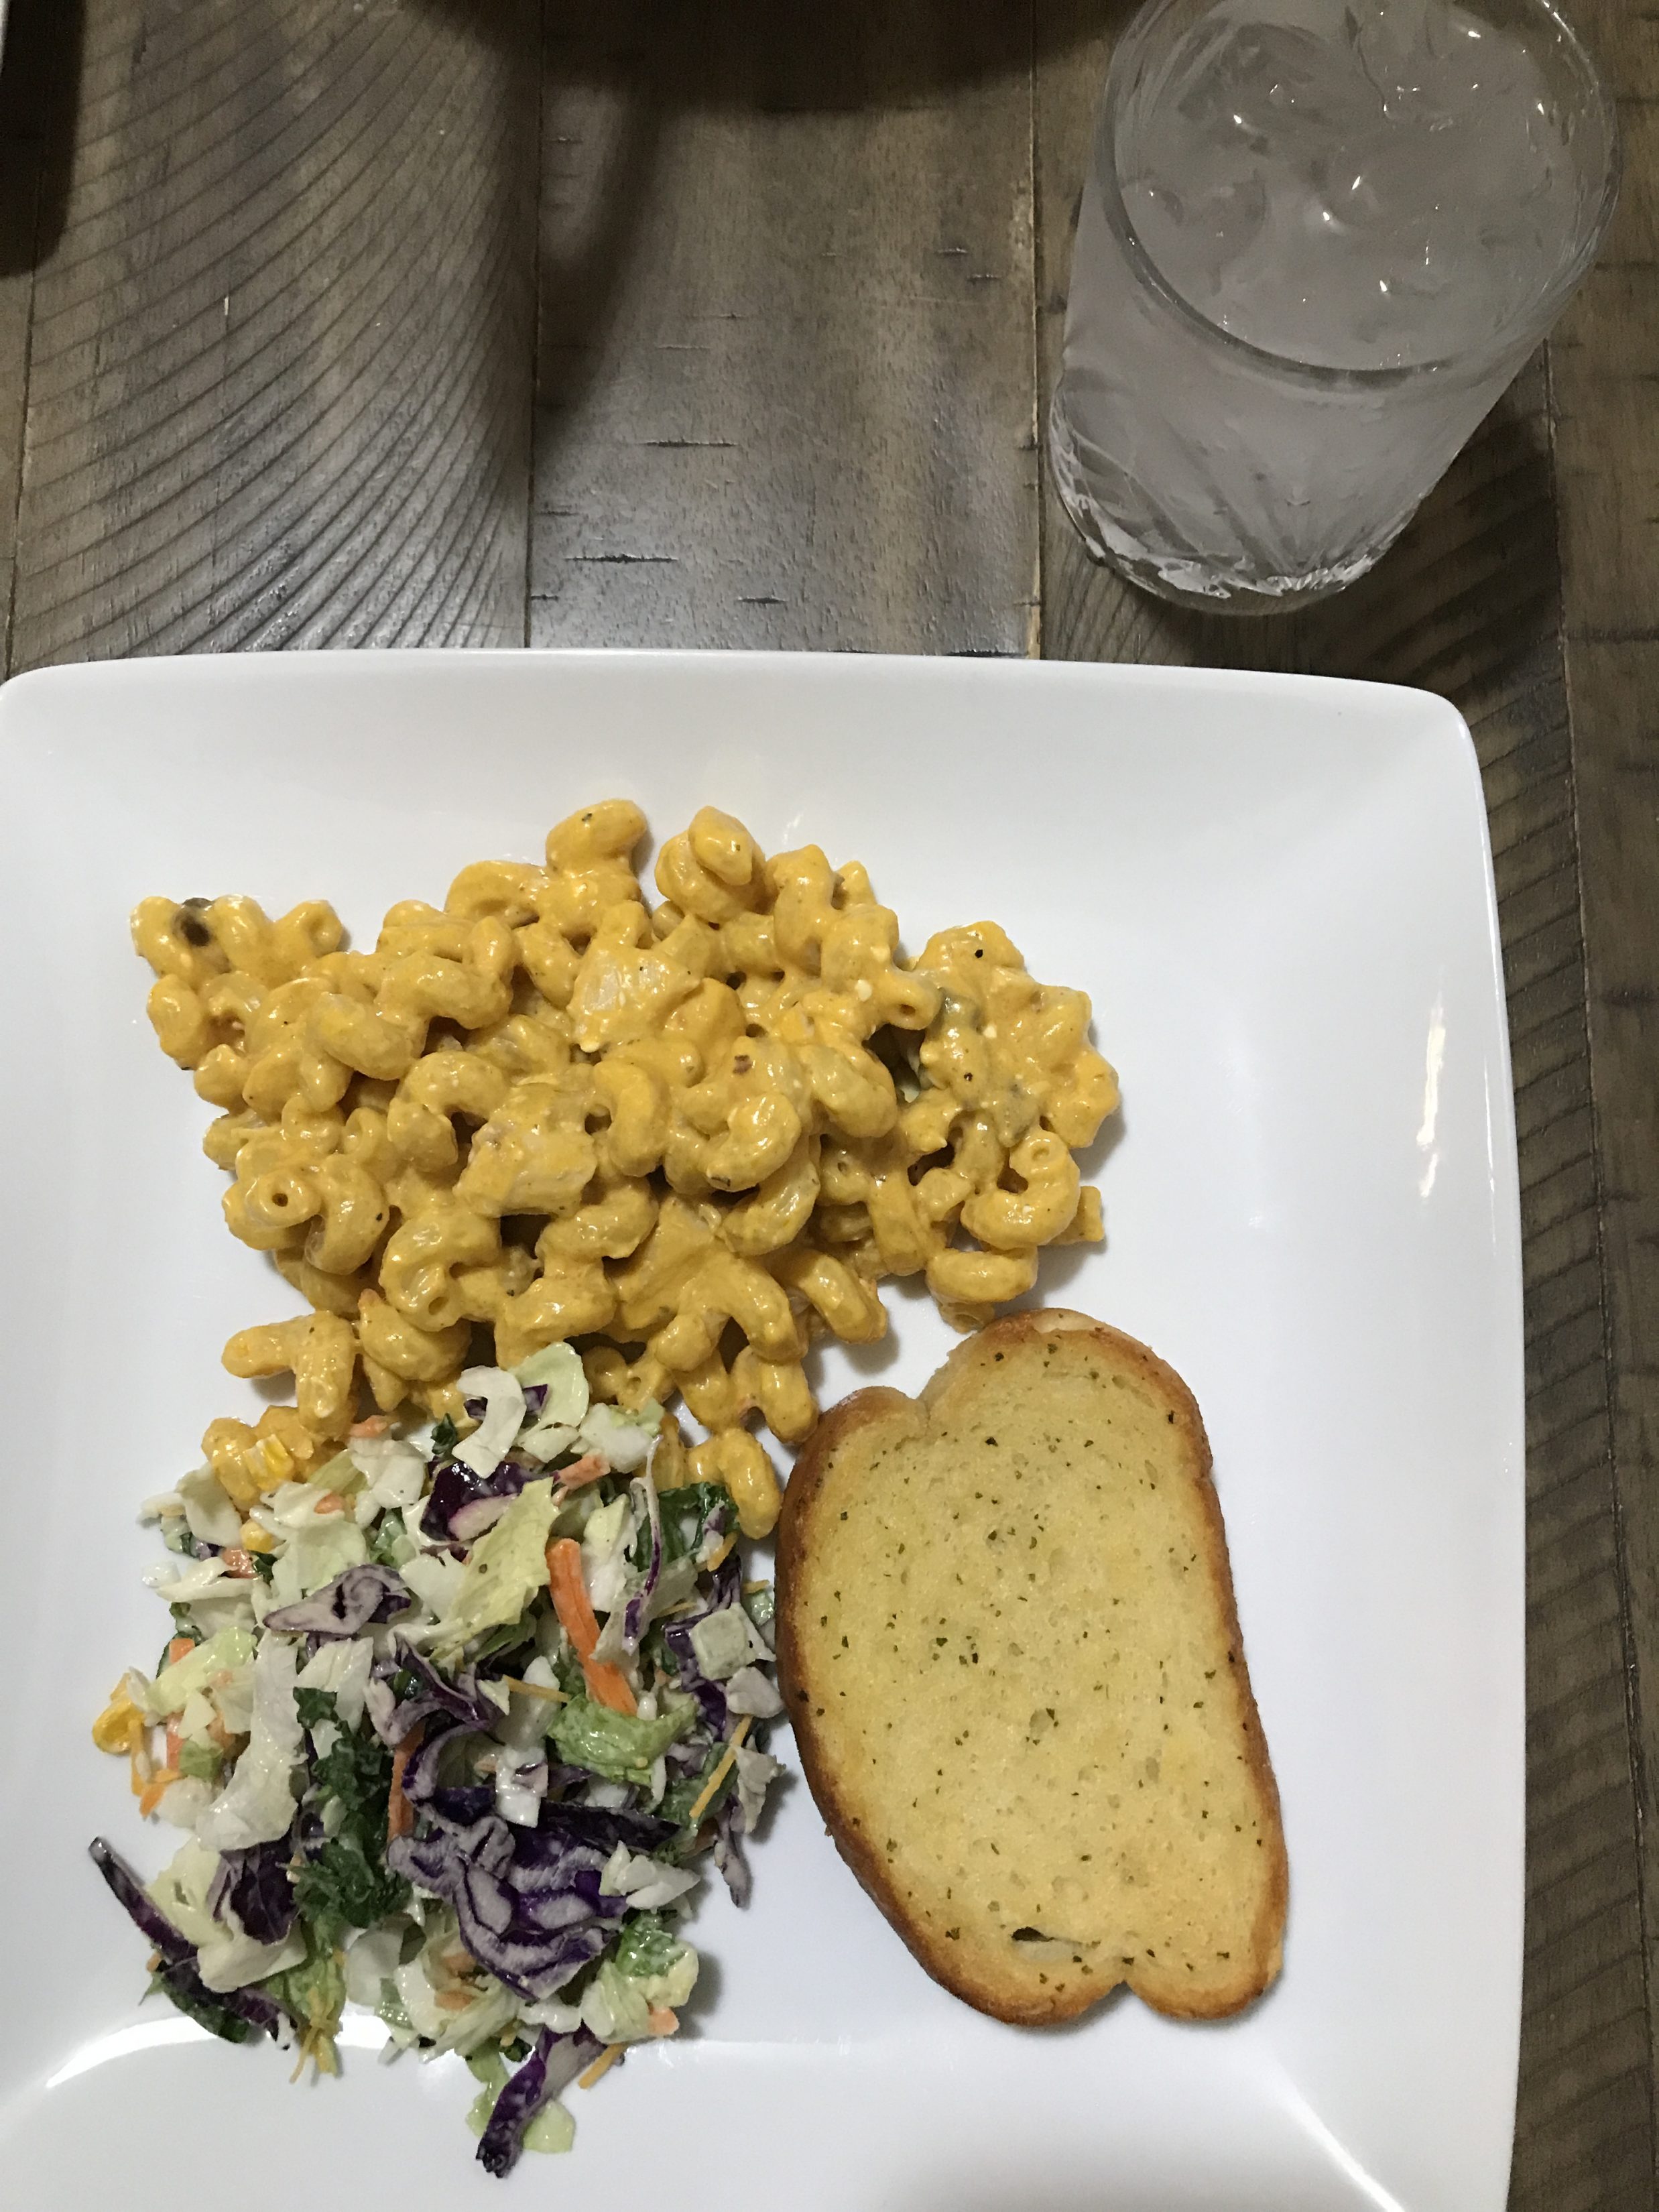
I have a recipe to share with you today. It’s so delicious, though probably not the healthiest thing in the world. It’s not that it’s full of “bad” things, but because of the cream cheese, butter, and pasta it has a lot of fat and carbs. You could counterbalance that by using a low fat cream cheese, butter substitute (or just lessen the amount of butter) and low-carb pasta (or skip the pasta altogether and serve with spaghetti squash or other “noodled” vegetables). You could also skip the “bed” entirely and just eat this sauce as its own dish (it’s definitely thick enough to pull that off) with a side salad or other choice of vegetables.

I originally found the idea for this recipe on AllRecipes.com. My version uses all the same ingredients, but I’ve modified the cooking method to make it easier to cook well. It’s not necessarily easier, per se, but whole chicken breasts can be tricky to cook well in the oven. The original recipe called for making the sauce separately, then pouring it over the chicken and baking it altogether. It could be because I have kids, or maybe because I get pretty frustrated when my chicken takes too long to cook, but I like to chop the chicken up and cook the small pieces. This saves the trouble of cutting them up for the kids later when you’re ready to serve. Also, baking chicken breasts can be hit or miss. Just a couple of minutes too long and your chicken is suddenly unpalatable due to dryness. So I’ve combatted those issues by cutting up the chicken in advance and cooking it in a skillet (you can add oil if you want, but I normally don’t need to) and then adding the sauce ingredients and cooking everything in one skillet. The other benefit of making it this way is that it’s just a one pot meal (excluding the pasta, but that’s an easy pan to wash later).

Let’s get to the recipe!

Angel Chicken

(serves 6-8)

1-1 1/2 pounds chicken breasts, cubed
1 packet dry Italian dressing (find it on the salad dressing aisle)
8 oz cream cheese, cubed
2 cans Golden Mushroom soup
1/2 cup butter (1 stick)
hot cooked pasta

Cook chicken. Sprinkle dressing mix over chicken and mix well. Add cream cheese and soup. Mix until cheese melts. Stir in butter and melt. Serve over pasta.

What’s your favorite chicken recipe? Pasta recipe?

Blessings,

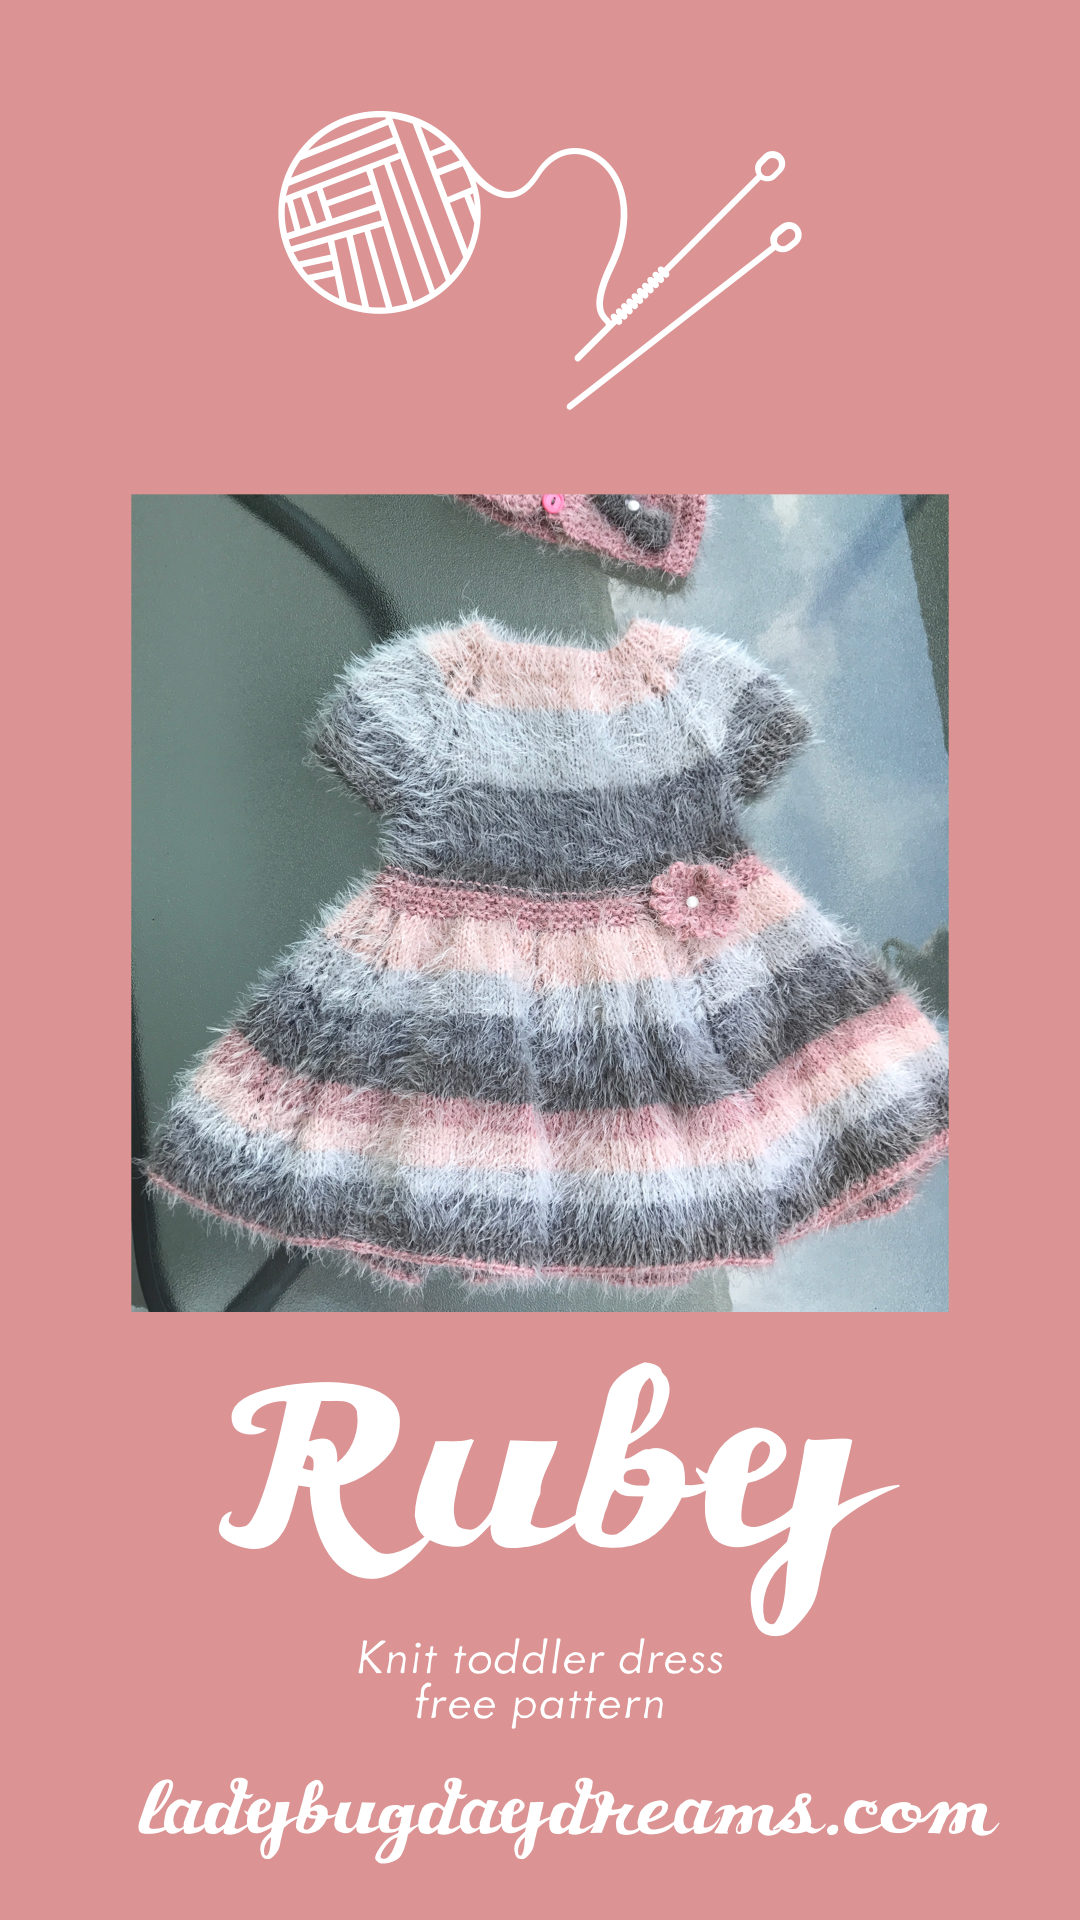
Ruby Dress pattern

I posted about the Ruby dress I designed and made last week, but I hadn’t yet written out the pattern. Well, now I have, so I wanted to post it here so other people can have the opportunity to make this cute little dress!

D3796C25-22B1-4F42-ABB3-5ED1D2440896

Full disclosure: I tried to find people to test knit for me and didn’t get any takers, so this pattern hasn’t seen anyone’s eyes but mine until now. If there are any mistakes (which I don’t think there are, but you never know), please feel free to let me know so I can adjust them.

I did not include a pattern for the flower because I didn’t write one. Any crochet or knit flower (or even a decorative button or felt/silk flower) will do. You could even leave the dress plain, but I think the flower adds a little “something special.”

Here is the pattern.

Ruby

Knit Toddler Dress

Size 12-24 months

Gauge: 18 stitches and 26 rows using larger needles in stockinette = 4 inches

Yarn: Worsted or chunky, whatever you like to get gauge. I used Caron Latte Cakes in the color Strawberry Flambe, which is labeled as a “chunky 5,” but felt reasonably thin (worsted) to me.

Needles: Any to get gauge, plus one set a couple sizes smaller. I used size 8 for the ribbing and size 10 for the rest. Interchangeable circular needles are preferred because of the rapidly increasing skirt. It starts small (a 16” or 20” cord will do) but increases to double its size, so you’ll need up to a 40” cord before you’re done. You’ll also need a cable needle as well as a set of DPNs in the smaller size.

Construction: Dress is knit top down starting with the collar, which is worked in rows. A button is added at the end to close the opening. Then it uses raglan increases for the shoulders. Once the sleeves and body are separated, you’ll knit a couple of inches. Then a garter stitch band is knit, followed by the skirt, which increases rapidly for the open, flowy feel. Cables are knit in the skirt between the wedges of increase.

Using smaller needles, cast on 68. Turn work.

Work 1×1 rib (k1, p1) for 1 inch. Work in rows, not in the round.

Increase round: Place marker and join for working in the round. Increase 4 stitches evenly as you knit one round.

Marker setup: Knit 12 (back left), place marker, knit 12 (left sleeve), place marker, knit 24 (front), place marker, knit 12 (right sleeve), place marker, knit 12 (back right).

Setup round 1: *knit to one stitch before marker, yarn over, knit two, yarn over* Repeat from * to * until one stitch before last marker (8 stitch increase). Be careful not to increase at the beginning of round marker.

Setup round 2: knit around

Repeat these two rounds a total of 8 times. You should have 144 stitches on your needles.

You will now work even (no more increasing) until your yoke measures approximately 5.5 inches from the cast on.

Separate body and sleeves: Knit to first marker. Place all stitches between first and second marker (the sleeve) on hold using waste yarn or a stitch holder. Using backward loop method, cast on 4 stitches. Knit to next marker, then repeat the process of placing sleeve stitches on hold. Knit to beginning of round.

Bodice: Knit every round until work measure approximately 2 inches from the underarm.

Waistband: Work in garter stitch (knit 1 round, purl one round) for 8 rounds, or until your belt measures 1 inch.

Increase for skirt: KFB (knit front and back) into every stitch

Marker setup: Knit 10, place marker, *purl 2, knit 8, purl 2, place marker, knit 20, place marker* Repeat from * to * around. Knit last 10 stitches. This establishes where your cables will go, as well as the increase points of the skirt.

Round 1: Knit to first marker, *purl 2, C6B, purl 2, yarn over, knit to one stitch before next marker, yarn over, knit 1* until last increase marker. Knit the last 10 stitches (being mindful not to increase at the BOR).

C6B: Move three stitches to cable needle, hold in back of work, knit 3 stitches, knit 3 stitches from cable needle.

Rounds 2-3: Work as established, knitting the knits (and YOs) and purling the purls all the way around.

Repeat Rounds 1-3 until your piece measures about 17 inches from the shoulder to the bottom (or 1 inch shorter than what you want the total length to be). You may need to switch to a longer cable as you go.

Switch to smaller needles and work 1×1 rib for 1 inch. Bind off.

Sleeves: Pick up sleeve stitches from waste yarn using DPNs (or magic loop if you prefer) in the smaller size. Knit one round.

Work 1×1 rib for 6 rounds. Bind off. Repeat on other sleeve.

Weave in ends and block your dress. Then find a pretty little girl to put it on and share your pictures with me on Instagram @ladybugdaydreams!

I am working on developing this dress in larger sizes, so stay tuned for that – though it will likely be quite a while. If you’re a knitter who’s interested in helping me out by making this dress in other sizes, contact me and we’ll work something out!

Blessings,

ladybug-signature-3 copy

Crochet Pig (free amigurumi pattern!)

86A24D9C-8760-4542-BAB6-3C6EEFF4EA16

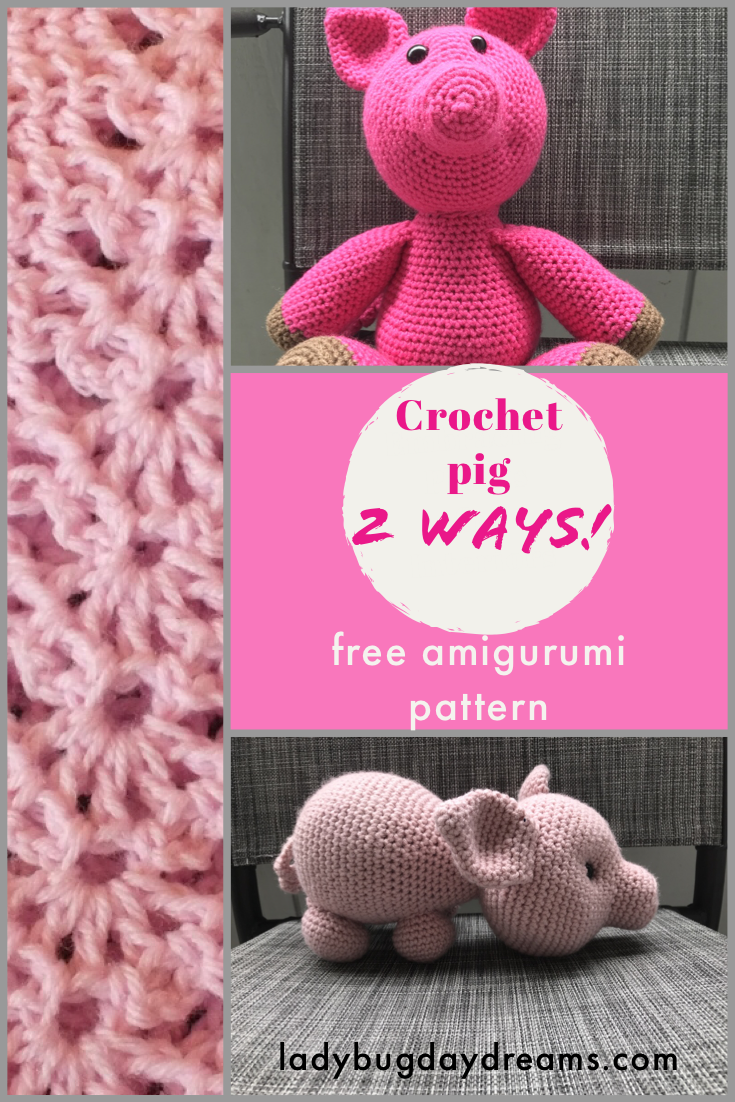
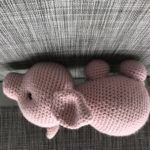
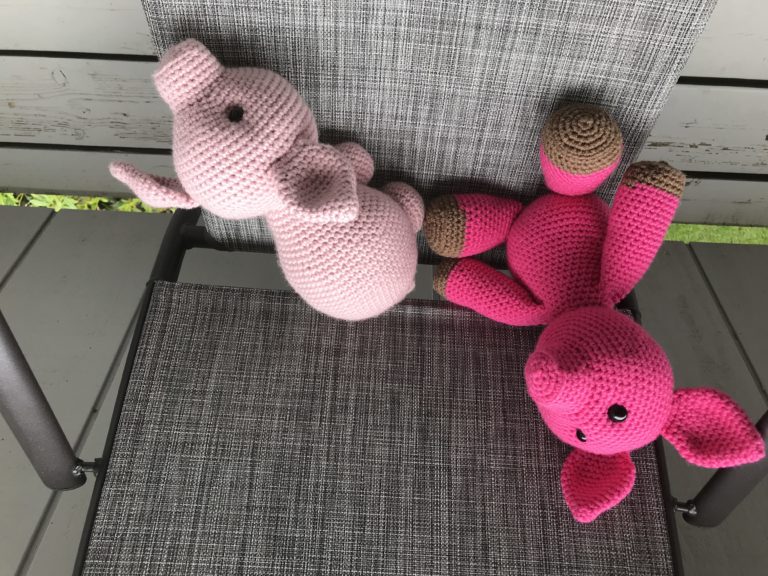
It’s no secret that I’ve spent much of April and May making crochet toys (also known as “amigurumi”). After making so many, I got the idea stuck in my head that I wanted to make a pig. I loved the patterns from Jess Huff so much that I decided to base my pig off of her design. Hers all follow the same basic pattern, and they really are some of the cutest I’ve ever come across. The parts of the design that are my own I will give a pattern for here. Those that are hers, I will link to (it wouldn’t be right to republish her pattern).

The pig can be made two ways: like a “farm” pig, or more like a “teddy bear pig.” Everything but the legs (and arms, in the case of the teddy bear style) are the same for both. The main difference is the direction in which you sew on the head. Whichever way you choose, it’s sure to be a cherished gift!

Crochet Pig pattern

Supplies:
Worsted weight pink yarn (I used JoAnn brand Big Twist in the colors bubblegum and light rose)
Worsted weight brown yarn if you’re making the teddy bear style pig (I used Red Heart Super Saver in the color cafe latte)
Size E (3.5 mm) crochet hook
Yarn needle
Fiber Fill (I used Poly-fil)
12-15mm safety eyes

Key:
sc = single crochet
dc = double crochet
inc = increase (2 sc into one stitch)
blo = back loop only (single crochet using only the back loop of the stitch, not both loops like normal)
flo = front loop only (single crochet using only the front loop of the stitch, not both loops like normal)
dec = decrease (one sc over two stitches – I use the invisible decrease)
R[number] = round

Note:
This pig, in either style, is made in continuous rounds (a spiral). In order to know where the beginning of each round is, you can count very carefully, or you can use a stitch marker to help you keep your place. I don’t recommend trying to find your spot based on seeing the increase pattern, because you can’t really see it due to the increases being shifted slightly from one round to the next. I used to just count really carefully, but now I use a stitch marker when I’m making amigurumi. It’s much less stressful to use the marker!
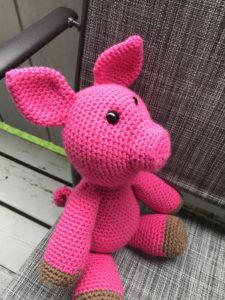
90289AE1-80D1-4AC0-9955-4EC836CAE3CDSnout and Head

R1: 6 sc in magic ring
R2: inc around (12)
R3: *sc, inc* (18)
R4: sc, inc, *sc 2, inc* 5 times, sc (24)
R5: in blo, sc around (24)
R6-9: sc (24)
R10: in flo, *sc 3, inc* (30)
R11: sc 2, inc, *sc 4, inc* 5 times, sc 2 (36)
R12: *sc 5, inc* (42)
R13: sc 3, inc, *sc 6, inc* 5 times, sc 3 (48)
R14: *sc 7, inc* (54)
R15: sc 4, inc, *sc 8, inc* 5 times, sc 4 (60)
R16-24: sc around (60)
R25: sc 4, dec, *sc8, dec* 5 times, sc 4 (54)
R26: *sc 7, dec* (48)
R27: sc 3, dec, *sc 6, dec* 5 times, sc 3 (42)
R28: *sc 5, dec* (36)
R29: sc 2, dec, *sc 4, dec* 5 times, sc 2 (30)

At this point, stuff head ¾ full and shape eye sockets (this post shows you how; just scroll down to the right spot on the page). Insert safety eyes (or embroider eyes). 

R30: *sc 3, dec* (24)
R31: sc, dec, *sc 2, dec* 5 times, sc (18)
R32: *sc, dec* (12)

Finish stuffing

R33: decrease around (6) 

Finish with ultimate finish.
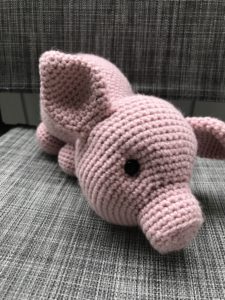
C85C37C1-C9D7-442D-A8F3-07F576C14765Ears (make 2)

R1: 6 sc in magic ring
R2: sc, inc (9)
R3: sc (9)
R4: sc, inc, *sc 2, inc* twice, sc (12)
R5: *sc 3, inc* (15)
R6: sc 2, inc, *sc 4, inc* twice, sc 2 (18)
R7: *sc 5, inc* (21)
R8: sc 3, inc *sc 6, inc* twice, sc 3 (24)
R9-11: sc (24)
R12: inc, sc 23 (25)
R13: sc, dec over 3 stitches, *sc 2, dec over 3* 4 times, sc (15)
R14-15: sc (15)
7A435114-A520-434C-B2D7-69B76D60B0B5

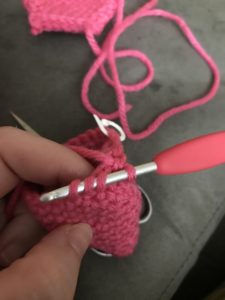
To make an invisible decrease over three stitches instead of two, simply insert your hook into the front loops only of three stitches, yarn over, pull through, yarn over, and finish the stitch.

Fasten off. Flatten and slip stitch closed (do not stuff). Sew to head.

Body

Any of the bodies from Jess Huff (except the giraffe) will do. Although, I do recommend making the neck (the later rows of the pattern) shorter than written if you’re making the farm style pig. I didn’t do this, and I wish I had. If I make this again, I’ll likely stop after round 27.
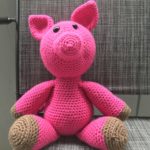
41EB5B02-3B75-41C0-93FF-339AECC296E4Arms and Legs (teddy bear style)

Again, any of the patterns from Jess Huff will do; they’re all the same.


D5FDCD0E-B254-4A02-8872-A0BF77BD1EFELegs (farm style) (make 4)

R1: 6sc in magic ring
R2: inc around (12)
R3: *sc, inc* (18)
R4: sc, inc, *sc 2, inc* 5 times, sc (24)
R5-9: sc around (24)
R10: sc, dec, *sc 2, dec* 5 times, sc (18)

Fasten off, leaving a long tail for sewing onto body.

Tail

Ch 29
dc into third ch from hook
dc twice into each chain all the way down. Fasten off, leaving long tail to sew onto body.

The tail can be made longer or shorter according to your preference (just chain more or fewer chains).

When all the pieces are made, stuff them and sew them all together.
8B01E6C3-5407-40A8-A7D0-9EDCAA5CF11F

I loved designing and making these pigs, and I hope someone out there will make one and love it too. If you do, would you let me know?

Blessings,

ladybug-signature-3 copy

Crochet Dreidel (free pattern)

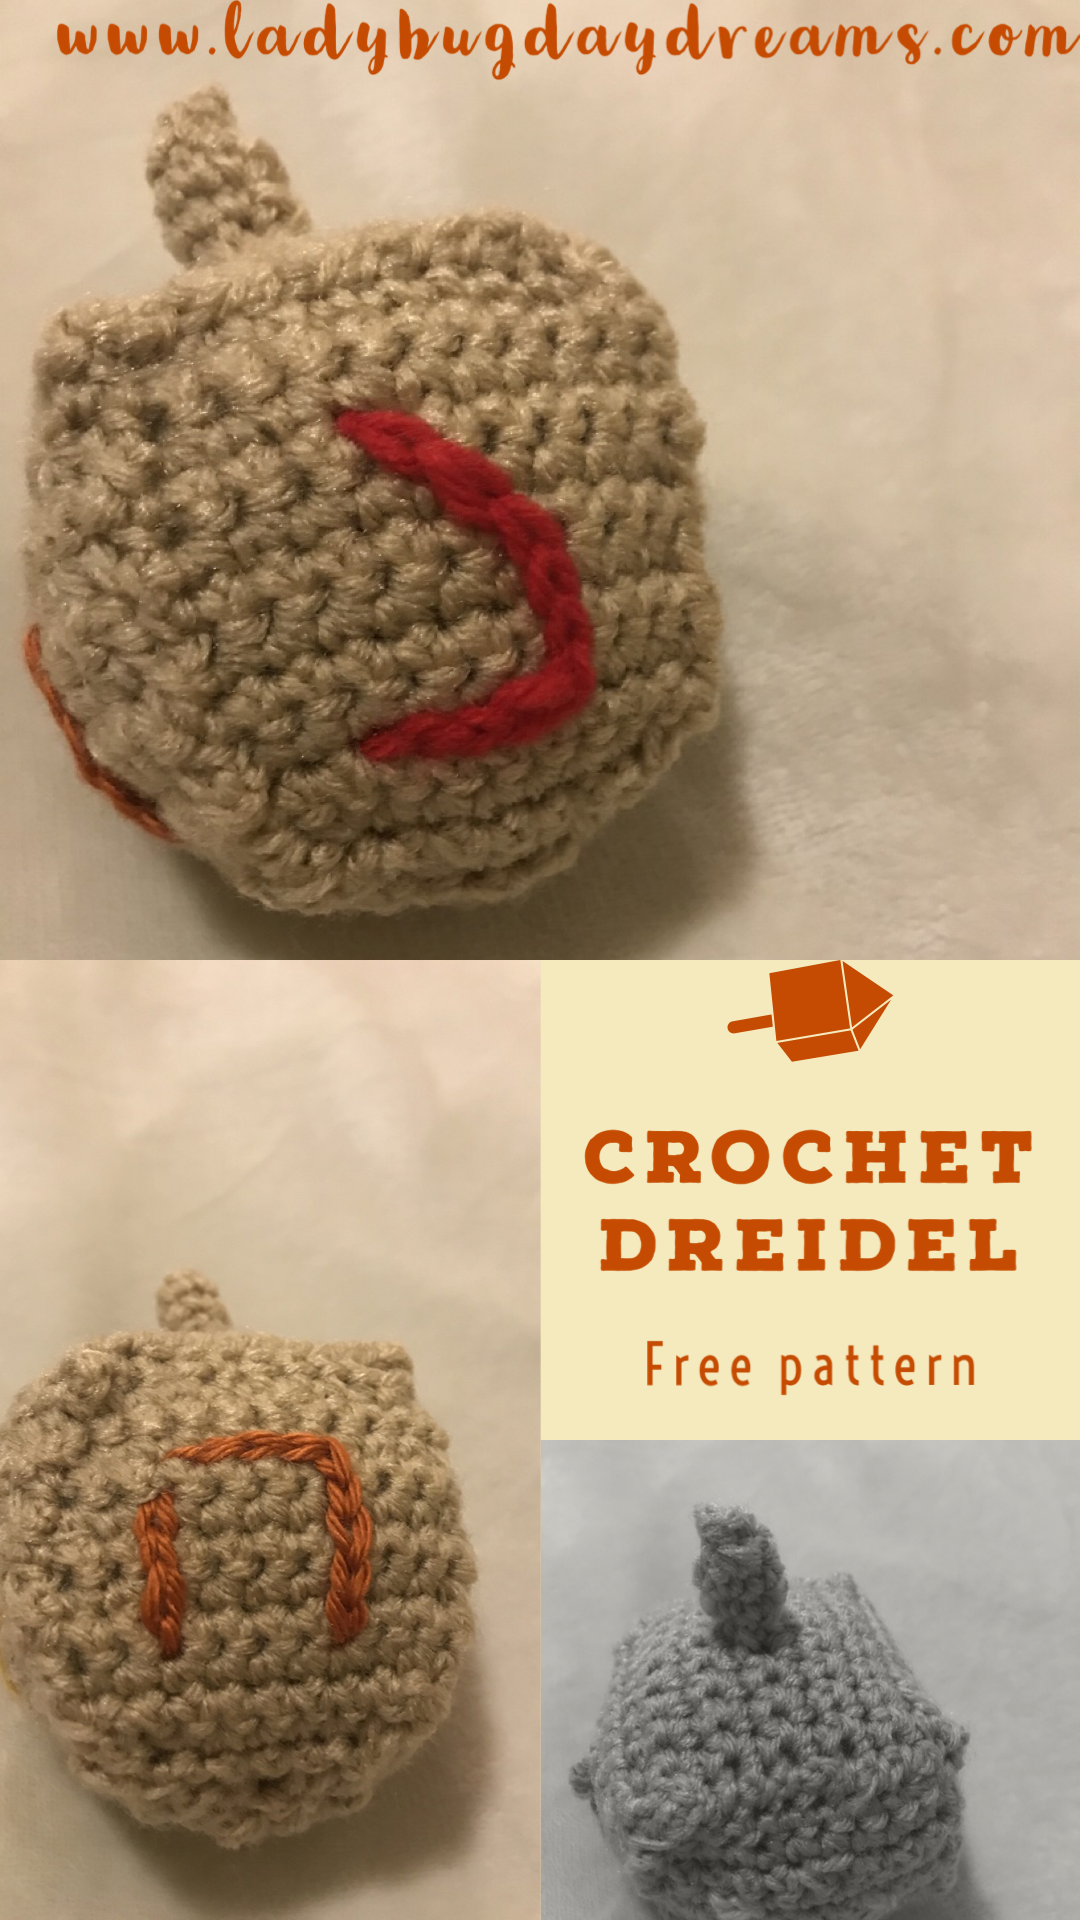
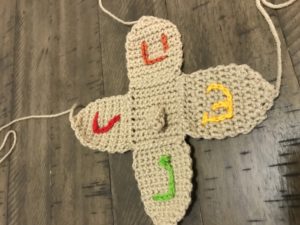
This year is our family’s first time celebrating Hanukkah, and I am trying to embrace that by making some decorations for our home. (Christmas decorations are easy to find; Hanukkah ones not so much.) Even finding patterns to make your own is difficult, so I created this dreidel and am excited to share it here today. 

AF4F0323-5F74-45DD-B79F-2482F47631FC

Crochet Dreidel

Gauge is not important to this project. Use any yarn you like and an appropriate hook for the yarn. The hook and yarn you choose will affect the size, but not in a positive or negative way. It’s all about preference. I used worsted weight yarn and a size H hook to get a dreidel about 3x3x5 (including the stem).

Side Panel: make 4

CDC163A4-98D4-4C2F-812E-4CE867587EA6

chain 11. SC in second chain from hook and each chain across. Ch 1. Turn. (10)

Rows 2-10. SC across (10). Ch 1. Turn.

Row 11: SC2tog, sc 6, SC2tog (8)

Row 12: SC2tog, sc 4, SC2tog (6)

Row 13: SC2tog, sc 2, SC2tog (4)

Row 14: SC2tog twice (2)

Row 15: SC2tog (1)

Fasten off, leaving a long tail for sewing.

On each panel, surface slip stitch a (stylized) Hebrew letter.

Top:

Chain 11.

Row 1: SC in second stitch from hook and all the way across. Ch 1 and turn. (10)

Rows 2-5: SC across. Ch 1 and turn. (10)

Row 6: SC in first 4 stitches. Chain 2. Skip next 2 stitches. SC in remaining 4 stitches. Ch 1 and turn. (8 SC + 2 chains)

Row 7: SC in all stitches, including the two chains. Ch 1 and turn. (10)

Rows 8-11: SC across. Ch 1 and turn. (10)

Fasten off, leaving a long tail for sewing.

Into the buttonhole made in row 6, attach yarn with a slip stitch. Ch 1. SC into same stitch. SC in each of the other 5 stitches around the buttonhole (the two chains on each side, plus one side stitch on opposite sides.) Join with slip stitch to first stitch of round and chain 1 but do not turn. (6)

F2D04D4B-FB0C-424A-9A19-0926110273CB

Rounds 2-4: SC around. Join and turn. (6)

10C0C19E-A4B8-40FA-8755-5AD7087DCD33

Round 5: SC2tog three times. (3)

Fasten off and use the short tail to close the top of the “stem.”

Construction:

1908ABAD-C175-403B-A905-FEE48114BA6A

Sew the top of the side pieces to the sides of the top piece, one at a time. (See pictures for clarity.) Starting at the bottom of each side piece, sew them together until you get to the upper corner of each one. Stuff lightly before sewing the final side closed.

I hope this blesses someone out there!

ladybug-signature-3 copy

The Best Chocolate Cookies Ever

We like cookies. A lot. One day when I was looking for a new recipe, I found one for chocolate chip cookies, but with a twist: the dough is chocolate and the chips white. I’ve adapted it a tiny bit, and now am sharing our new favorite cookie recipe. 

87986358-2D49-4113-A90E-9B1358E0D045

The Best Chocolate Cookies Ever

Makes 72 small cookies 

1 cup (2 sticks) butter, softened 

1 1/3 cup sugar (all white or half white, half brown)

2 eggs

2 tsp vanilla

2 cups all-purpose flour

3/4 cup unsweetened cocoa powder 

1 tsp baking soda

1/2 tsp salt

~*~*~

1. Preheat oven to 350F.

2. In a large bowl, cream butter and sugar(s) together. Add eggs one at a time, mixing well after each addition. Mix in vanilla. 

3. Turn the mixer off. Add flour, cocoa, soda, and salt. Turn the mixer back on and let it run until the dry ingredients are just combined. Do not overmix or your cookies will be tough. 

4. Roll the dough into small balls about the size of a “shooter” marble. Place on a baking sheet 1-2” apart (they will flatten but not really spread). 

5. Bake for 10 minutes. Let cool on the baking sheet for 5 minutes before moving to a serving plate. 

~*~*~

Blessings,

ladybug-signature-3 copy

Sausage Etouffe (Recipe)

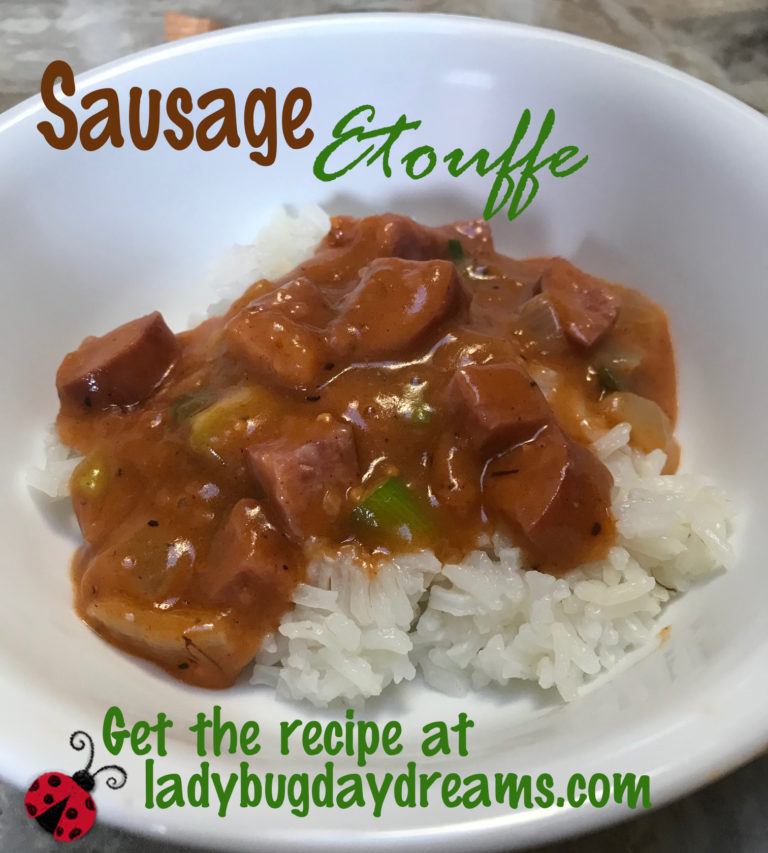
One of Will’s favorite past times is going to a restaurant and trying something completely new. He’ll do this in “old favorite” restaurants as well as new ones we’ve never visited before. Recently, we went to a Cajun grill, and he ordered the Crawfish Etouffe (ay-too-fay). He described it as a “spicy tomato soup with rice and seafood.” I’m not a huge seafood fan (I like many kinds of fish, but not seafood in general), so I didn’t try any. But he found himself going back again and again for this dish because it was so good. He even took the older boys once, and when they got back they raved about it too. So one night when we were at the store with no idea of what to fix for dinner, he decided to look up an etouffe recipe. It was fairly simple with easy ingredients (except the crayfish), so we decided to give it a go, with one exception: we got a kielbasa for the protein instead. It was really delicious, and I’m so glad we tried it! Today I want to share our version of the recipe.

sausage etouffe

Sausage Etouffe

Serves 6-8

6 cups water
3 cups long grain rice
1 kielbasa, cut into small pieces
1 stick butter
1 onion, chopped
1/4 cup flour
1 8-oz can tomato sauce
2-3 cups water, or as needed
3-6 green onions, chopped
2 tbsp Cajun seasoning, more or less to taste
Salt and pepper to taste

Cook the rice in the water according to package directions.

While the rice cooks, melt the butter in a large saucepan. Cook the kielbasa and onions until the onions are soft. Add the flour to make a roux. Stir in the tomato sauce and water and cook to make a gravy/soup-like consistency. Add the green onions and seasonings; stir well to combine. Serve in bowls over the rice.

Blessings,

ladybug-signature-3 copy