Every couple of years, I get an itch to work with real wool yarn (I usually end up using acrylic because it’s easier to find in-store places). I prefer the natural fibers, especially wool, but it’s not always feasible to get. (Acrylic does have its place though – it’s great for all the animals and dolls I made in April and May.) But the past few weeks, it’s been all about the wool! Today I’m going to share just the plain yarn that I dyed, as well as a quick rundown of the technique. In a few days, I’ll show off the sweaters I made for my littler boys. They have all turned out so gorgeous that I’m excited to show you!
How I dye yarn:
I follow the techniques from Chem Knits on YouTube, but less precise. So, I boil a lot of water mixed with a little bit of vinegar. While I’m waiting for that to come to a boil (simmer, really), I mix about 1/2 teaspoon food coloring (I like the Wilton gels in the little tubs) into a bit of warm water. I prefer to do this step in a disposable cup – we usually have empty Dutch Bros cups around from the day’s drinks, so I often just repurpose those.
When the water and vinegar mixture is hot, I carefully pour in the dye and then gently push the yarn into the water using a cooking spoon. Reduce the heat and let everything simmer for 10-20 minutes, then leave it alone to cool in the pot. What I find the most fascinating is that by the end of the simmering time, the water is clear!
Once the yarn has cooled, I wash it using cool tap water and liquid dish soap, then air dry (usually outside, away from direct sunlight).
This method works for all “protein based fibers,” meaning something that comes from an animal – wool, alpaca, silk, etc. I’ve personally only ever tried it on 100% plain wool (not superwash), but I’ve seen the videos that show that it just rinses right out of plant based (cotton, linen, etc) or man made (acrylic, polyester) fibers.
And now, yarn.
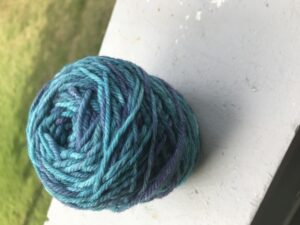 This blue is for Grasshopper’s sweater. He decided he wanted a sweater that was dark blue, and it had to be a pullover. To get the blue color here, I used three different food dyes. I started with 35 drops of McCormick’s blue (from the box of primary colors from the baking aisle of the grocery store) per skein. When it was done, Grasshopper asked if it was possible to make it a bit darker, so I said sure. When I went to get some Wilton’s, though, the only blue they had was Sky Blue; that wouldn’t work for “dark”! So I picked up a vial of black too, and mixed the two. I didn’t measure carefully, but it was mostly sky blue with a bit of black. When I overdyed the yarn, it ended up being perfect! I just love the variations I got by mixing colors.

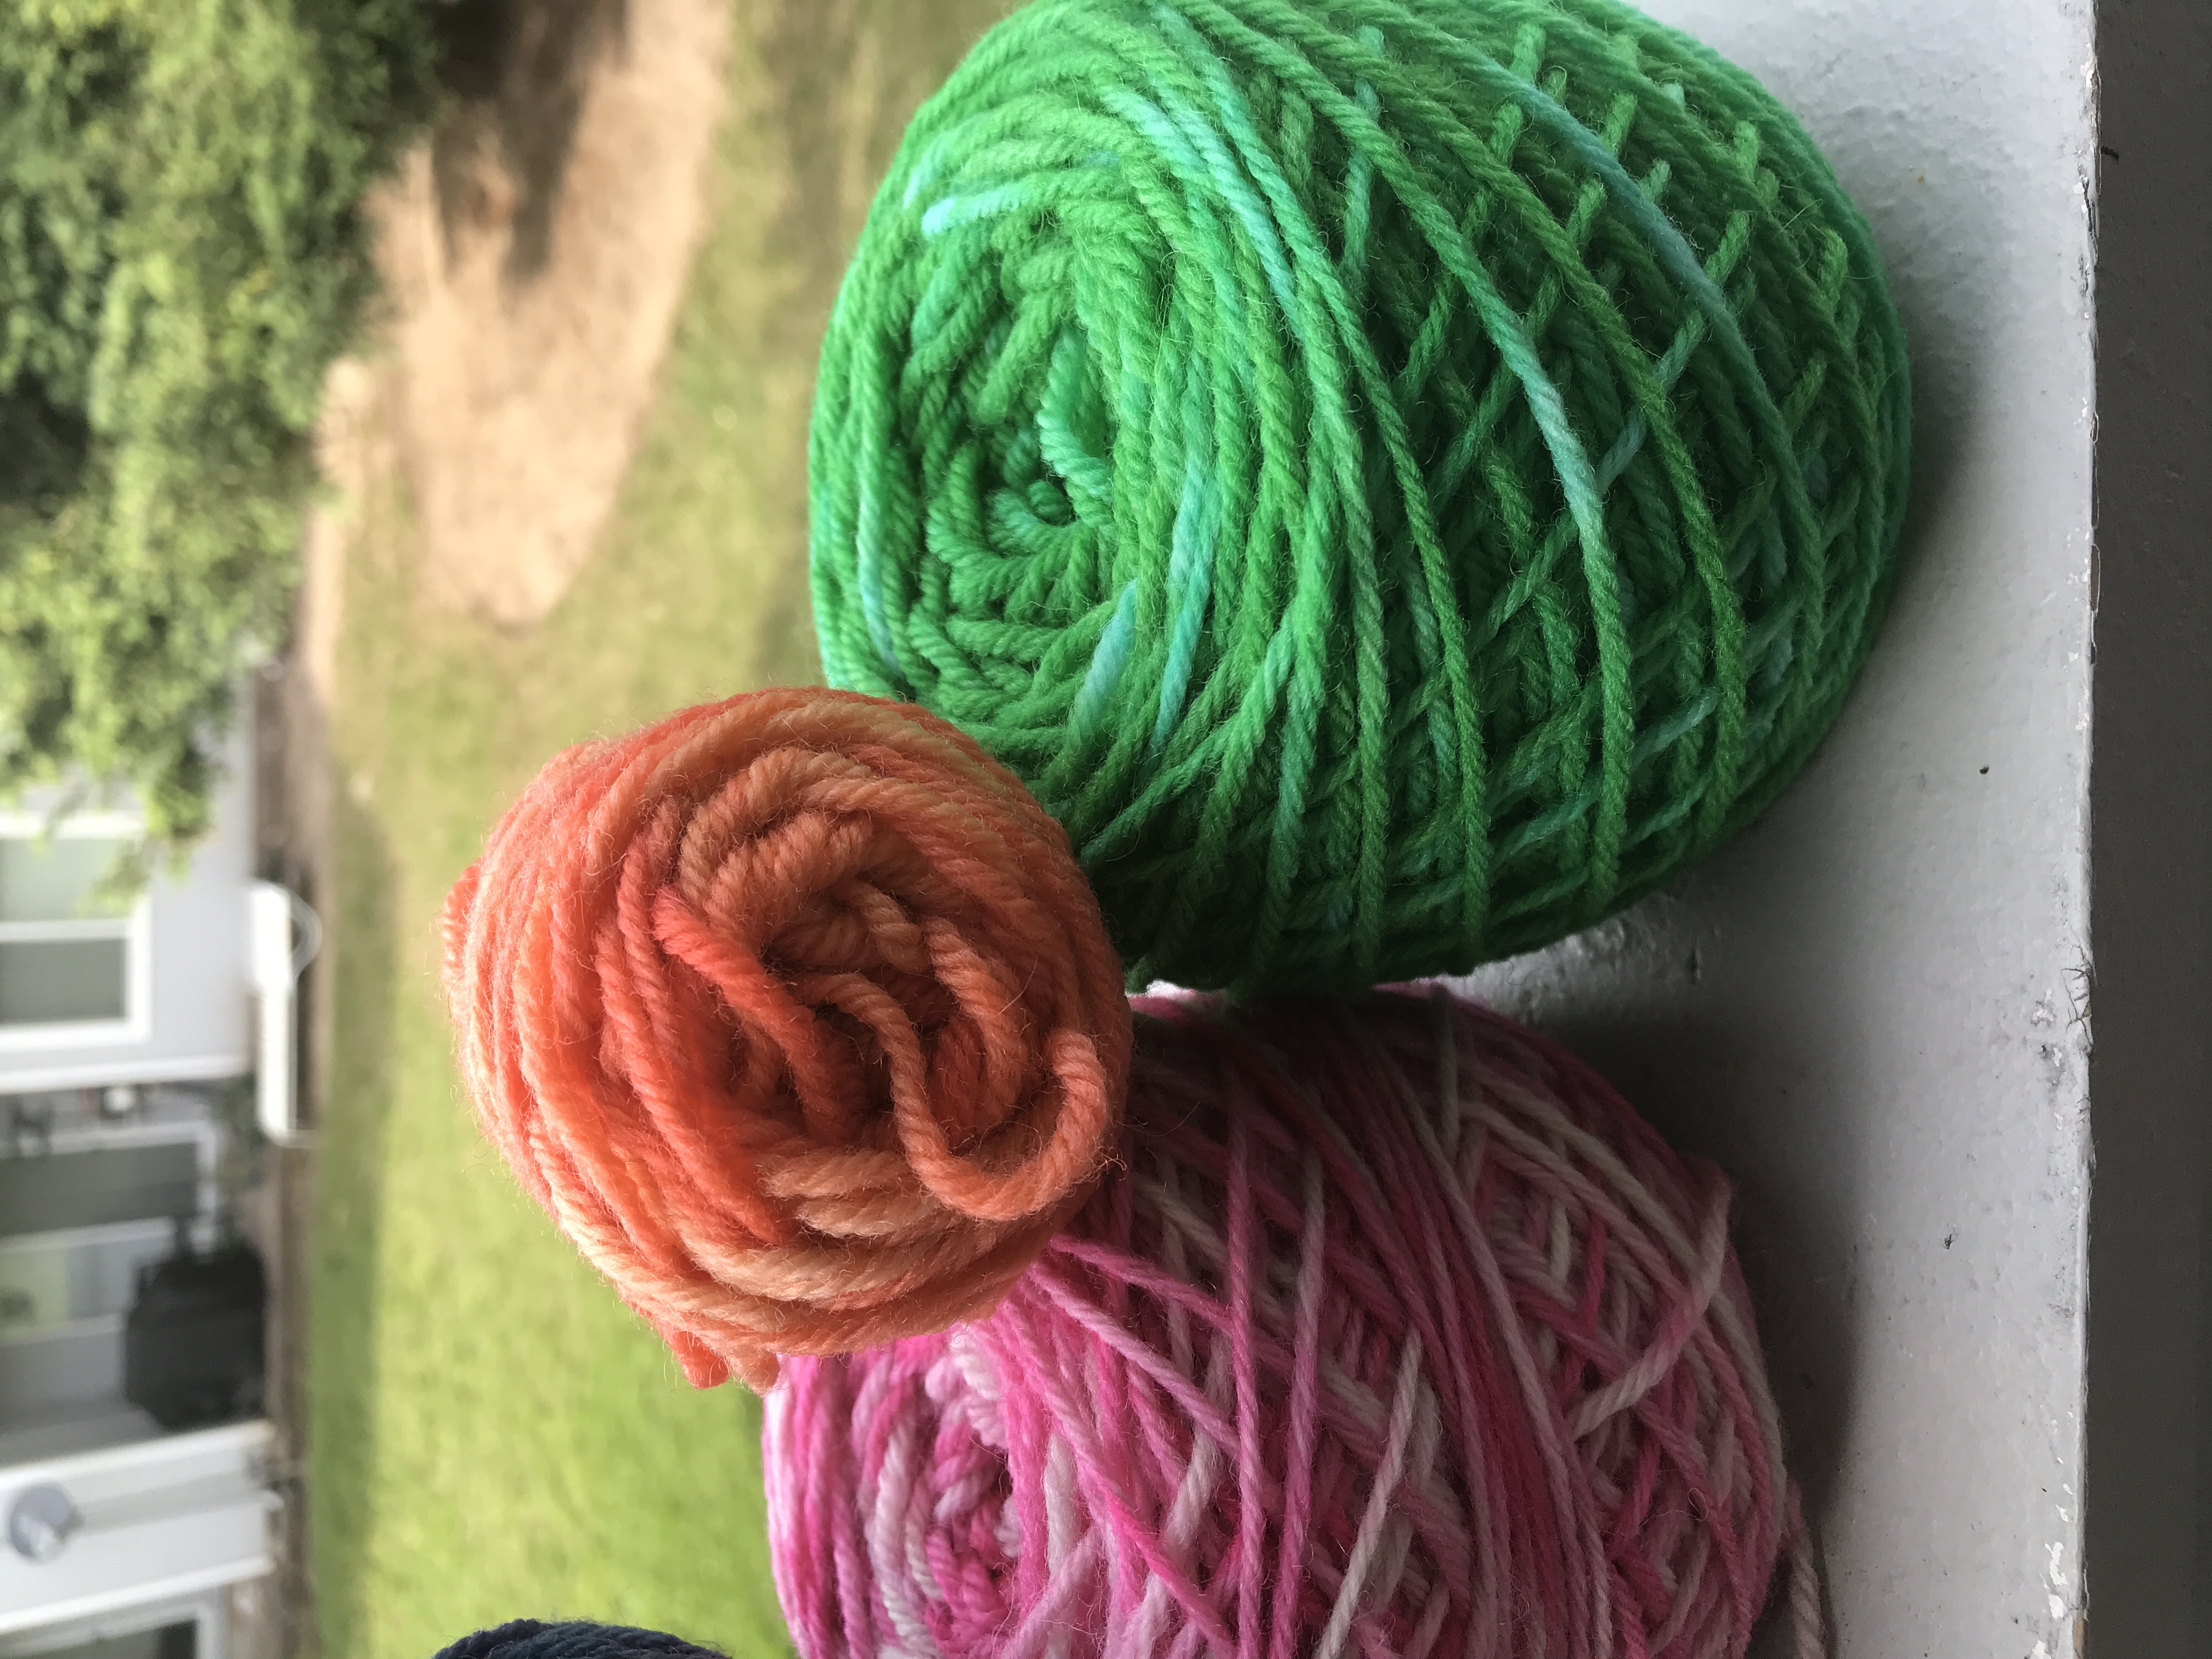
Dragonfly wanted a green sweater, and he wanted his “to have buttons” (a cardigan). I dyed his yarn using Wilton’s Kelly Green. What surprised me most about this one was that there was such a bright blue left at the end of the dyeing. The yarn had turned a nice bright green, and there was lots of blue left in the water! I went ahead and continued simmering to absorb that blue, and what happened was that I got a few specks of bright blue on top of the green. They’re barely noticeable in the knit sweater, but pretty cool anyway.
The orange you see in that same picture is dyed from Wilton’s Copper. I’d hoped for a more “coppery” copper, but I only used 1/4 teaspoon dye per skein (it was the first one I did from this batch and I was out of practice), so it turned out pastel orange. Still very pretty, and I’m pleased with the result even if it’s not exactly what I had in mind. The orange became a sweater for Bumblebee (who turns 2 next month), as well as accents in Grasshopper’s sweater.
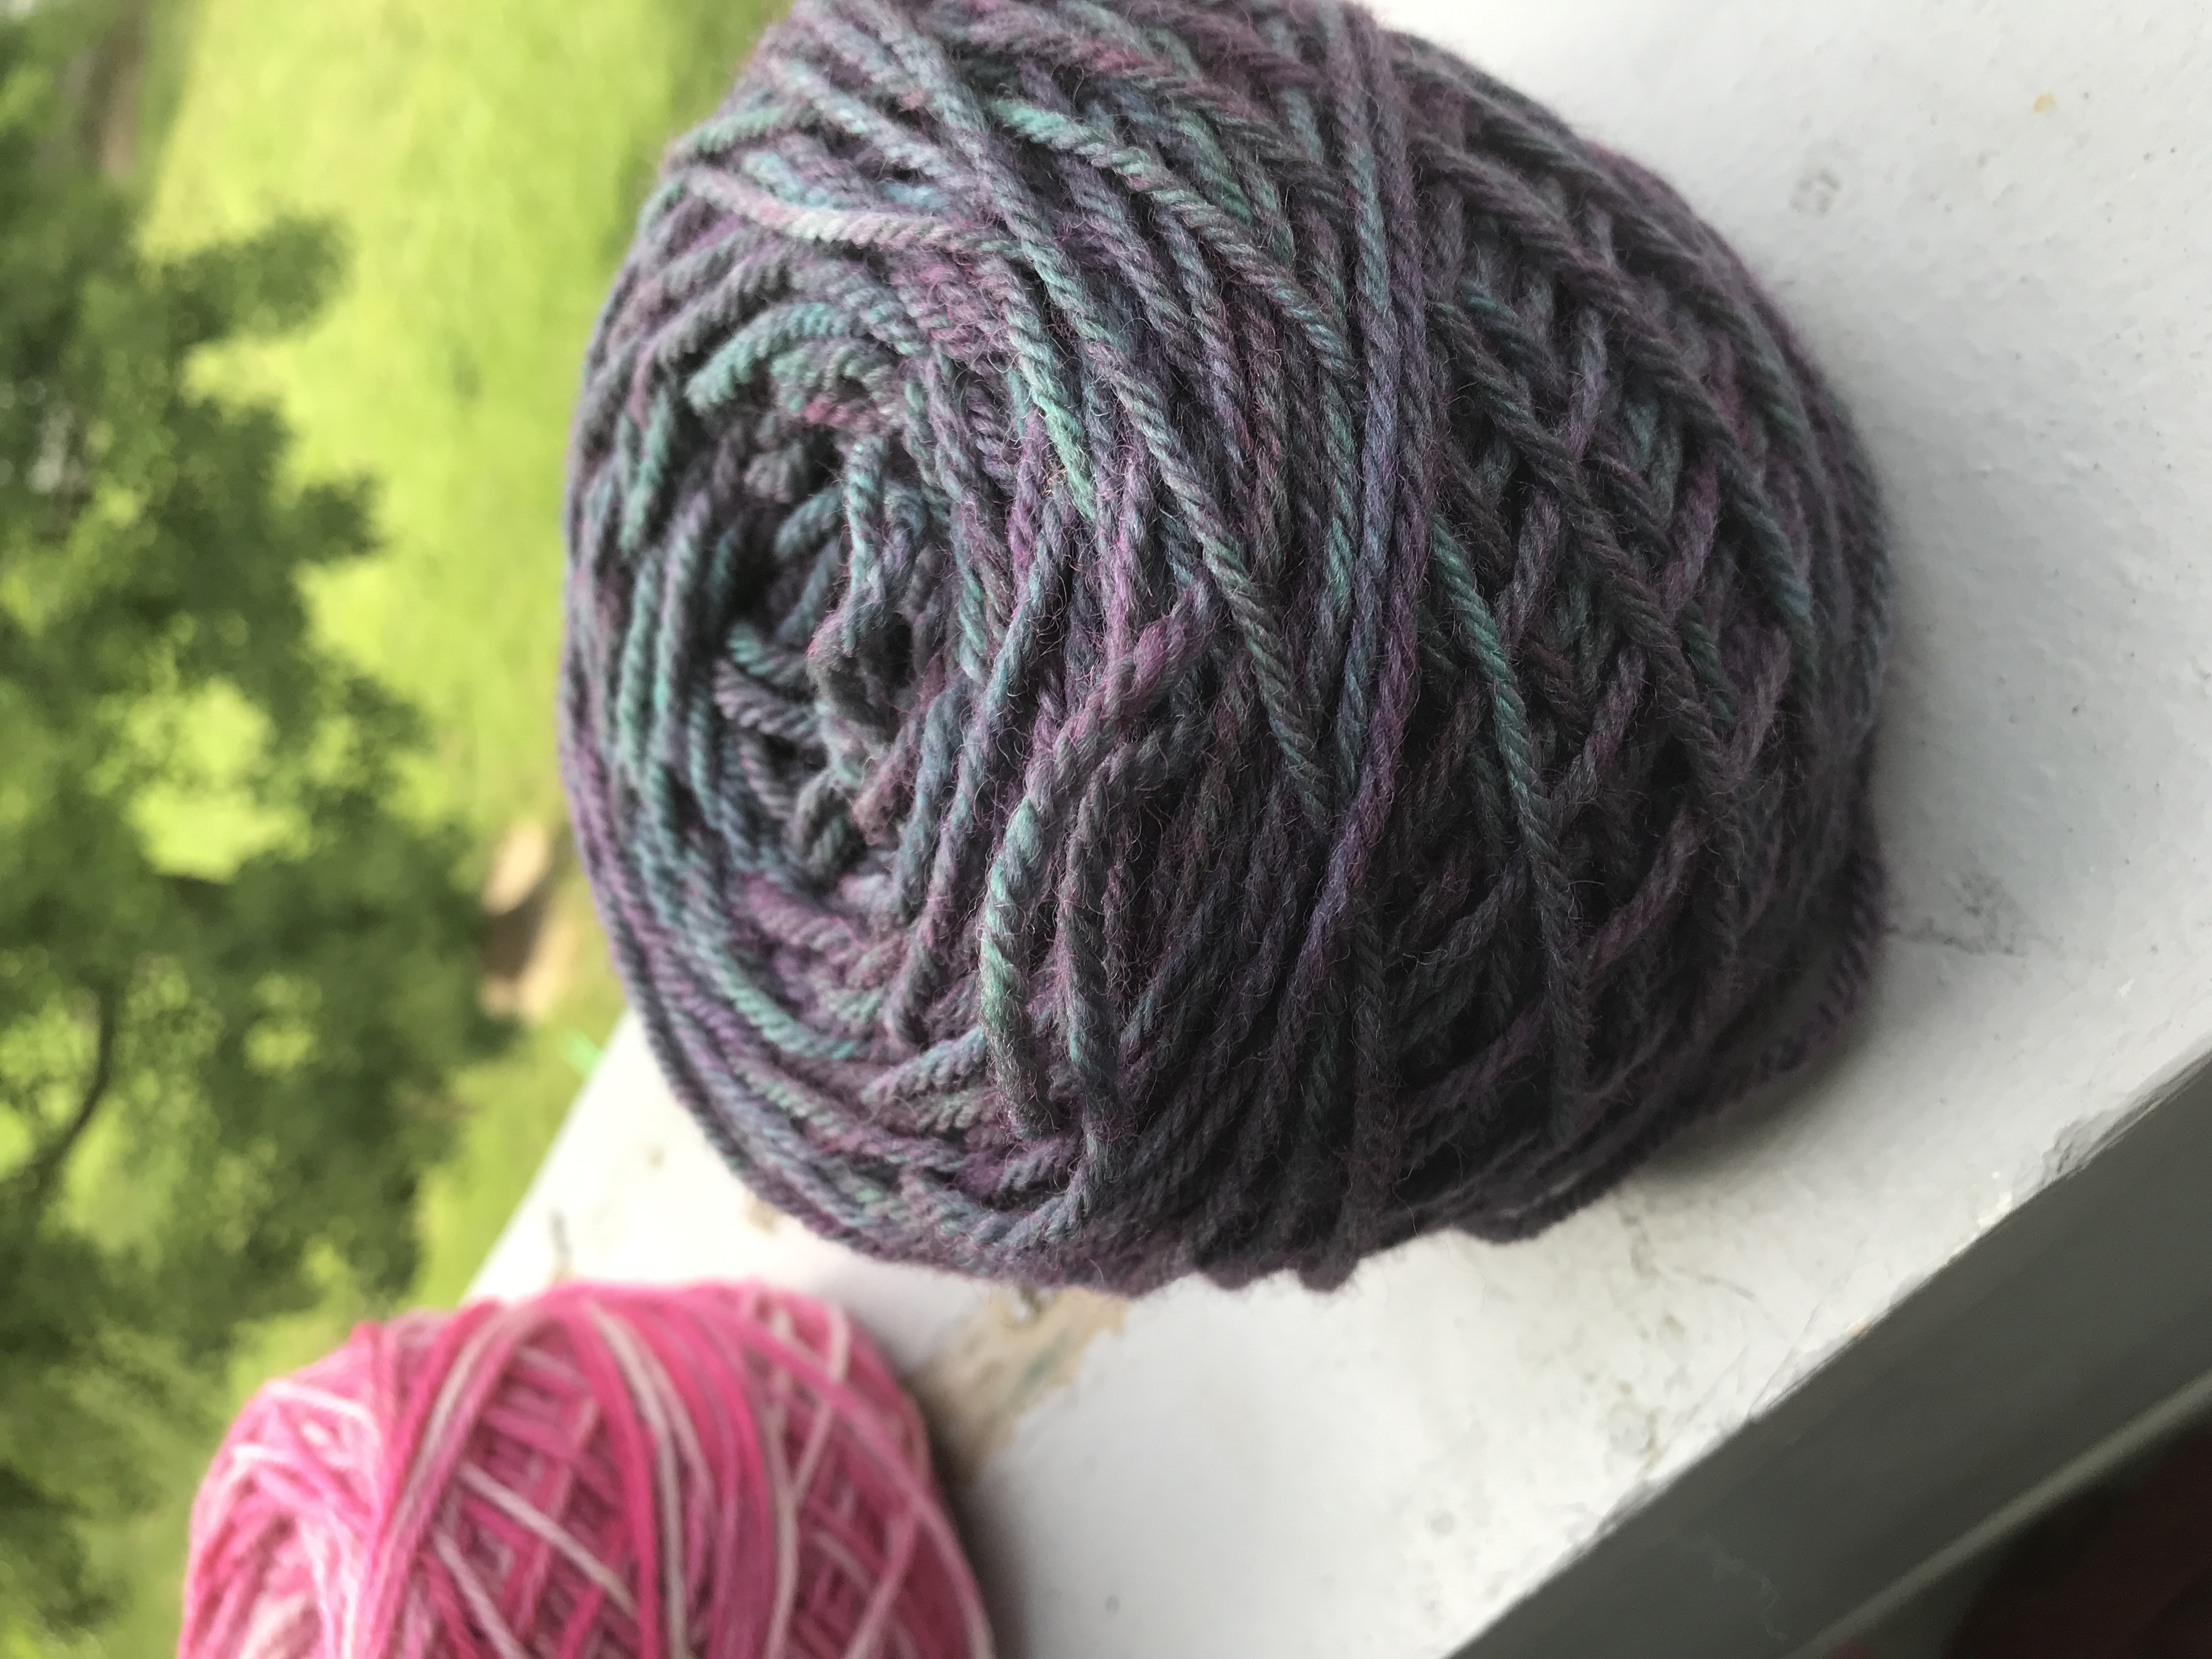
The pink was another surprise to me. It was a color called Burgundy (also Wilton’s), and I expected a much darker color. Not only did it turn out bright pink, but I didn’t stir the yarn enough, so it ended up pink-and-white variegated instead of a nice deep burgundy like I expected.

The last one to talk about today is this dark purple. Would you believe me if I told you it was dyed using just one color: Wilton’s Black?! It was. Because the black food dye is made up of different reds, yellows, and blues, they all strike the wool at different rates, leaving this beautiful, mottled purple. This yarn became the accents for Dragonfly’s green sweater.
Okay, in a few days I’ll reveal the sweaters! (But if you follow me on Instagram, you’ll have already seen the blue one.)
Blessings,

Like this:
Like Loading...

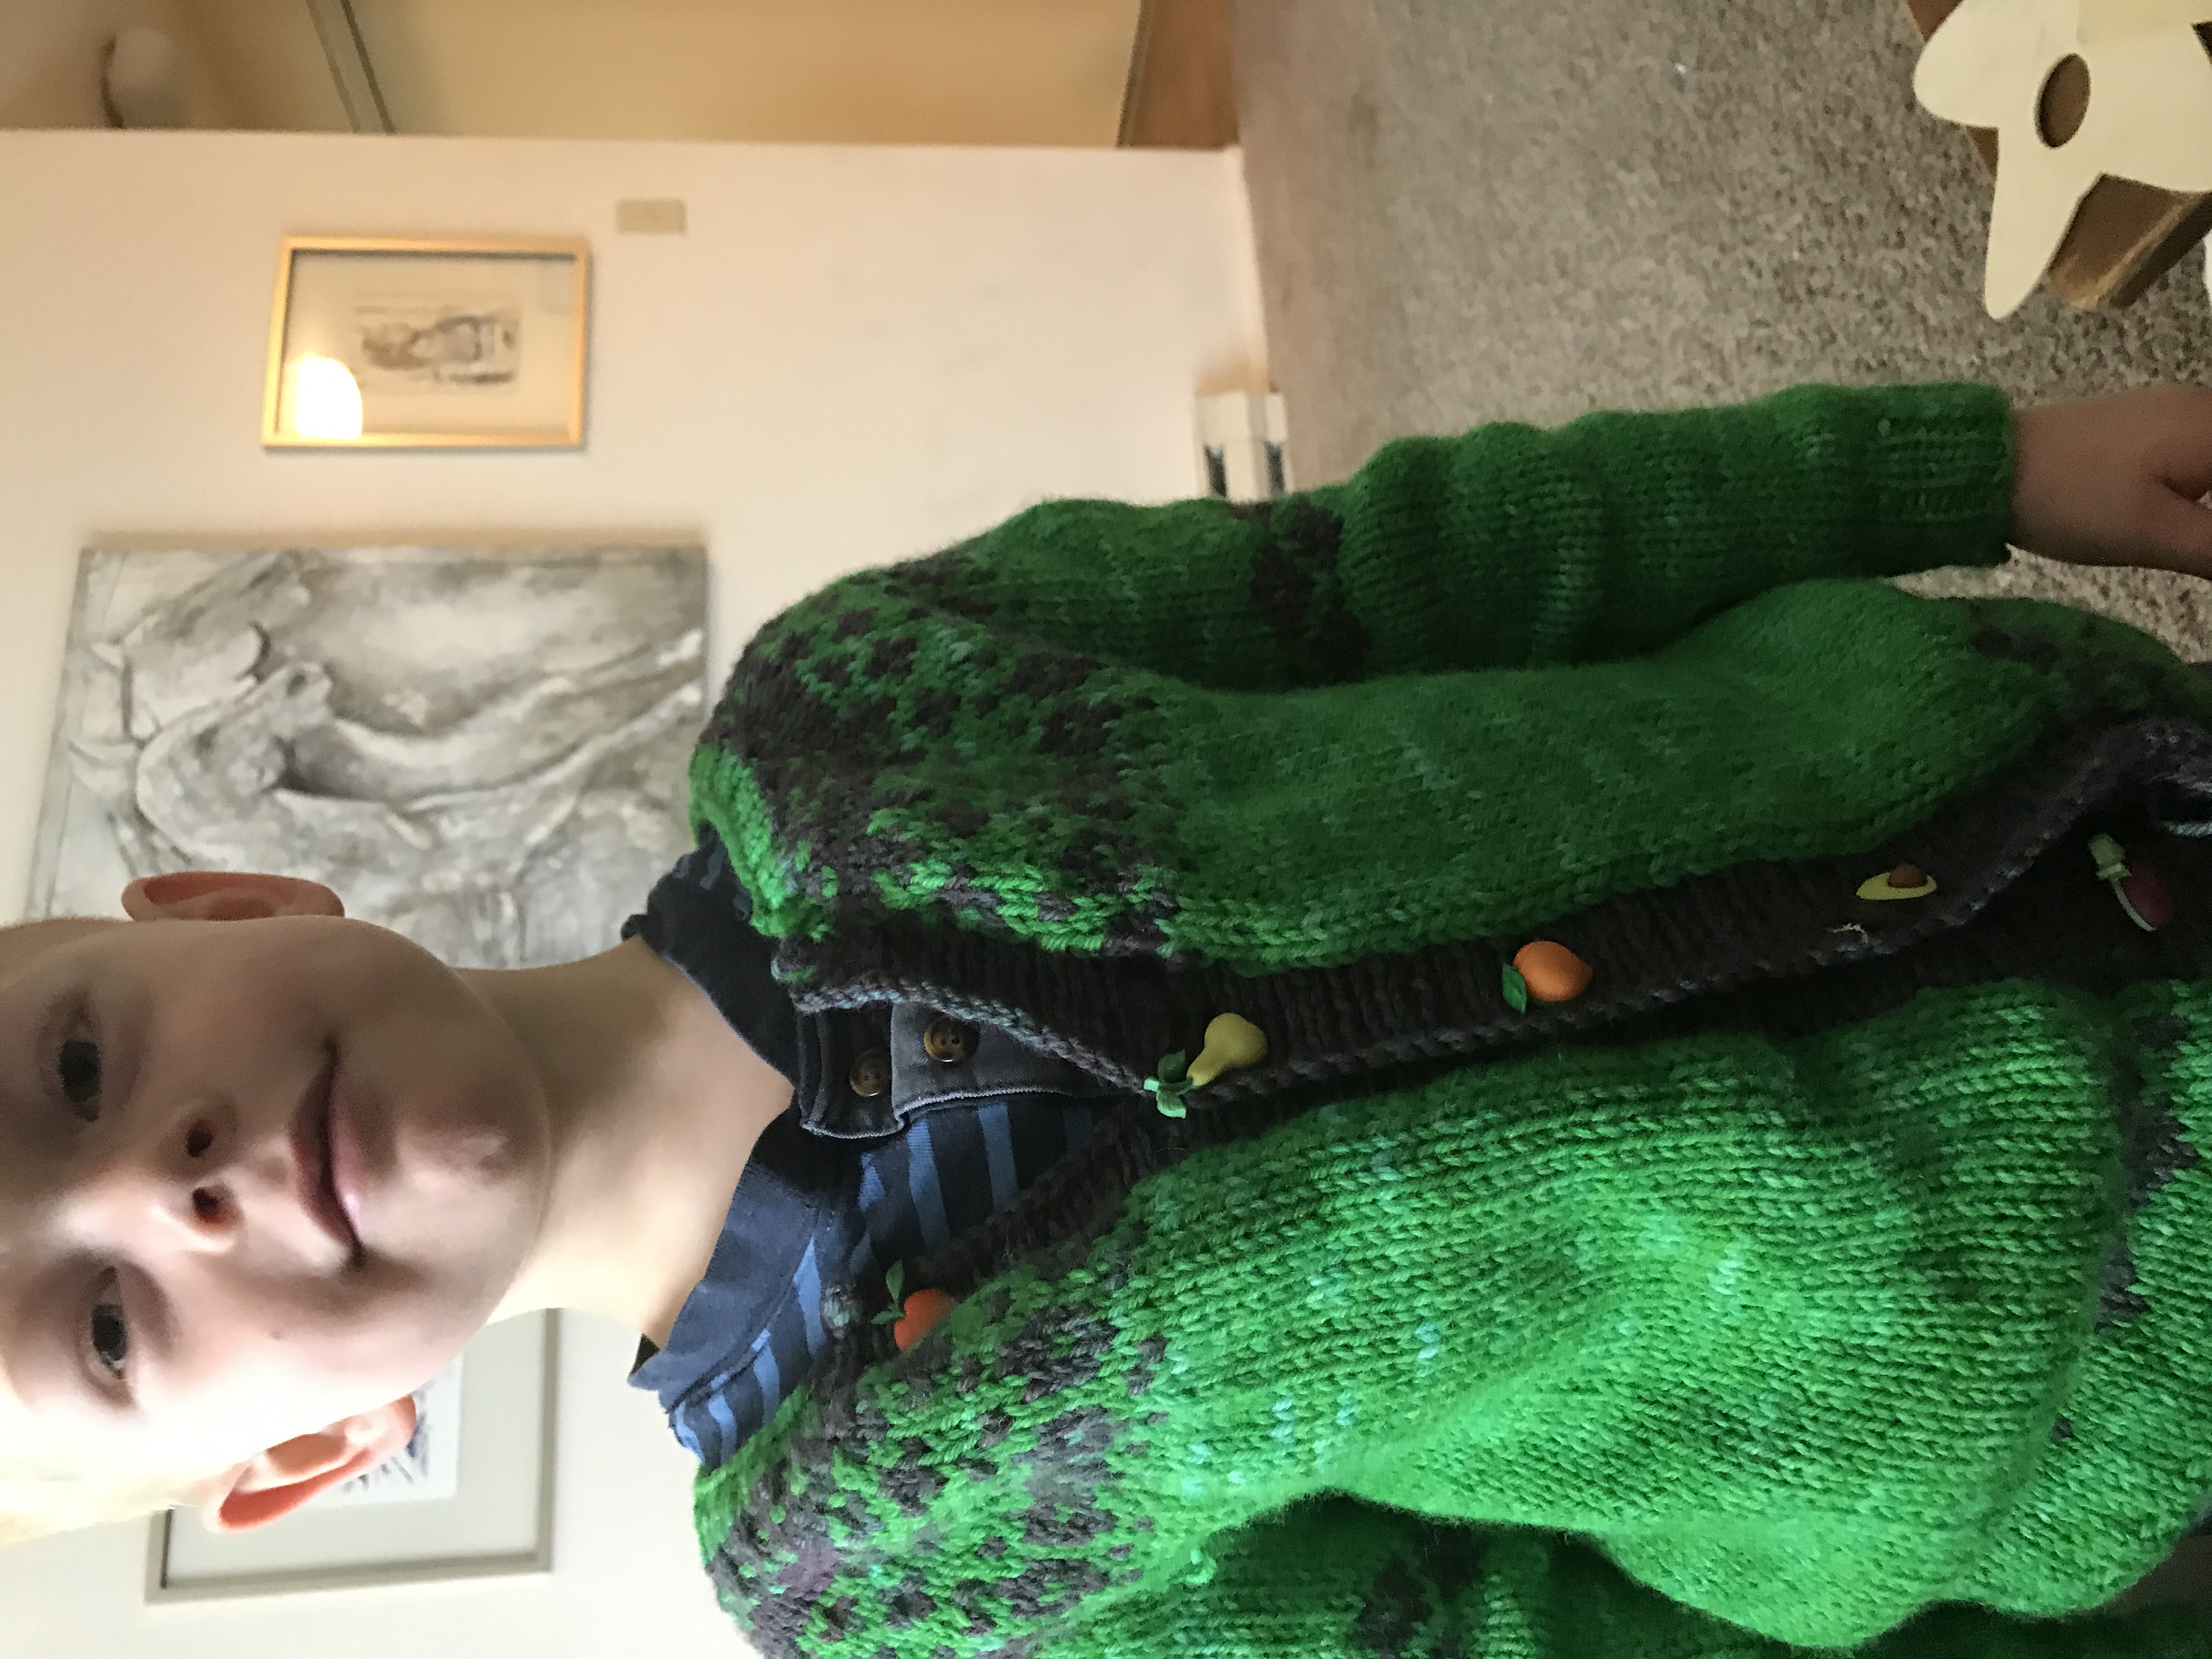
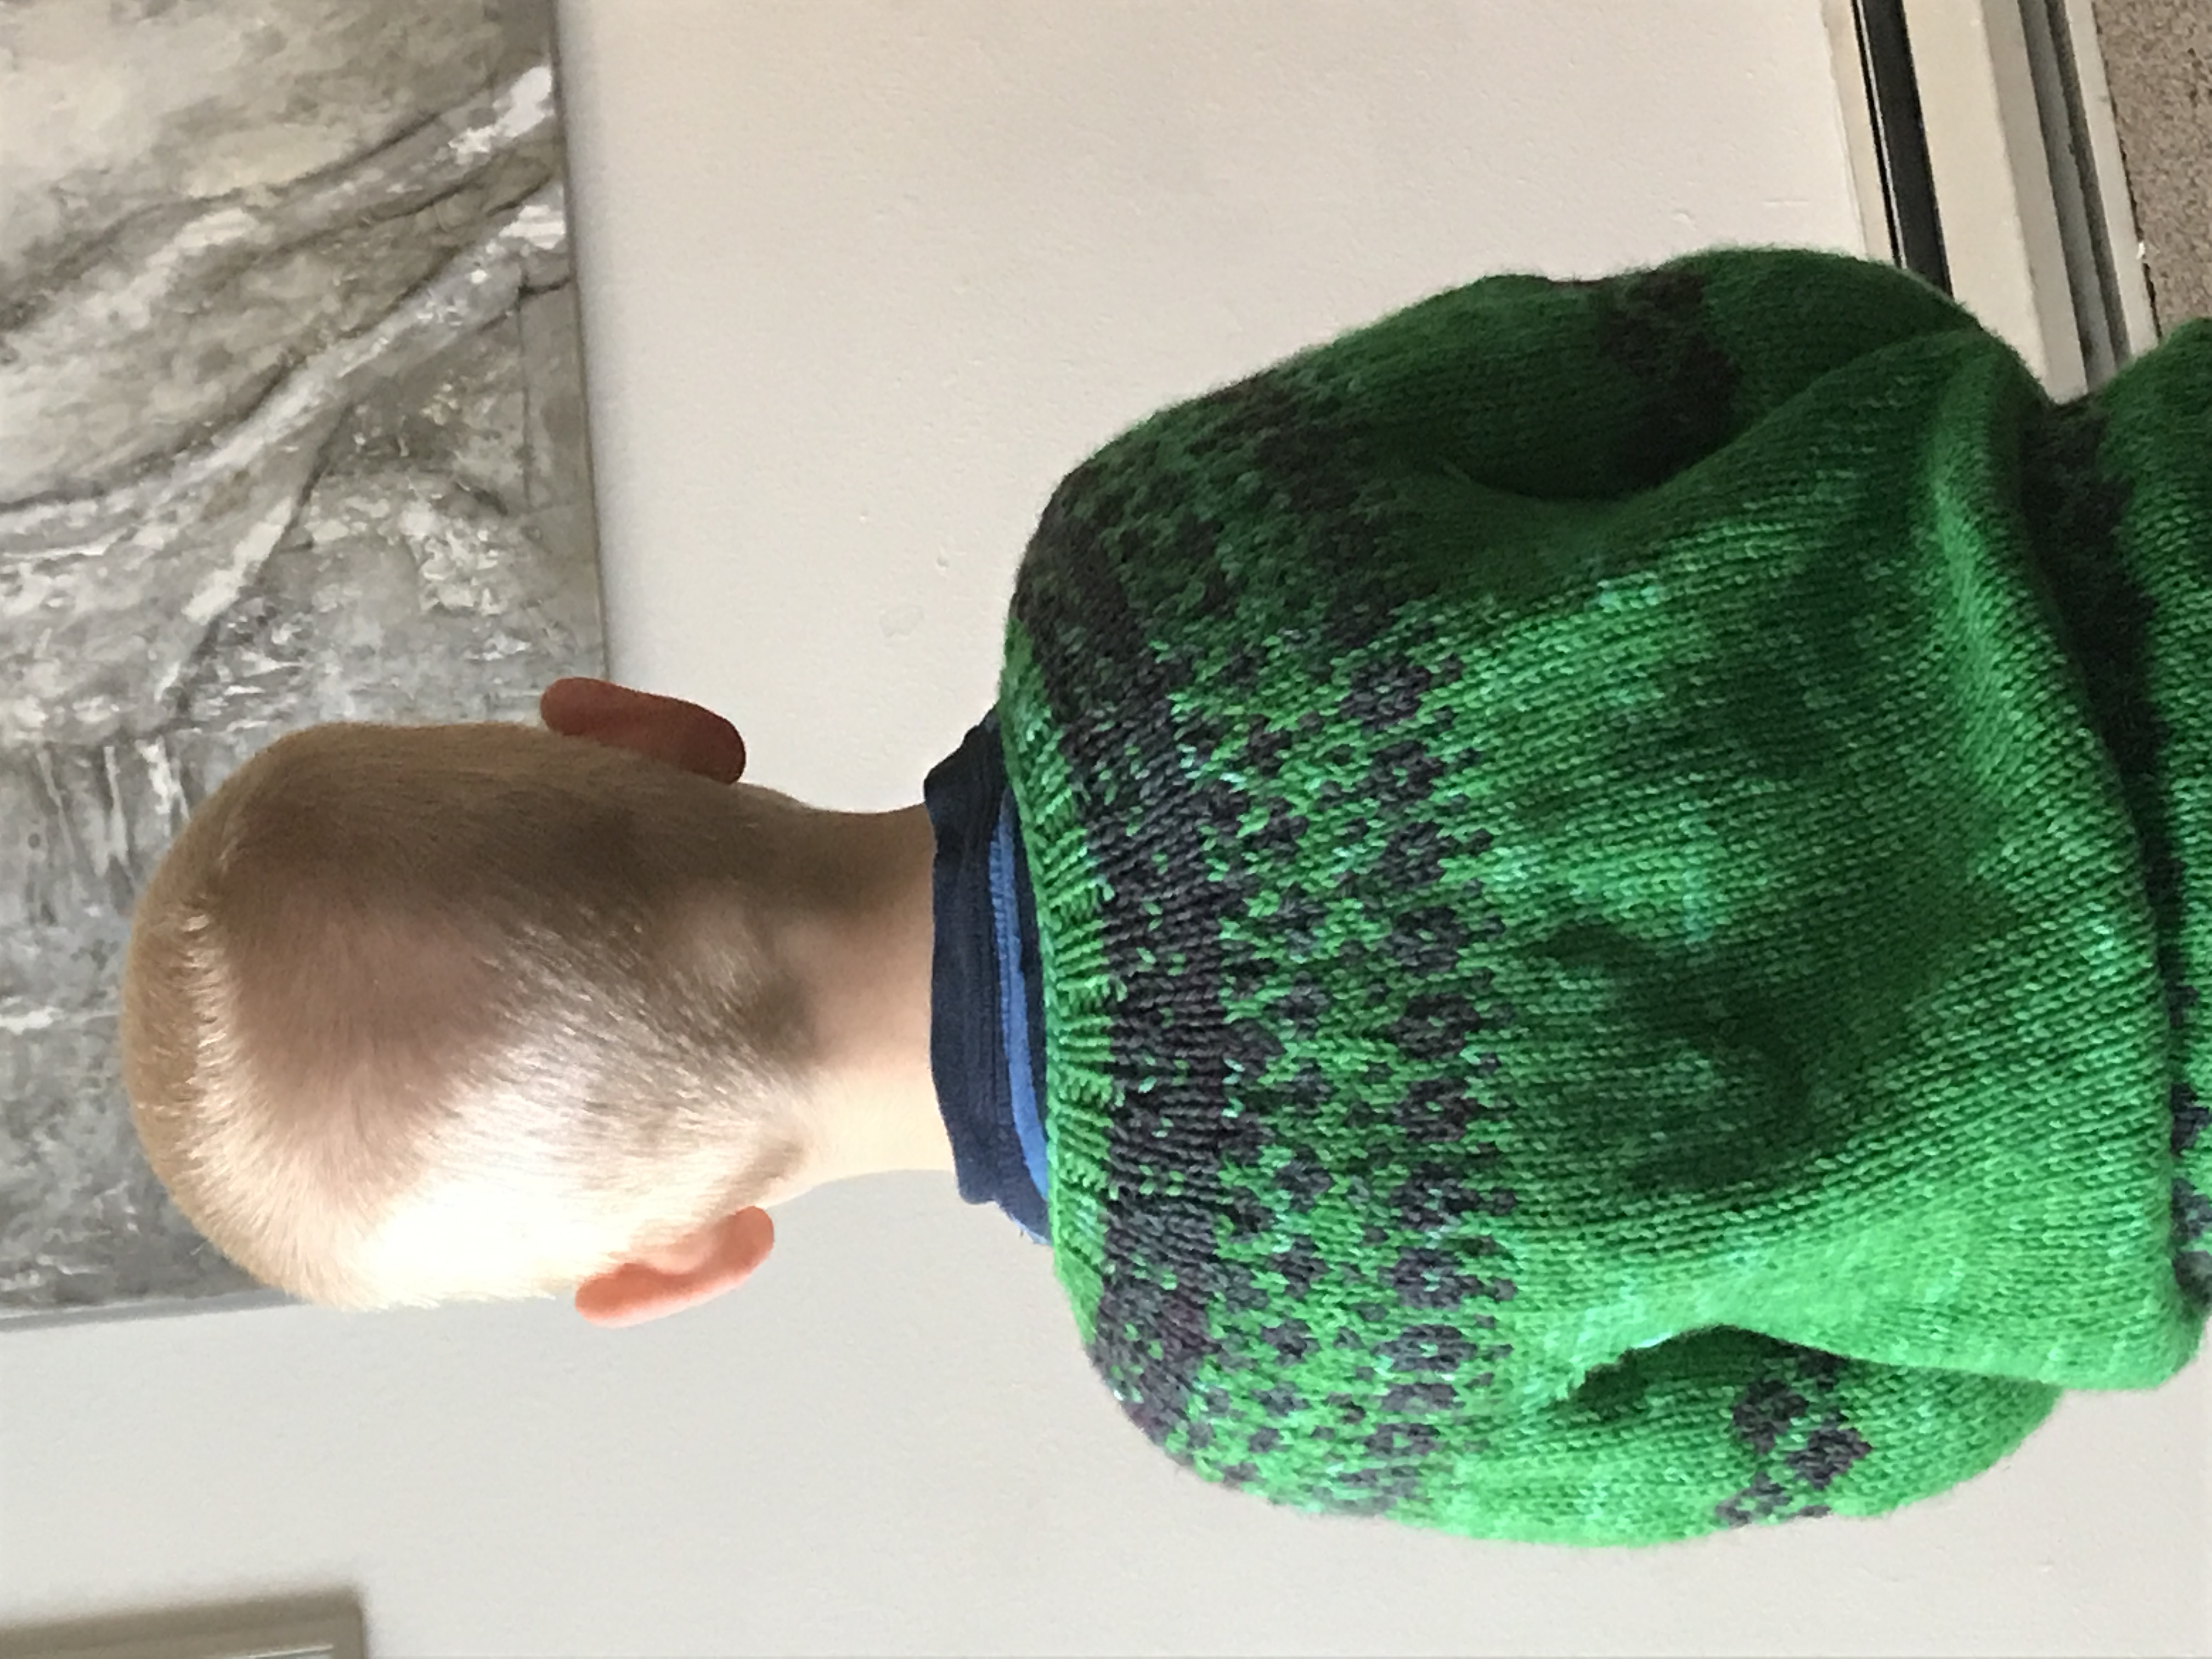 The yarn I used is Knit Picks Bare Wool of the Andes, which I dyed using Wilton Kelly Green food coloring. I knit it bottom up (meaning I started with the sleeves, then at the hem of the sweater, joined the sleeves to the body and finished up at the top) in size 4-6. I prefer knitting bottom up because the sleeves get done while you’re still excited about the project – no risk of developing “2nd sleeve syndrome” (a term used by knitters which means that you’d rather start a new project than finish the second sleeve of an existing one).