Ruby: my entry to the Great Caron Cake Off
I read about the Great Caron Cake Off first on Repeat Crafter Me, and I was immediately excited. Let me give you a quick run down, and then I’ll show you what I made for the contest.
Caron Cakes were introduced five years ago. The original yarn is a wool-acrylic blend wound into a cake shape instead of a skein (hence the name) and was popular with crocheters and knitters right away. Since then, they have created many more varieties of Caron Cakes, all of which are available exclusively at Michael’s craft stores. Since this year is the fifth anniversary of the Caron Cake, Michael’s is hosting a contest using the yarn. The task was to create something – anything – using any one of the Caron Cake yarns. It could be knit, crocheted, or crafted.
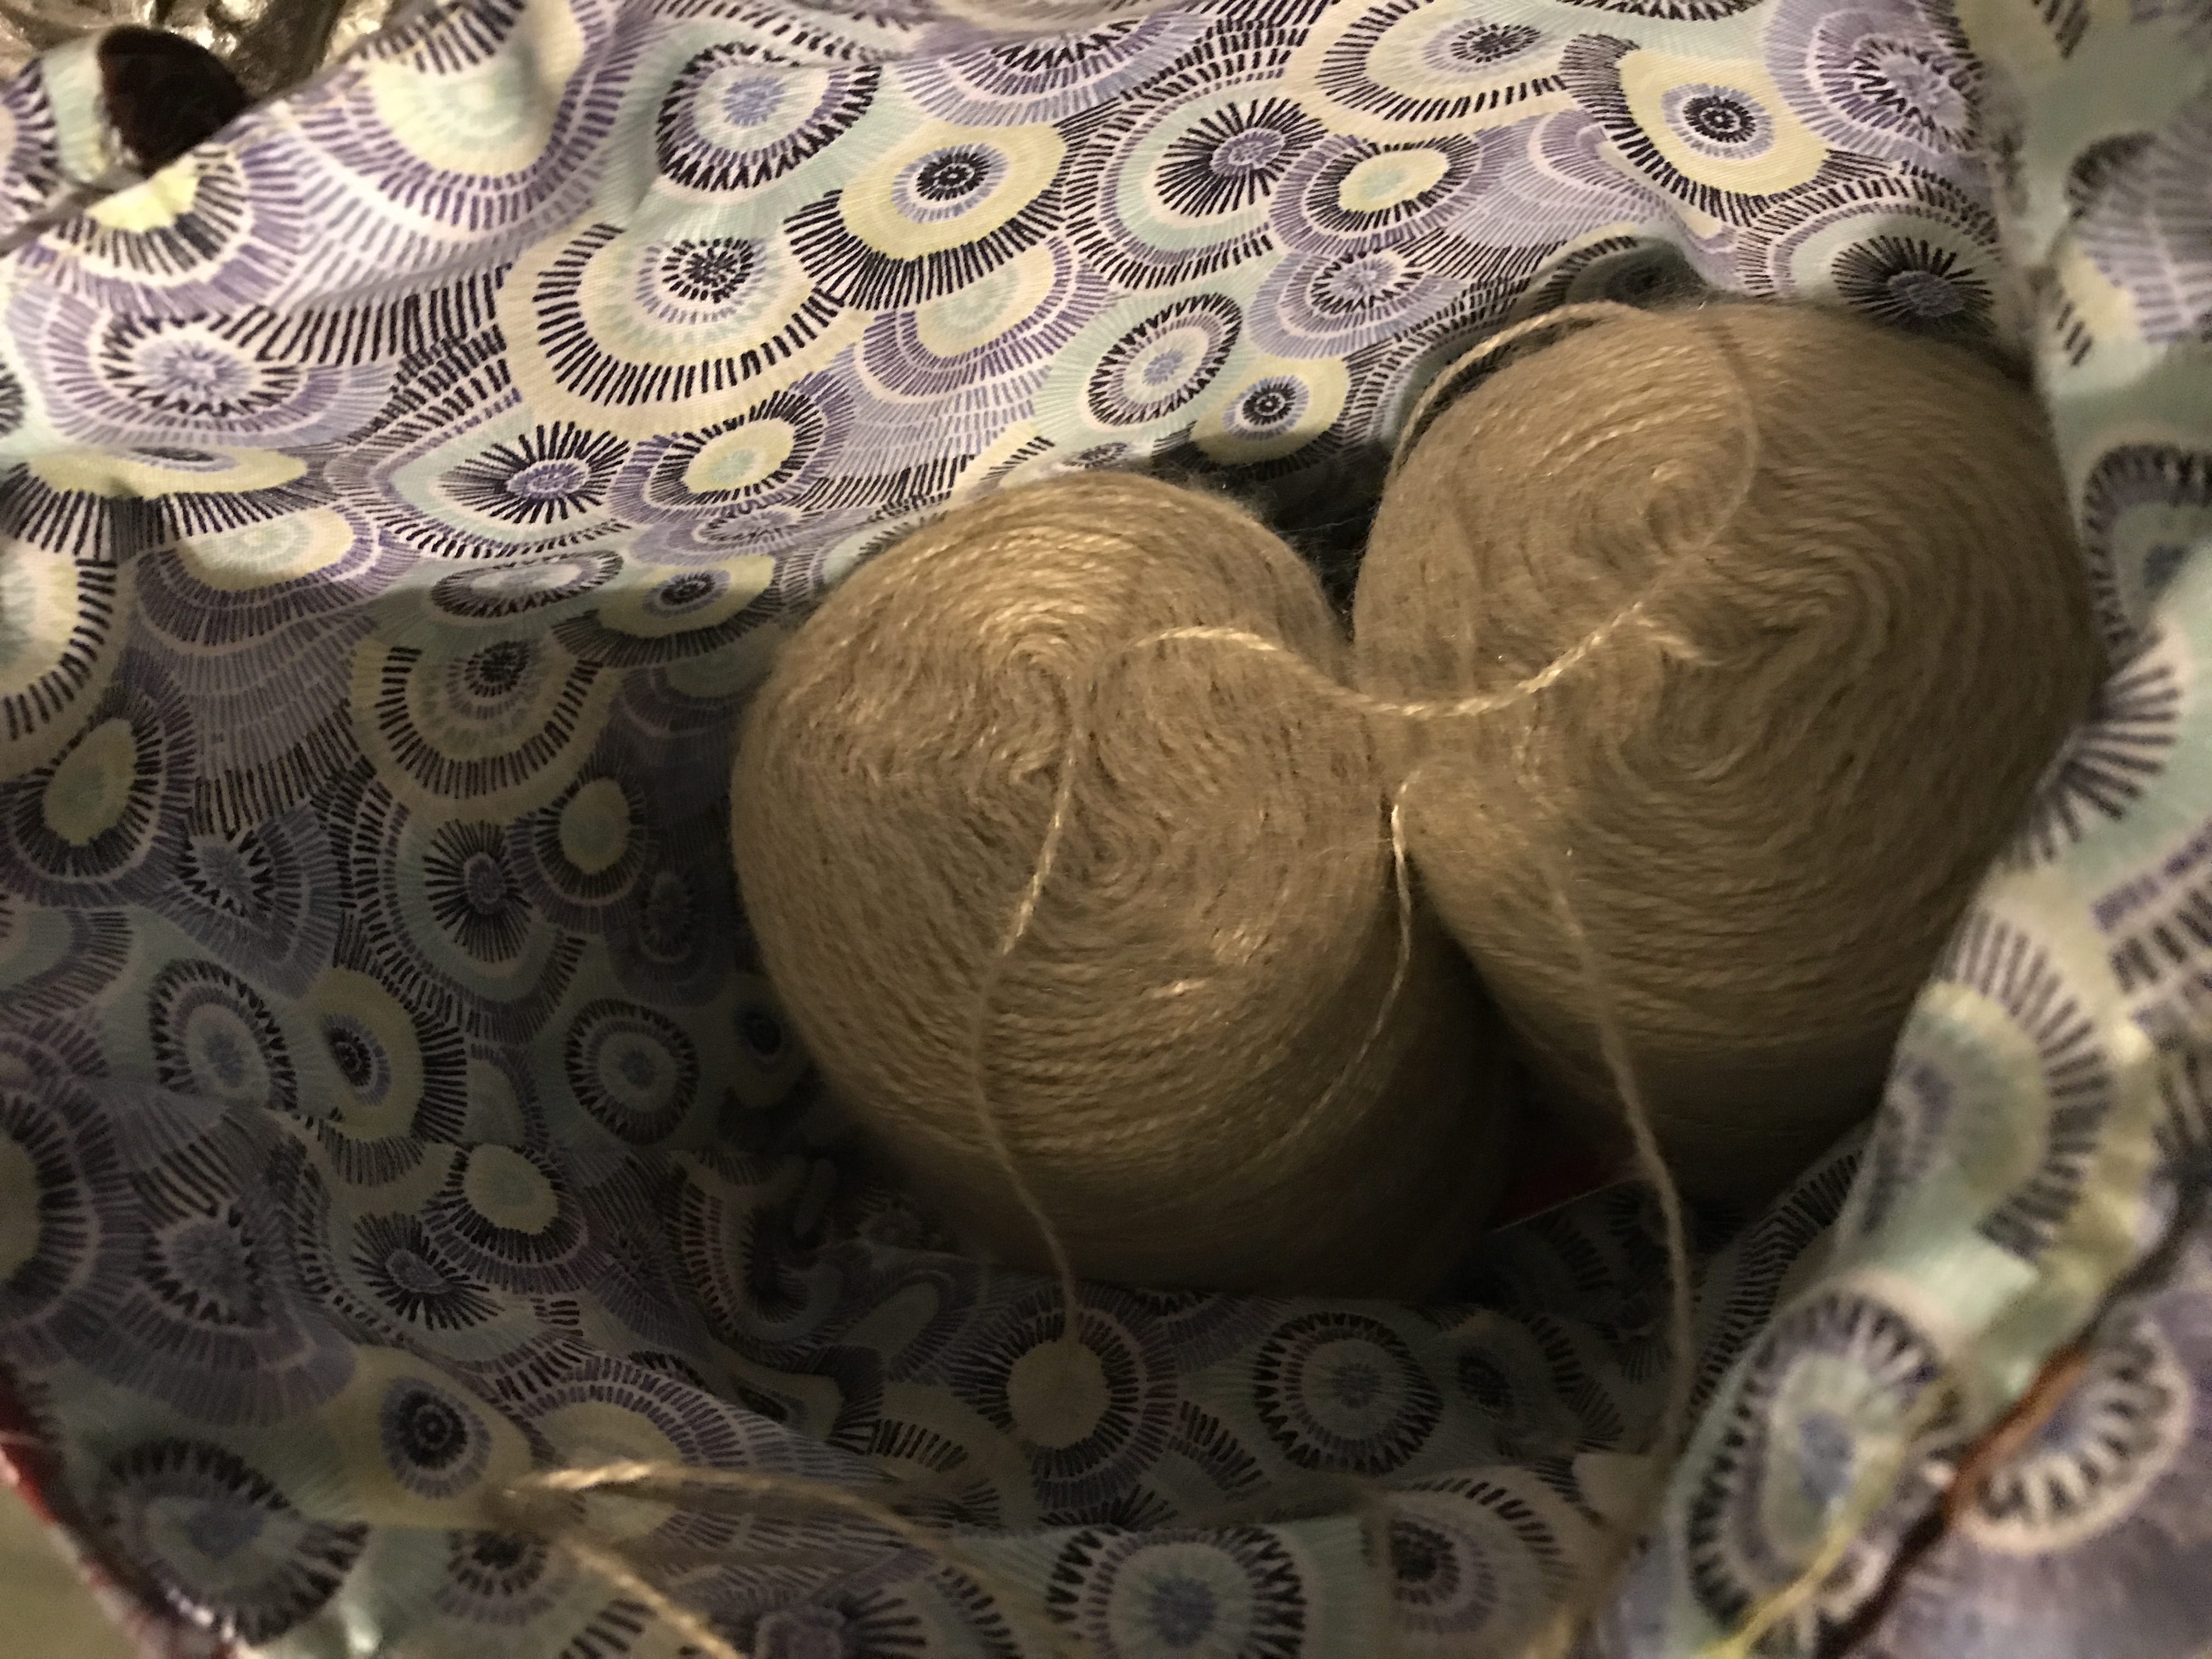
I have been wanting to design my own knit and crochet patterns for a while (I did the pig a few months ago and that was enough to make me want to do more and more!), so this contest was the perfect opportunity to try something. I went to Michael’s to look at the Caron Cake selection (I don’t go there often because it’s about an hour away), and I absolutely adored the Latte Cakes I found. It’s an acrylic-nylon blend (which as I’ve mentioned before are super soft) and has a beautiful, fluffy texture thanks to the loose strands, or “eyelashes,” all over it. As a mom of boys, it would have made the most sense to get a brown or blue cake and turn it into a sweater or blanket. But I just couldn’t shake the feeling that I wanted to use the “Strawberry Flambé” color (gray and pink) to make a toddler dress. So I bought two of the pink cakes (they were buy one, get one half off that day) and brought them home.
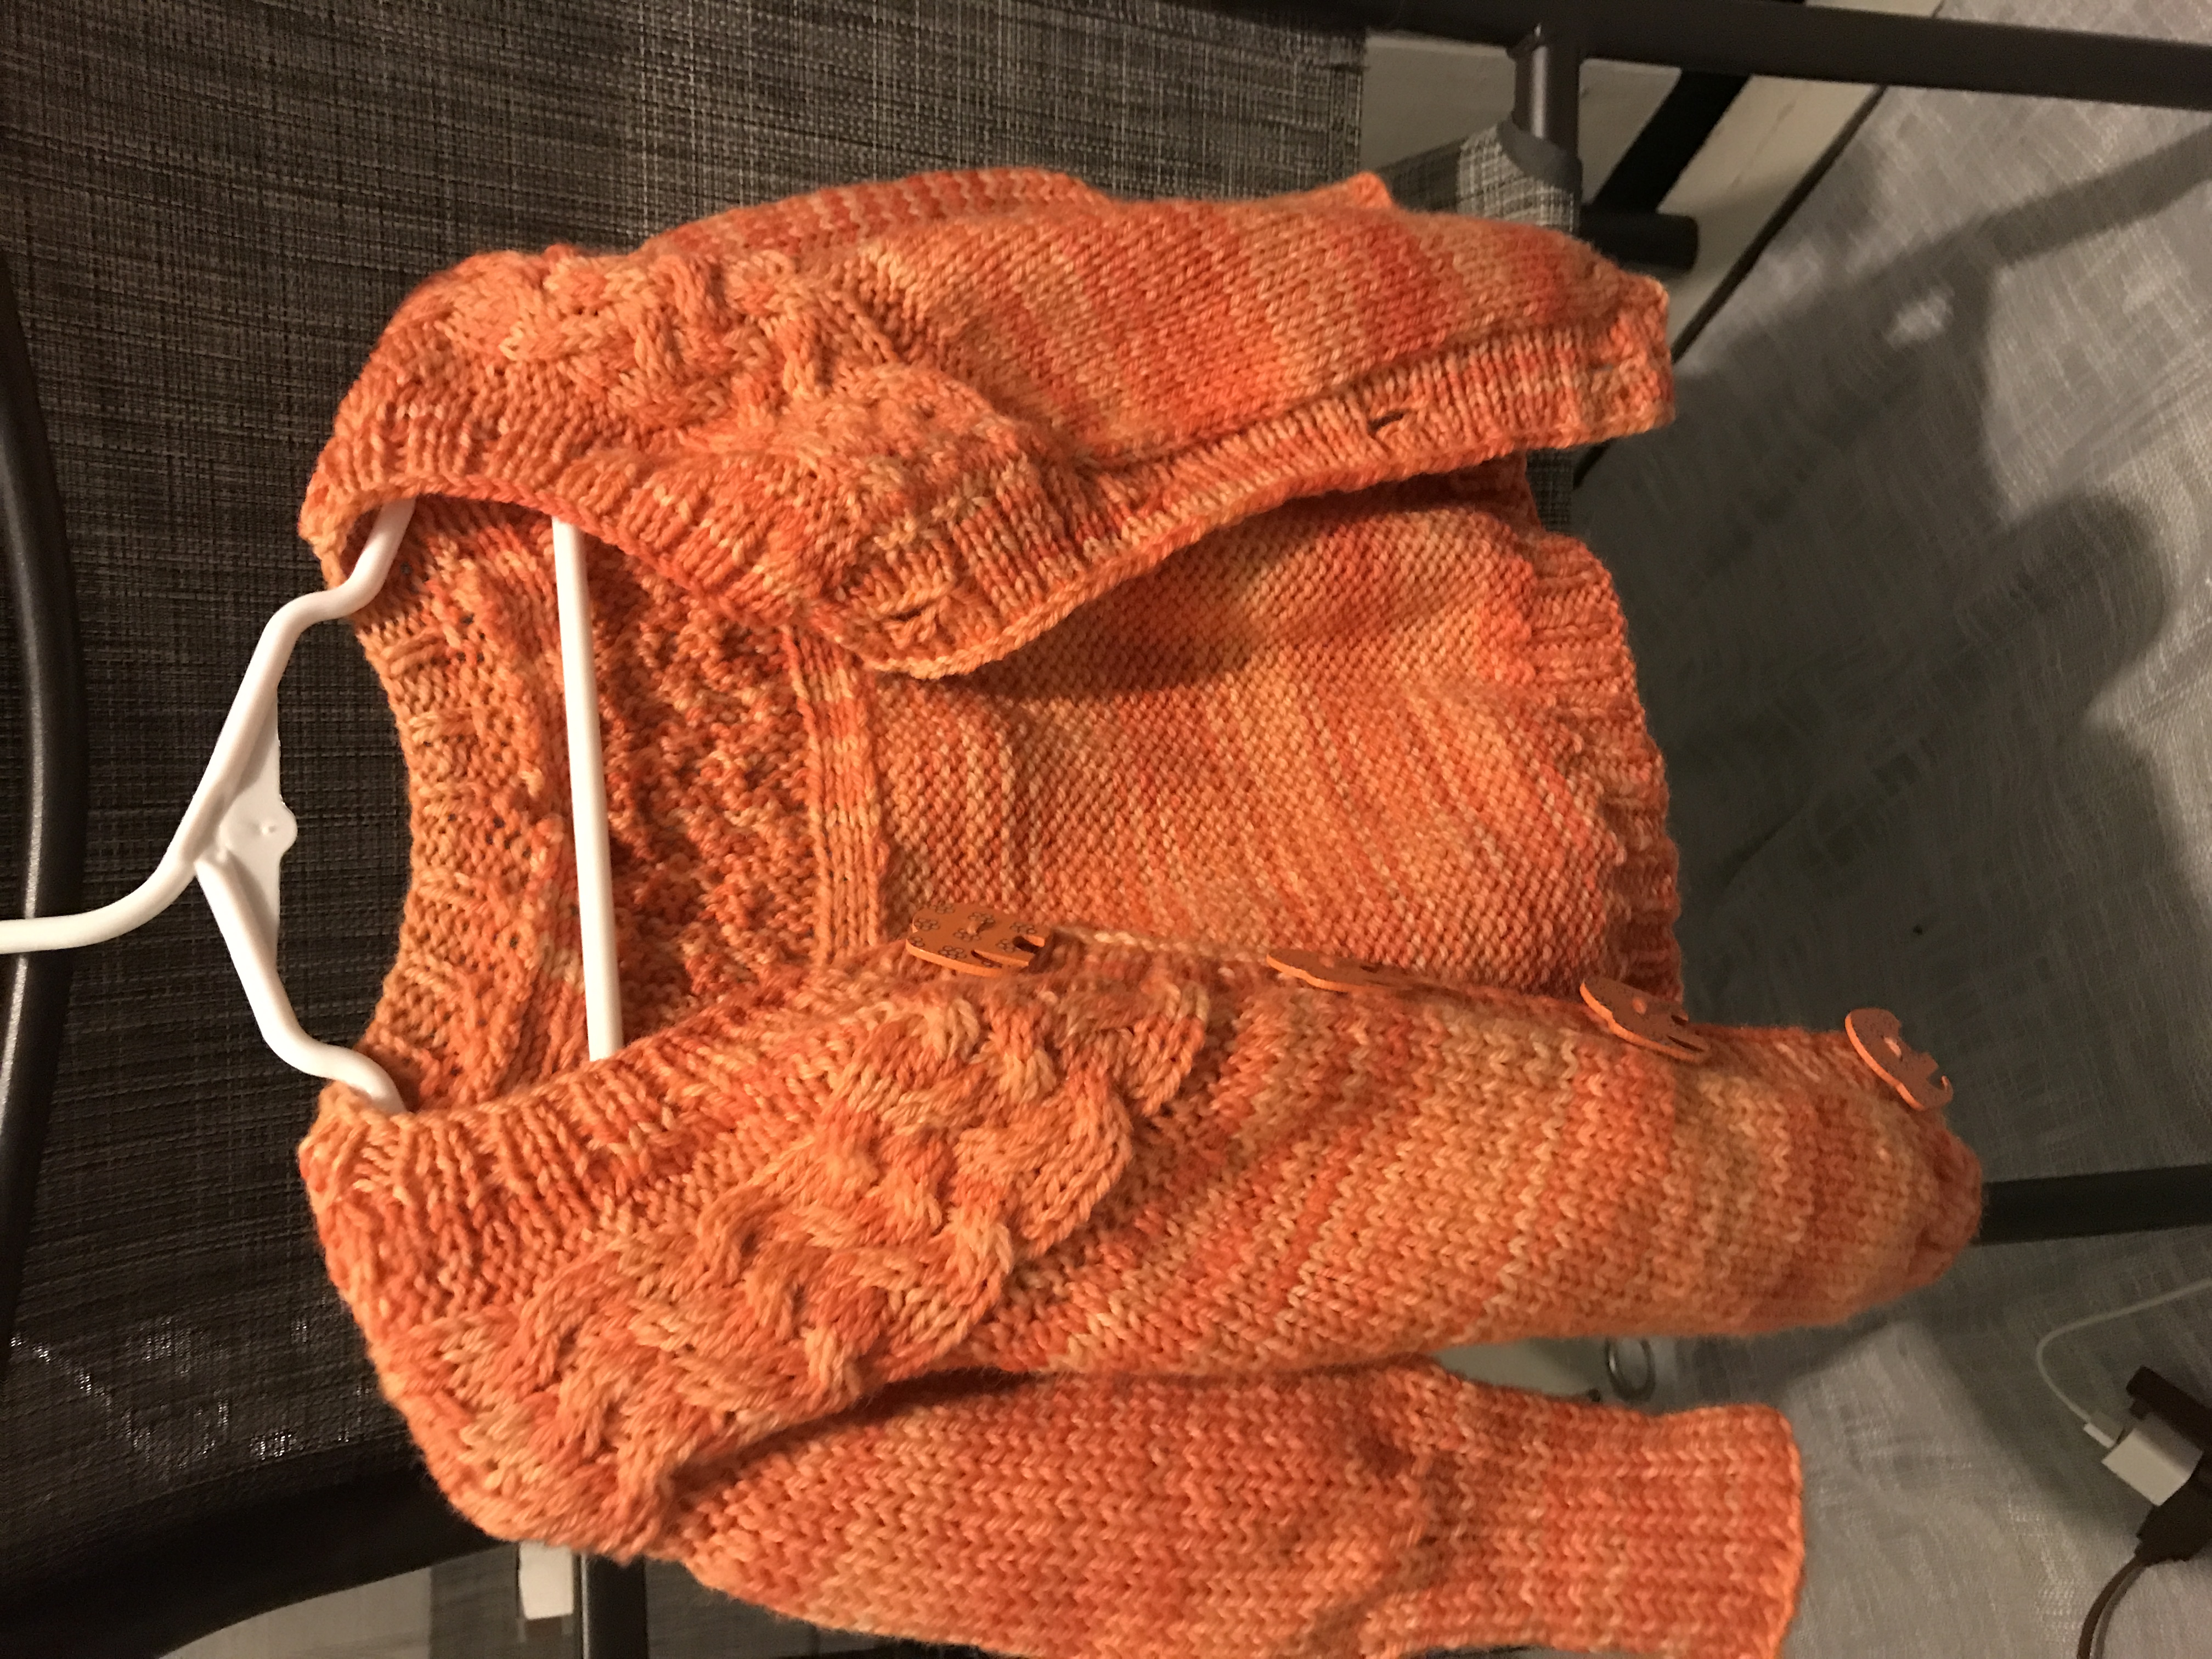
I thought I wanted to crochet the dress, but after two or three attempts that didn’t work out, I realized why: I don’t have any experience crocheting garments. I’ve knit countless sweaters and diaper covers, but I tend to use crochet for toys and blankets – not clothes. So I went back to knitting instead, and this is the dress I came up with:
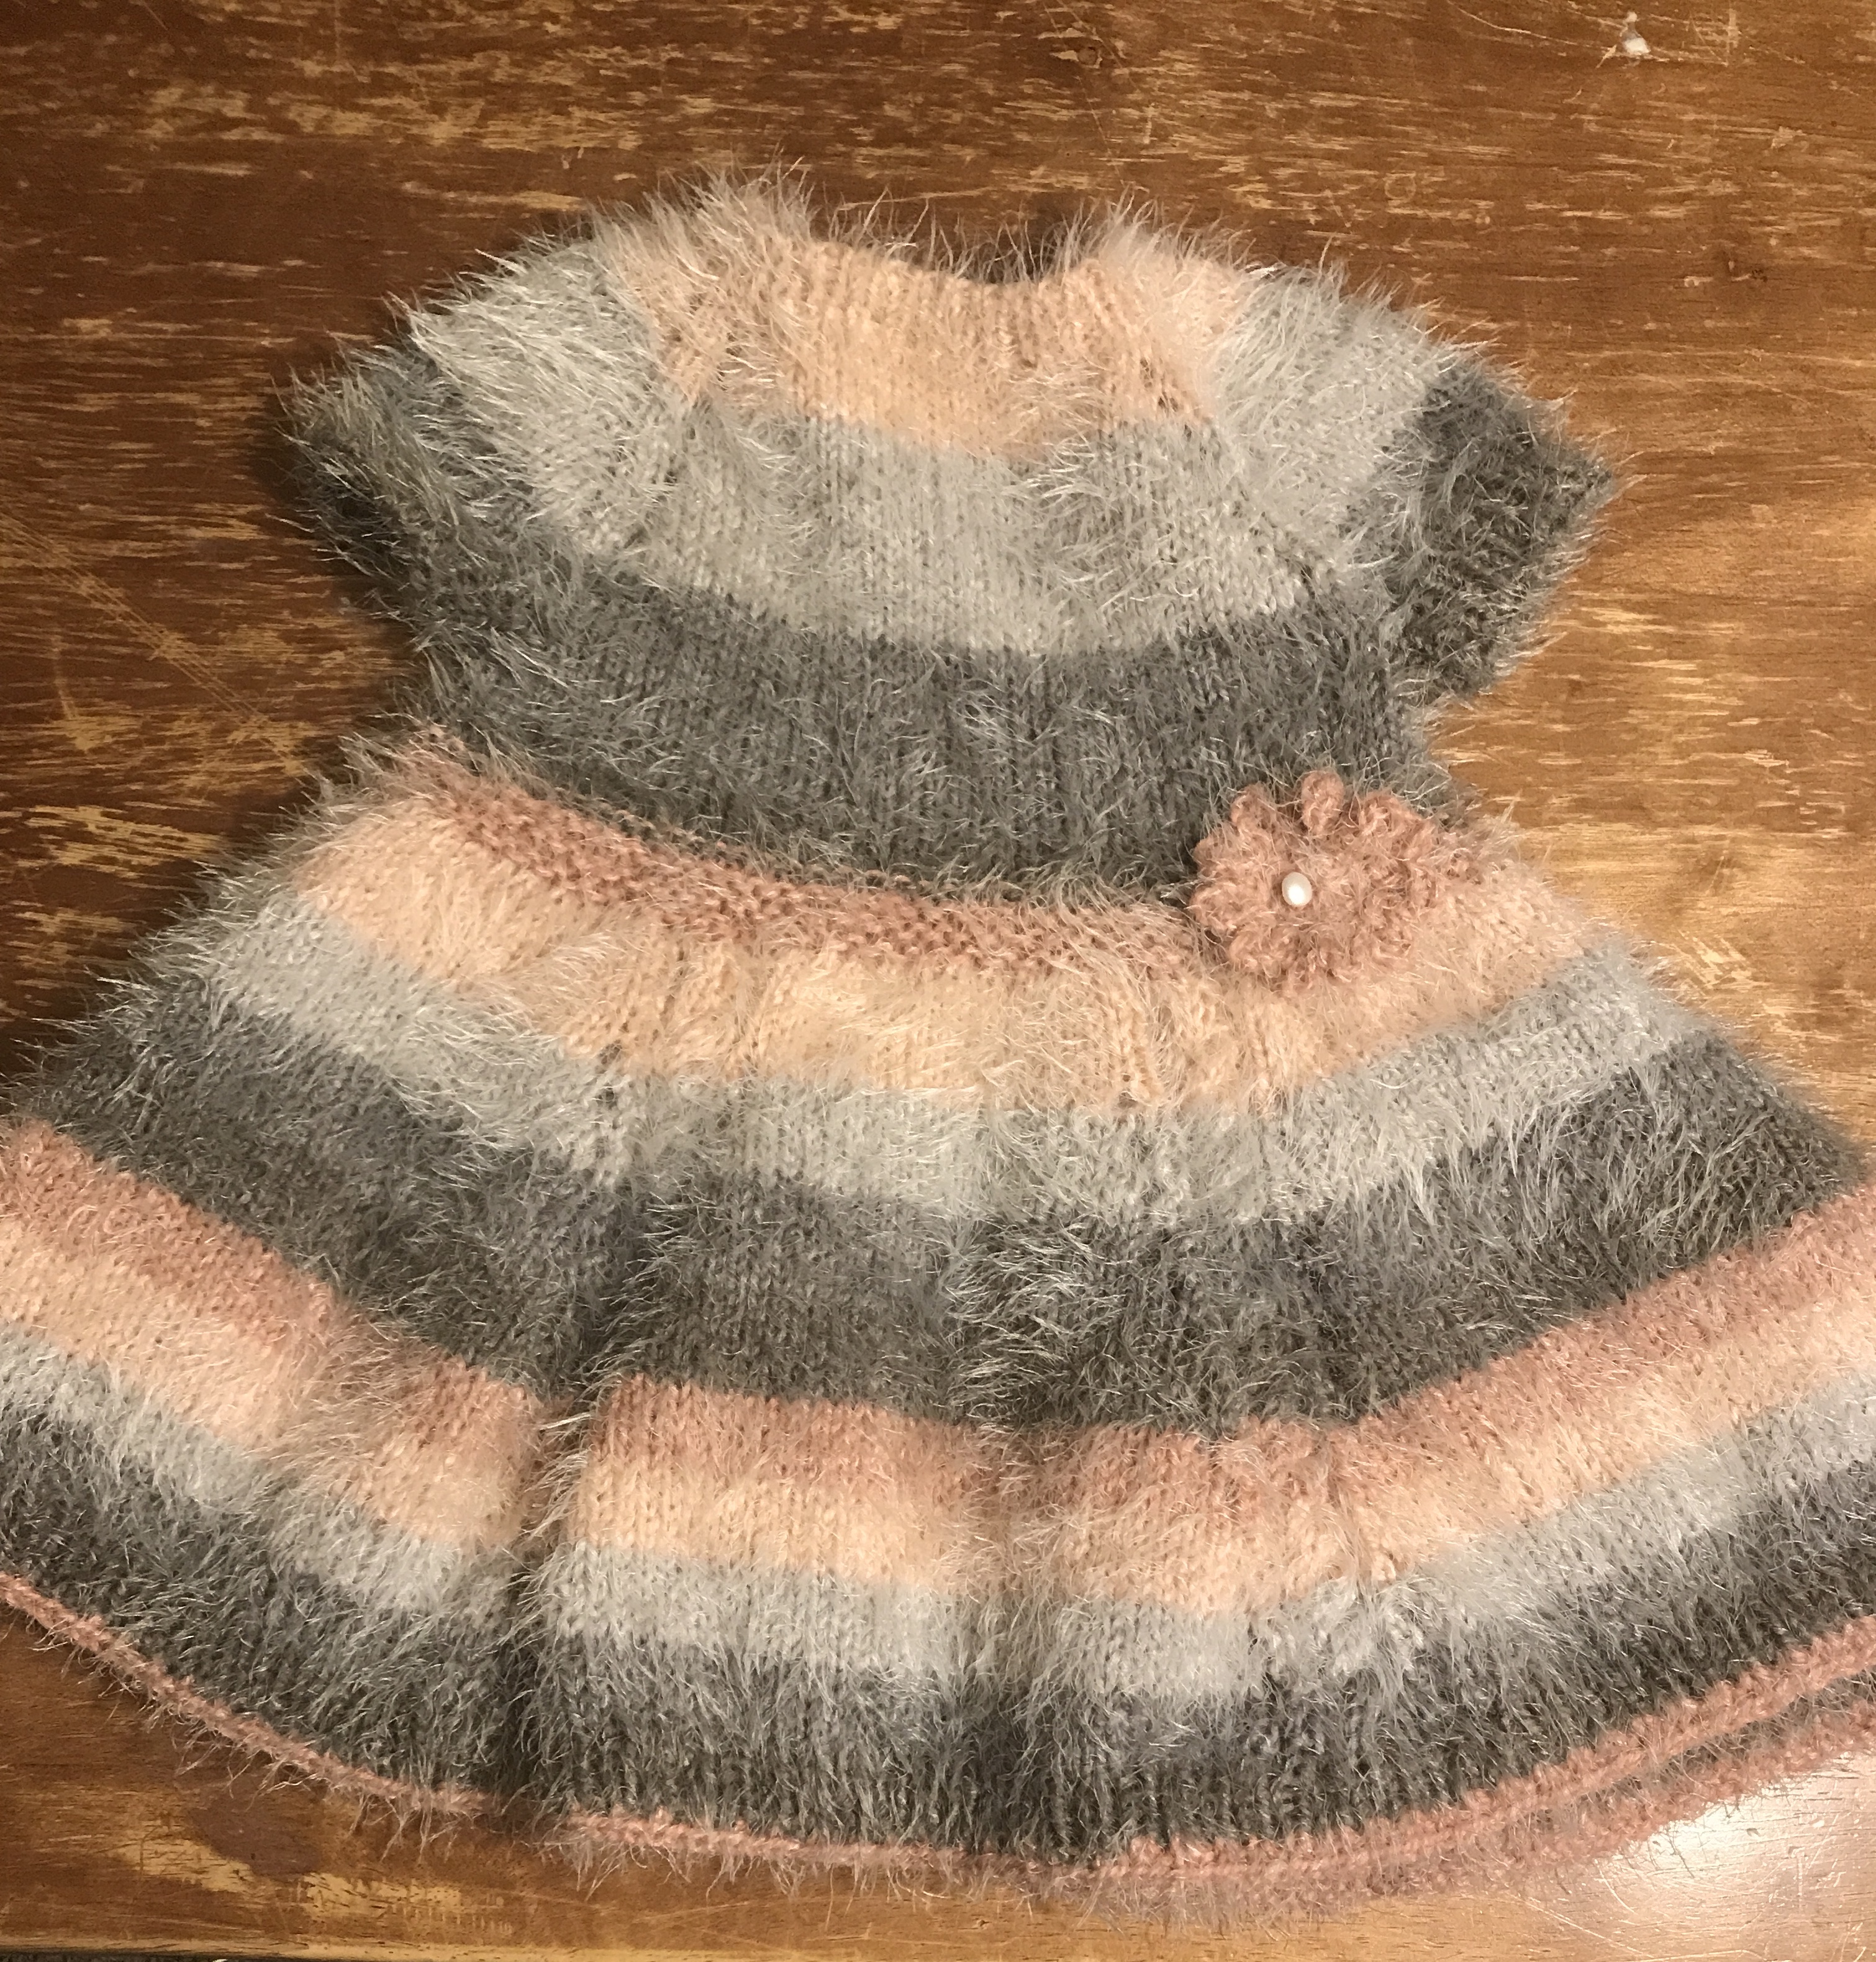
In the interest of full disclosure, I used the Flax sweater pattern for my measurements. While I’ve knit loads of sweaters, I’ve never designed one, so it made sense to start mostly from scratch instead of fully. I made a lot of modifications to the pattern (literally all I used from that one was the cast on number and the depth of the yoke measurement), so I’m still comfortable calling it my own creation.
I started by casting on the designated number (68) using the tubular cast on method. This gives a super stretchy neck hole. I worked the top ribbing in rows, and only joined in the round after the neck edge was done.
When it came time to start making the top larger rapidly to accommodate the shoulders, I used the yarn over method for my increases to give a lacy, open, girly feel for the dress. When I did the body-sleeve split, I knit for about 2 inches and then moved in to the waistband and skirt of the dress (rather than knitting all the way to the hips as I would have done for a sweater). I chose to go with short sleeves for this dress, so using my double pointed needles I added one row of plain knit and 6 rows of ribbing to the arm holes left when I did the sleeve separation. I was conscientious about the yarn color here, making sure the edges of the sleeves would match the shoulder portion.
I wanted a clear separation between bodice and skirt, so I did a narrow band of garter stitch (about an inch), and even though I was using self-striping yarn, I cut it here so I could get a clean line for that belt. I cut the yarn again after the belt as I headed into the skirt. The first row after the belt, I doubled my stitches by doing a KFB (knit front and back) increase into every stitch to give a good start to the skirt.
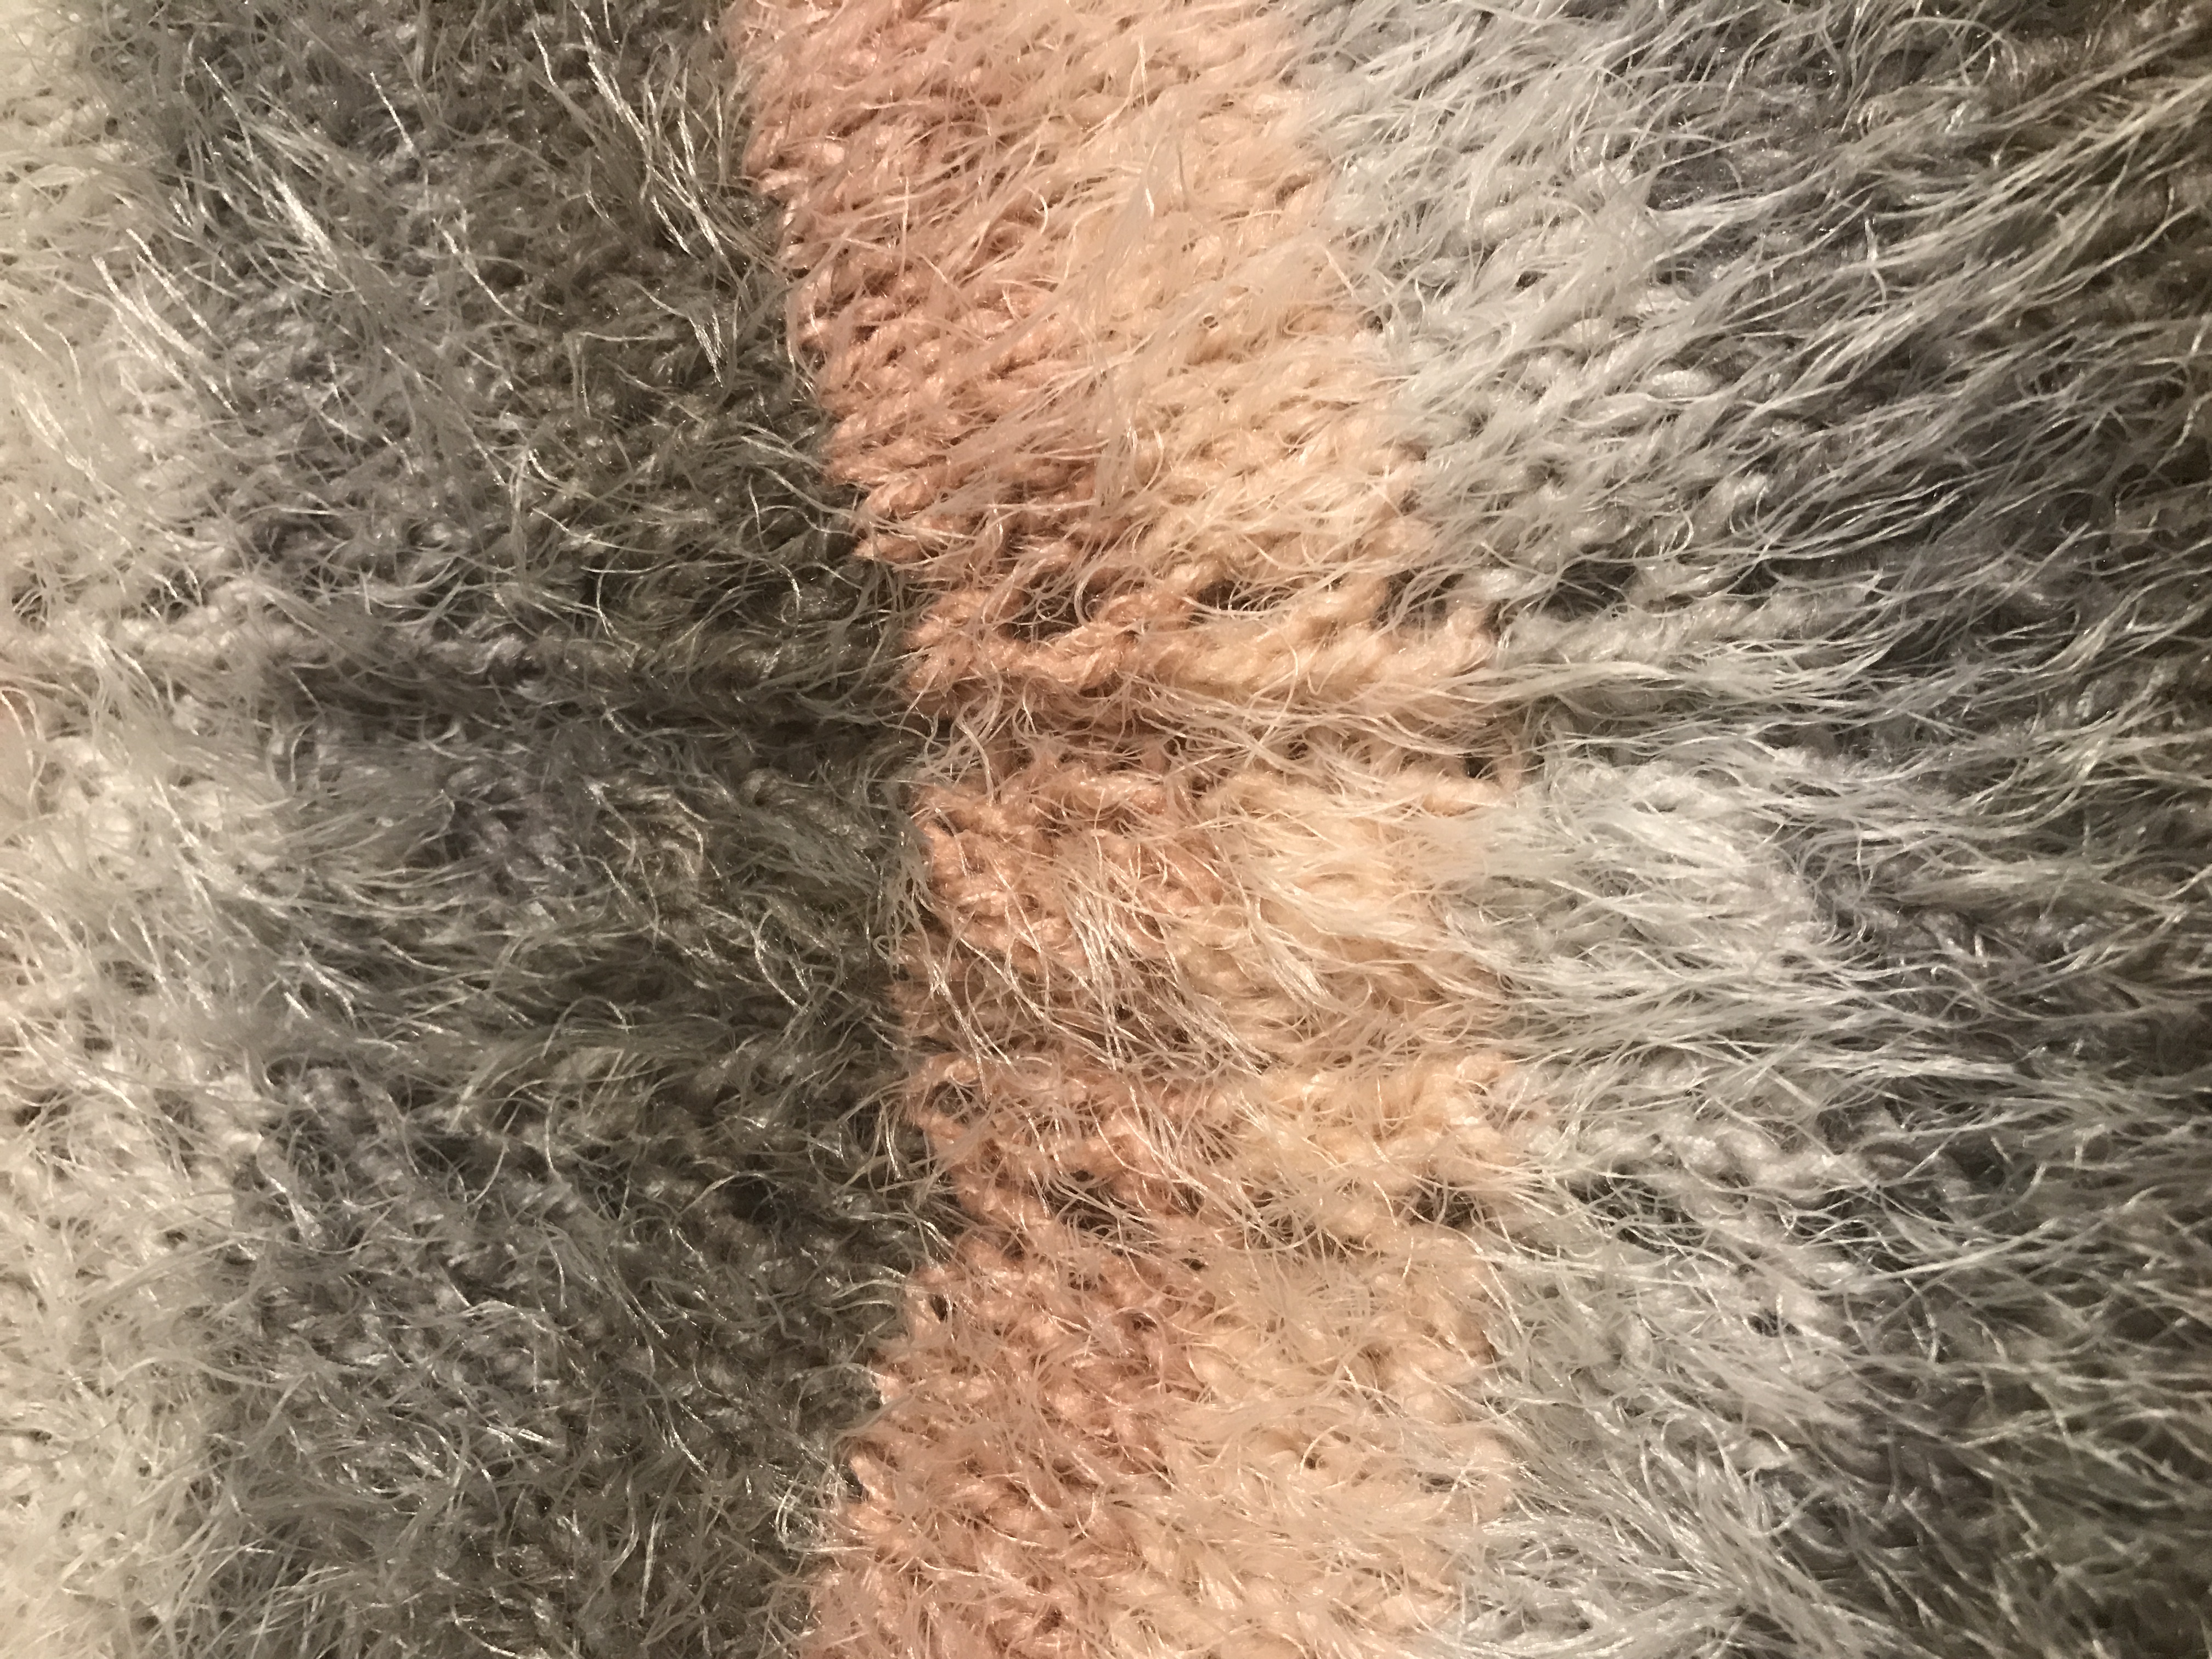
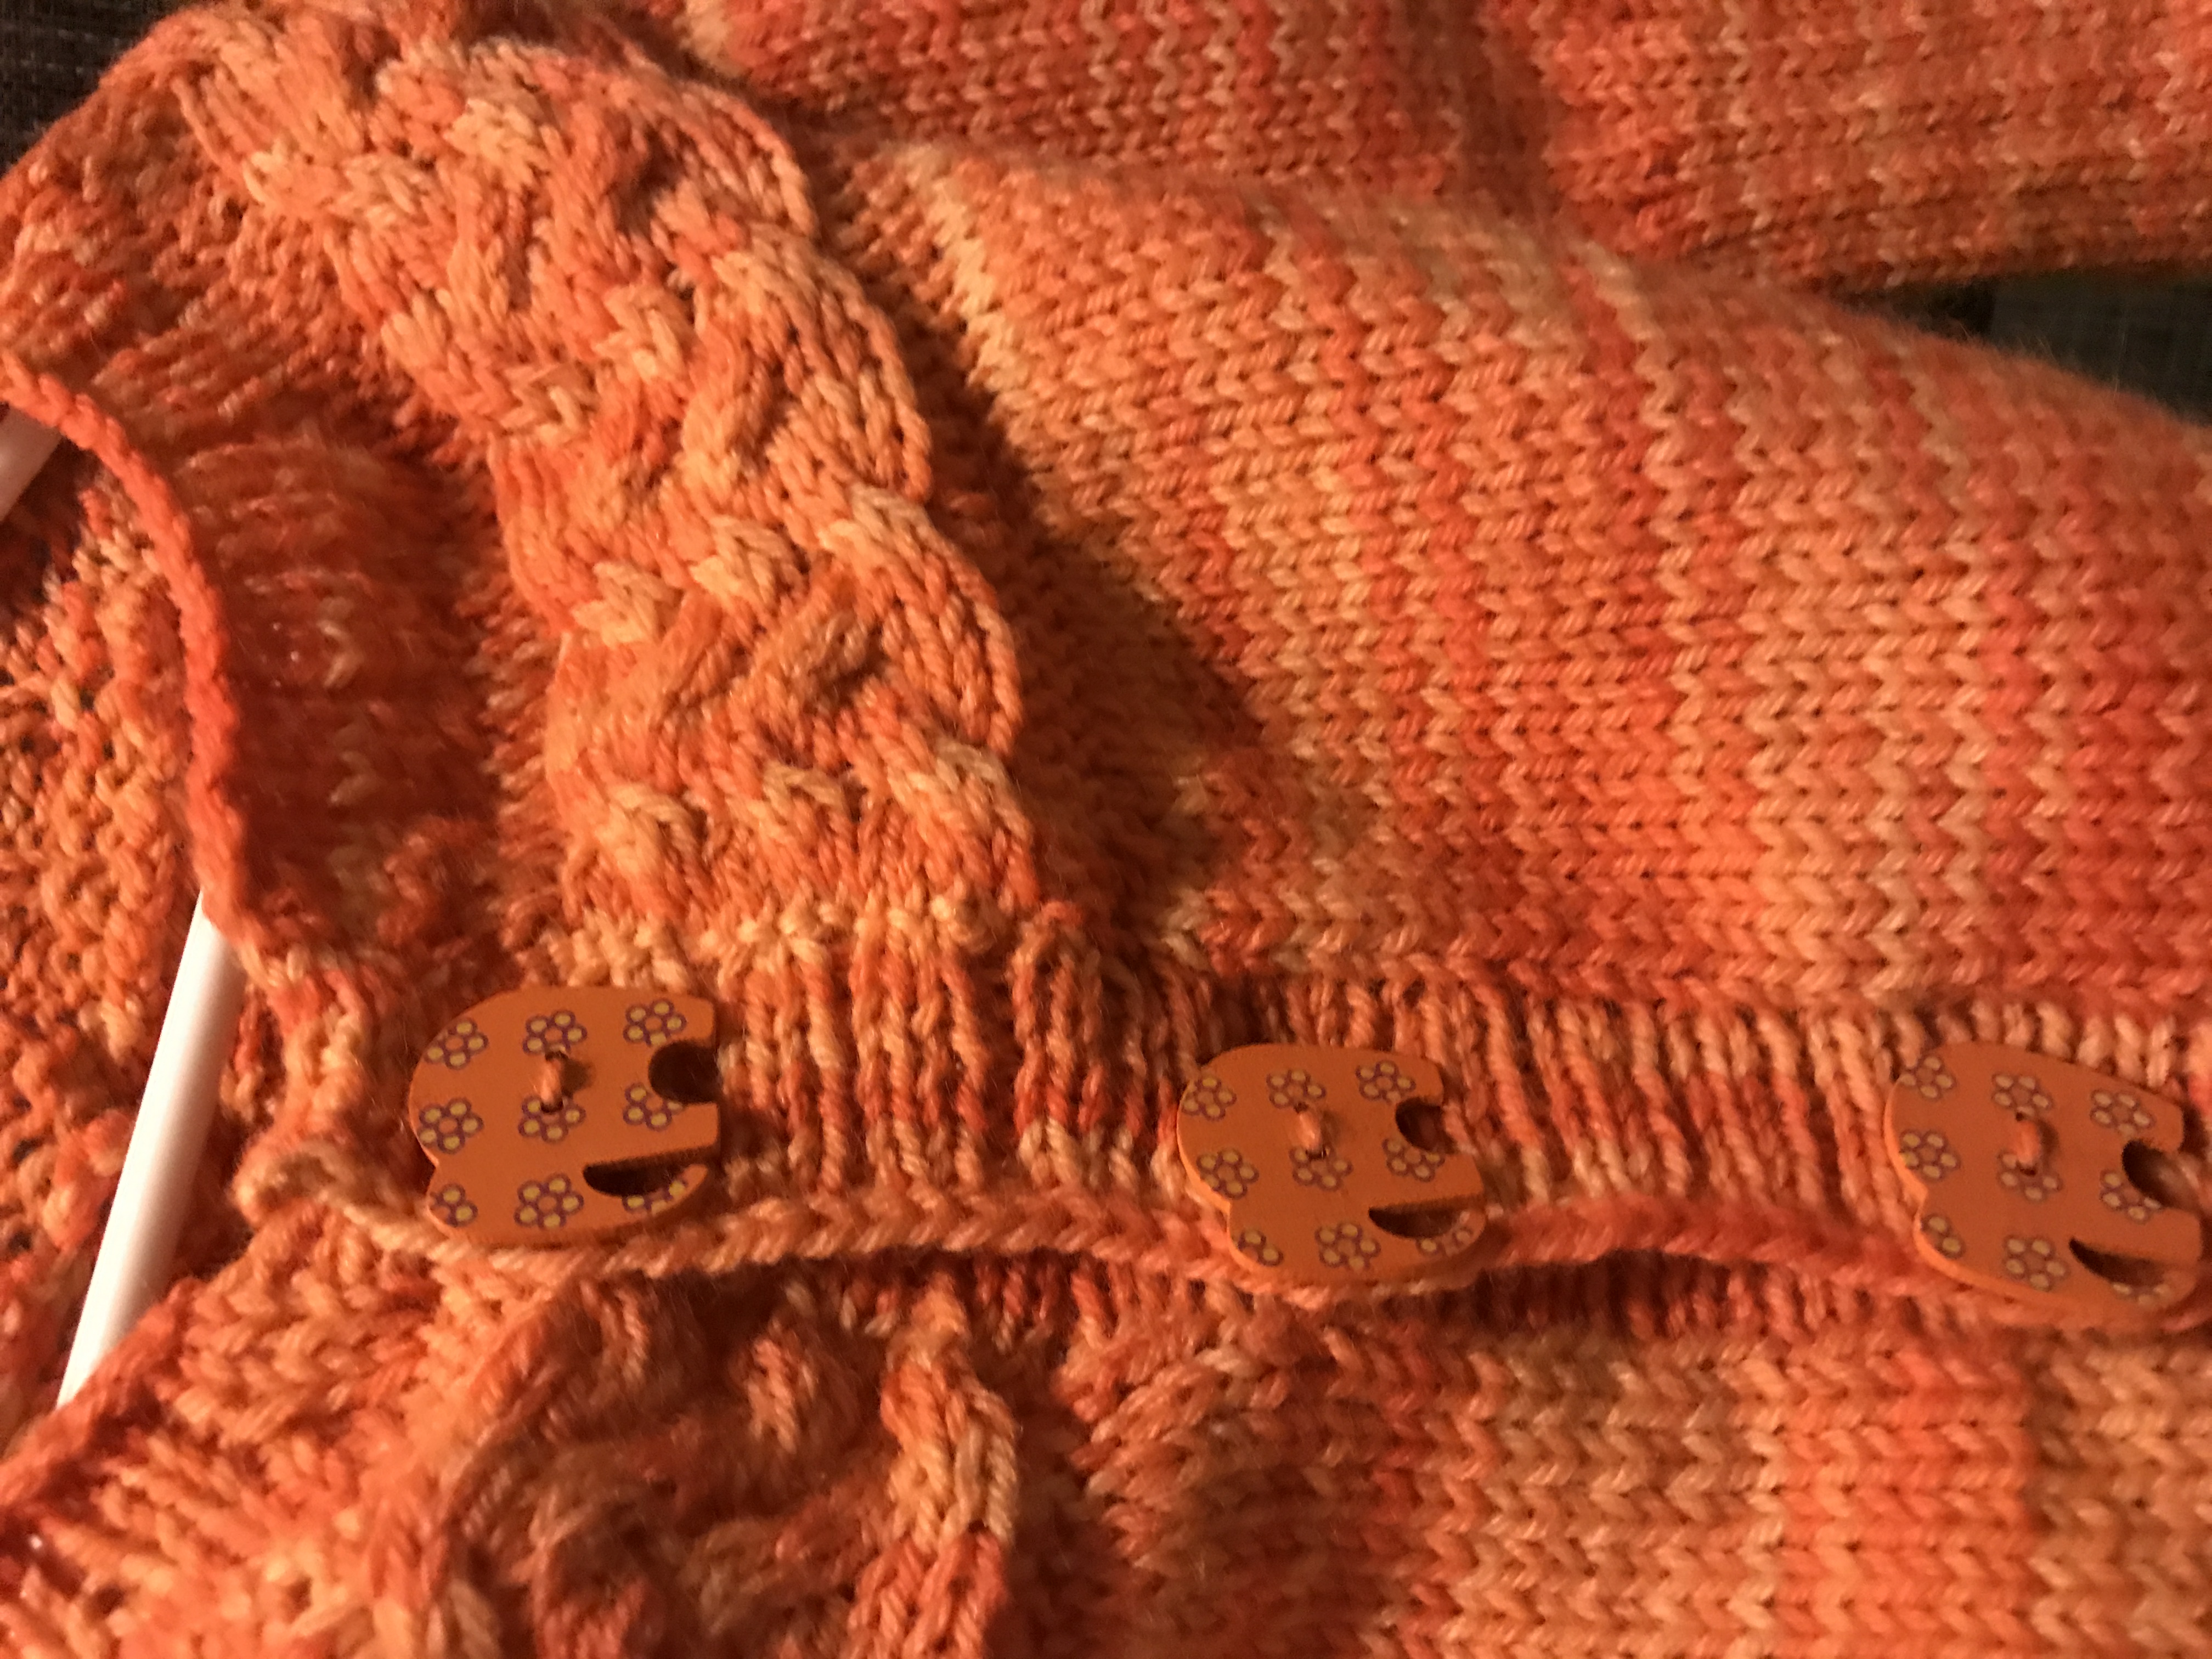
A close up of the cables on the skirt
I literally had a restless night the night before I started this project because I was thinking up ideas for my dress, and one of those ideas was to include cables on the skirt. I’ve knit plenty of cables before, but never really studied how they work, so I went with a simple 3 over 3 twist pattern. I wanted a super flowy, twirly skirt, so I knew I needed to slowly increase the stitch count to get the shape I wanted. In order to mimic the lacy quality of the bodice, I opted for yarn over increases again. This method leaves you with “on purpose” holes in the fabric. Instead of increasing every other row like I did on the top, I increased every third row; this is when I did the cable twists, so it was easier to keep track of where I was: increase and cable in the same row, then work two rows plain.
I initially considered adding a crocheted border to the sleeves and bottom, but when I bound off, I didn’t think it needed it after all. I did, however, crochet a little flower and attach it to the waistband with a pearl button. The dress also closes with a matching pearl button at the back of the neck. (I didn’t add in a specific buttonhole; the pearls are small enough to slip through the stitches as they sit.)
I hope to have the official pattern written up (and maybe tested by other knitters) in the coming weeks. When that’s done, I’ll post it here.
Blessings,